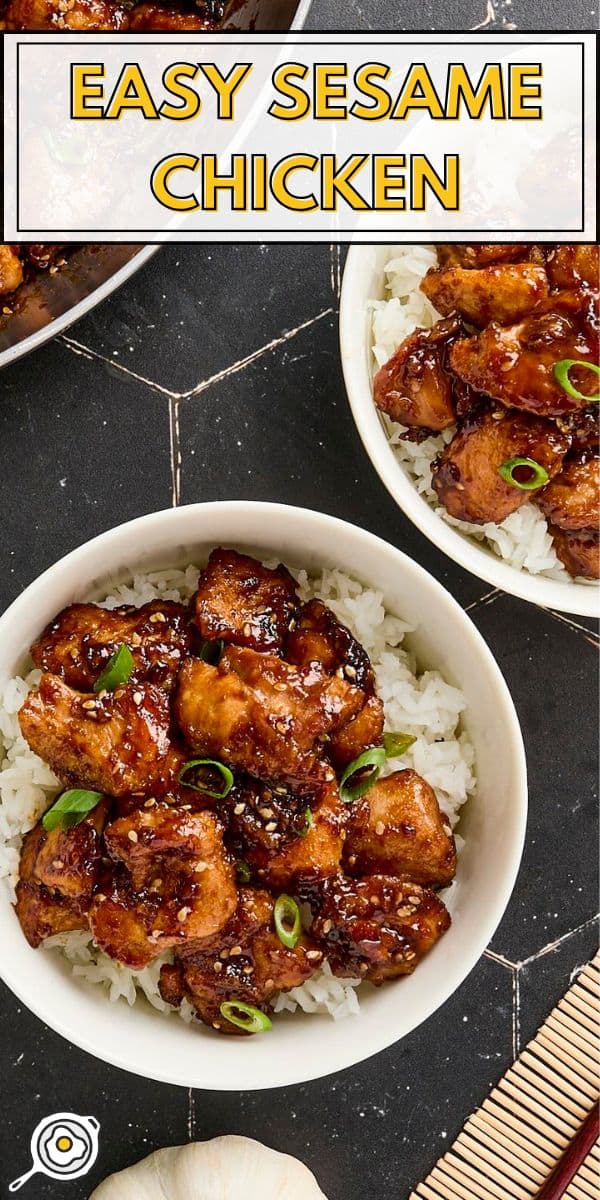
This Easy Sesame Chicken recipe is so easy that you’ll be tempted to toss those take-out menus (seriously, I can’t remember the last time I ordered sesame chicken since I first posted this recipe nearly 12 years ago!!) The deliciously sweet and savory sauce takes only a few ingredients, all of which you can keep on hand indefinitely (I always keep my ginger in the freezer). You know, just in case you need some of this chicken, like, now. Oh, and this take-out fake-out recipe is one of my favorites in my weekly meal prep, too.
All recipes are rigorously tested in our Nashville Test Kitchen to ensure they are easy, affordable, and delicious.
“Um, wow. Just fantastic. My husband made it in his cast iron skillet and we doubled the batch – we’re sad we didn’t triple it! So easy and tasty!”
Mary Farrow
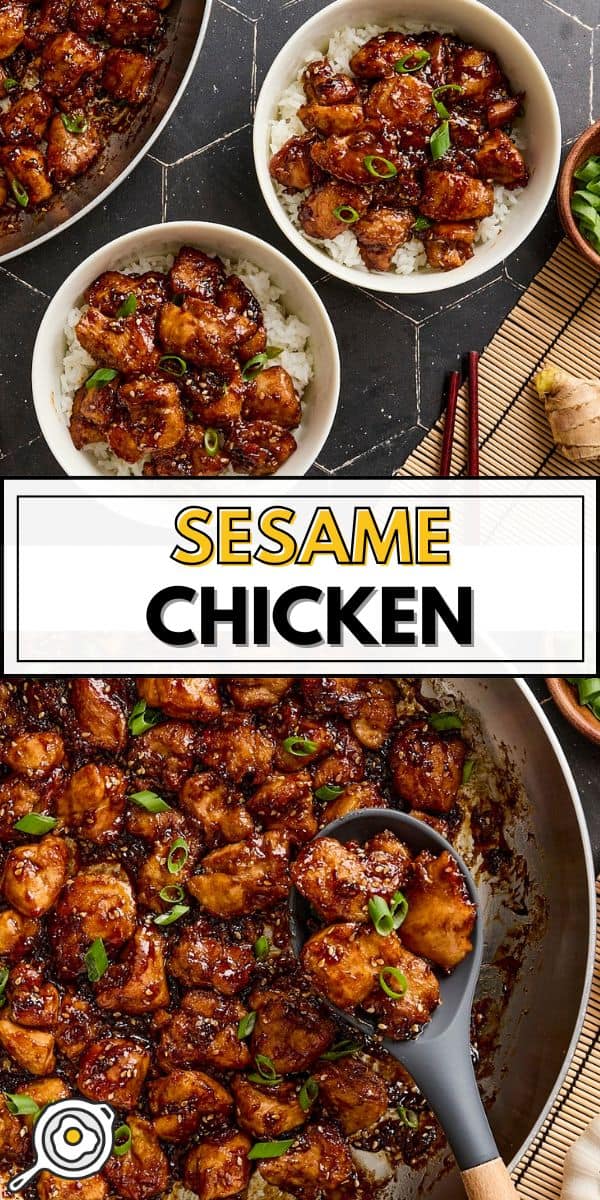
Easy Sesame Chicken Recipe
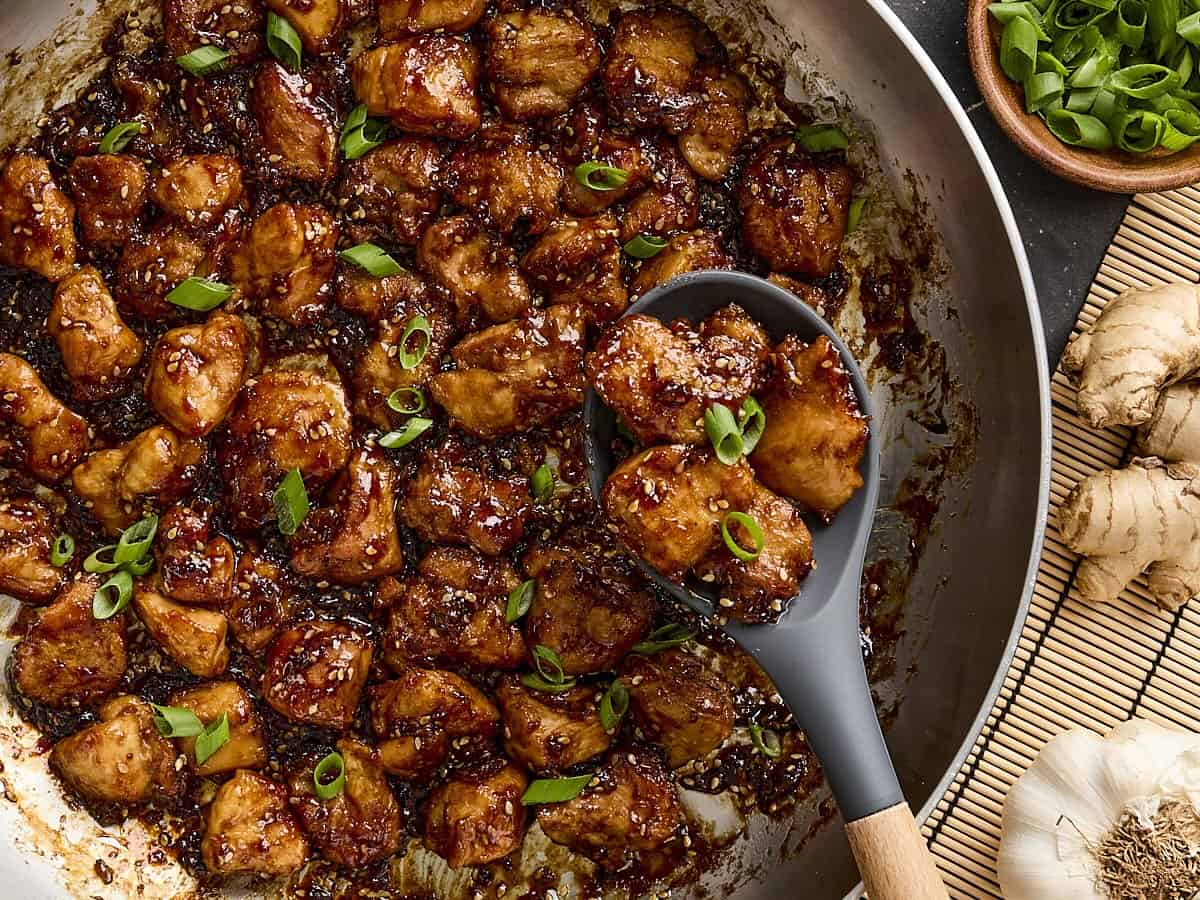
If you’re unfamiliar with this Chinese-American fast food classic, sesame chicken is small pieces of tender chicken that have been coated in an egg and cornstarch, deep-fried until crispy, and then coated in a deliciously sweet, salty, and tangy sauce. The sauce also has a light but toasty flavor, thanks to sesame seeds.
However, I specifically wrote this recipe for those of you out there who hate deep frying as much as I do. My recipe uses a very small amount of oil to cook the chicken, and because of that, you don’t get super crispy edges as you would with a deep fry…but the trade-off is WELL worth it, in my opinion. No leftover oil to deal with, no cooking oil smell filling your house, and no splattering oil trying to kill you. So worth sacrificing crispy edges (and it’s just as delicious!)😉
Easy Sesame Chicken
Cost $6.78 recipe / $1.70 serving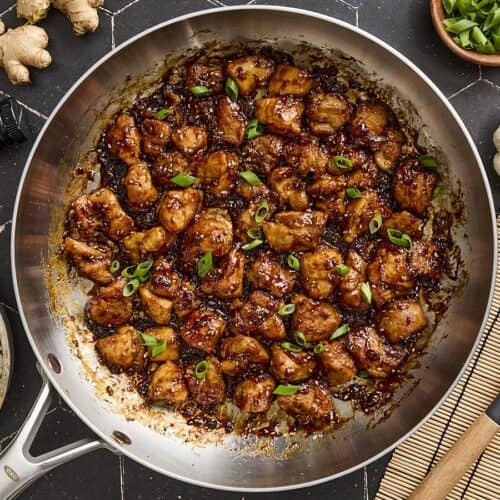
Ingredients
Sauce
- ¼ cup soy sauce ($0.20)
- 2 Tbsp water ($0.00)
- 1 Tbsp toasted sesame oil ($0.32)
- 3 Tbsp brown sugar** ($0.30)
- 1 Tbsp rice vinegar ($0.14)
- 1 tsp grated fresh ginger*** ($0.10)
- 2 cloves garlic, minced ($0.08)
- ½ Tbsp cornstarch ($0.03)
- 1 Tbsp sesame seeds ($0.10)
Chicken
- 2 Tbsp cooking oil ($0.08)
- 1 lb boneless skinless chicken thighs* ($3.48)
- 1 large egg ($0.67)
- 2 Tbsp cornstarch ($0.06)
- 1 pinch each salt and pepper ($0.05)
For Serving
- 4 cups cooked jasmine rice ($0.97)
- 2 whole green onions ($0.20)
Video
Instructions
- First, prepare the sauce. In a small bowl stir together the soy sauce, water, sesame oil, brown sugar, rice vinegar, fresh ginger, minced garlic, cornstarch, and sesame seeds. (Grate the ginger with a small-holed cheese grater). Set the sauce aside.
- In a large bowl, whisk together the egg, 2 Tbsp cornstarch, and a pinch of salt and pepper. Trim any excess fat from the chicken thighs, then cut them into small 1 inch pieces. Toss the chicken in the egg and cornstarch mixture.
- Add the cooking oil to a large skillet and heat it over medium flame. Wait until the skillet is very hot, then swirl the skillet to make sure the oil coats the entire surface. Add the batter coated chicken and spread it out into a single layer over the surface of the skillet.
- Allow the chicken pieces to cook, undisturbed, until golden brown on the bottom. Then, carefully flip the chicken, breaking up the pieces into smaller clumps as you flip. Continue to cook the chicken until golden brown on the other side. Stir the chicken as little as possible to avoid breaking the egg coating from the surface of the chicken.
- Once the chicken is cooked through and golden brown on all sides, pour the sauce over top. Toss the chicken to coat in the sauce. As the sauce comes up to a simmer, it will begin to thicken. Continue to gently stir the chicken in the sauce until it has thickened, then turn off the heat.
- Serve the chicken over a bed of rice and sprinkle the sliced green onions over top.
See how we calculate recipe costs here.
Notes
Nutrition Information
how to make Sesame Chicken step-by-step photos
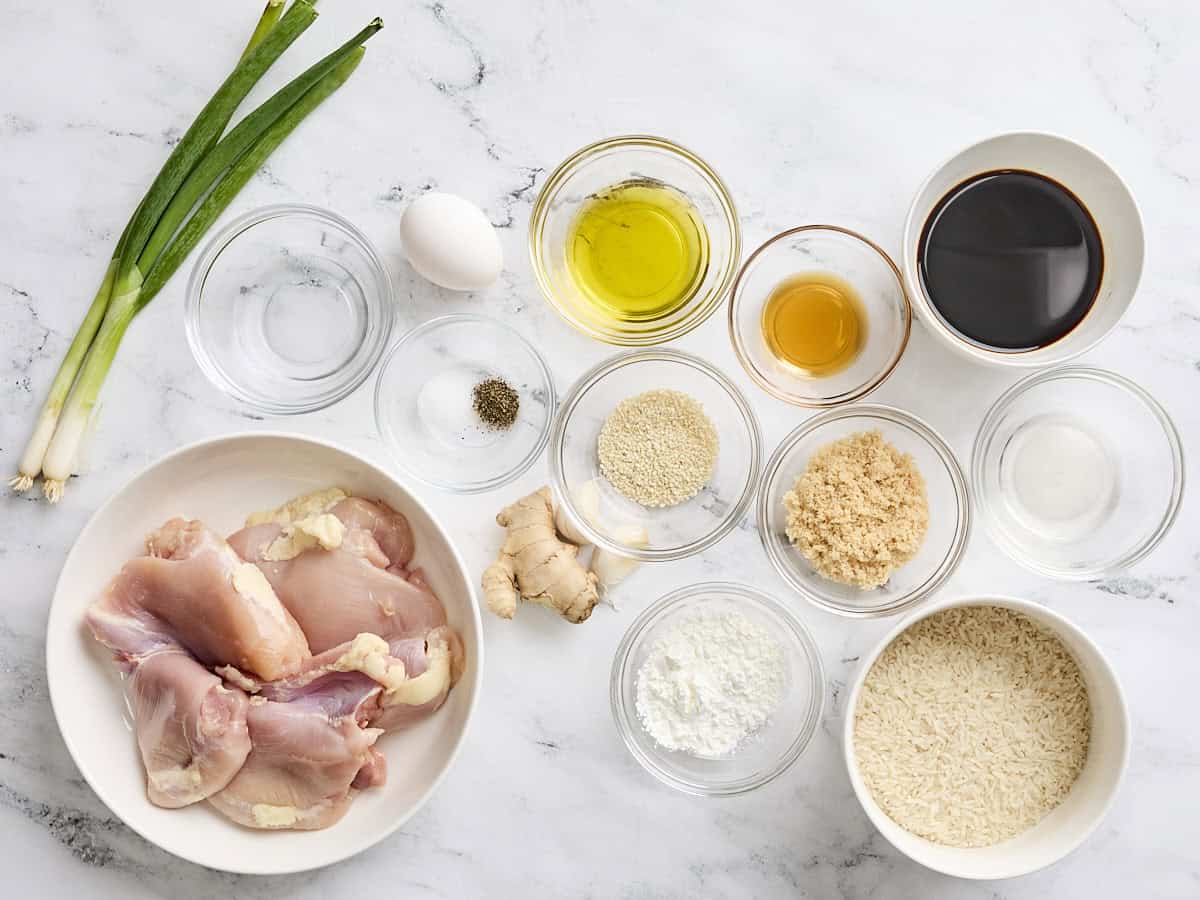
Gather all of your ingredients.
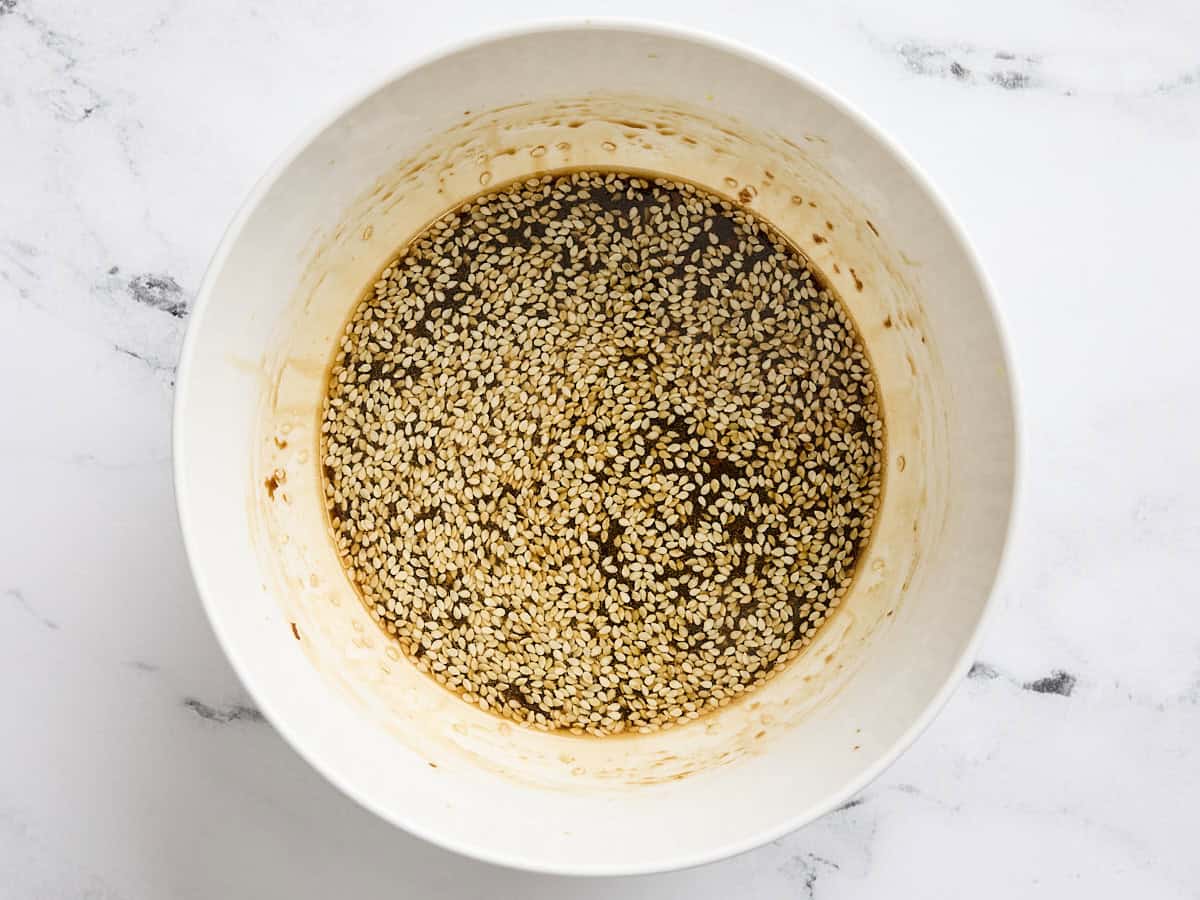
Prep the sauce: Make the sauce first, so it’s ready to go when you need it. In a bowl, stir together 1/4 cup soy sauce, 2 Tbsp water, 1 Tbsp toasted sesame oil, 3 Tbsp brown sugar, 1 Tbsp rice vinegar, 1 tsp grated fresh ginger, 2 minced cloves of garlic, ½ Tbsp cornstarch, and 1 Tbsp sesame seeds.
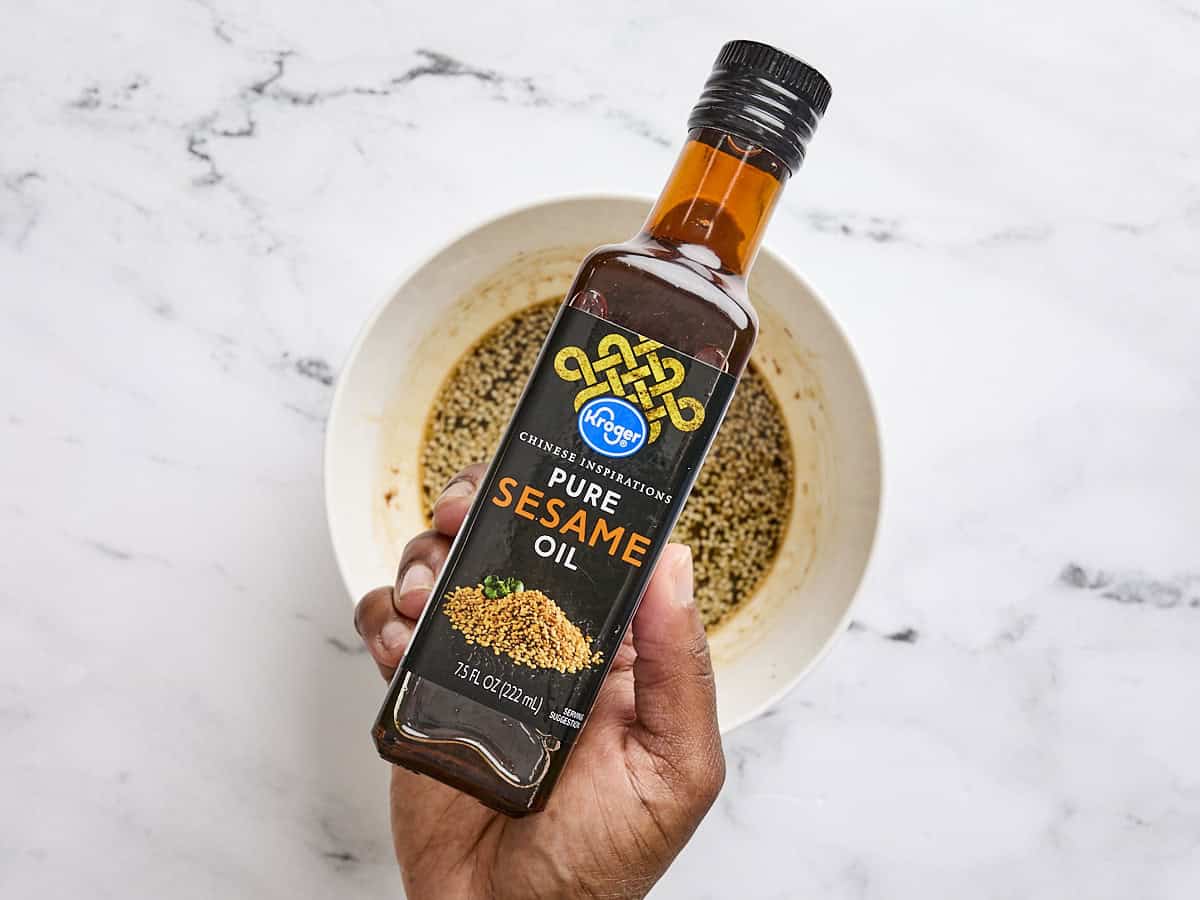
Let’s just talk about this toasted sesame oil for a second. You must get the kind that is toasted to get the super vibrant nutty flavor that you want in your sesame chicken. Not all brands actually say “toasted” on the bottle, but you can recognize the toasted variety by its deep brown color. Regular sesame oil will be the color of straw, like vegetable oil. You want the brown stuff. 😉 It’s usually in the international foods aisle, instead of the baking aisle with the other oils.
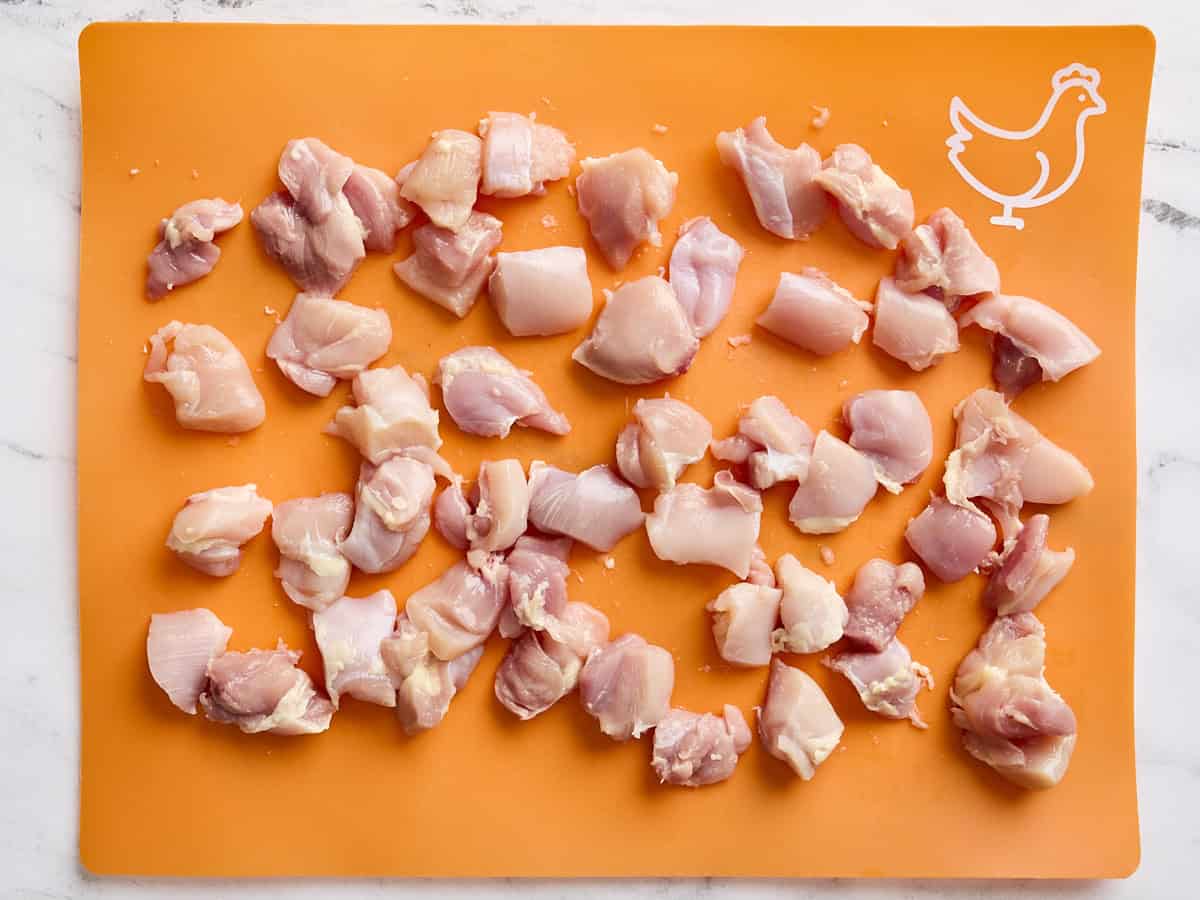
Cut the chicken: Next, trim any extra fat off of one pound of boneless, skinless chicken thighs, then cut them into small one inch cubes. One pound for me was about three chicken thighs.
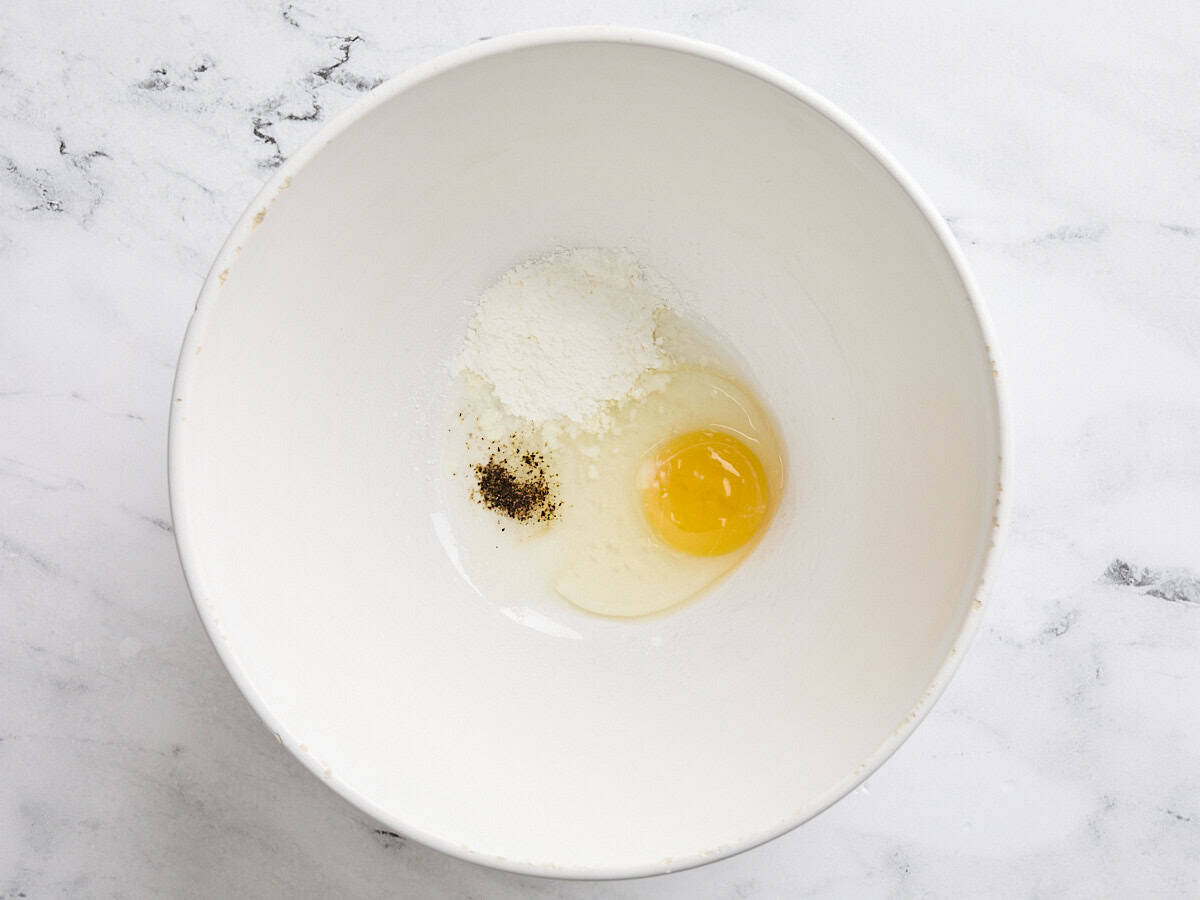
Make the cornstarch mix: Add 1 large egg, 2 Tbsp cornstarch, and a pinch of salt and pepper to a medium bowl.
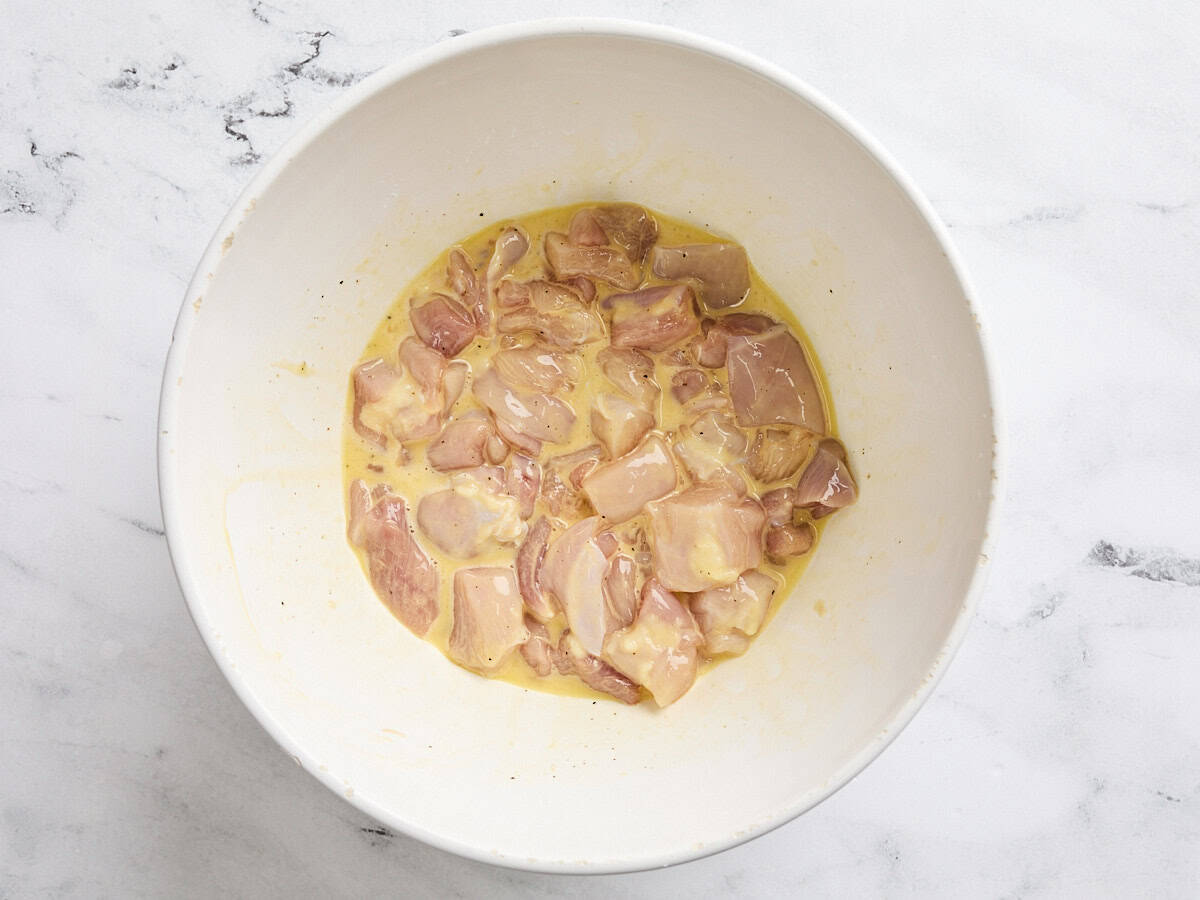
Coat the chicken: Whisk the egg and cornstarch together until it is light and frothy. It may seem thick at first, but as the cornstarch dissolves in the egg, it will thin out and get nice and frothy. Add the cubed chicken thighs and stir them to coat in the egg mixture.
This combination of cornstarch and egg coats the chicken, keeping it tender and providing something for the sauce to grab onto. This technique of coating meat in a cornstarch mixture is called “velveting.”

Cook the chicken: Add 2 Tbsp cooking oil to a large skillet and heat it over medium. Wait until it is very hot. This is VERY important. The skillet must be very hot! Once very hot, swirl the skillet to make sure the oil coats the entire surface, add the chicken, and make sure it’s spread out into a single layer. Let the chicken cook, undisturbed, until golden brown on the bottom. It might kind of cook into a single round pancake, but don’t worry, we’ll break up the pieces next.
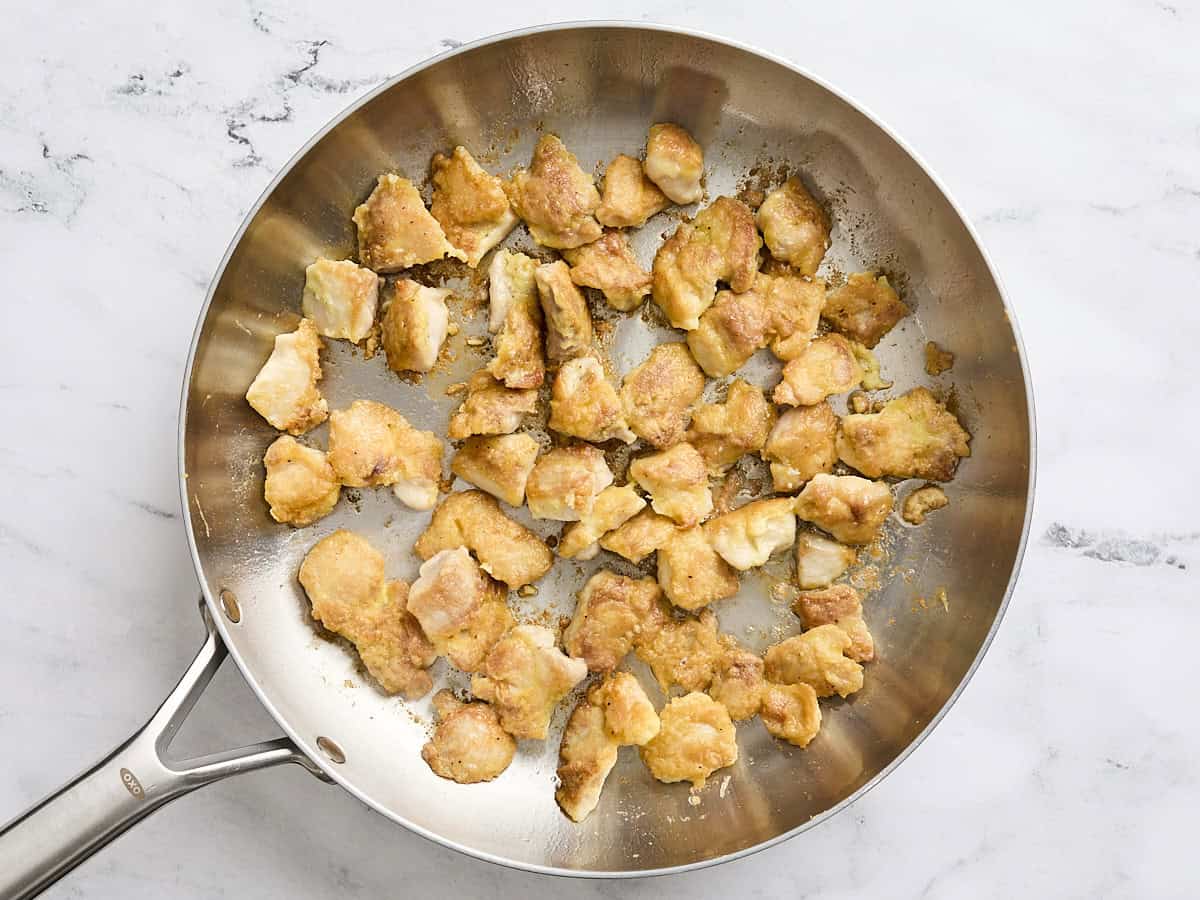
Then carefully flip the chicken pieces, breaking them up slightly into smaller pieces as you flip. Cook on the other side until browned and cooked through. Make sure to not stir them too much, or you can cause the egg to come off the chicken. You can see that some of the chicken pieces are still kind of stuck together at this point. That’s okay. Just do not over stir.
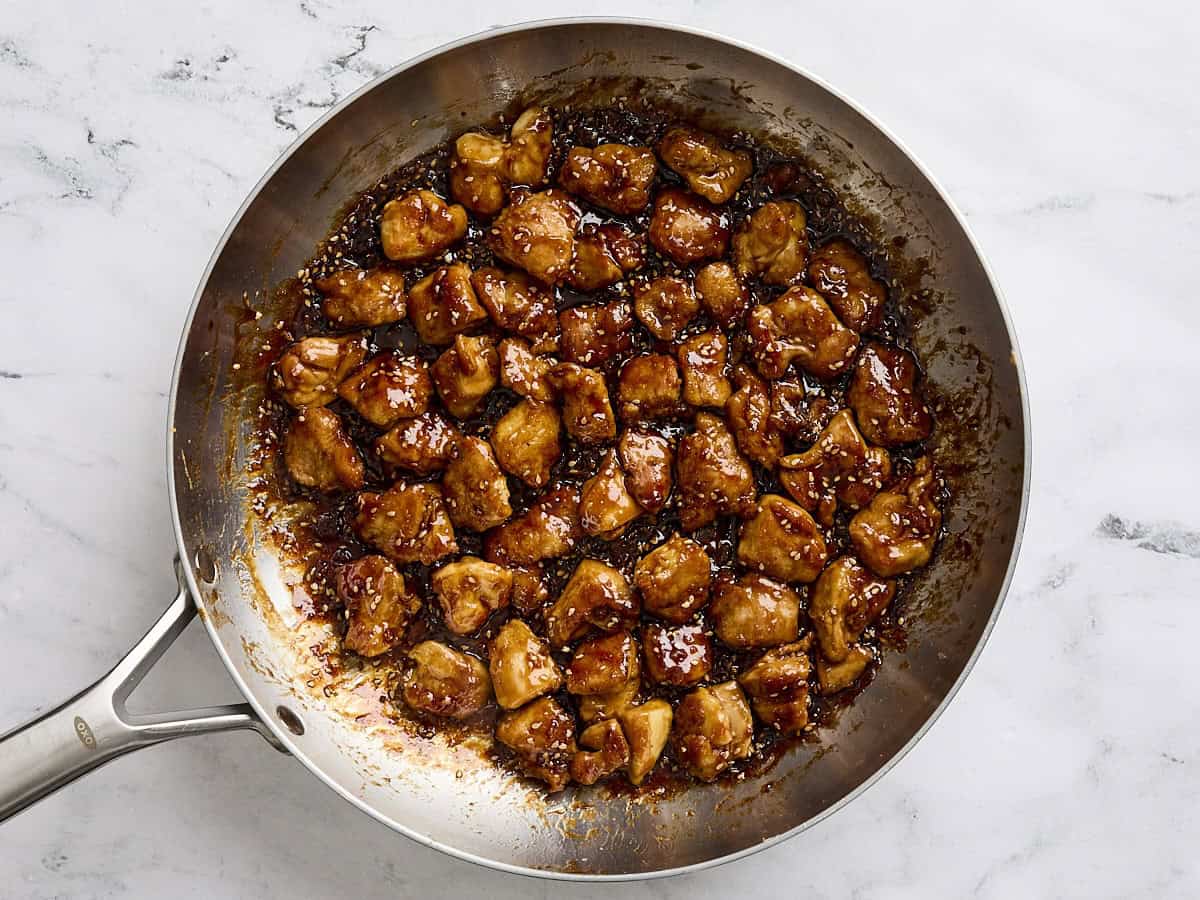
Add the sauce and serve: Finally, add the prepared sauce and stir to coat. Continue to carefully stir the chicken as the sauce begins to simmer and thicken. Once it’s thickened, turn off the heat.
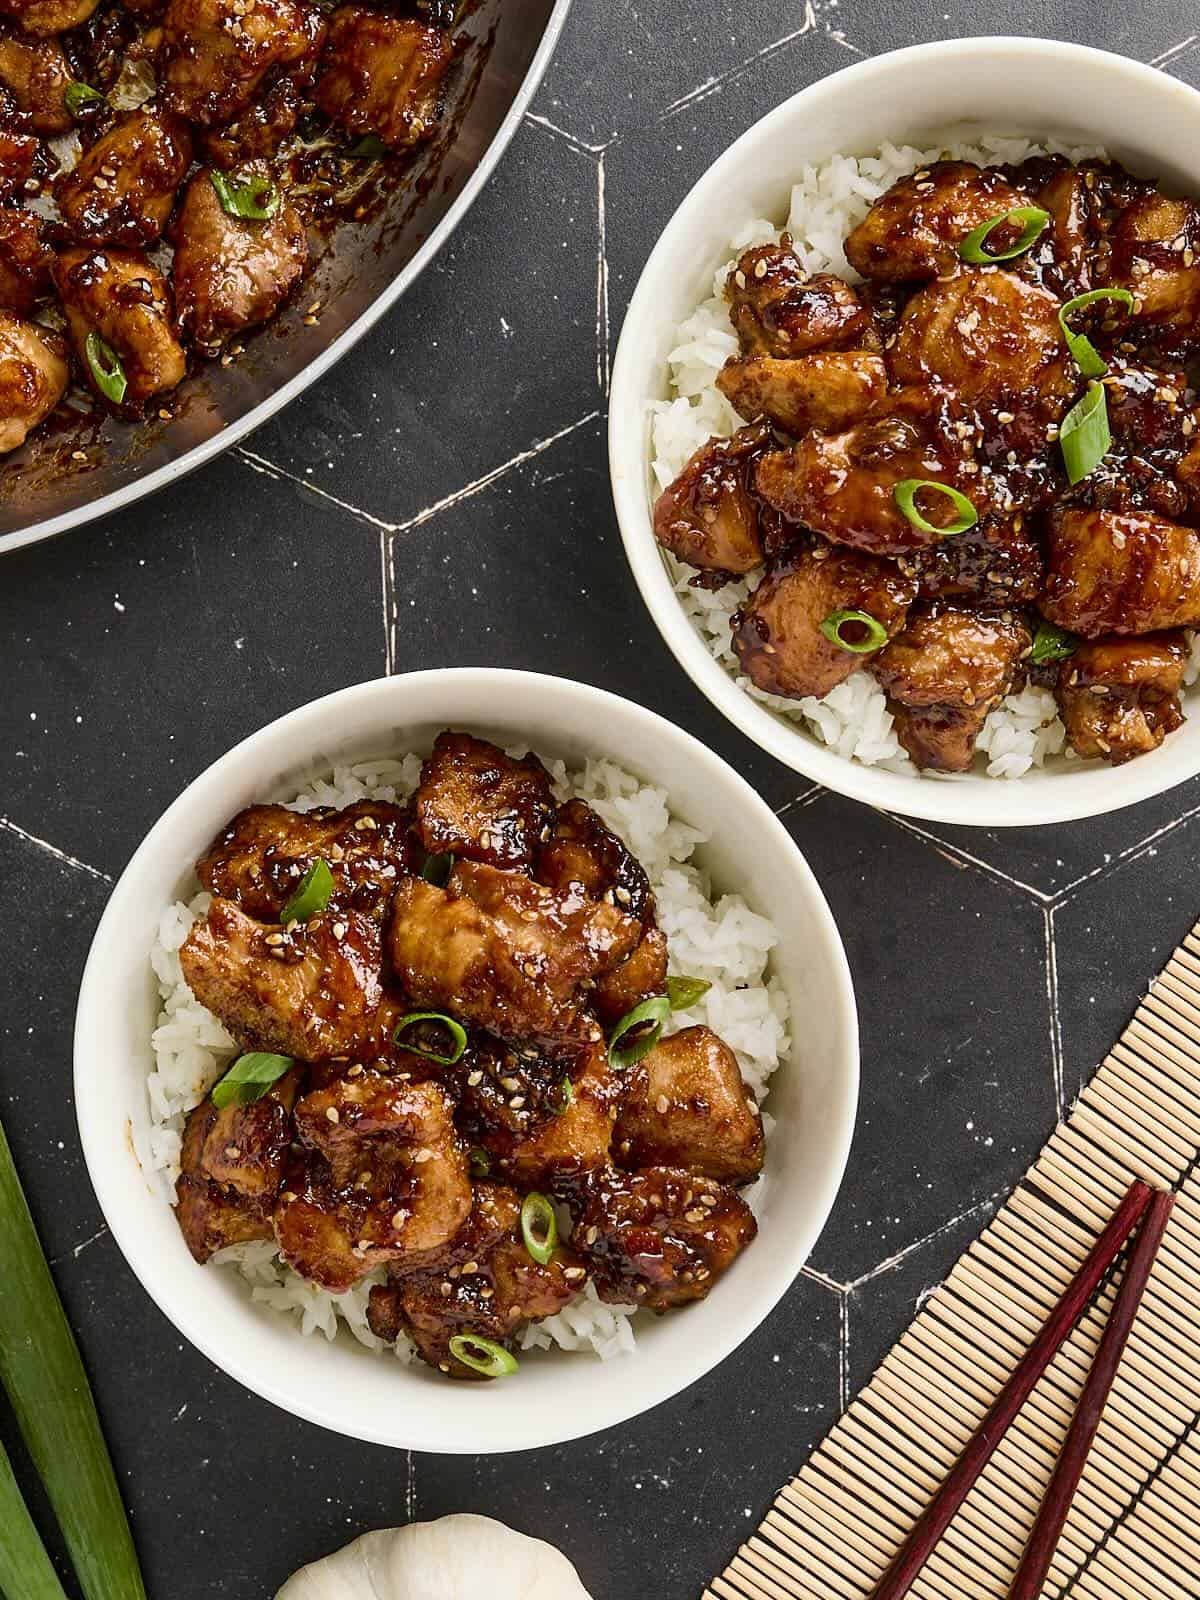
Sprinkle some sliced green onions over top and serve with warm jasmine rice. It doesn’t get better than this. Easy sesame chicken…done in about 30 minutes, and NO DELIVERY FEE! 😁
serving suggestions
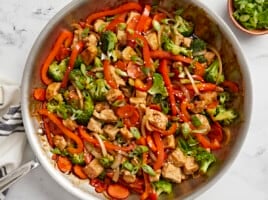
I love serving my easy sesame chicken with a side of jasmine rice and a little steamed broccoli. It’s a super simple meal that is very satisfying and stores well for meal prep! If you’re looking for some fun sides, I think it also pairs wonderfully with my refreshing crunchy cabbage salad or a light and tangy sesame cucumber salad. For something warm, a bowl of dumpling soup or egg drop soup would be delicious. And if you’re in the mood for something extra flavorful, try using coconut rice to really round out the meal!
Storage and Reheating
Store any leftovers in an airtight container in the fridge for 3-4 days. The chicken will also freeze well in a freezer-safe container for up to 3 months. Let it thaw overnight in the fridge before reheating. I usually just reheat my leftovers in the microwave for a quick and easy meal! Just make sure the chicken is heated all the way through before serving.
More Takeout Recipes


Our Easy Sesame Chicken recipe was originally published 8/4/13. It was retested, reworked, and republished to be better than ever 3/17/25.
I’ve made this recipe twice and I can’t get the egg mixture to stay on the chicken…I honestly could have just skipped this step and the end result would have been the same. I followed the instructions to the letter and made sure my pan and oil were very hot and I didn’t over-stir the chicken and it still didn’t work. The sauce was tasty and over all it was on ok chicken dish, but I don’t know why my egg mixture won’t stick. Does anyone have any tips to help avoid this?
Sounds like you’re doing everything right! The egg and cornstarch mixture isn’t meant to create a thick, crispy coating like you’d get from deep frying. This technique is called “velveting,” which is a classic method used in Asian cooking to tenderize the meat and give the sauce something to cling to. It’s a much lighter coating than a traditional batter, so some of it coming off in the pan is completely normal and expected! The real magic happens when the sauce is added and it all comes together. So nothing went wrong, it’s just working a little differently than a traditional breaded chicken would. Hope that helps for next time! :)
So good! I would recommend doubling the amount of sauce the recipe says to make.
Not bad at all. Yummy but darn the crispy chicken dissolved lol. I added green onions and a few pineapple pieces.
Oh I used chicken breast. It got very crispy but it all came off after I added the sauce. Next time less Soy and take the chicken out to the side and put the sauce in to thicken then add the chicken back in.
I made this recipe and it is delicious. I used a high quality non stick pan and ended up needing to make extra sauce since I used more chicken. Will definitely repeat this recipe again.
It just became a scrambled egg chicken mess. Followed the instructions to a tee until it went into the pan and just… scrambled. A fun fact is that I hate scrambled eggs and don’t intend on eating this and will now mourn the pound of chicken thighs I just wasted.
Great recipe! I served it with the cabbage slaw and some brown rice and it was delicious. It was a touch salty, next time I’ll cut back on the soy sauce or use reduced sodium soy sauce. I also didn’t have a egg, but used a little milk in it’s place and the chicken crisped perfectly!
This meal is one of several Budget Bytes meals in our regular rotation. It’s tasty, healthy and a little bit fancy. It’s quick to make and impress!
How do you get the chicken from sticking to the bottom of the skillet?
Be sure you have enough pil in the pan amd that the oil is hot before adding the chicken so it doesn’t stick.
Only used 1T brown sugar and it was amaaaazing. Deglazed the pan with a little chicken broth before adding the sauce
It was slop.. flavor wise it didn’t taste bad but the instructions for keeping the breading in tact are not practical. So it ended up becoming a teriyaki chicken instead lol
We made this for the first time tonight, and holy smokes it was good! We doubled the sauce because we like it saucy and it was perfect. Chicken came out super tender with the cornstarch, and we served with rice, green beans and Oi Muchim (Korean Marinated Cucumber Banchan). Will definitely going to be in our regular rotation
I’ve tried twice to make this. It’s tolerable, but either I’m doing something wrong, or this really isn’t worth the hype it’s given. 1. I don’t consider the effort it takes to cook the chicken without the egg coming off easy. I’ve never had this issue with other egg coated recipes. 2. It smells and tastes like soap. Again, it’s tolerable. I don’t end up wasting it. But I won’t be making a third attempt at this recipe.
All I had on hand was ground turkey and some broccoli and it still turned out great! I know it’s a far cry from what the original recipe was but it was very versatile in the sauce was tasty and authentic. I was able to easily adjust the sauce to coat all of what I had and I only added a few little extra herbs and spices according to my taste. Great recipe!
I’ve been making this chicen regularly for at least 10 years, always a hit with my family. I always mae double amount of the sauce, though.
Only annoyance I encountered was, as you warned about, the egg wanting to come off the chicken. But that only happened a little. It was delicious! Way better than the sesame chicken from our local takeout. The two of us could’ve eaten it all but we restrained ourselves!!