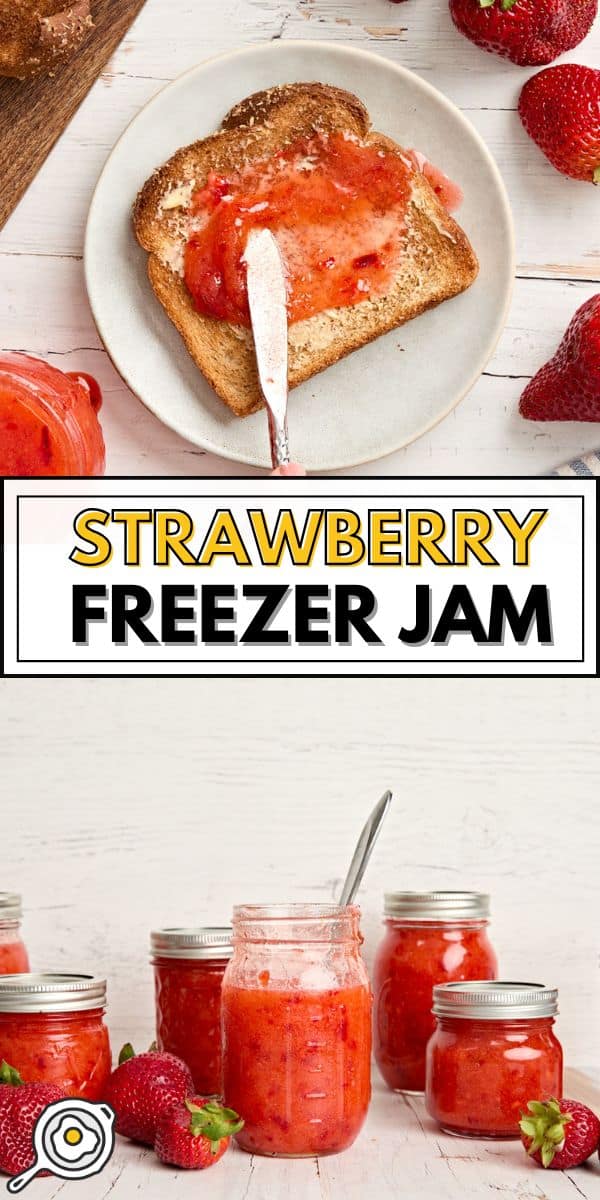
There are certain recipes that just feel like home, and this Strawberry Freezer Jam is one of them. It’s been a staple in my family for as long as I can remember and is something I made as a kid on summer afternoons, first with my mom and then, years later, with each of my grandmothers. It comes together quickly with just 5 simple ingredients, and since the berries stay uncooked, the jam keeps its fresh, just-picked flavor. One batch makes enough to enjoy now and stash away for later, and I’m so excited to pass this recipe along to you!

All recipes are rigorously tested in our Nashville Test Kitchen to ensure they are easy, affordable, and delicious.
Easy Recipe for Strawberry Freezer Jam
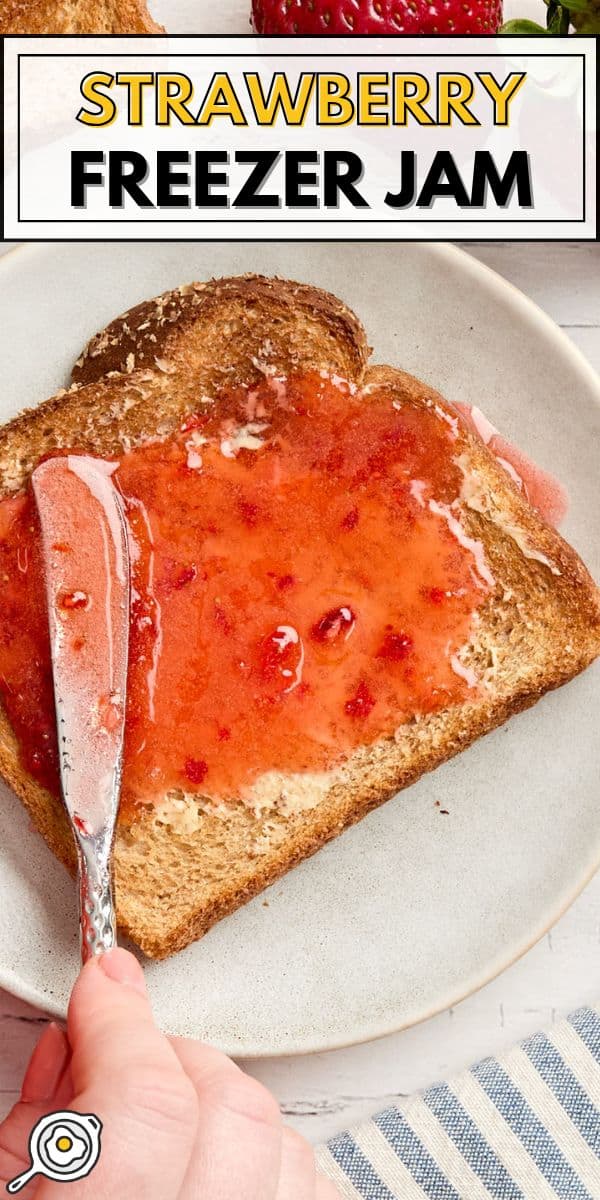
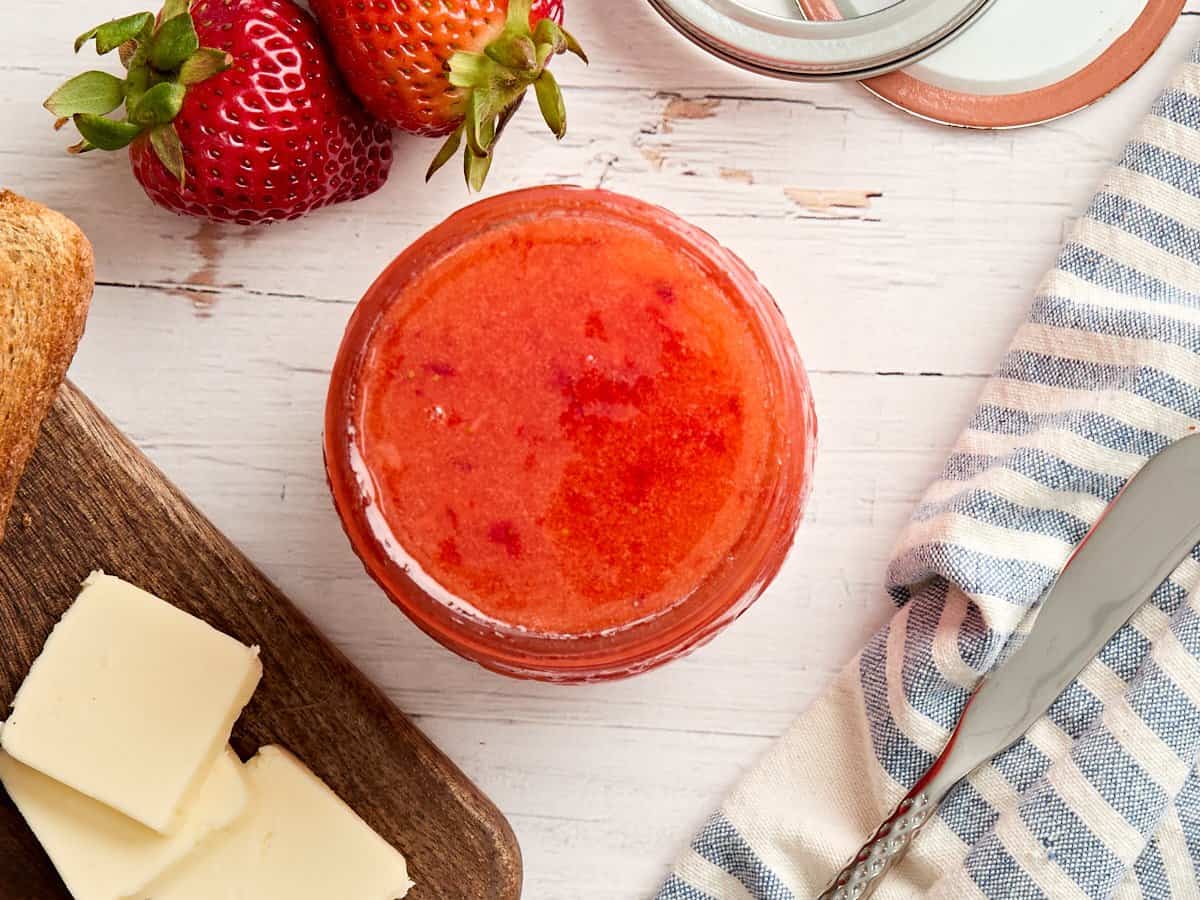
This homemade strawberry freezer jam has shown up at just about every big family breakfast I can think of—spread thick on biscuits, waffles, toast—you name it. I make it with fresh strawberries, sugar, lemon juice, and fruit pectin, and it’s as easy as mixing the berries and sugar, boiling the pectin, and filling up jars. To this day, one of my favorite ways to enjoy this strawberry jam is straight from the freezer, with its cool, almost slushy texture melting into a warm and fluffy biscuit. Pure comfort. 🤤
Strawberry Freezer Jam
Cost $7.39 recipe / $0.09 serving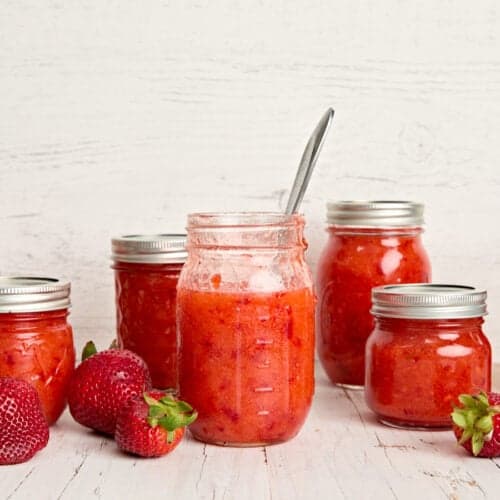
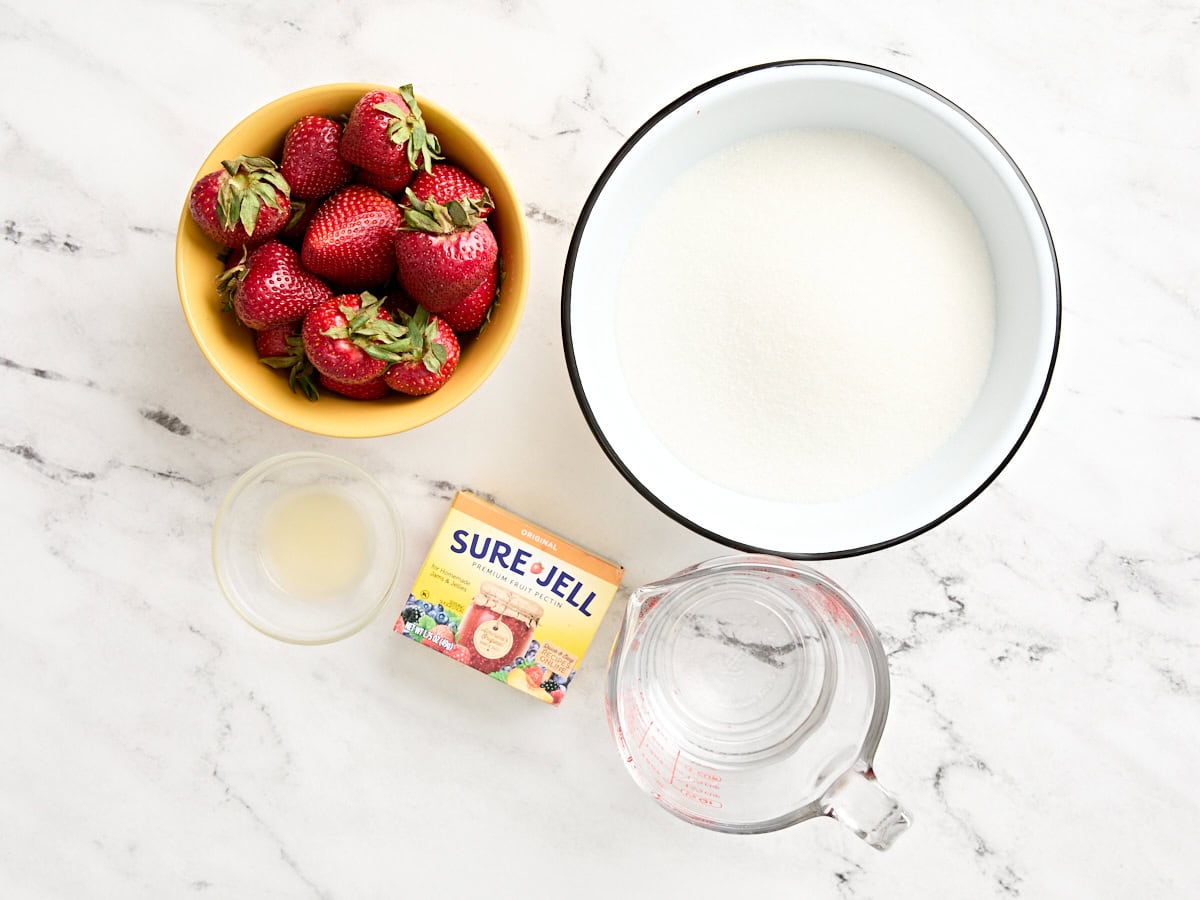
Ingredients
- 2 cups fresh strawberries (16 oz, $2.13*)
- 4 cups granulated sugar (800g, $1.52**)
- ¾ cup water ($0.00)
- 1 package fruit pectin (1.75 oz, $3.68)
- 1 Tbsp lemon juice ($0.06)
Instructions
- Gather all of your ingredients.
- Rinse and hull the strawberries, then add them to a food processor. Pulse until coarsely chopped.***
- Transfer the strawberries to a large bowl. Add the sugar and stir until fully combined. Let sit for 10 minutes, stirring occasionally to help the sugar begin to dissolve.
- In a small saucepan, bring the water to a boil. Stir in the pectin and boil for 1 full minute, stirring constantly. Remove from heat.
- Add the pectin mixture and lemon juice to the strawberry-sugar bowl. Stir continuously for 4 minutes until well mixed and the sugar is mostly dissolved.
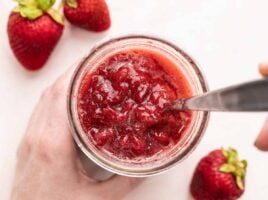
- Divide the jam into clean and freezer-safe 8 oz jars or containers, leaving about ½ inch of headspace to allow for expansion. Cover and let the jars sit at room temperature for 24 hours to set. Store in the freezer for up to 1 year or in the refrigerator for up to 3 weeks once thawed.
See how we calculate recipe costs here.
Notes
Nutrition Information
how to make Strawberry Freezer Jam step-by-step photos
Gather all of your ingredients.

Chop the strawberries: Rinse 2 cups fresh strawberries, remove the green tops, and add them to your food processor. (If you don’t have a food processor, you can mash the berries well with a potato masher instead).
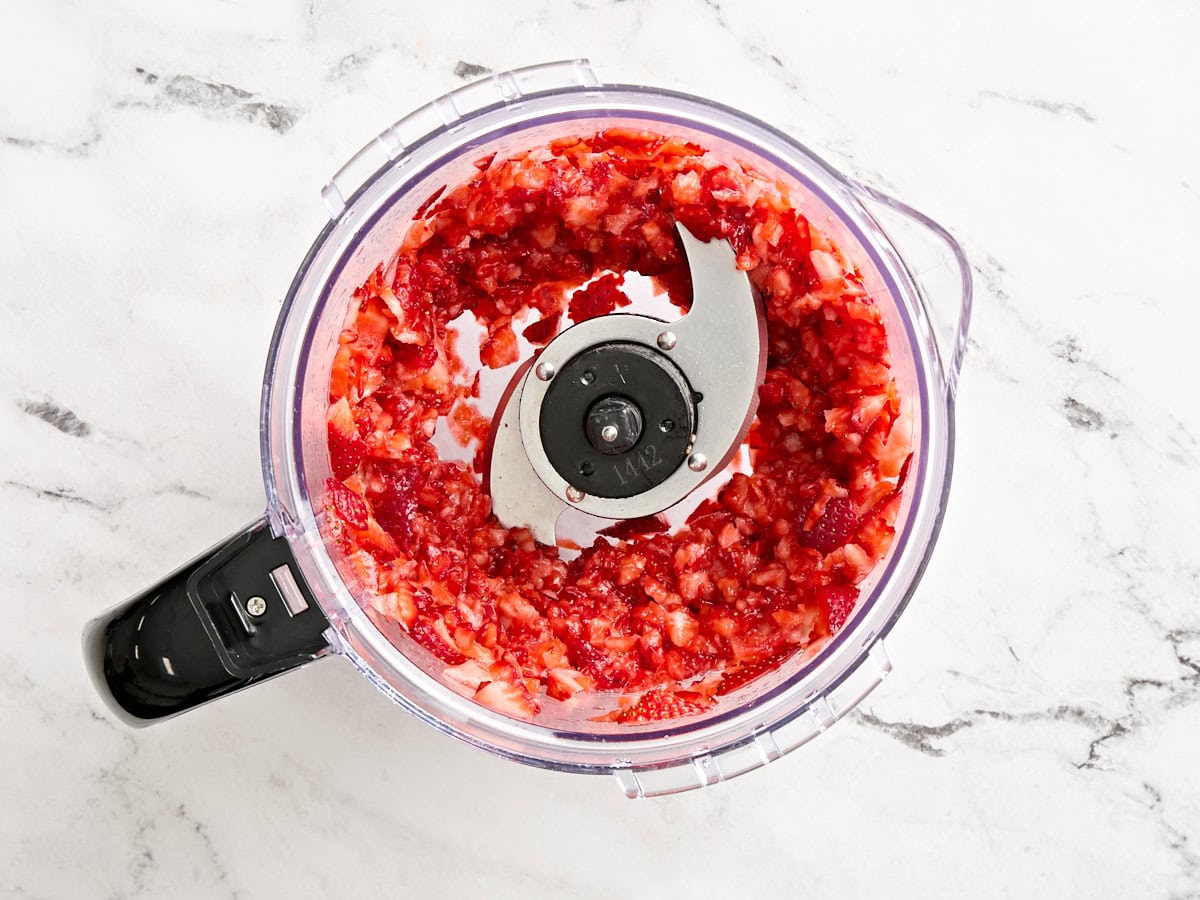
Pulse the strawberries well in the food processor until coarsely chopped. Don’t puree the strawberries! There should still be some texture in your finished jam.
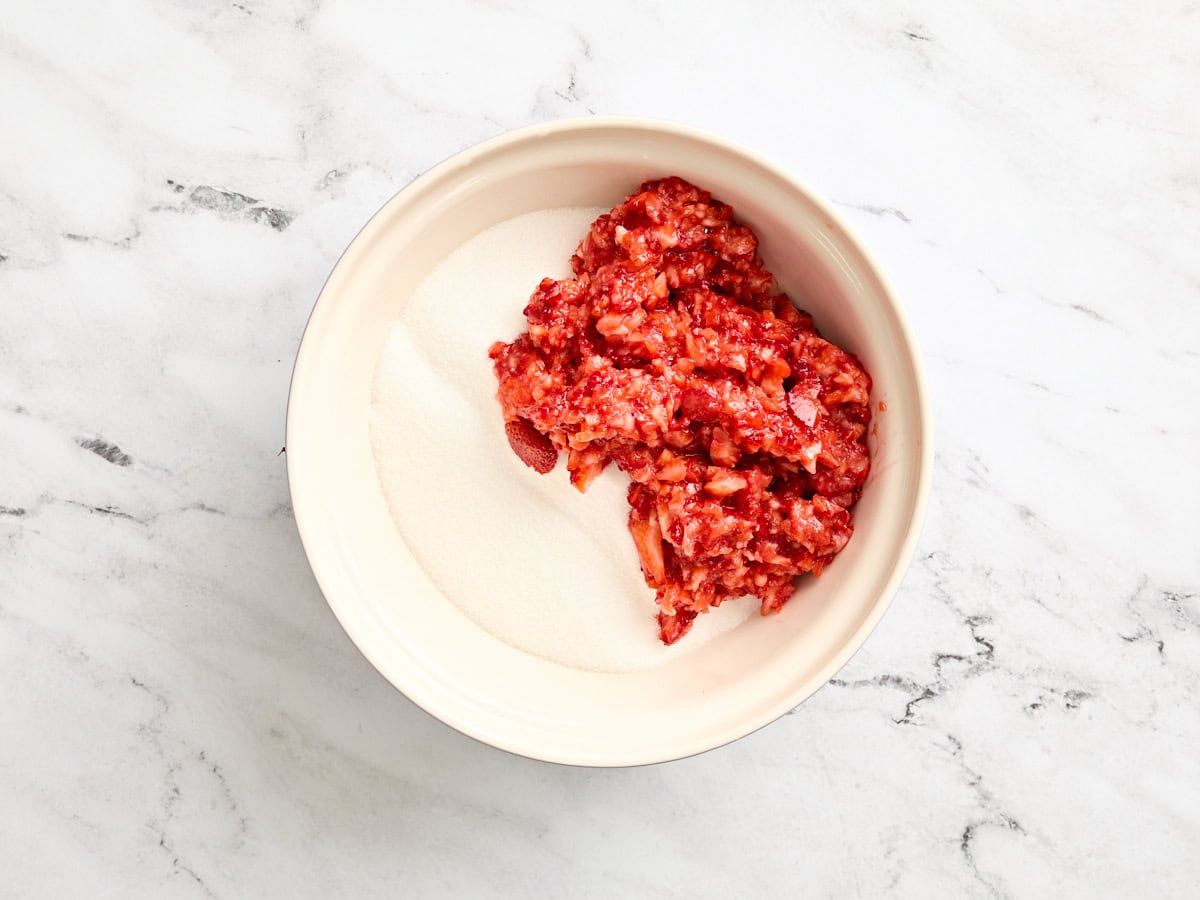
Combine the strawberries and sugar: Add the coarsely chopped or mashed strawberries to a large bowl. Now pour in 4 cups granulated sugar and mix until combined. Let the mixture sit for 10 minutes, stirring occasionally, until the strawberry juices begin to dissolve the sugar.
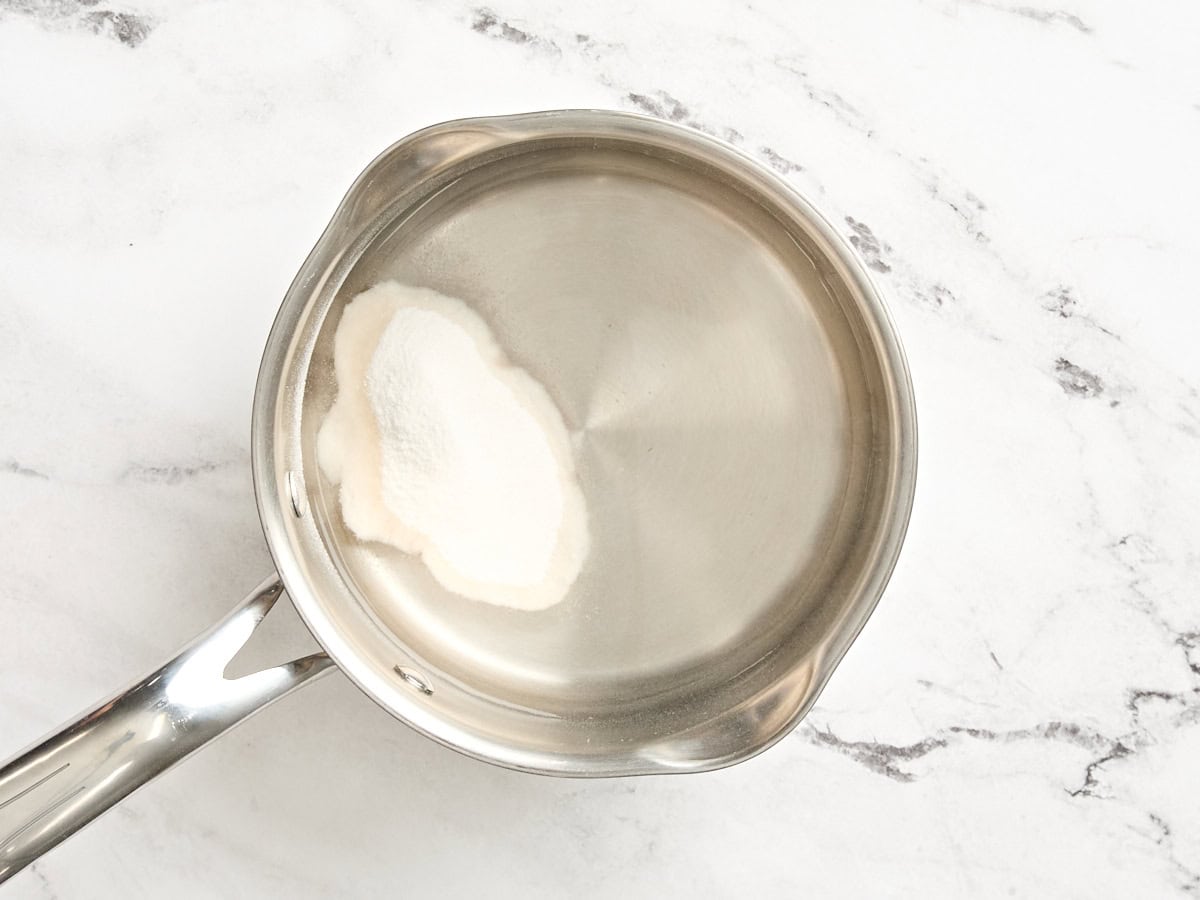
Boil the pectin: Add ¾ cup water to a small saucepan and bring it to a boil. Stir in one package fruit pectin (1.75 oz) and boil it for 1 full minute, stirring constantly. Remove the saucepan from the heat once it’s boiled for 1 minute.
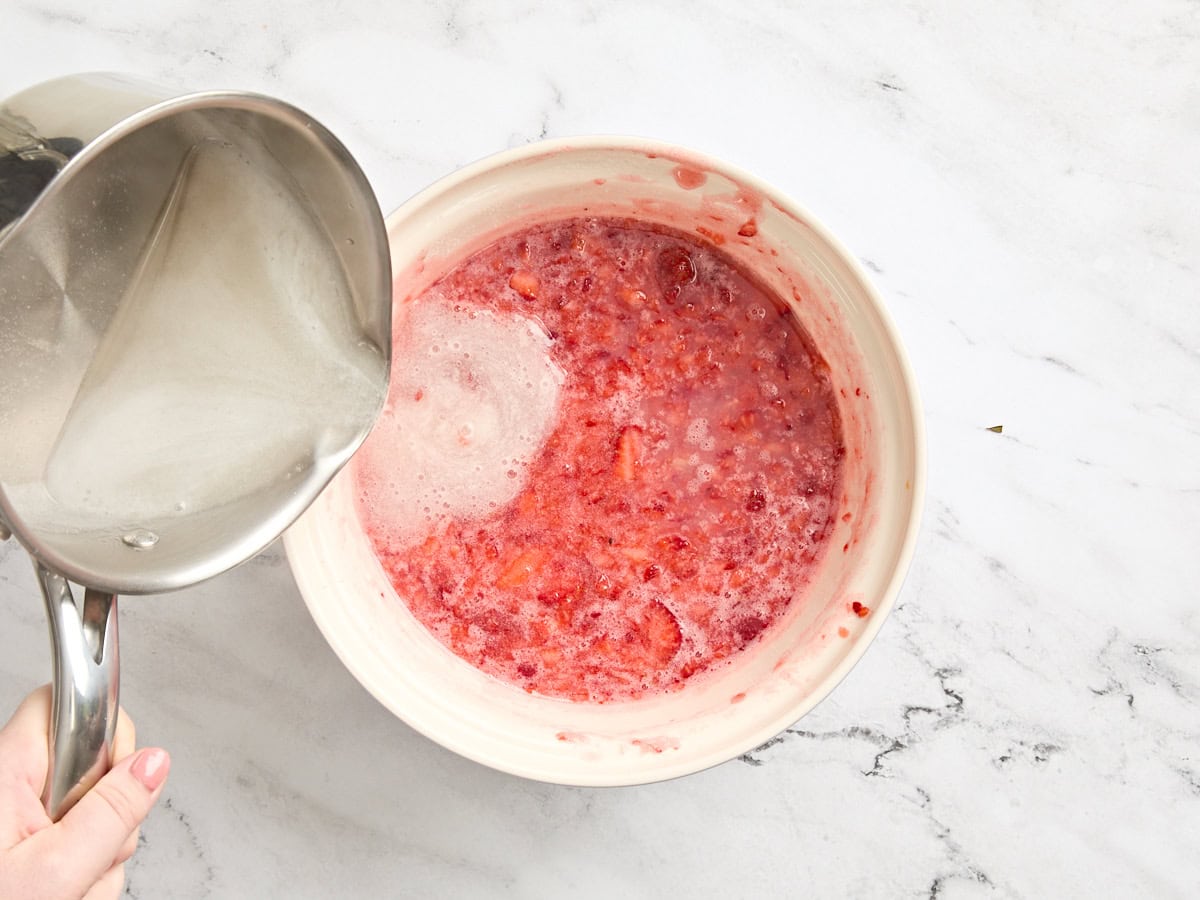
Make the jam: Carefully pour the fruit pectin mixture into the bowl of sugar and strawberries and add 1 Tbsp lemon juice. Stir continuously for 4 minutes until well mixed and the sugar is mostly dissolved.
Now divide the jam into five clean 8 oz jars or containers. Make sure your chosen jars/containers are freezer-safe! Leave about ½ inch of headspace at the top of the jars to allow for expansion. Cover and let your strawberry jam sit at room temperature for 24 hours to set. After 24 hours, it’s ready to use! Store it in the fridge for 3 weeks or the freezer for up to a year, and enjoy.
Recipe Success Tips
- Don’t worry if the jam looks a little soft. Freezer jam doesn’t set as firmly as traditional jam, but that juicy texture is exactly what makes it so good. The jam you’d buy at the store will have been cooked down and preserved for shelf stability, which gives it a thicker, more uniform texture. This freezer strawberry jam is loose enough to melt into a biscuit but thick enough to hold its own on toast.
- I’ve provided both the volume and weight of the strawberries, sugar, and fruit pectin. Using oz and grams to measure these ingredients (rather than cups) will give you the most accurate and consistent results.
- Use real sugar. I use classic fruit pectin in this recipe, which needs regular granulated sugar to set properly. There are low- or no-sugar pectins out there, but they work a little differently. If you’re using one of those, be sure to follow the directions on the package. I haven’t tested them in this recipe, so I can’t say how well they’ll turn out.
- Use a clean, freezer-safe jar. I don’t want your jam to go to waste, so double-check your containers are both clean and safe for freezing. Leave about ½ inch of space at the top, too, as the jam will expand as it freezes.
- The sweeter and juicier the berries, the better your jam will taste. Underripe strawberries can make your strawberry freezer jam tart and less flavorful, while overripe berries may turn mushy and dull the fresh flavor. I always go for berries that are deep red and fragrant, with no signs of mold or super soft spots.
- Don’t switch out the berries. You can absolutely use other berries to make freezer jam, but different berries can require different amounts of sugar and/or pectin. I would err on the side of caution and stick with fresh strawberries in this particular recipe.
Serving Suggestions
You can treat this easy strawberry freezer jam recipe just like you would any other jam. It’s absolutely delicious spread, swirled, or drizzled on everything from breakfast to dessert. Here are some of my favorite ways to enjoy it:
- Spread onto homemade biscuits, toast, or English muffins (I think these are especially dreamy with butter, this jam, and a sprinkle of sea salt)
- Swirl into yogurt, oatmeal, or overnight oats for breakfast
- Layer into parfait or use it to make a berry trifle
- Mix it into your favorite vinaigrettes or marinades for a fruity addition to your salads or grilled meats
- Drizzle it over homemade pancakes or waffles
- Use it in just about any baked goods you like! Layer it in a classic vanilla cake, use it in thumbprint cookies, or use it as a filling in jam bars
- I also LOVE giving this freezer strawberry jam as a gift. Just pour it into cute little jars, pop on a label or ribbon, and you’ve got an easy homemade gift!
Storage Instructions
Once your homemade jam is set, you can freeze it for up to a year or keep it in the fridge for up to 3 weeks. Make sure your containers are freezer-safe if you plan to freeze them. Any signs of mold, off smells, or changes in texture mean it’s time to toss it and make a fresh batch.

Can you make this with fruits other than strawberries? I never thought about freezing jam before but this would work so much better for me!
Jennie said that you can absolutely use other berries to make freezer jam, but different berries can require different amounts of sugar and/or pectin. I would err on the side of caution and stick with fresh strawberries in this particular recipe.
I have a family recipe very similar to this and can confirm, freezer jam is YUMMY. Honestly with strawberries, you don’t need pectin depending on how “jammy” you want it to be. I’ve found the jam sets pretty well, especially after freezing. If you are using it for regular use like toast and sandwiches, you don’t need to go out of your way. If you are using it for baking, then that would be a good reason to use it.
The jars you show in the photos are not freezer safe! When the jam expands in the freezer, the glass will break.
Hey, June. Thanks for your comment! You can freeze food in Mason jars, but it’s important to follow certain guidelines to prevent breakage. Jars with straight or tapered sides are generally better for freezing. As you mentioned, leaving space for expansion (Jennie left 1/2 inch) is very important. Also– cooling food before freezing (in this recipe they sit at room temperature for 24 hours before popping them in the freezer), and avoiding temperature shock are crucial for successful freezing in Mason jars! We still have a few of these jars in the freezer, so if you make sure you follow these precautions, you’ll be good to go.