This has become my family’s go-to recipe whenever we’re short on time or just craving something simple and satisfying. These Cheesy Kidney Bean Quesadillas are a total lifesaver—my 4-year-old devours them every single time (if you know 4-year-olds, you know that’s basically magic). The best part? They’re made with just a few pantry staples and cost next to nothing to whip up. If you’ve ever found yourself staring at a lonely can of kidney beans in your pantry, this is your sign to give them new life!
All recipes are rigorously tested in our Nashville Test Kitchen to ensure they are easy, affordable, and delicious.
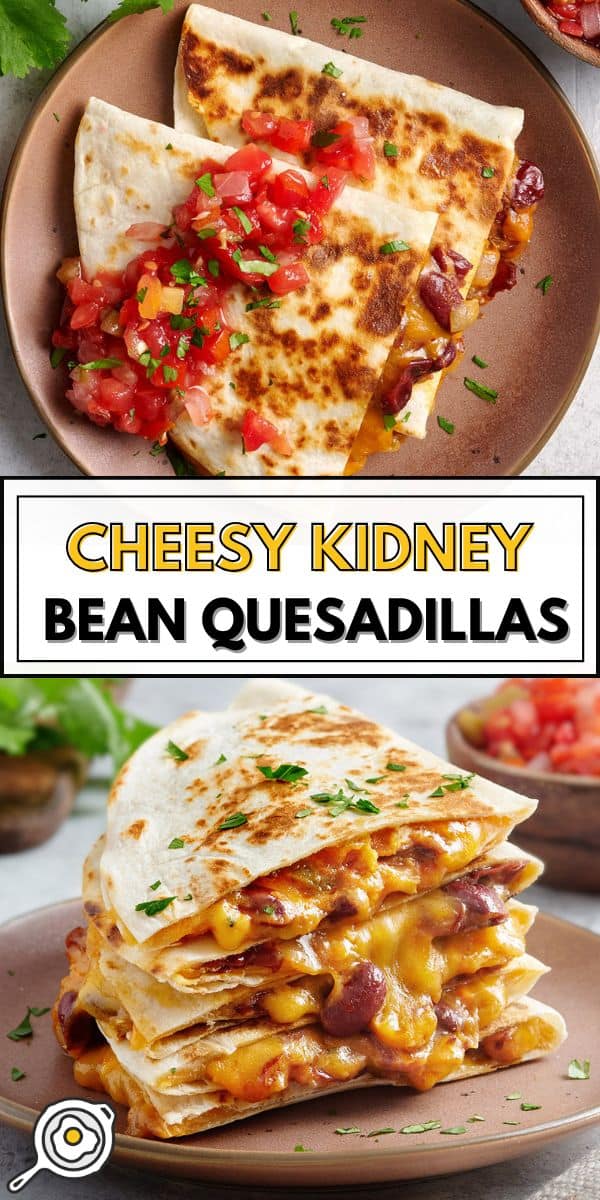
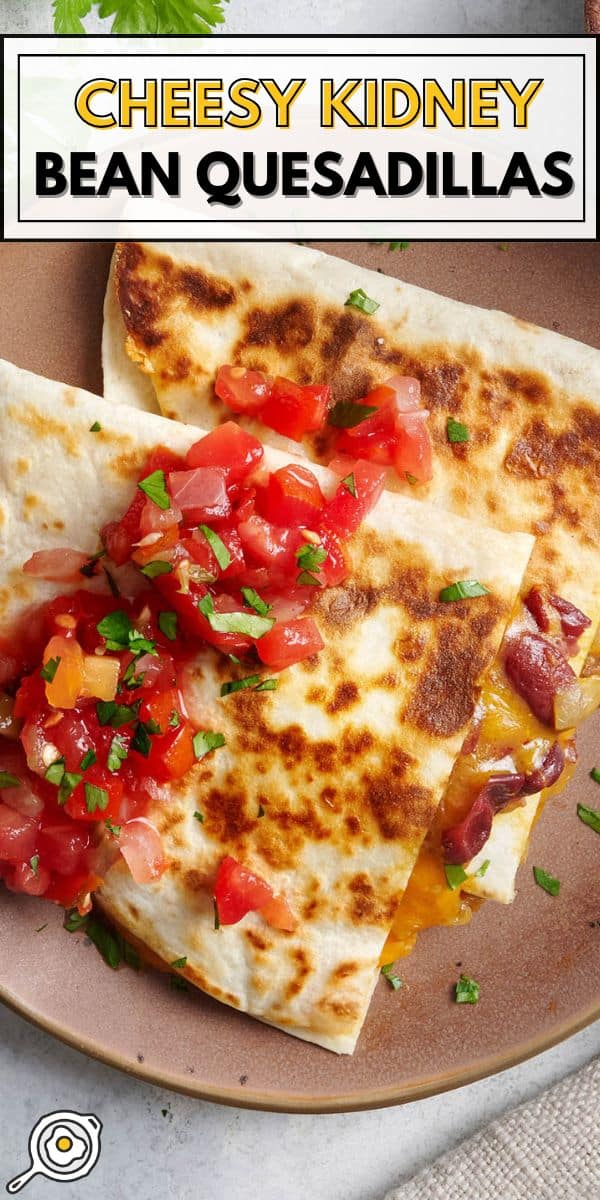
Easy and Delicious Kidney Bean Quesadillas
I used to save kidney beans just for vegetarian chili or minestrone soup, but now they’re the star of the show in this quick, protein-packed meal. To make these vegetarian quesadillas, you’ll need a can of kidney beans, a cup of frozen mixed veggies with peppers and onions, a little taco seasoning, olive oil, some cheddar cheese, and flour tortillas. That’s it! Six ingredients, all easy to find and budget-friendly. Even my husband requests these quesadillas now! And honestly, on a busy weeknight, these kidney bean quesadillas might just beat out a grilled cheese. (Bold statement, but true!)
Recipe Tips & Suggestions
- Use a different canned bean. I like using kidney beans here because they have a nice ‘meaty’ texture that makes the quesadillas feel extra hearty. If you don’t have kidney beans on hand, canned cannellini beans or black beans both work great (our black bean quesadillas are a Budget Bytes reader favorite!)
- One of the simplest ways to cut down your grocery bill is to reduce the amount of meat you buy. This kidney bean quesadilla recipe is incredibly filling thanks to the protein-rich beans, and you honestly won’t miss the meat! However, if you’ve already got some pre-cooked shredded chicken, ground beef, or carnitas, feel free to add it in. Make sure any meat you add is already cooked first.
- Shred your own cheese from a block for the best melt. The melty cheese holds the quesadillas together, and preshredded cheeses contain anticaking agents that can affect the melt.
- Cook your cheesy kidney bean quesadillas in batches. They need to lie flat in the pan so they can get evenly golden and crispy on both sides.
Cheesy Kidney Bean Quesadillas
Cost $4.05 recipe / $0.81 serving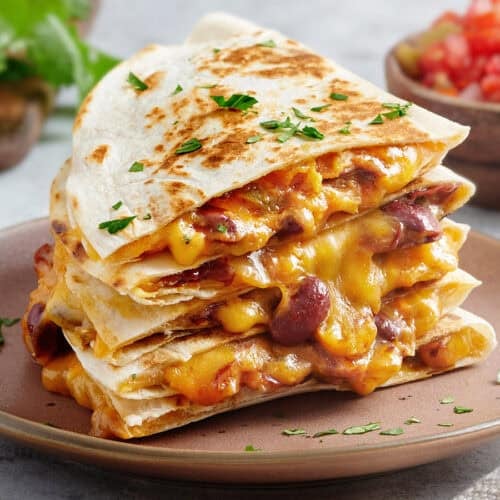
Ingredients
- 15.5 oz. can kidney beans ($0.92)
- 4 oz. medium cheddar cheese (half an 8 oz. block, $0.97)
- ½ Tbsp olive oil ($0.09)
- 2 Tbsp taco seasoning ($0.30*)
- 1 cup mixed frozen “seasoning blend” veggies ($0.78**)
- 5 flour tortillas (medium, $0.99)
Instructions
- Gather your ingredients.
- Drain and rinse the kidney beans. Shred the cheddar cheese.
- Over medium heat, sauté olive oil, taco seasoning, and frozen veggie blend for 4-5 minutes.
- Add the strained and rinsed kidney beans and turn the heat down to low, cooking until the beans are warmed through.
- Using a fork or a potato masher, gently mash the beans. I like to keep some whole and mash some so they are creamy. I find it helps keep the quesadillas together better to have some of them mashed.
- Remove the bean mixture from the pan and set it off to the side in a bowl, covered. Wipe down the pan to use for finishing the quesadillas.
- Add shredded cheese onto 1/2 of each flour tortilla.
- Scoop the bean-onion mixture on top of the shredded cheddar.
- Top each with an extra sprinkle of cheddar and fold them in half.
- Return the tortillas to the pan and toast on each side for 2-3 minutes until toasty and crispy. Cut in half and serve while hot.
See how we calculate recipe costs here.
Notes
Nutrition Information
how to make Cheesy Kidney Bean Quesadillas step-by-step photos
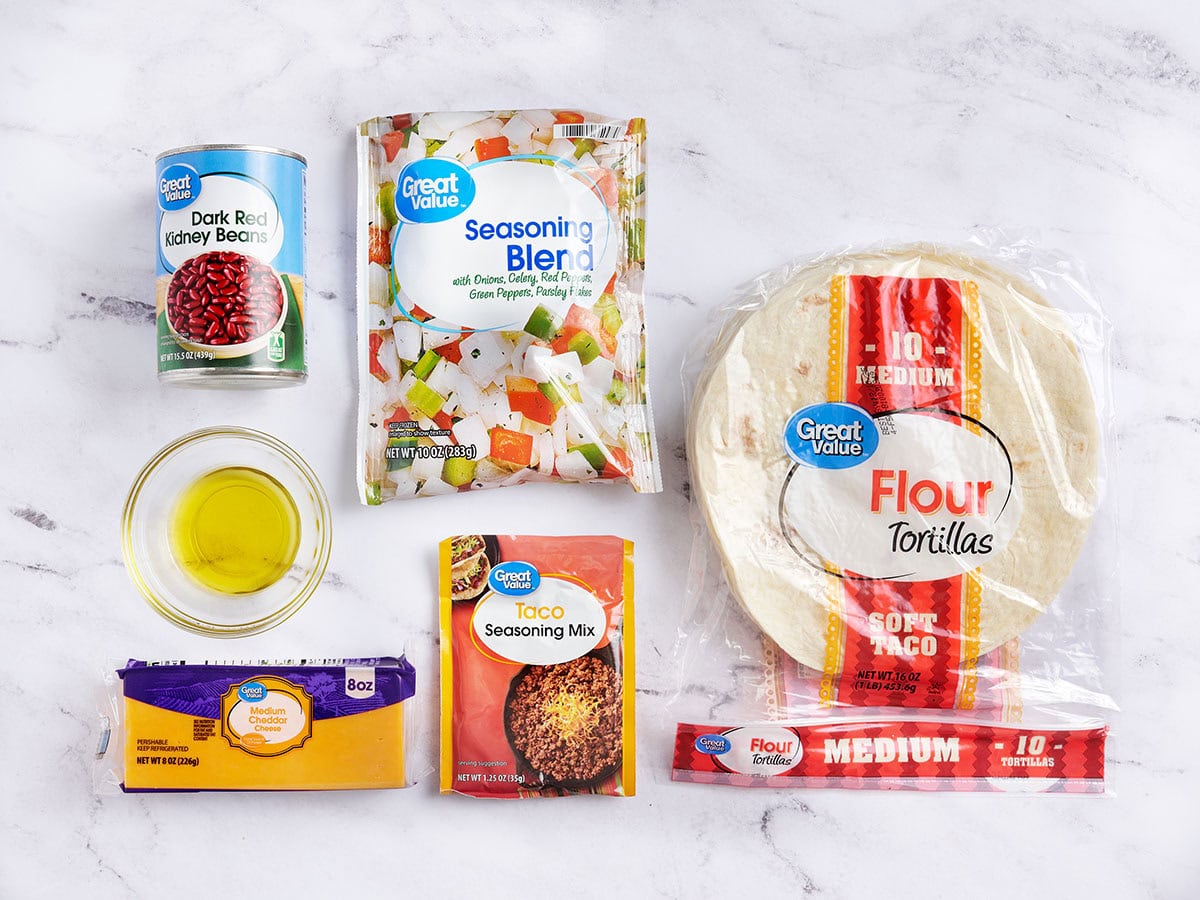
Gather all of your ingredients.
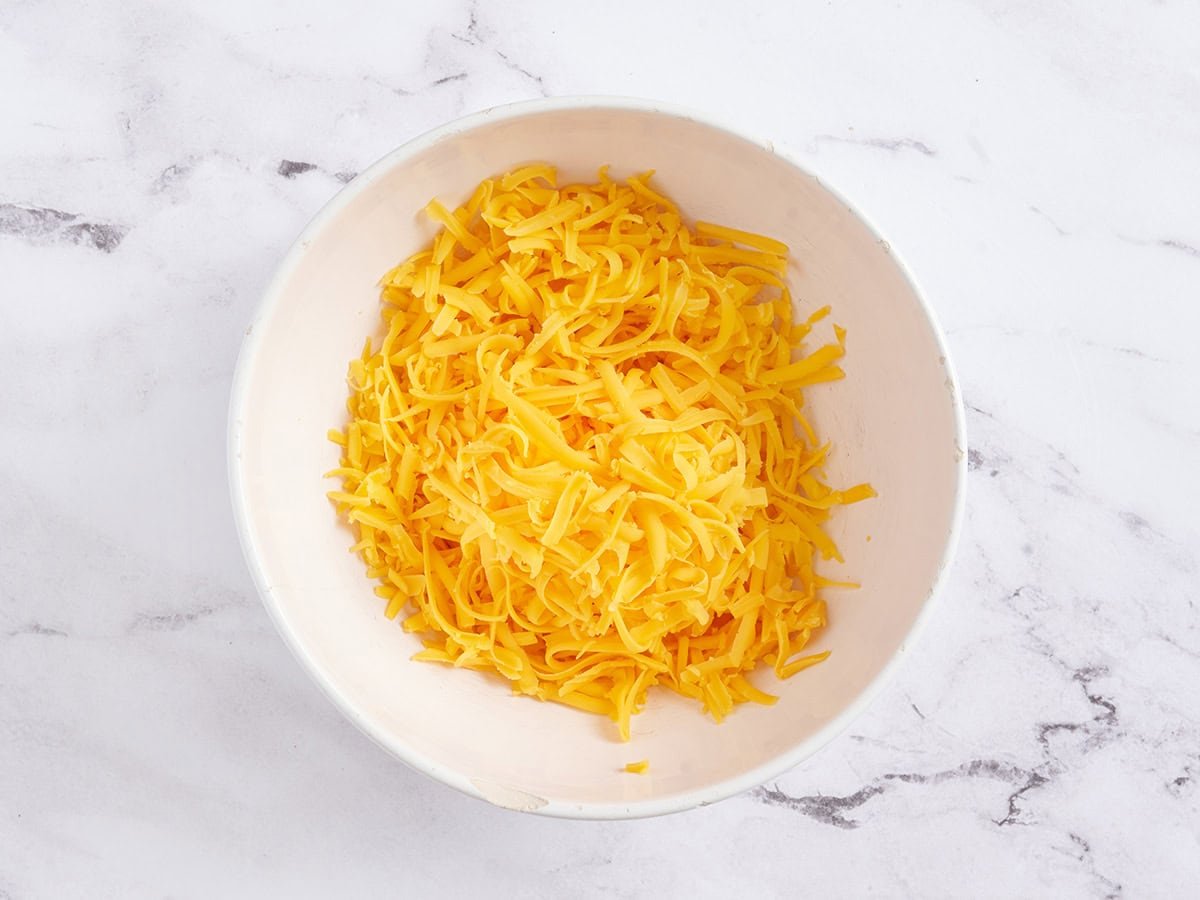
Prep the ingredients: Drain and rinse one 15.5 oz. can kidney beans and shred 4 oz. of medium cheddar cheese.
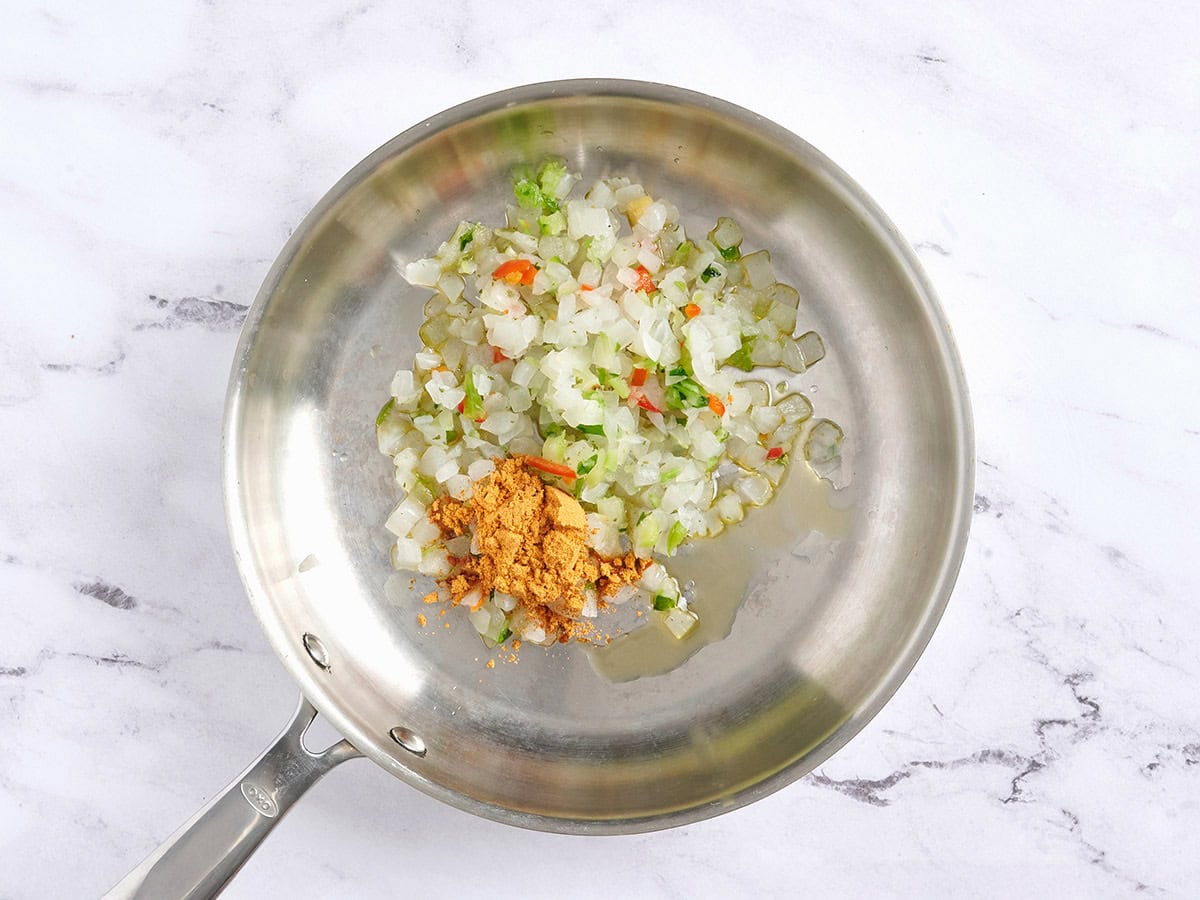
Make the quesadilla filling: Add ½ Tbsp olive oil, 2 Tbsp taco seasoning, and 1 cup frozen mixed veggie blend to a skillet over medium heat and sauté for 4-5 minutes.
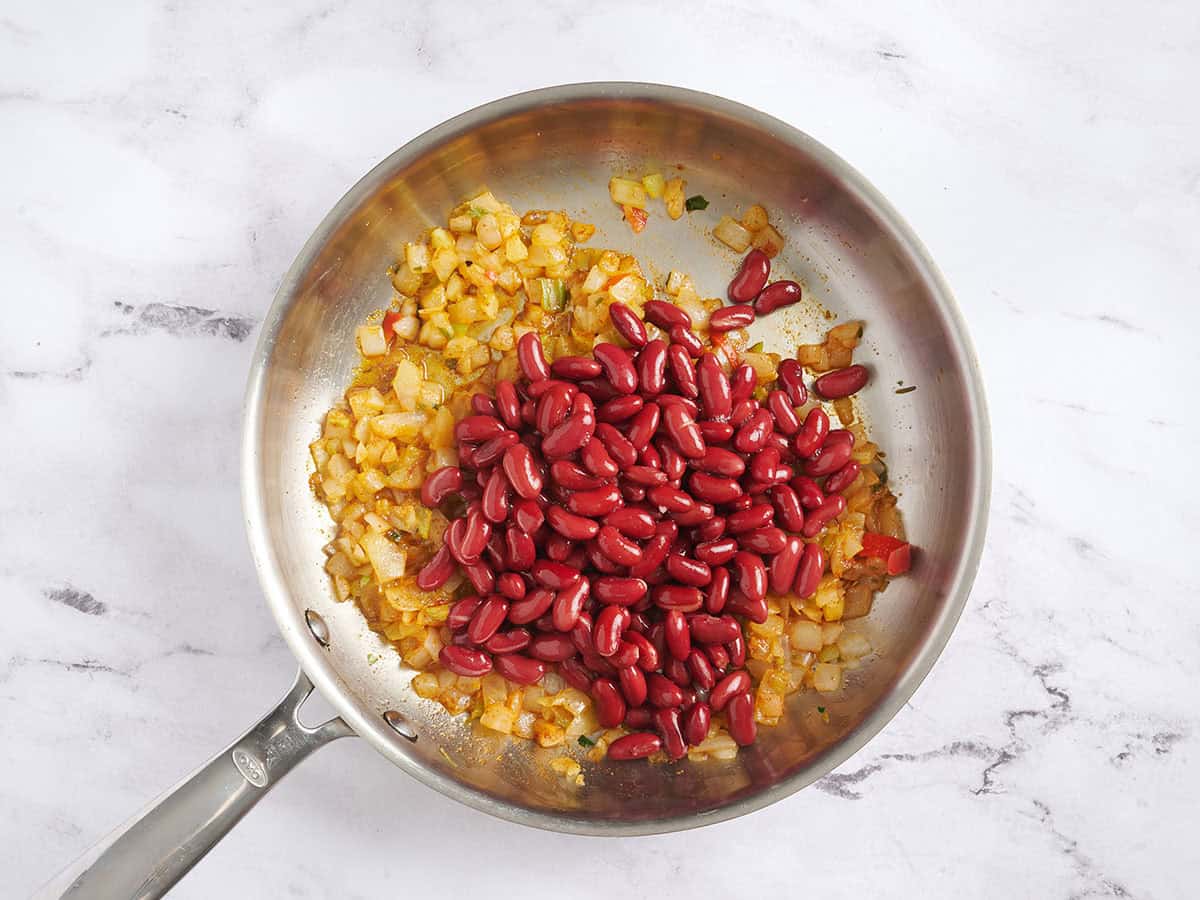
Now add the drained and rinsed kidney beans to the skillet. Stir to combine and turn the heat to low, cooking until the beans are warmed through.
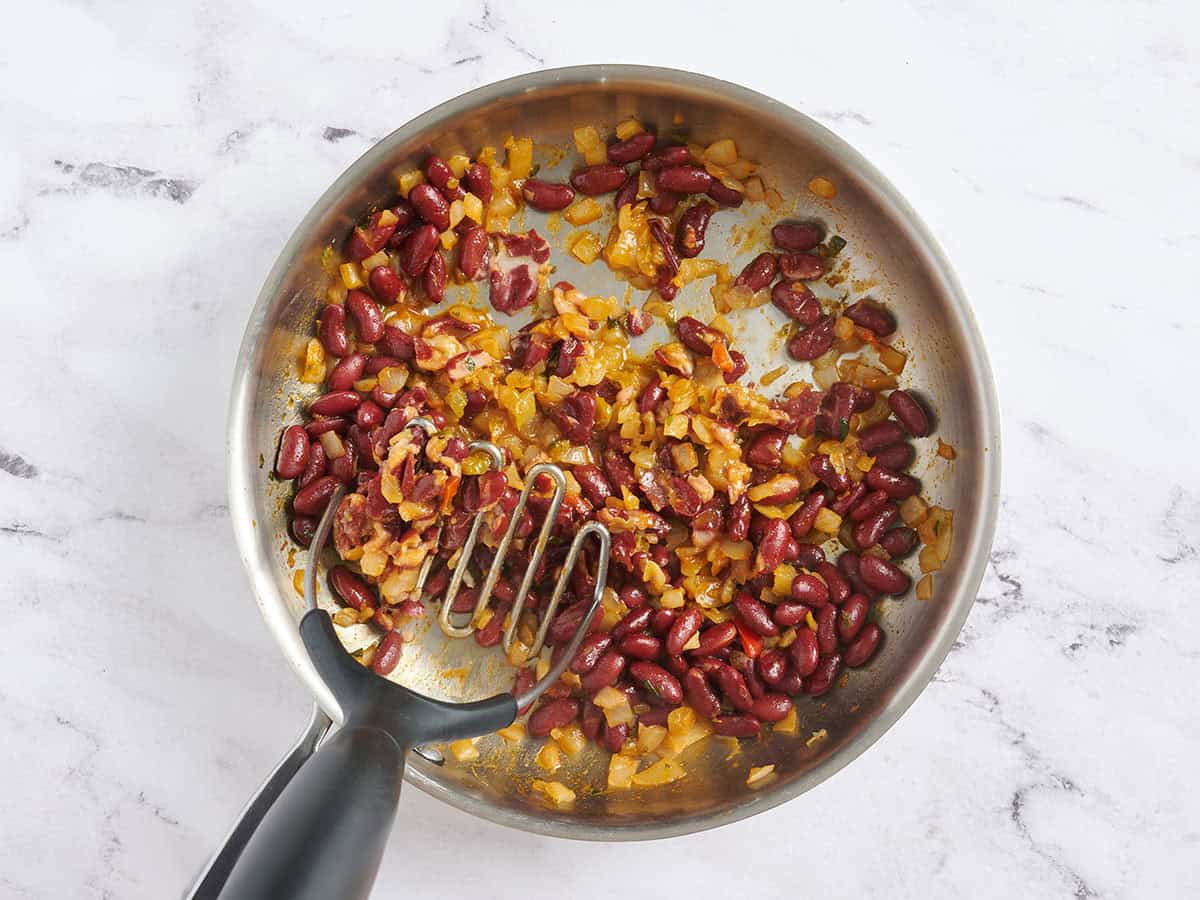
Mash the filling: Use a fork or potato masher to carefully mash the beans. I personally keep some beans whole, then mash the rest until creamy. Your kidney bean quesadillas will stay together better if some of the beans are mashed!
Remove the bean and veggie mix from the pan and place it aside in a bowl, covered. Wipe down the pan to use for finishing the quesadillas.
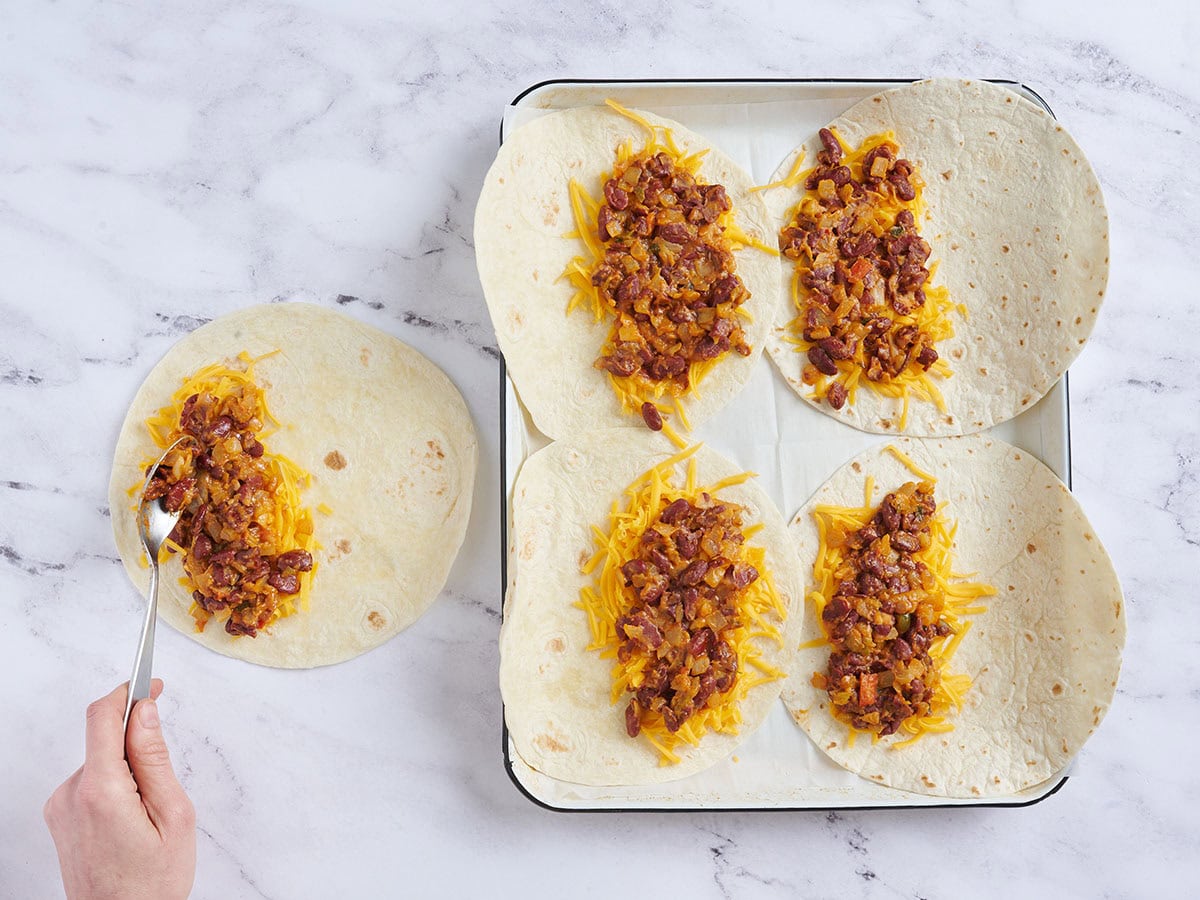
Make the quesadillas: Add the shredded cheese to half of each flour tortilla. Then top the cheese with the bean mixture.
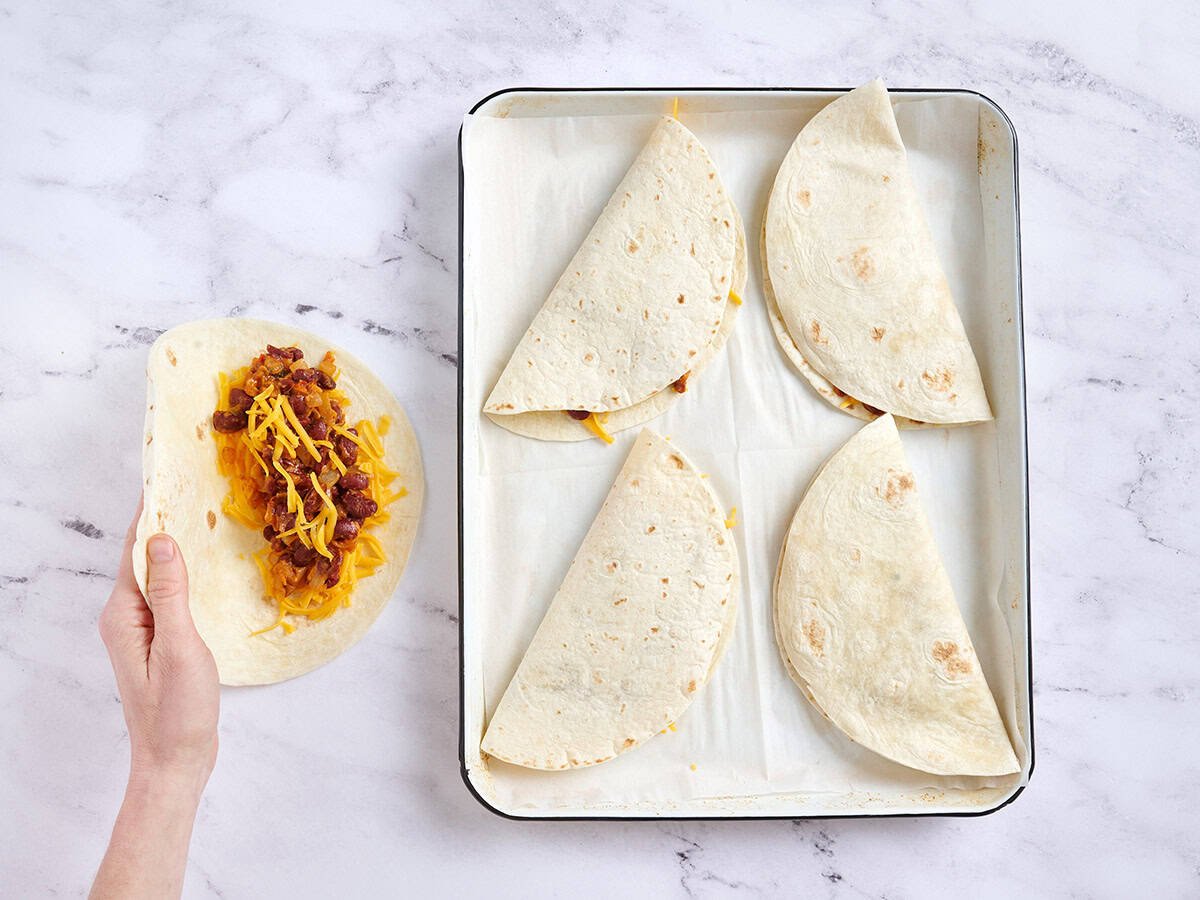
Sprinkle a little bit of cheese on top of the mashed bean filling and fold each tortilla over.
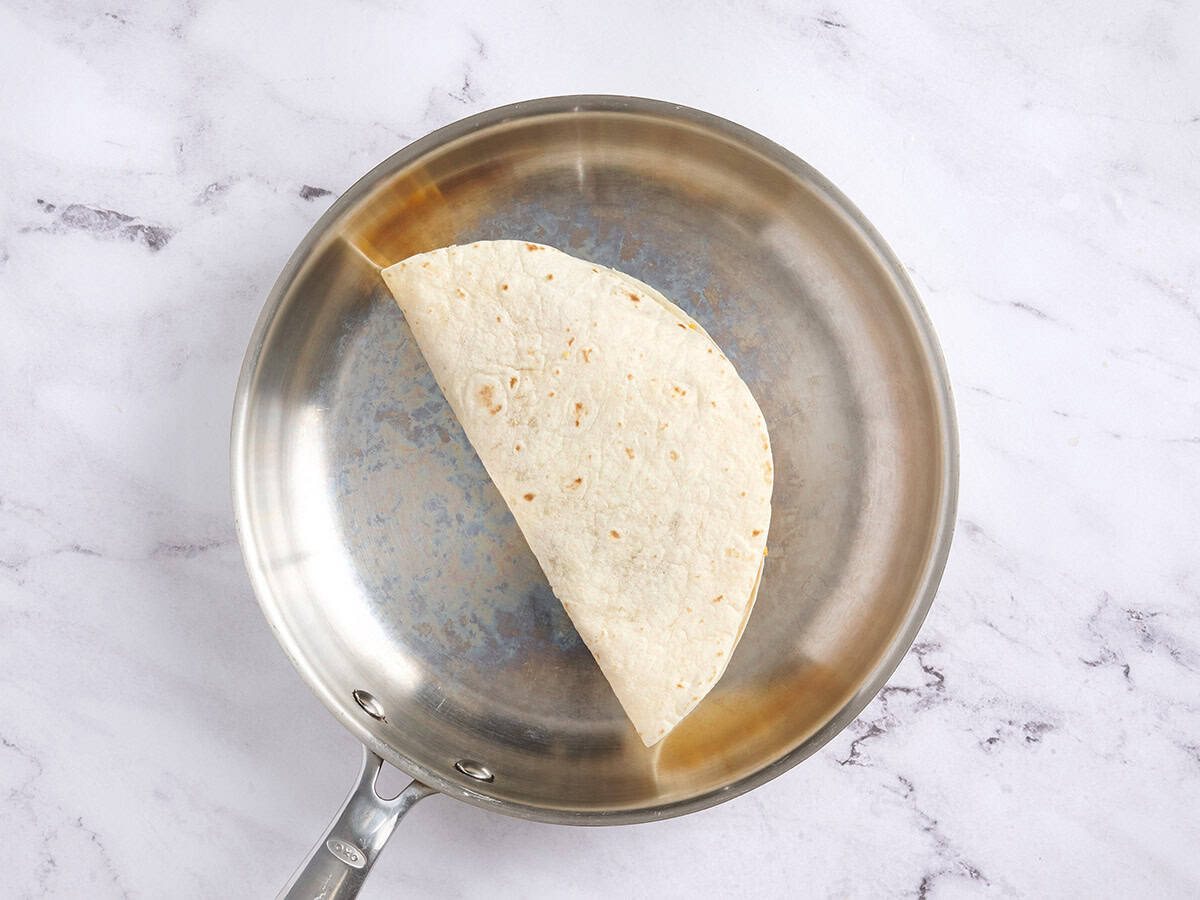
Cook: Place the folded tortillas in the skillet and toast for 2-3 minutes on one side until toasty and crispy…
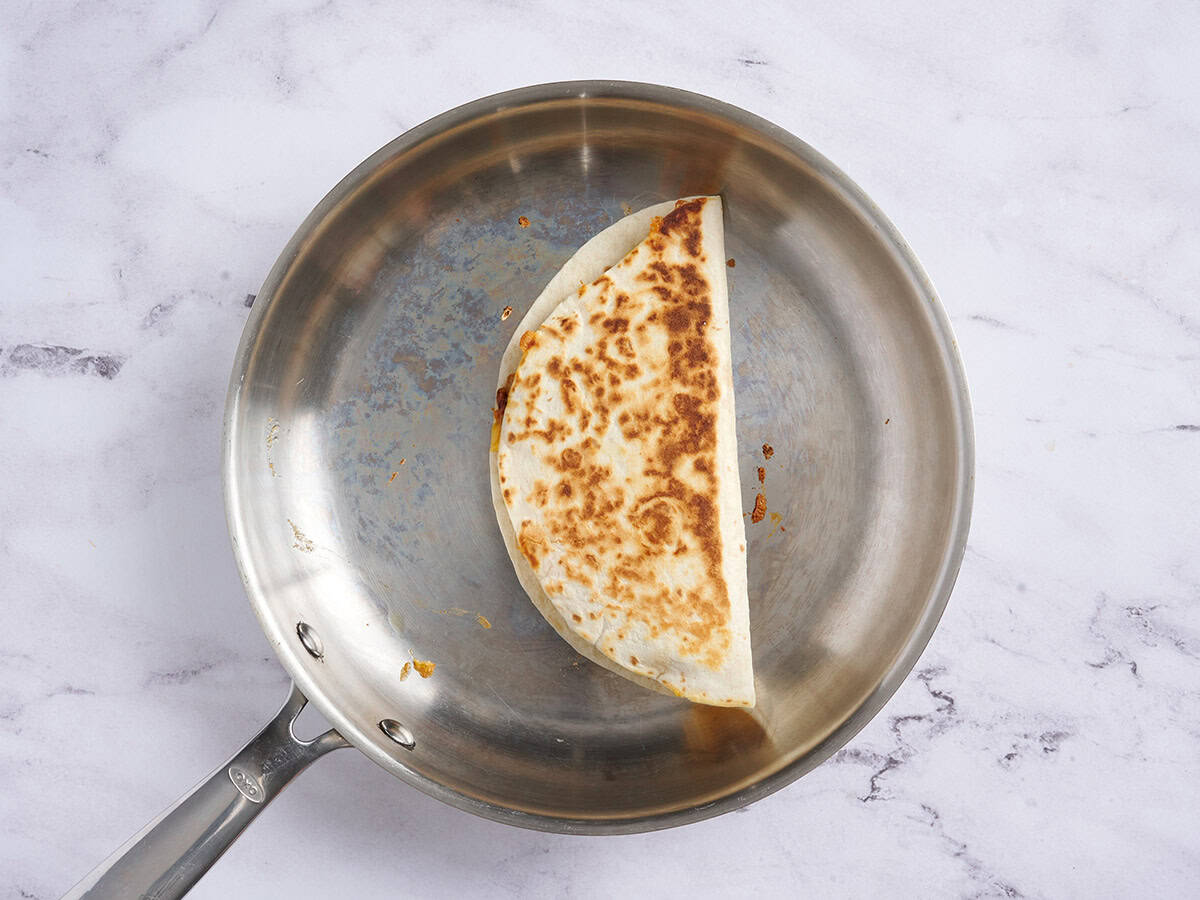
…then flip the quesadilla over and cook for 2-3 more minutes on the opposite side.
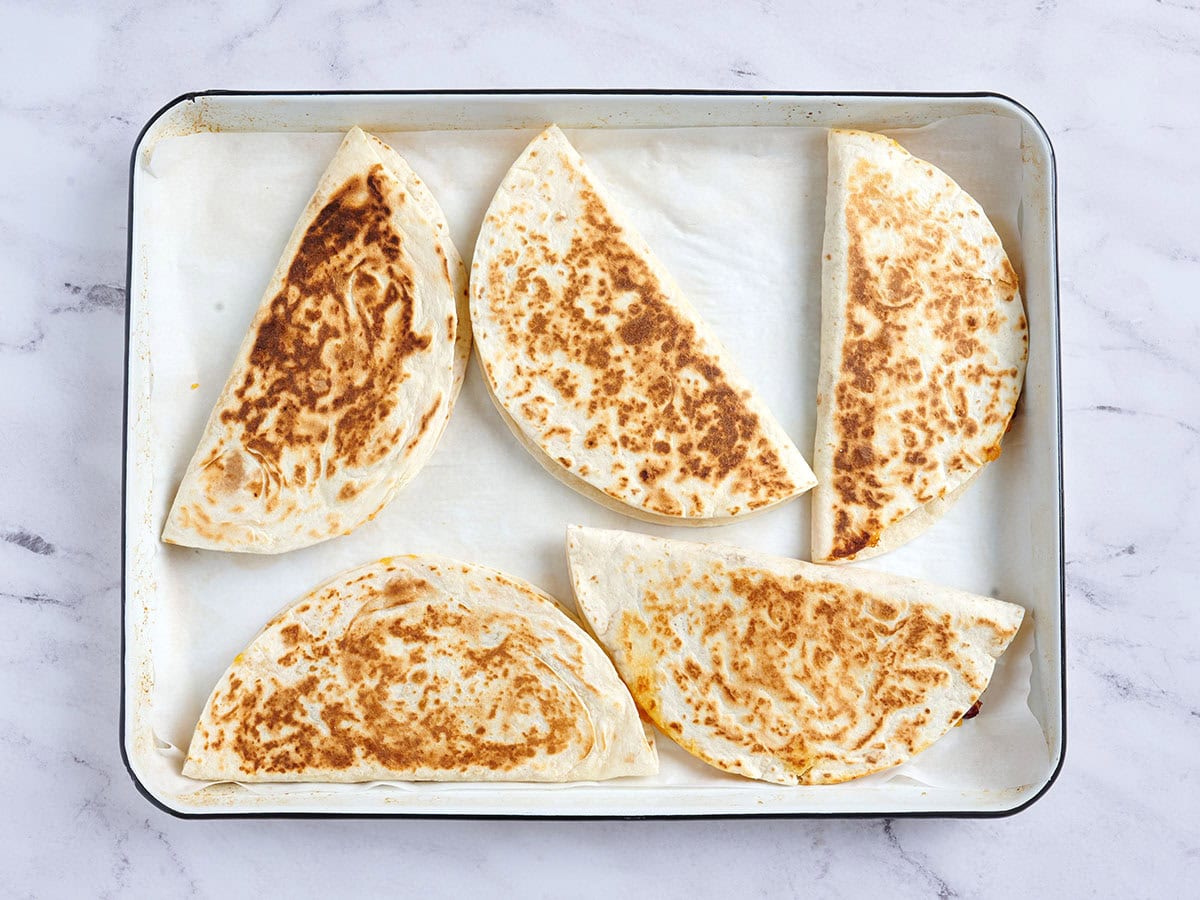
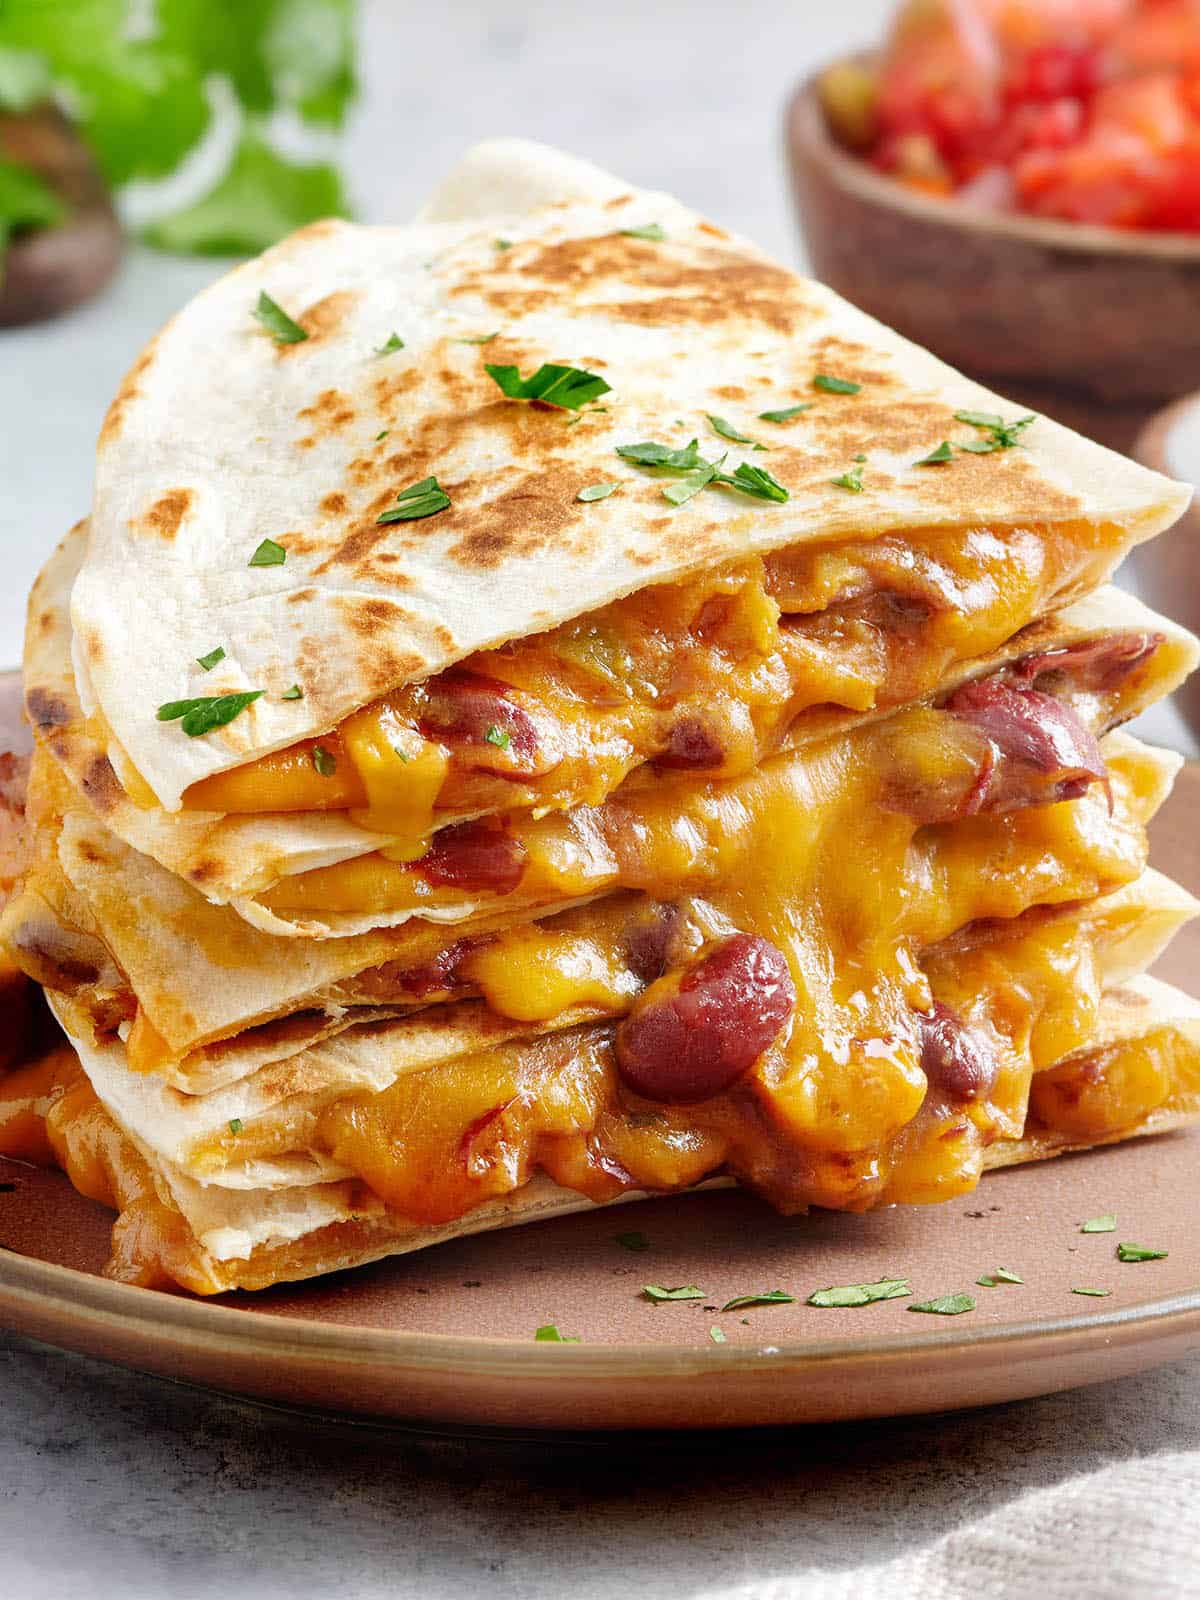
Repeat with the remaining quesadillas until they’re all done. Cut each one in half and serve while hot. Enjoy!
Meal Prep It!
Sometimes I make the kidney bean filling for these quesadillas, let it cool, and store it in the fridge for up to 3-4 days. Then, when I’m ready, I add it to the tortillas with some cheese and toast them up fresh.
But if I’m really planning ahead, I make a batch to freeze. I’ll fill and fold the cheesy bean quesadillas, stack them uncooked (with parchment paper between each one), and tuck them into a big freezer bag. They’ll keep for 2-3 months this way. When I want one, I heat it slowly over low heat until the outside is crispy, the filling has thawed, and the cheese is all melty inside.
Serving Suggestions
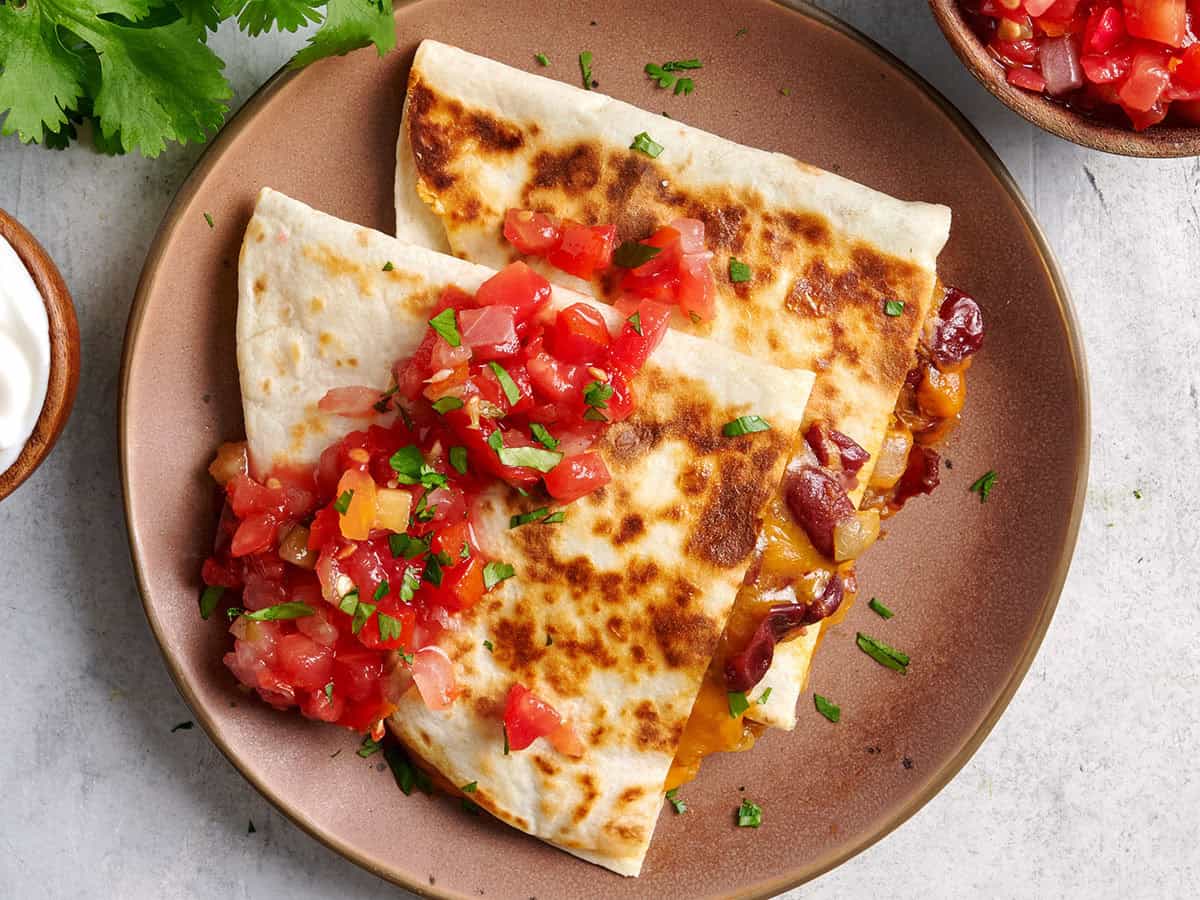
These easy kidney bean quesadillas are great on their own, but a few toppings make them even better if you’ve got them! I usually go for salsa (like pico de gallo), cilantro, and a dollop of sour cream on mine. And if you want to make it a heartier meal, add a side of Spanish rice or some tortilla chips and our loaded avocado dip.
Storage & Reheating
Keep your leftovers stored in an airtight container or wrapped in plastic wrap in the fridge. They’ll keep well for up to 3-4 days. Reheat them gently in a skillet over low heat or in the microwave if you don’t mind the texture being softer.


I Love beans any way you can have them…even right out of the can. I rarely have wraps, but it sounds delicious just as a side dish…and the thought of adding a little rice makes it even better. A quick lunch! It’s on the menu for today!
Added rice is awesome
Nice addition! Thanks, Kristy!
These are delicious. One of the easiest and least expensive recipes I’ve made from this site. I’ll definitely be making these again and again.
Quick, cheap, and tasty. I made the filling a few days ago, and it heats up great. Perfect for a quick lunch.
Our 4 year old daughter requests this multiple times a week. We did a twist on this with white beans and leftover steamed broccoli chopped up and that was great too. She prefers the kidney beans though!
For certain, follow the link to Beth’s homemade taco seasoning! It’s significantly better than anything your supermarket has. I prefer it largely because the commercial brands are really loaded with salt. I skip the cayenne, but like to add a dab of powdered chipotle instead. Also, I used pinto beans–they never get mentioned here. My personal favorites, they are deliciously creamy, with a milder flavor than kidney beans–they are the beans used for canned refries. I also have a trick for making my quesadillas. I brush one side with a bit of oil or butter, then lay it fat side down flat on the hot skillet, put down the shredded cheese first–as it melts, it acts like glue to hold the filling together. Then put on the rest of the ingredients across the whole tortilla. Watch carefully not to burn, and when nice and toasty, fold it. Make as many as you need for your meal–that’s 2 for my small family, 1 for my sister who lives alone–and refrigerate the left over filling for another batch later.