


I’ll be honest, I wasn’t completely sold on air fryers UNTIL I made this Air Fryer Chicken Thighs recipe. When I tell you that this recipe turned out to be some of the juiciest chicken I’ve ever had in my life, I’m not exaggerating. A simple mix of smoked paprika, garlic powder, oregano, cayenne, and a little cornstarch gives the skin the most deliciously crispy finish while the bone-in chicken thighs stay tender and flavorful. Add in the 20 minute cook time (about half what they take in the oven!), and I’m SOLD. Air-fried chicken thighs are my new easy dinner go-to.
All recipes are rigorously tested in our Nashville Test Kitchen to ensure they are easy, affordable, and delicious.
“I cannot believe how delicious this chicken is- I can’t stop eating it! I never thought chicken could get this crispy in the air fryer. This will be the only way I will make chicken from now on. Thank you for such a great recipe! Budget Bytes is quickly becoming my favorite food blog and who I turn to first when I need a recipe.”
Amy
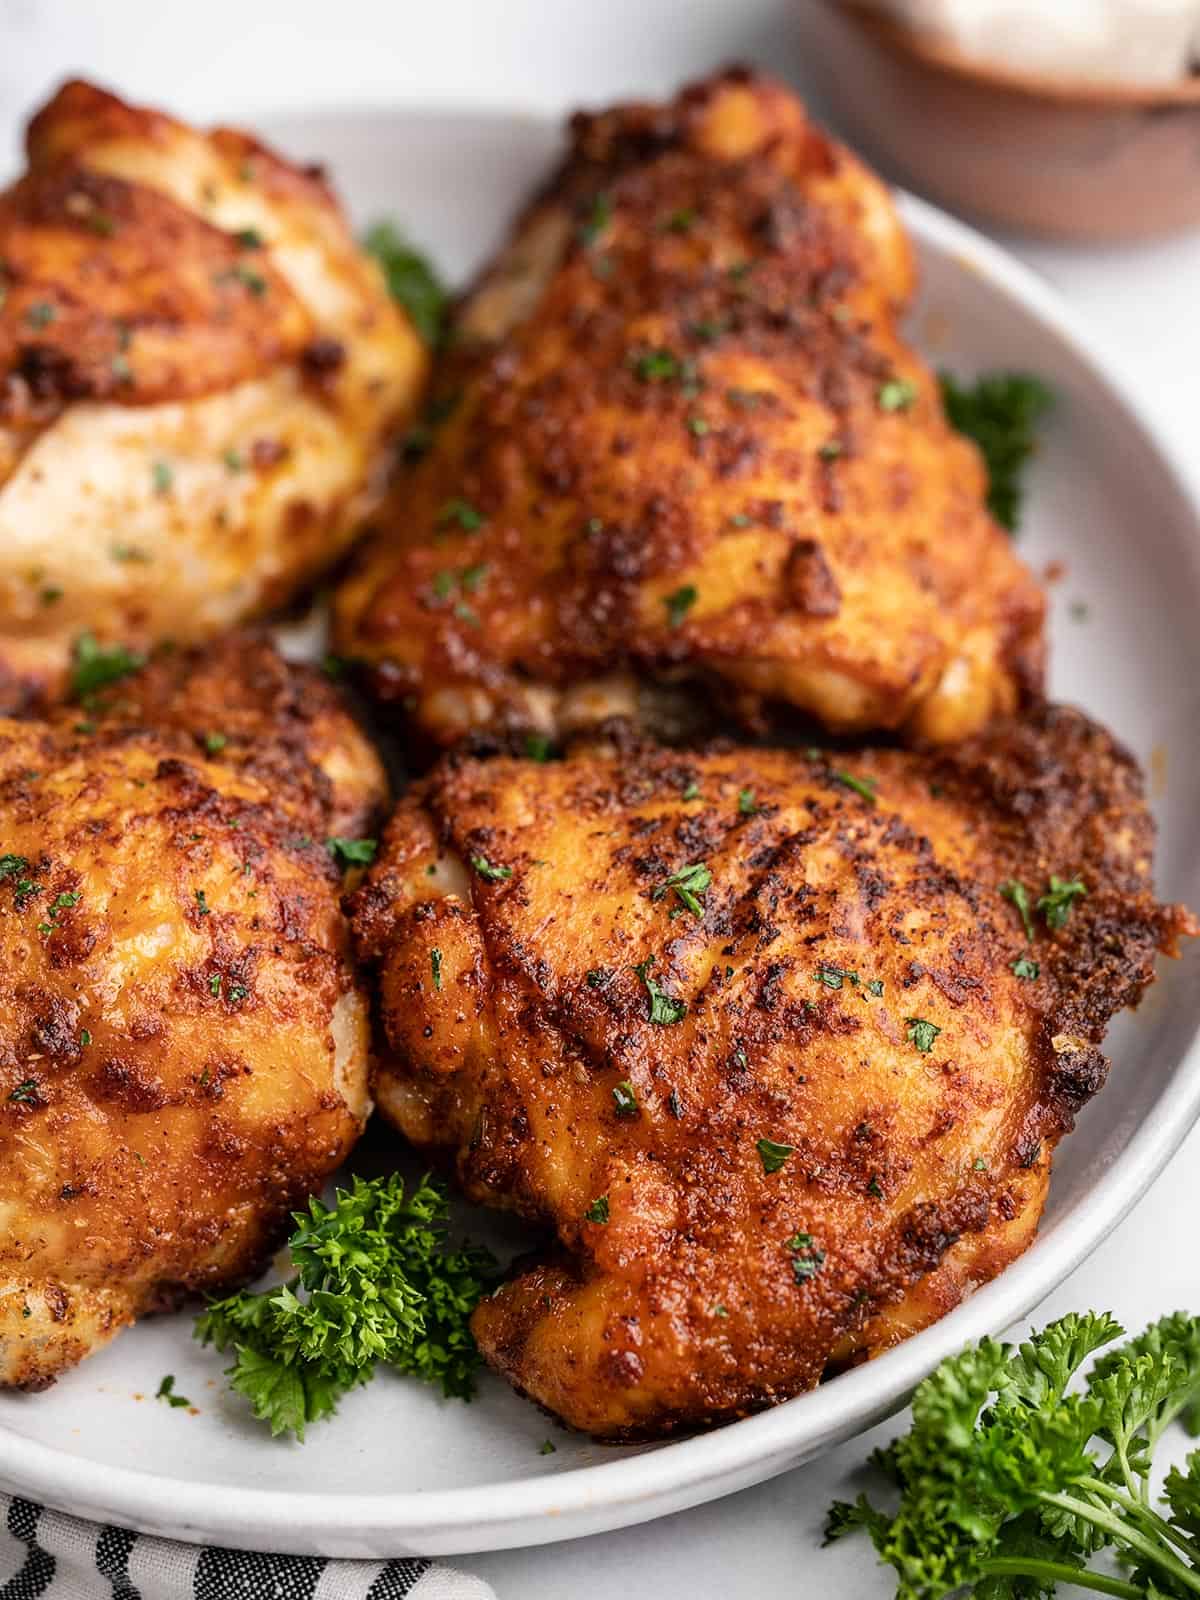
Juicy Air Fryer Chicken Thighs with Crispy Skin
My secret to juicy air-fried chicken thighs with perfectly crisp skin is cornstarch, but the key is keeping the coating light and even. I pat the chicken dry first so the spices stick instead of sliding off, then make sure the thighs have a little space in the basket so the hot air can move around them. That quick coating helps the skin turn golden and crunchy without any breading, while the inside stays super juicy. I usually only get this kind of finish from frying, but the air fryer makes it so much easier, cleaner, and more hands-off!
Recipe Success Tips!
- The air fryer gives these thighs their crispy finish. If you haven’t hopped on the air fryer train yet, let me tell you what makes it special. It’s basically a mini convection oven that uses rapidly circulating hot air. That airflow speeds up evaporation, giving food a crispy exterior while keeping the inside juicy, and that’s exactly what you need for perfect chicken thighs!
- Pat the chicken dry before seasoning. Extra moisture on the skin can keep it from crisping, so I always blot the thighs well with a paper towel before adding the oil and spices.
- Give the thighs room in the basket. You can cook chicken thighs in pretty much any type of air fryer, but the basket needs to be large enough for the hot air to move around each piece. I was able to cook four large chicken thighs in my 5-quart air fryer. The chicken thighs should have enough room around them for air to flow freely, keeping in mind that they’ll shrink some as they cook. Work in batches if your air fryer is smaller.
- Use a meat thermometer. Air fryer models and chicken thigh sizes can vary, so the thermometer is the best way to know they’re done. Check the thickest part of the thigh without touching the bone, and cook 1-2 minutes longer if it hasn’t reached 165°F. The juices should run clear, and the meat should be tender and easy to pull from the bone.
- Stick with bone-in chicken for this recipe. I tested this recipe using bone-in chicken thighs, and that is what the total cook time is based on. You can also use this method to make air fryer chicken drumsticks. Just make sure the internal temperature of the chicken is 165°F at a minimum. Boneless chicken breasts are a bit more finicky, can take less time to cook, and are easily dried out. I recommend you follow our air fryer chicken breast recipe instead!
Air Fryer Chicken Thighs
Cost $8.74 recipe / $2.18 serving
Ingredients
- 1 Tbsp cornstarch ($0.06)
- 1 tsp smoked paprika ($0.10)
- ½ tsp garlic powder ($0.05)
- ¼ tsp onion powder ($0.02)
- ¼ tsp dried oregano ($0.02)
- ⅛ tsp cayenne pepper ($0.02)
- ½ tsp salt ($0.02)
- ¼ tsp black pepper (freshly cracked, $0.04)
- 4 chicken thighs (bone-in, skin-on, (about 2.25 lbs.) $8.37*)
- 1 Tbsp cooking oil ($0.04)
Video
Instructions
- In a small bowl, combine the cornstarch, smoked paprika, garlic powder, onion powder, oregano, cayenne, salt, and pepper.
- Preheat the air fryer to 400ºF**. Pat the chicken thighs dry with a paper towel.
- Place the chicken thighs in a bowl and drizzle the cooking oil over top, then add the cornstarch and seasoning mixture. Toss the chicken thighs until they are well coated in oil and spices.
- Place the chicken thighs in the air fryer basket, skin side up, and cook for 10 minutes. Flip the chicken thighs and cook for 8 minutes more.
- Flip one last time so the skin side is up and cook for two minutes. Use a meat thermometer to make sure the internal temperature has reached 165ºF, and if not, cook for 1-2 minutes longer. Serve the chicken thighs hot with your favorite simple sides!
See how we calculate recipe costs here.
Notes
Nutrition Information
How to Make Air Fryer Chicken Thighs step-by-step photos
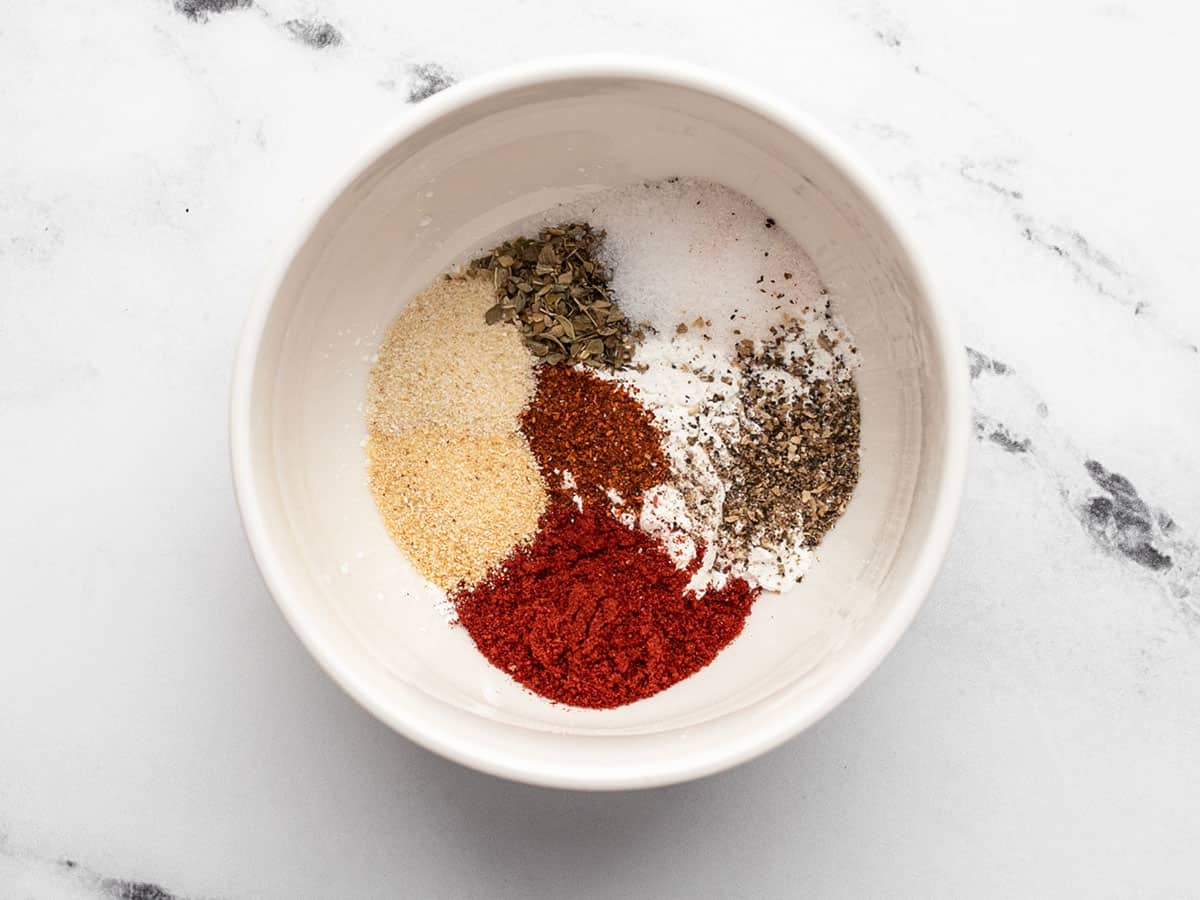
Make the seasoning: Combine the seasonings and cornstarch in a bowl. The seasoning mix I used was 1 tsp smoked paprika, ½ tsp garlic powder, ¼ tsp onion powder, ⅛ tsp cayenne pepper, ¼ tsp dried oregano, ½ tsp salt, ¼ tsp pepper, and 1 Tbsp cornstarch. The cornstarch helps create a light, crisp coating without breading.
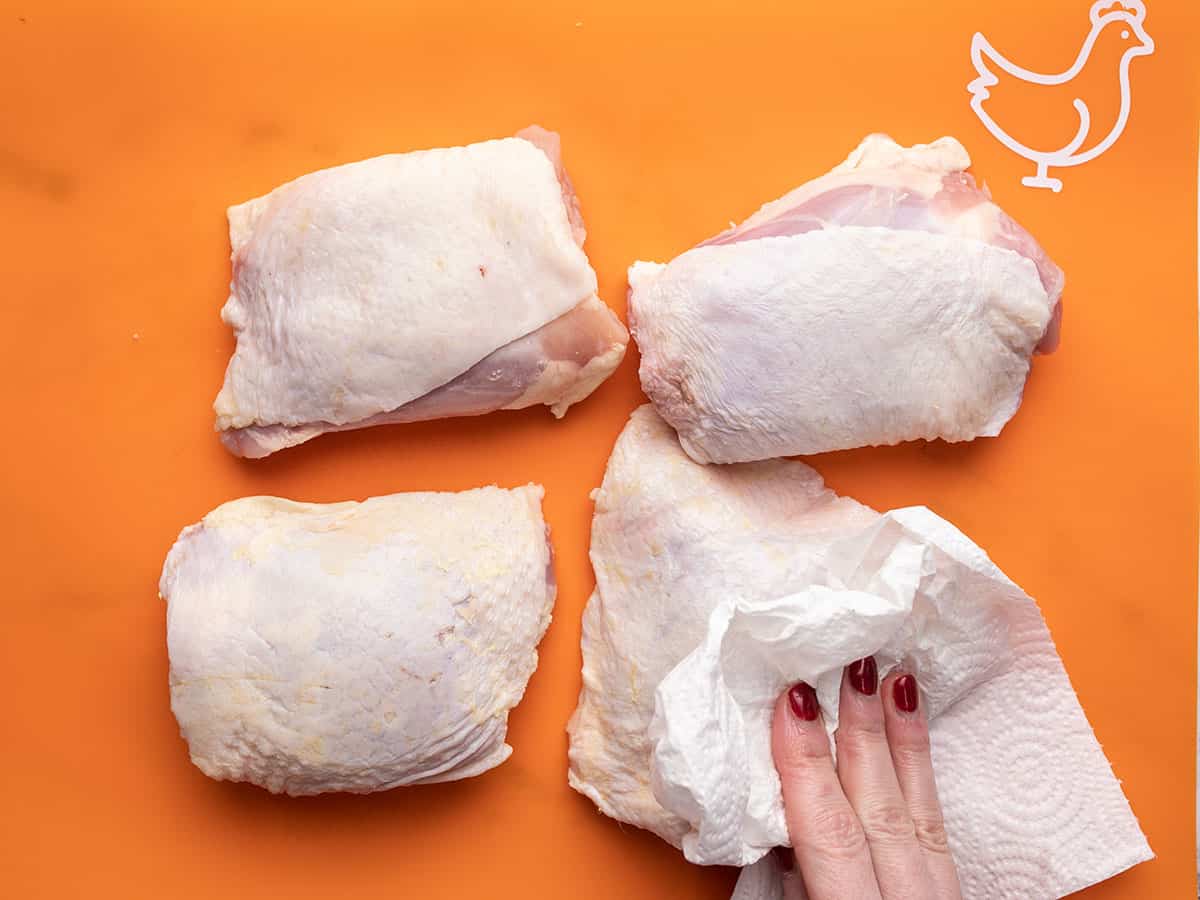
Dry the chicken: Preheat the air fryer to 400ºF. Pat four bone-in, skin-on chicken thighs (about 2.25 lbs. total), dry with a paper towel. Don’t skip this part! Removing extra moisture helps the seasoning stick and gives the skin a better chance to crisp.
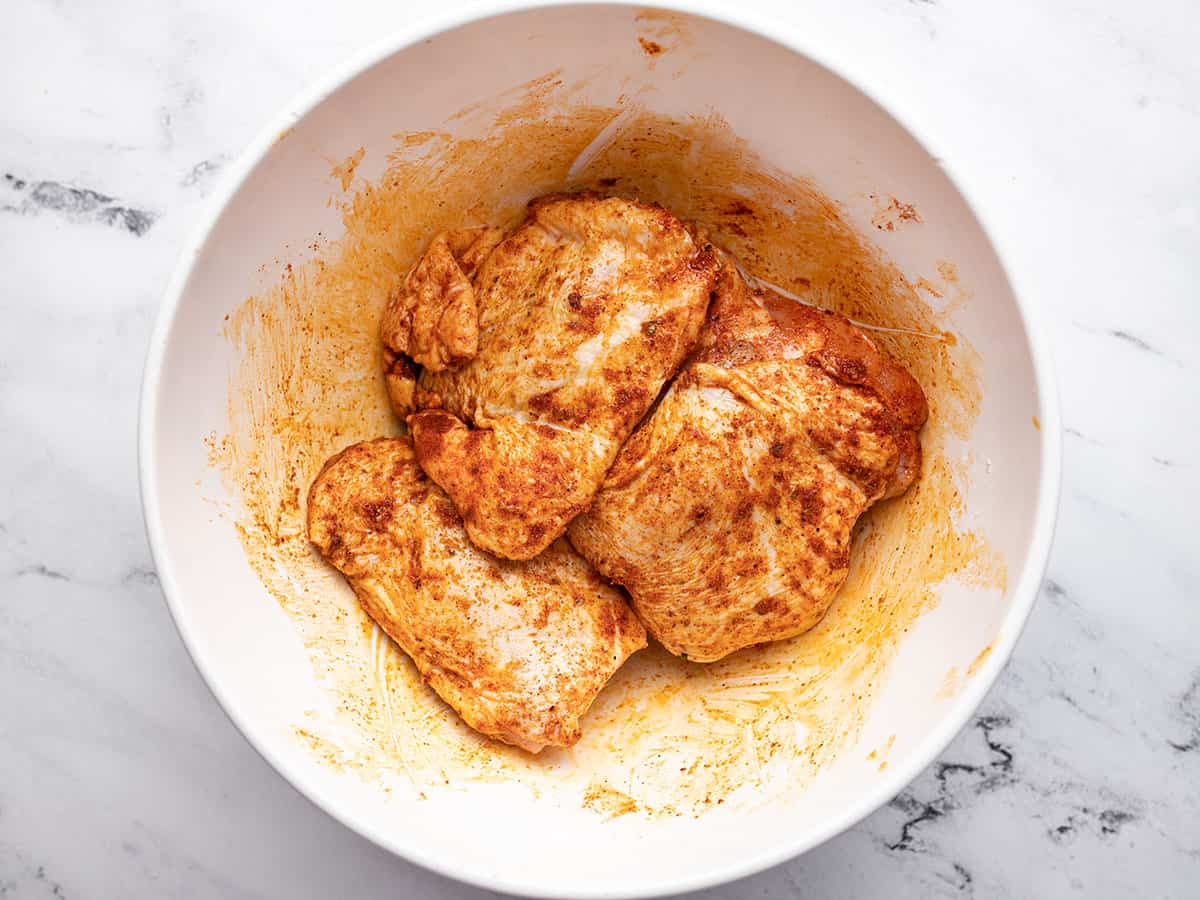
Season the chicken: Add the chicken thighs to a bowl and drizzle with 1 Tbsp cooking oil, then sprinkle the seasoning mix over top. Toss the chicken thighs until they are evenly coated in oil and spices. The coating should look thin and even, not thick or powdery.
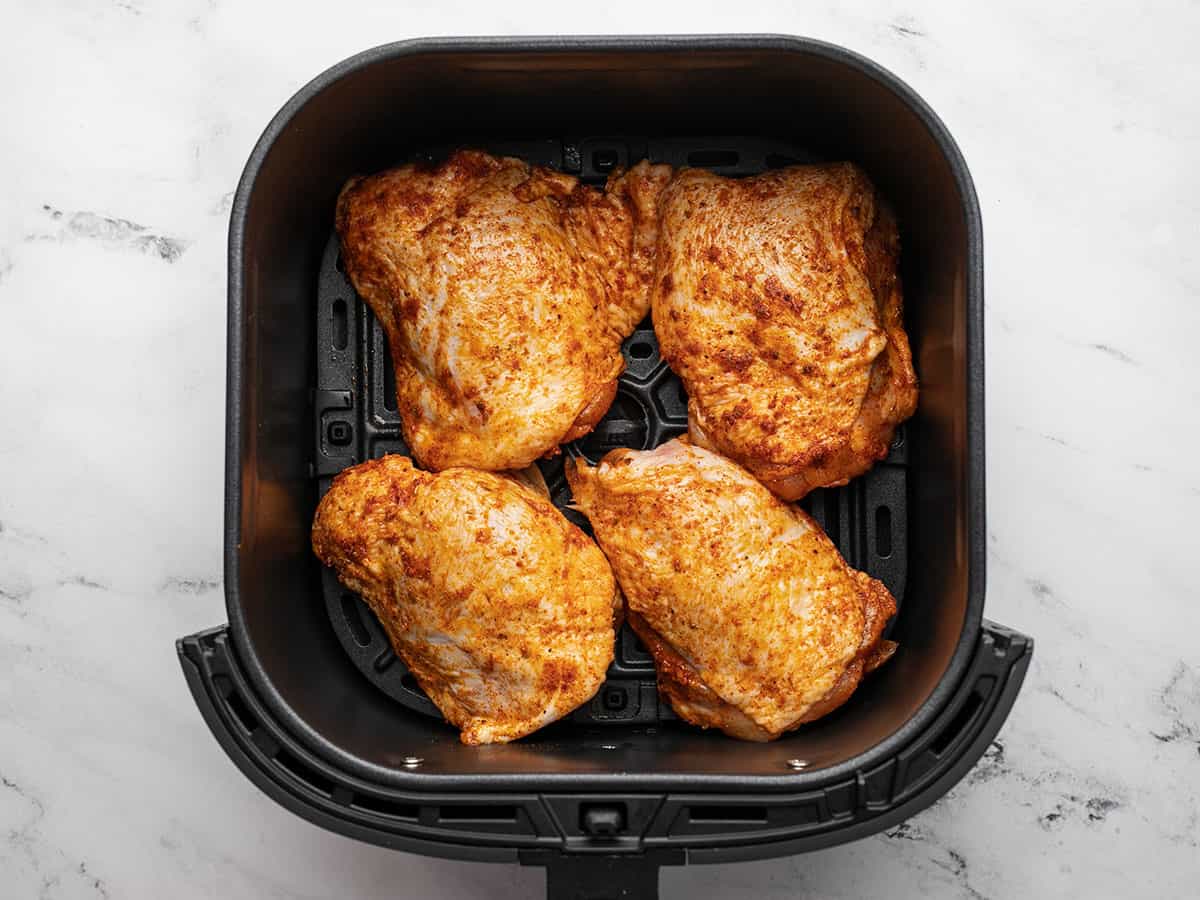
Air fry the chicken thighs: Place the chicken thighs in the air fryer basket, skin side up, making sure there’s at least a little room around each for the air to circulate. The chicken thighs will shrink a bit as they cook, too, allowing for more air flow.
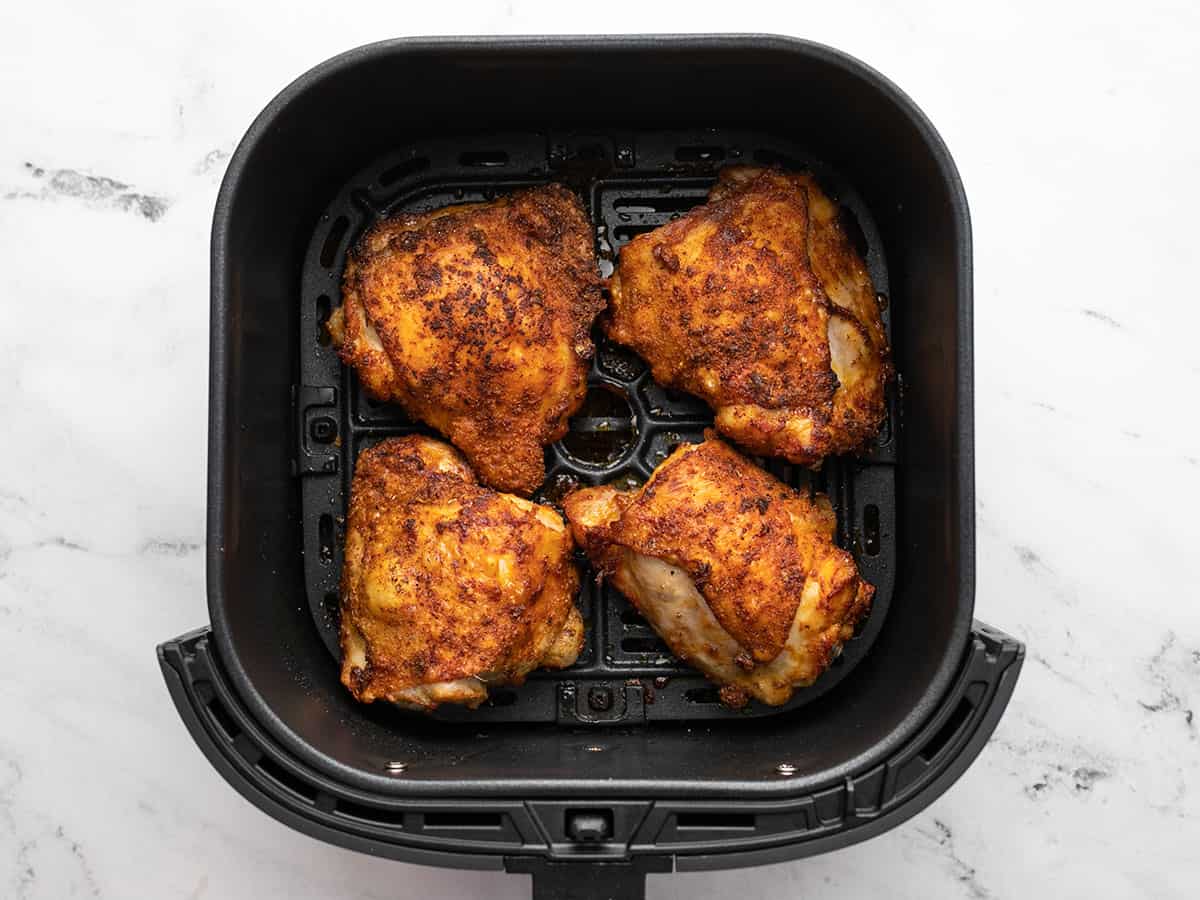
Cook the chicken thighs for 10 minutes, then flip and cook for about 8 minutes more. I like to flip them one last time and cook with the skin side up for the final two minutes to make sure that skin is extra crispy! Make sure to test the chicken with a meat thermometer to make sure the internal temperature reaches 165ºF minimum.
If your thighs are especially large or your air fryer runs a little cooler, add another minute or two.
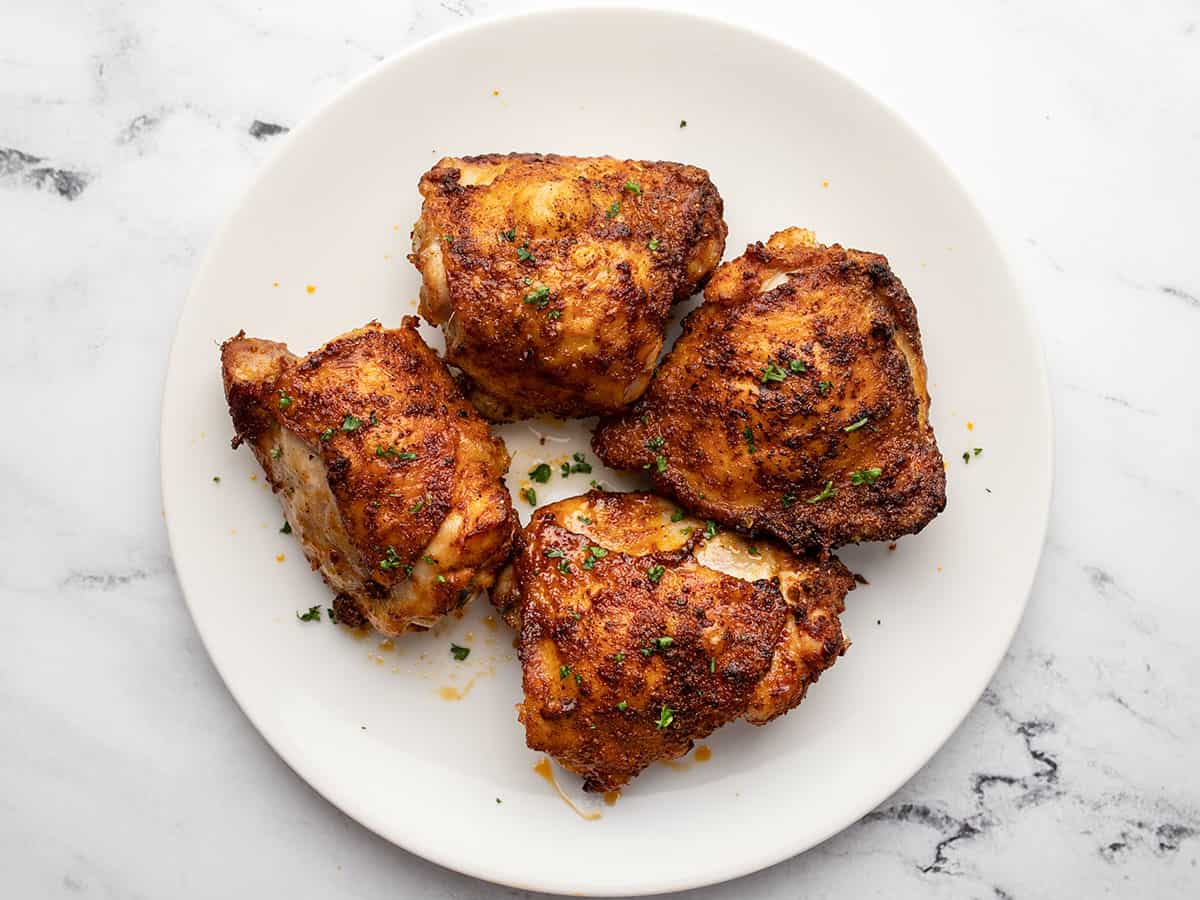
Serve those juicy air fryer chicken thighs and all of their crispy skin goodness with your favorite sides!
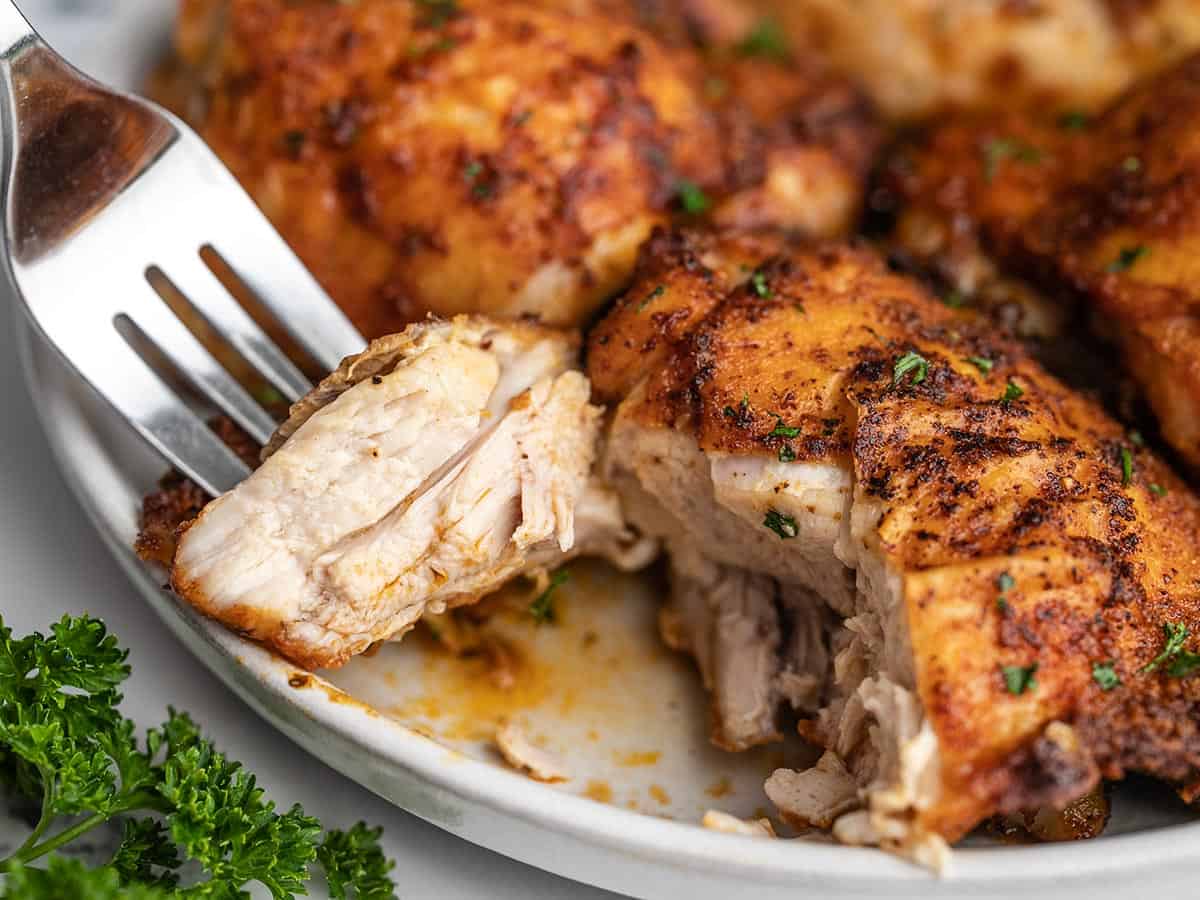
Seriously, the juiciest chicken EVER. 🤤
More Seasoning Ideas
If you want to change up the flavor of your air-fried chicken thighs, try using some of these other seasoning blends:
- Cajun seasoning: Adds smoky, savory, slightly spicy flavor with lots of paprika and garlic.
- Chili seasoning: Gives the chicken a warm, earthy flavor with a little Tex-Mex flair.
- Garlic herb seasoning: Keeps things simple and savory with plenty of garlicky, herby flavor.
- Taco seasoning: Adds a bold flavor that’s great for serving the chicken with rice, beans, tortillas, or salad!
- Ranch seasoning: Gives the chicken a tangy, herby flavor that kids and adults both love!
- Lemon pepper: One of my favorite seasoning blends! It’s bright and citrusy with a little peppery kick.
- Jerk seasoning: Brings sweet heat, warm spices, and a Caribbean-inspired flavor to the chicken.
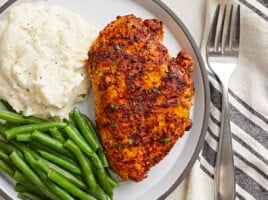
Serving Suggestions
Since air-fried chicken thighs are such a quick and easy dinner staple, I like to keep the sides just as simple. This recipe makes 4 chicken thighs, so I count on 1 thigh per serving, though it’s easy to halve or double, too. Just cook in batches if doubling, so the thighs have enough room in the air fryer basket to crisp. Mushroom rice is one of my go-tos because it’s cozy, flavorful, and cooks up in the same amount of time as the chicken. But if I’m craving serious comfort food, homemade mac and cheese is always my top pick.
A salad is also something I often whip up whenever chicken is on the menu, so I’ll throw together a side salad or a plate of crunchy crudités for a fresh contrast to the juicy chicken. My three bean salad is another favorite because it’s hearty enough to feel substantial but light enough to keep dinner from feeling heavy. And when I want something fun and a little unexpected, I’d go for our creamy, zesty, street corn pasta salad (especially on a hot day!)
Storage & Reheating
Once cooled, store any leftovers in an airtight container in the fridge for up to 3-4 days. For longer storage, wrap the chicken well in plastic wrap or foil, then place it in a freezer-safe bag or container and freeze for up to 3 months. Let it thaw overnight in the fridge before reheating.
To reheat, preheat your air fryer to 350°F and warm the chicken for 5-10 minutes until heated through. You can also use the microwave or pull the chicken off the bone, and reheat on the stove top (perfect for stir fries!)
Try These Chicken Thigh Recipes Next:
- These Herb Butter Chicken Thighs are a quick skillet dinner with garlic, Italian seasoning, and a buttery pan sauce.
- I’d keep this Sweet and Spicy Glazed Chicken Thighs recipe in my back pocket for busy nights because the seasoning mix is short, cheap, and SO flavorful.
- This Sheet Pan Honey Mustard Chicken and Veggies recipe turns simple boneless chicken thighs into a full meal in about 45 minutes!


This recipe was great!! Will definitely be making this again 🤗
My air fryer needs slightly longer, I do 10/10/4 minutes and it’s perfect! I usually make this with za’atar, with or without the cornflour. Much better with, but still delicious without. It’s great with Chinese spices and a tiny bit of toasted sesame oil too.
I eat a lot of chicken and I have to say this is the juiciest air fryer thighs I have had. The spices are perfect and the skin was crispy. I warmed up a piece I had left today in my microwave and it is still very moist and tender. Kudos!
This recipe is easy and results crispy, juicy, and well seasoned chicken. I did have to cook it a little longer as I temped my chicken and it was slightly under but that could have been my airfryer. Great recipe to have on hand for a very busy night.
Just FYI, the homemade mac & cheese link when discussing sides is actually a link to a side salad recipe.
Fixed the link! Thank you!
Would chicken drumsticks cook similarly?
I’d say it shouldn’t be too different! I’d definitely test with a meat thermometer to make sure the internal temperature has reached 165ºF after the 18 minutes and adjust if necessary.
changed nothing! tasted great!
Not cooked long enough…
Perfect recipe. All I did different was soak in a salt water and sugar brine.
Very juicy with crisp skin. Great blend of spices. Especially like the cornstarch added to spices.
Looking good! Fairly easy to follow recipe!
These were good. Just learning the air fryer! They weren’t very crispy. I did dry them off, but I think it could have cooked just a few more minutes. Then again, I probably wouldn’t eat the skin anyway.
Yum! Absolutely delicious! I think I’ll experiment next time and use some brown mustard instead of oil (or maybe in combination).
Do you have an estimate for how long to cook boneless thighs?
Hi Elaine. We haven’t tested with boneless so can only give you an educated guess. Check for temperature ( at leawst 165°F) five minutes before the time given in the recipe card.
great recipe for an easy dinner! loved it!
I just made this and I am an air fryer convert. I used a go spice blend very similar to the recipe but the corn starch is what makes this resemble “fried chicken.” BB never leads me astray. Thanks…and did I mention juicy?! Yes, they were.
Excellent tasting and easy