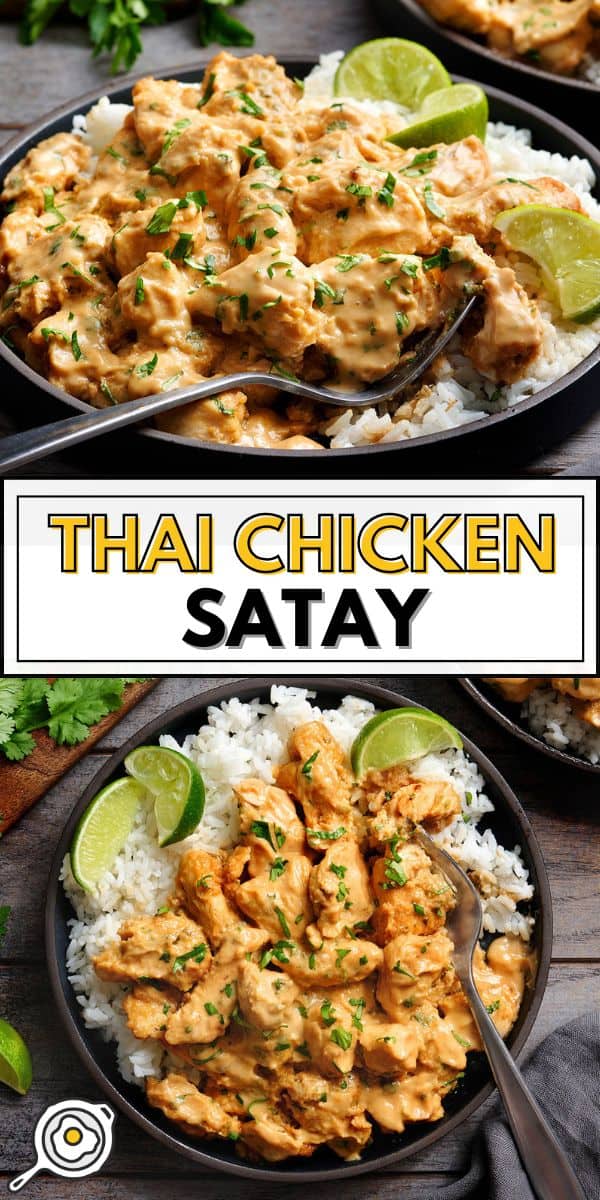
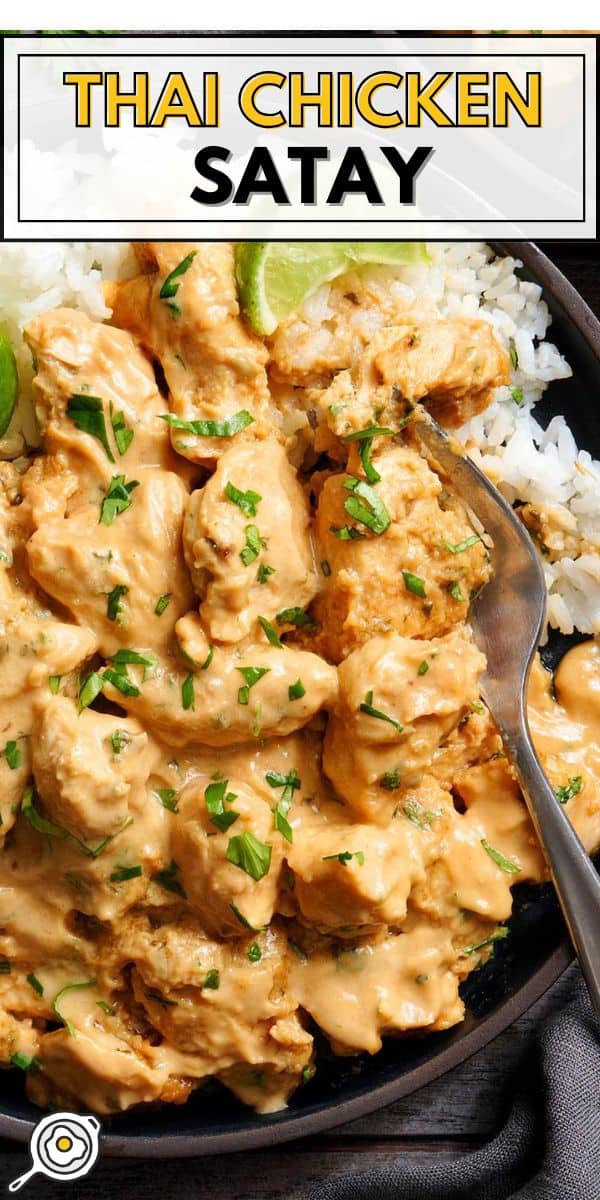
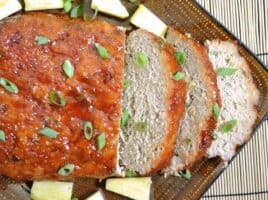
Every once in a while, I get a serious chicken satay craving. It’s one of my favorite takeout orders, but I wanted a budget-friendly version I could make at home without a bunch of extra steps. So instead of cooking the chicken separately and dipping, I keep it simple and simmer the chicken breast right in the sauce. This Thai Chicken Satay is creamy, sweet, and salty, and it totally hits the spot without the takeout bill.
All recipes are rigorously tested in our Nashville Test Kitchen to ensure they are easy, affordable, and delicious.
“Another great weeknight recipe that can be marinated beforehand. The flavour of the chicken is so good! I also did as suggested – I made the savory coconut rice to go with it and the combination was heavenly! I scraped off the extra sauce bits from the pan and ate it with rice.”
Victoria
Easy and Flavorful Peanut Sauce Chicken
If you’ve never had chicken satay, it’s a Southeast Asian dish of tender seasoned chicken that’s usually cooked on skewers and served with a peanut sauce for dipping. This recipe gives you that same idea in a weeknight-friendly way. Instead of using skewers, I bake bite-sized pieces of chicken breast right in a rich sauce made with pantry ingredients like peanut butter, garlic, ginger, soy sauce, brown sugar, toasted sesame oil, and finished with cilantro. If you have time, let the chicken sit in the sauce overnight for maximum flavor, but even 30 minutes is enough to make it taste amazing!
Recipe Success Tips
- Cut the chicken evenly. Try to keep the pieces of chicken breast as close to the same size so everything cooks at the same pace.
- Try a different cut of chicken. I’m using chicken breast here, but I originally used drumsticks when I first tested this recipe. The reason I switched to chicken breasts is I feel they take on the flavor much better. There was also a nice amount of sauce left in the dish for drizzling over rice. But this recipe will work with almost any type of chicken! Chicken thighs? YES, that would be so good. Just know the cooking time can change depending on how big your pieces are, how snug they’re packed in the dish, and whether you’re using bone-in or boneless chicken.
- Cook to 165°F. Make sure the internal temperature of your chicken reaches 165°F. For me, that was around 30 minutes in the oven. For bone-in chicken, start checking around 45 minutes.
- Remove the skin from the ginger. Peel ginger with a vegetable peeler or just scrape the skin off with the side of a spoon, then mince it finely.
- Make it your way. Don’t have brown sugar? Swap in honey. Not into chili garlic sauce? Use Sriracha (or skip it if you’re cooking for spice-sensitive people). You can always add a drizzle of heat at the end, too.
Thai Chicken Satay
Cost $7.17 recipe / $1.79 serving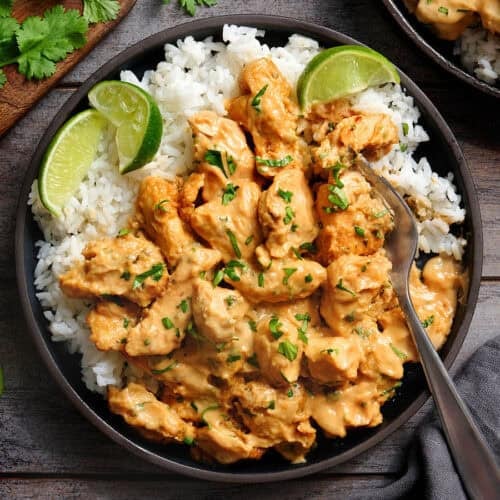
Ingredients
Chicken
- nonstick spray ($0.01)
- 2 large chicken breasts (cut into 1-inch pieces (2 lbs, 907g) $5.34)
Sauce
- 1 garlic clove (minced, $0.06)
- 1 inch fresh ginger (peeled & minced, $0.21)
- ½ fresh lime (about 1.5-2 Tbsp juice, $0.13)
- ½ Tbsp chili garlic sauce (or Sriracha, $0.07)
- 2 Tbsp soy sauce ($0.11)
- 1 Tbsp brown sugar ($0.04)
- 1 tsp toasted sesame oil ($0.09)
- 2 Tbsp vegetable oil ($0.08)
- ½ cup natural peanut butter (140g, $0.61)
- 3 Tbsp hot water ($0.00)
- ½ bunch fresh cilantro (divided, $0.42)
Instructions
- Gather and prepare all ingredients. Spray an 8×10 casserole dish and set it aside.
- Add the minced garlic, ginger, lime juice, chili garlic sauce, soy sauce, brown sugar, sesame oil, and vegetable oil to a medium bowl. Whisk together.
- Add the peanut butter and hot water, then whisk again until smooth. Roughly chop the cilantro. Save a handful of the cilantro to top the dish after baking, and stir the rest into the peanut sauce.
- Set aside ½ cup of the peanut sauce, then add the rest to a gallon zip-top bag with the chicken. Press out the air, seal, and massage to coat. Marinate in the refrigerator for at least 30 minutes or up to overnight.
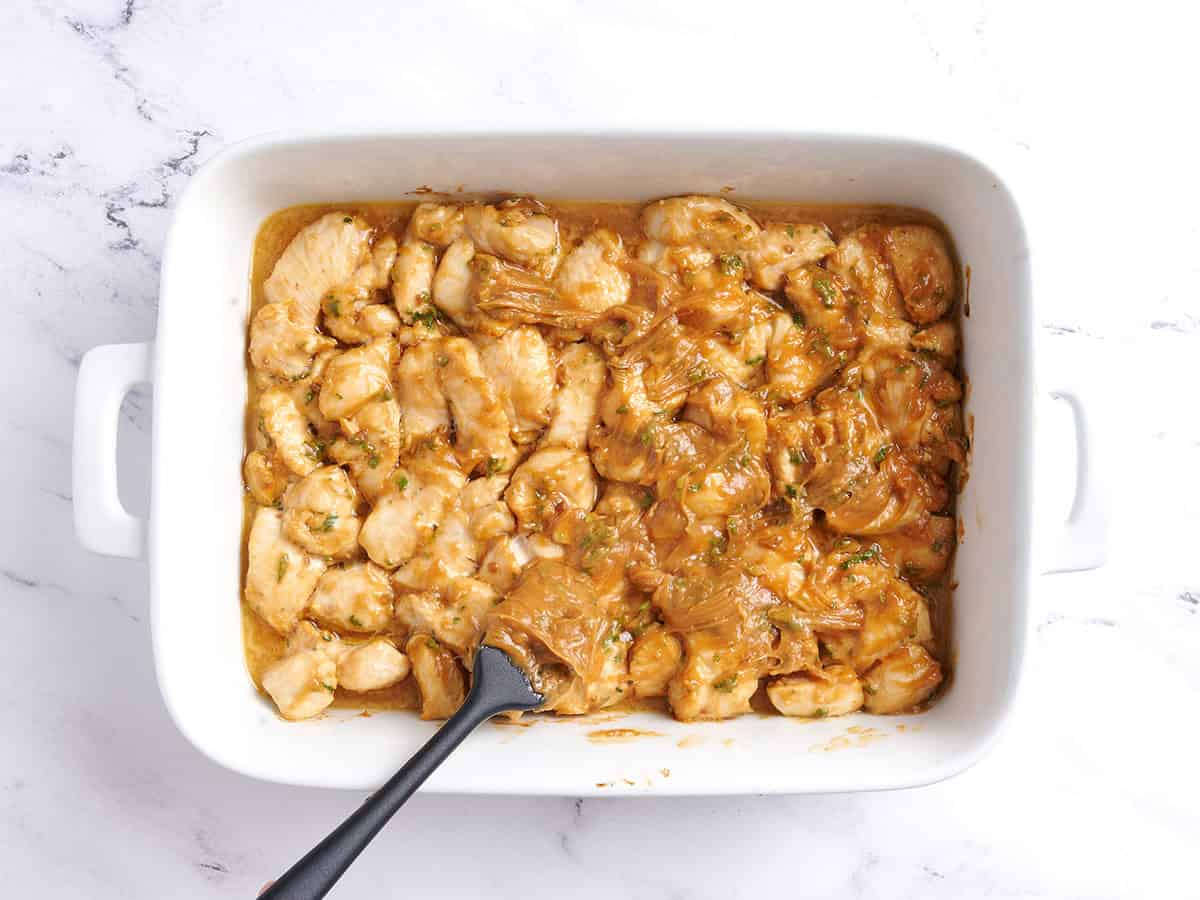
- When you’re ready to cook the chicken, preheat the oven to 375°F. Place the chicken pieces and all the marinade from the bag in a casserole dish into a single layer.
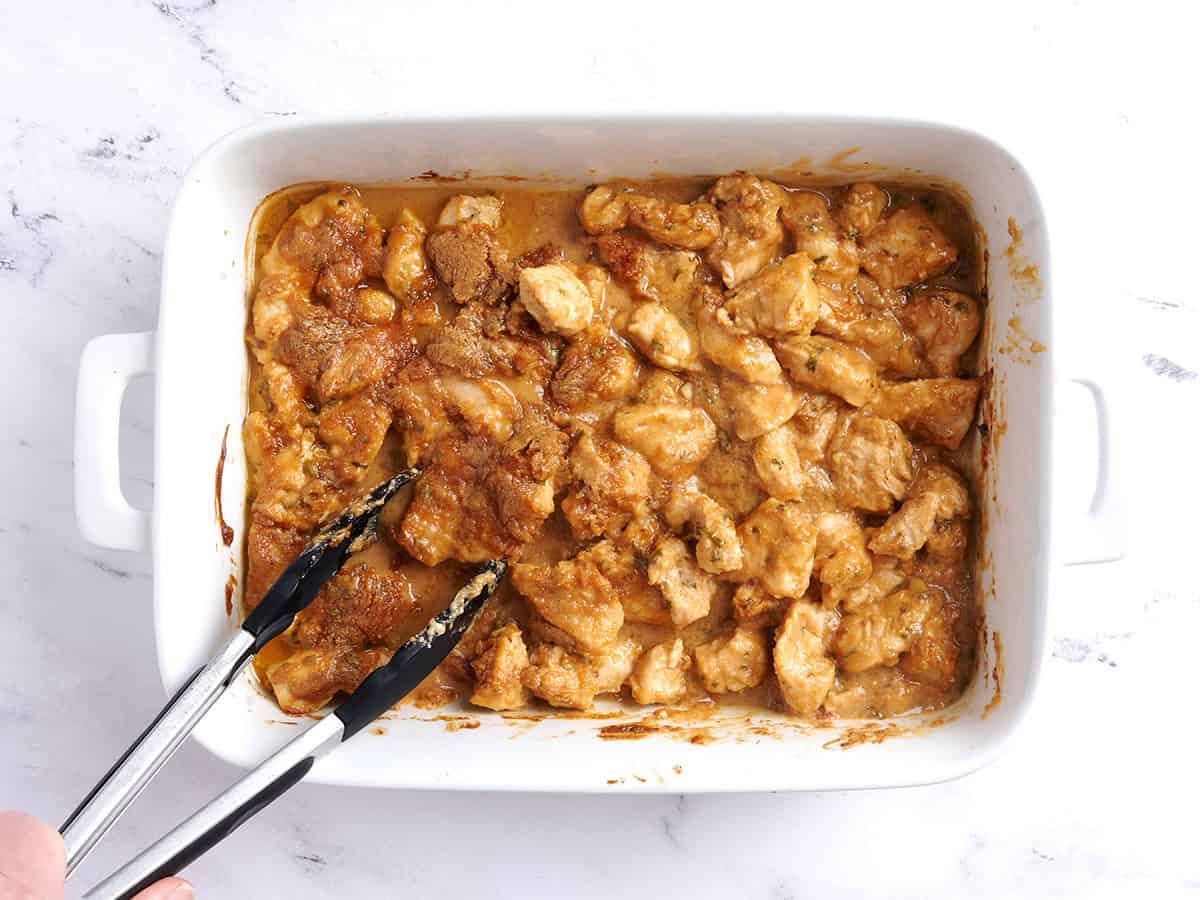
- Bake the chicken in the preheated oven for 15 minutes. Then use a brush to add the reserved peanut sauce to the top of the chicken. Cook for an additional 15 minutes. Make sure the internal temperature of the chicken reaches 165°F.
- Fold the chicken pieces and sauce in the bottom of the dish until combined. Top the baked chicken with the reserved cilantro and serve.
See how we calculate recipe costs here.
Nutrition Information
How to Make Peanut Chicken Step-by-Step Photos
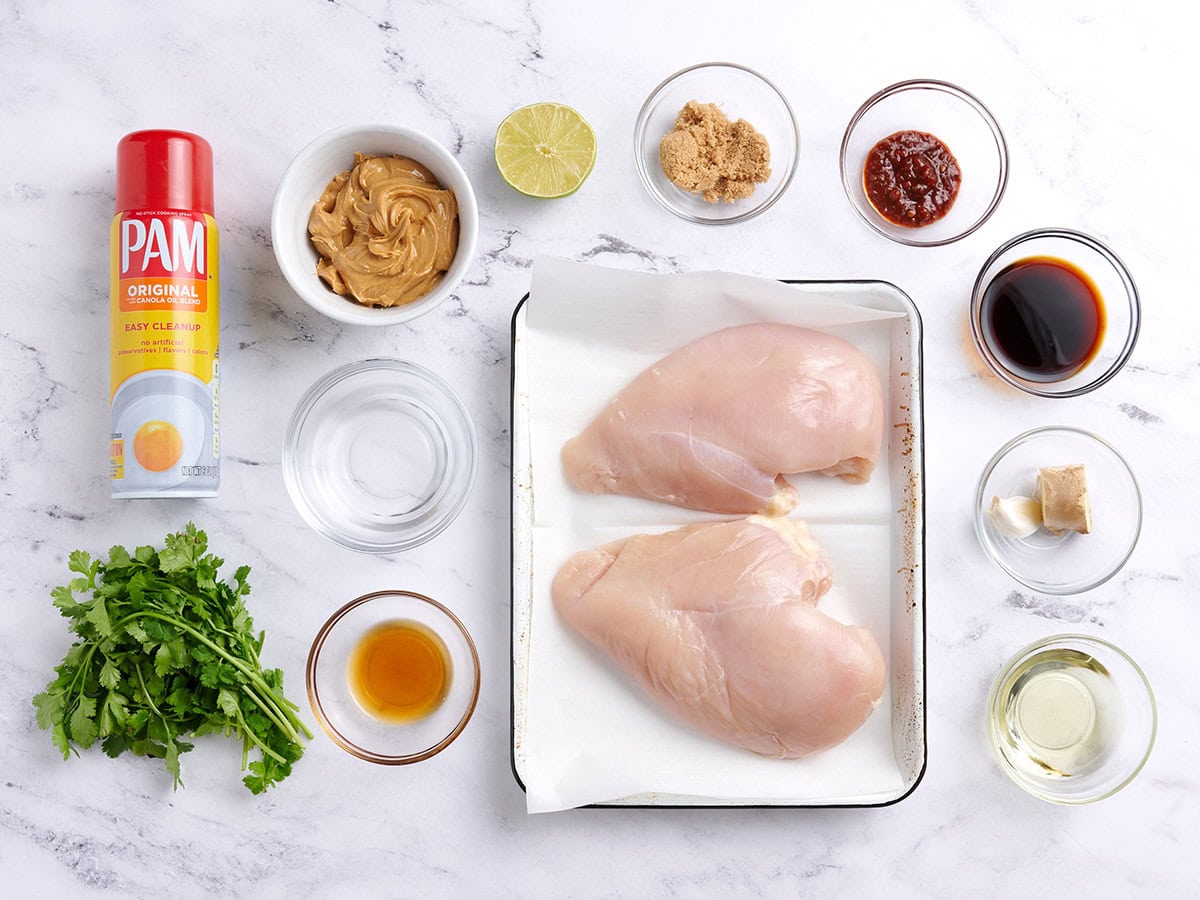
Gather all of your ingredients. Spray an 8×10 casserole dish and set it aside.
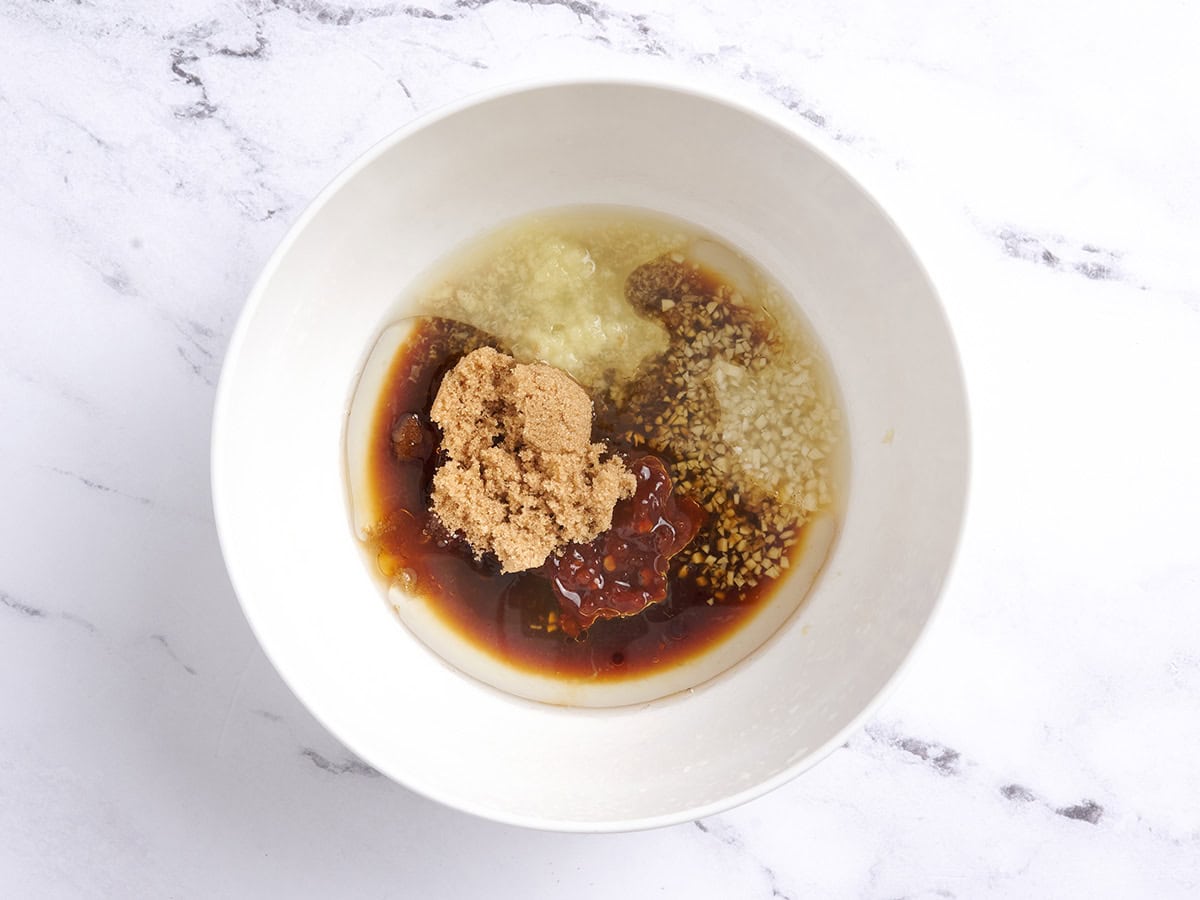
Make the sauce: Add 1 minced garlic clove, 1-inch peeled and minced ginger, lime juice from ½ a lime, ½ Tbsp chili garlic sauce, 2 Tbsp soy sauce, 1 Tbsp brown sugar, 1 tsp toasted sesame oil, and 2 Tbsp vegetable oil to a medium bowl. Whisk until well combined.
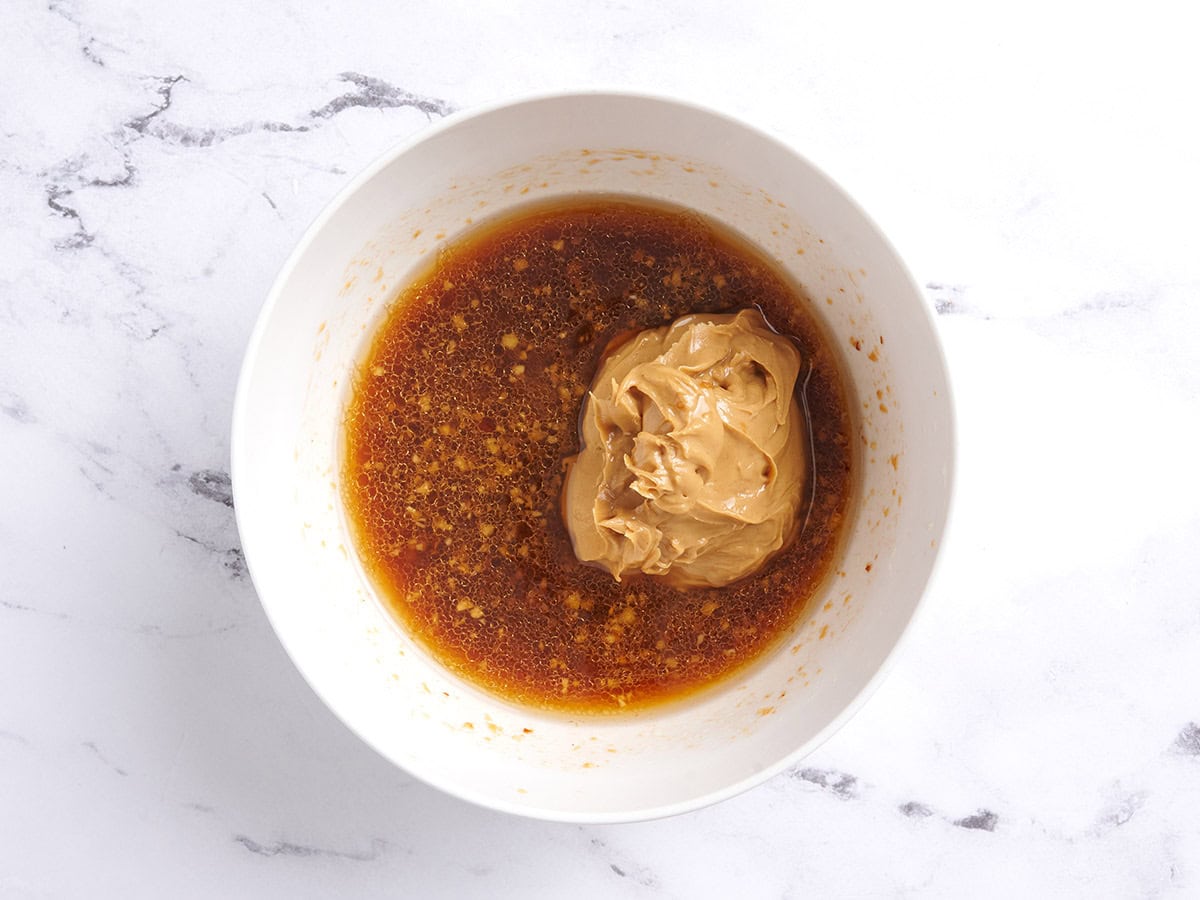
Add ½ cup peanut butter and 3 Tbsp hot water, then stir until it’s fairly smooth (it will have some chunks from the garlic and ginger).
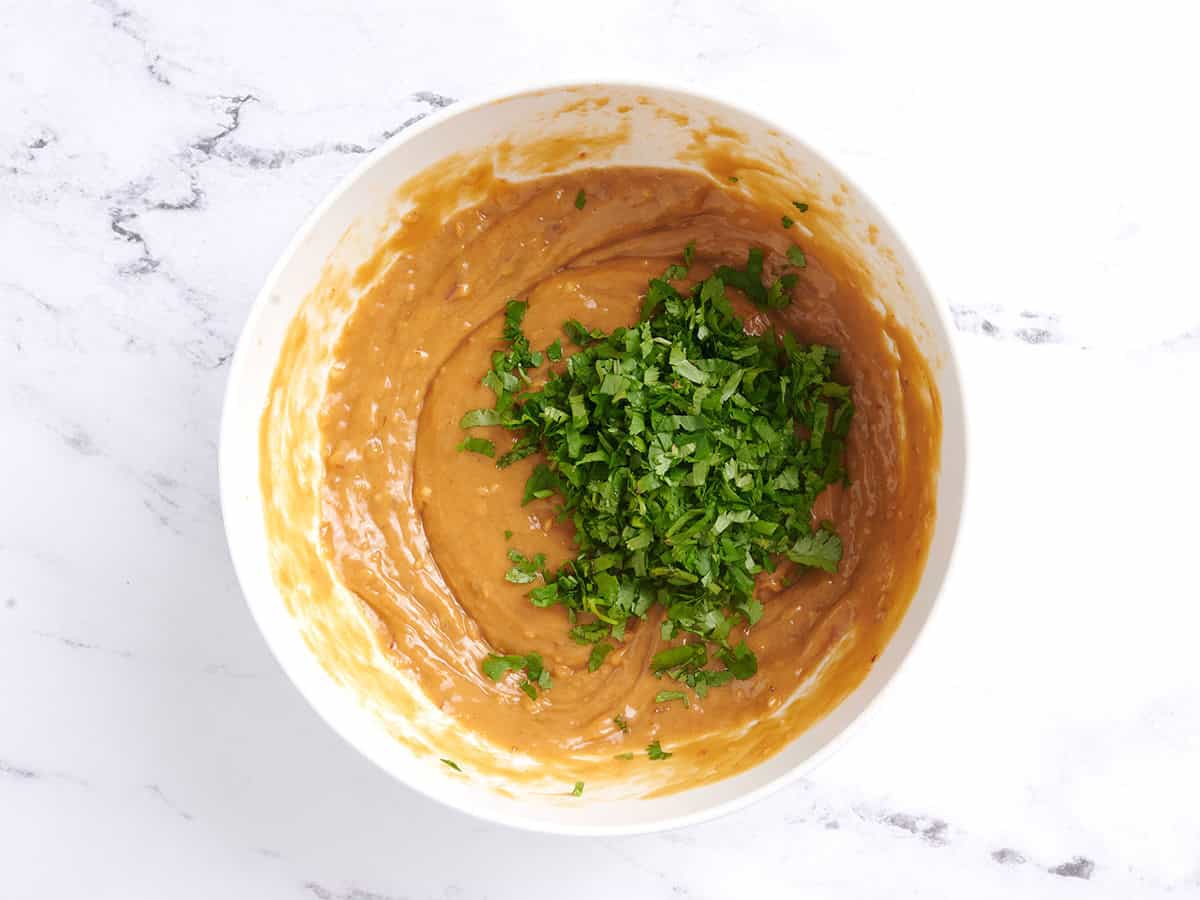
Now, roughly chop ½ bunch fresh cilantro. Save a handful of the cilantro to use as a garnish after baking, and stir the rest into the peanut sauce
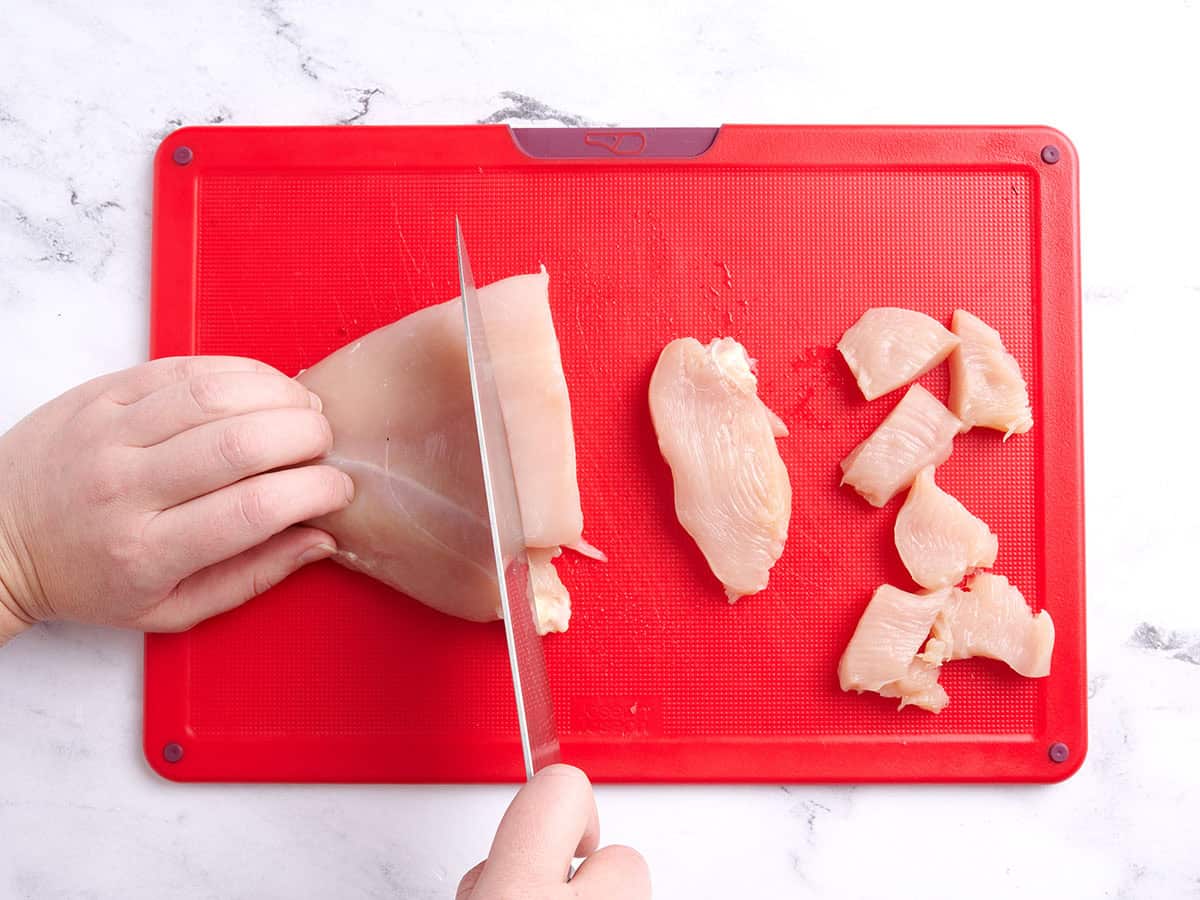
Prep the chicken: If you haven’t already, slice 2 large chicken breasts into 1-inch pieces.
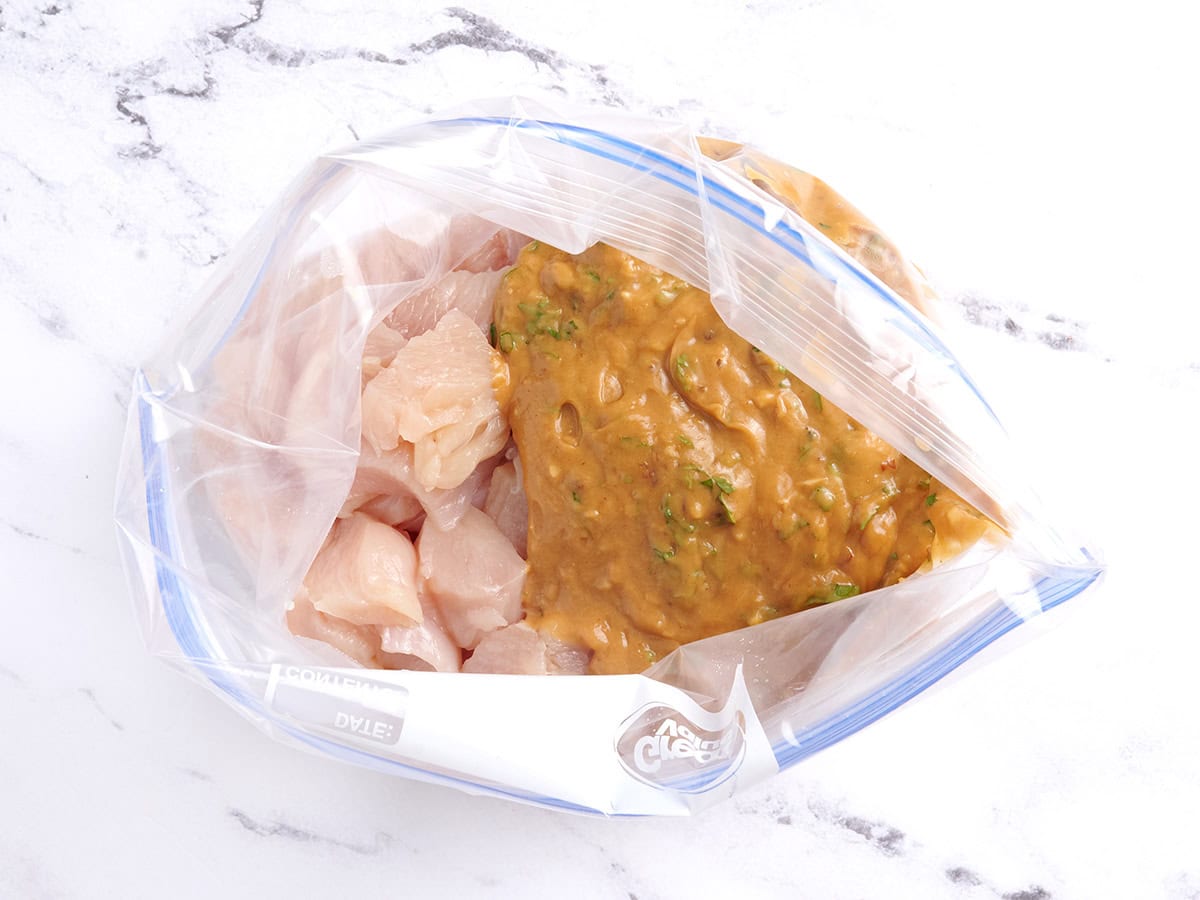
Remove ½ cup of the peanut sauce from the bowl and set it aside (this will be used to baste the chicken). Add the rest of the sauce to a gallon zip-top bag with the chicken pieces.
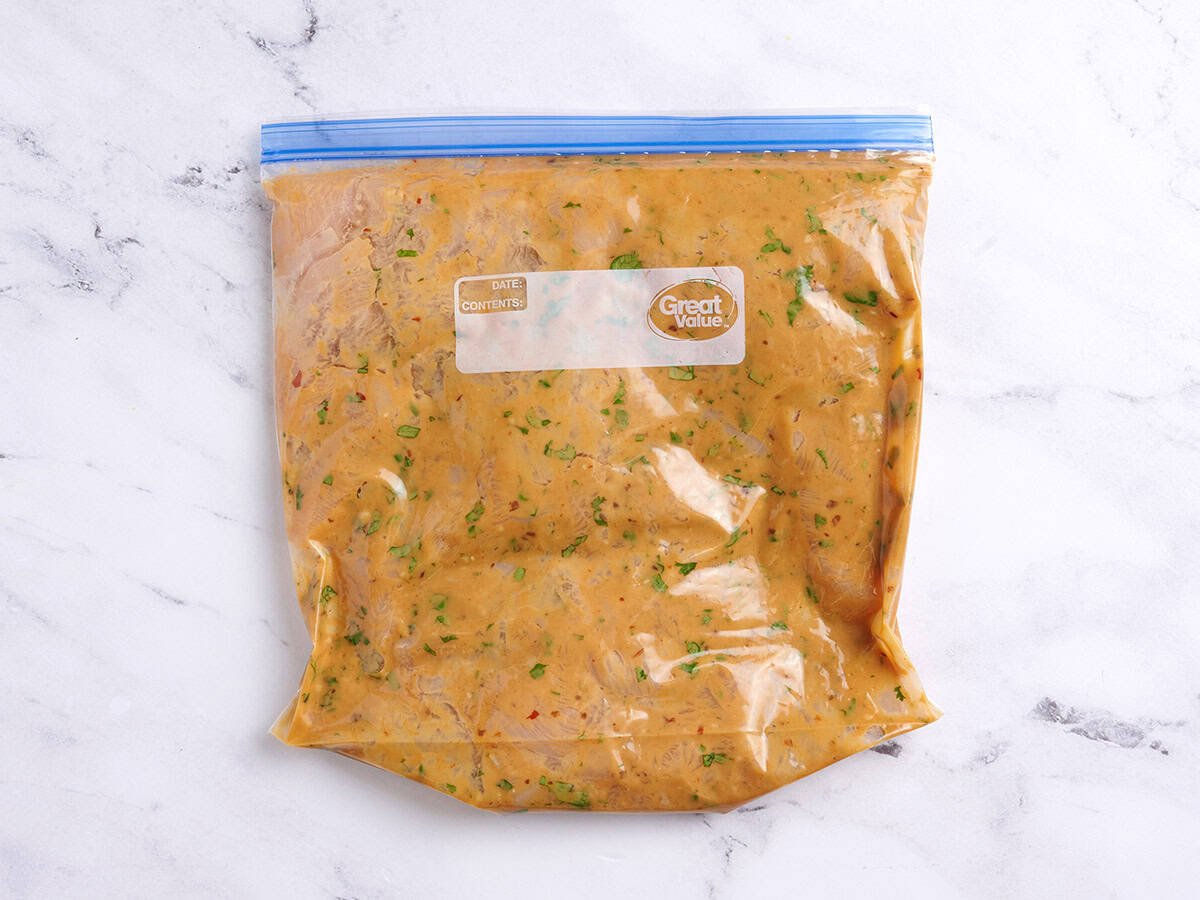
Press out the air using your hands, seal, and massage to coat the meat. Marinate in the refrigerator for at least 30 minutes or up to overnight. I like to put a baking sheet under the bag in the refrigerator just to be extra careful. You don’t want any of that raw chicken juice dripping in your fridge.
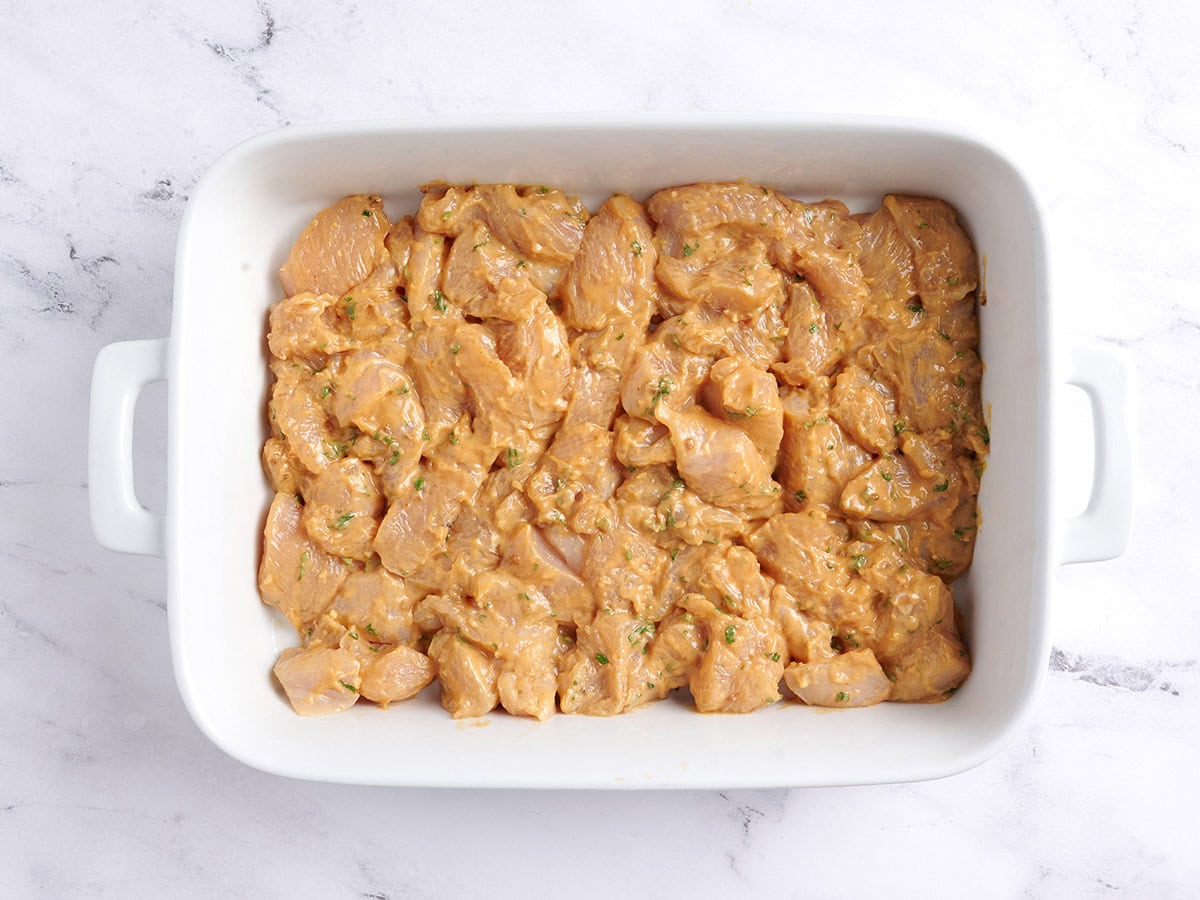
Bake: When you’re ready to cook, preheat your oven to 375°F. Pour the chicken pieces and all the marinade from the bag into the prepared casserole dish. Make sure they’re in a single layer for even cooking.
Bake the chicken in the preheated oven for 15 minutes, then use a brush or a fork to add the reserved peanut sauce to the top of the chicken.

Return the dish to the oven and cook for an additional 15 minutes. Make sure the internal temperature of the chicken reaches 165°F once done.
Use some kitchen tongs or a wooden spoon to fold and recombine the chicken pieces with the sauce in the bottom of the dish.
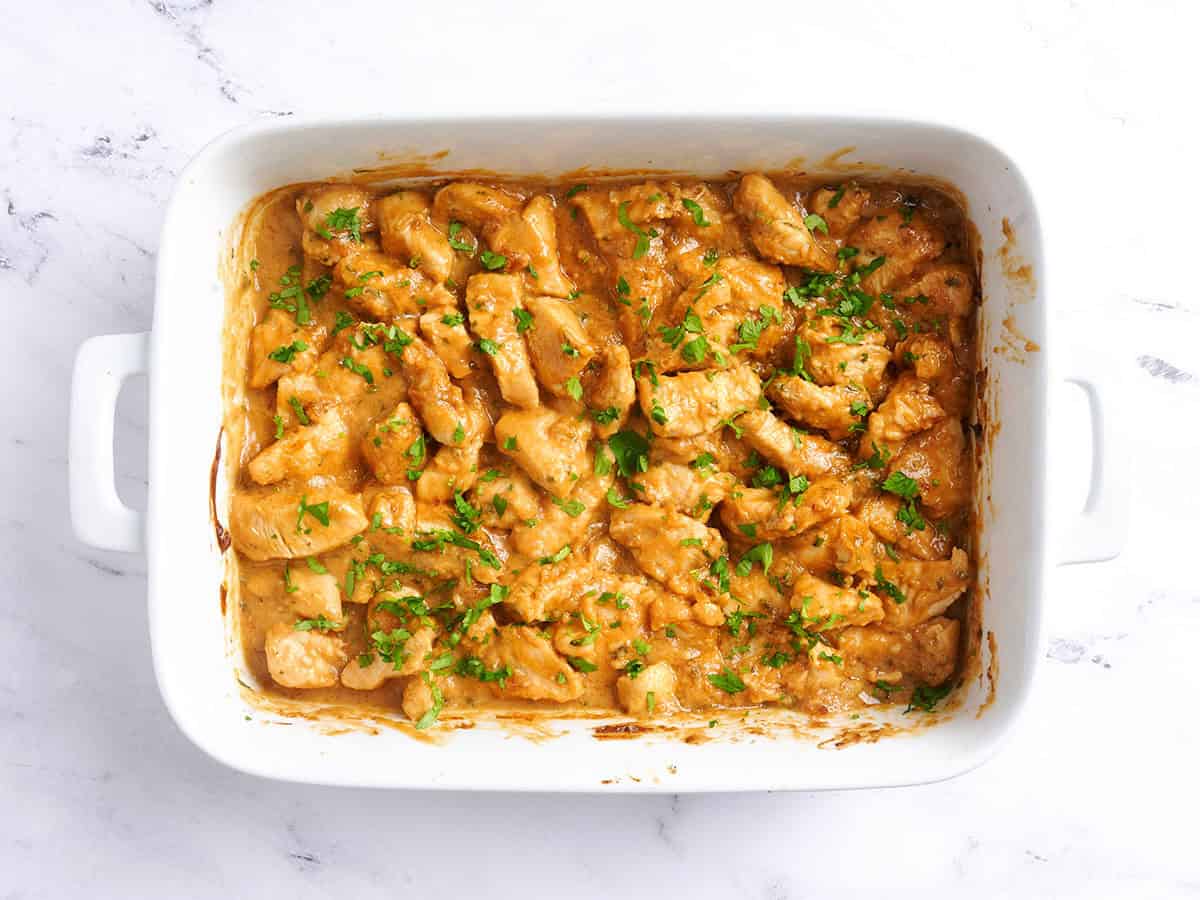
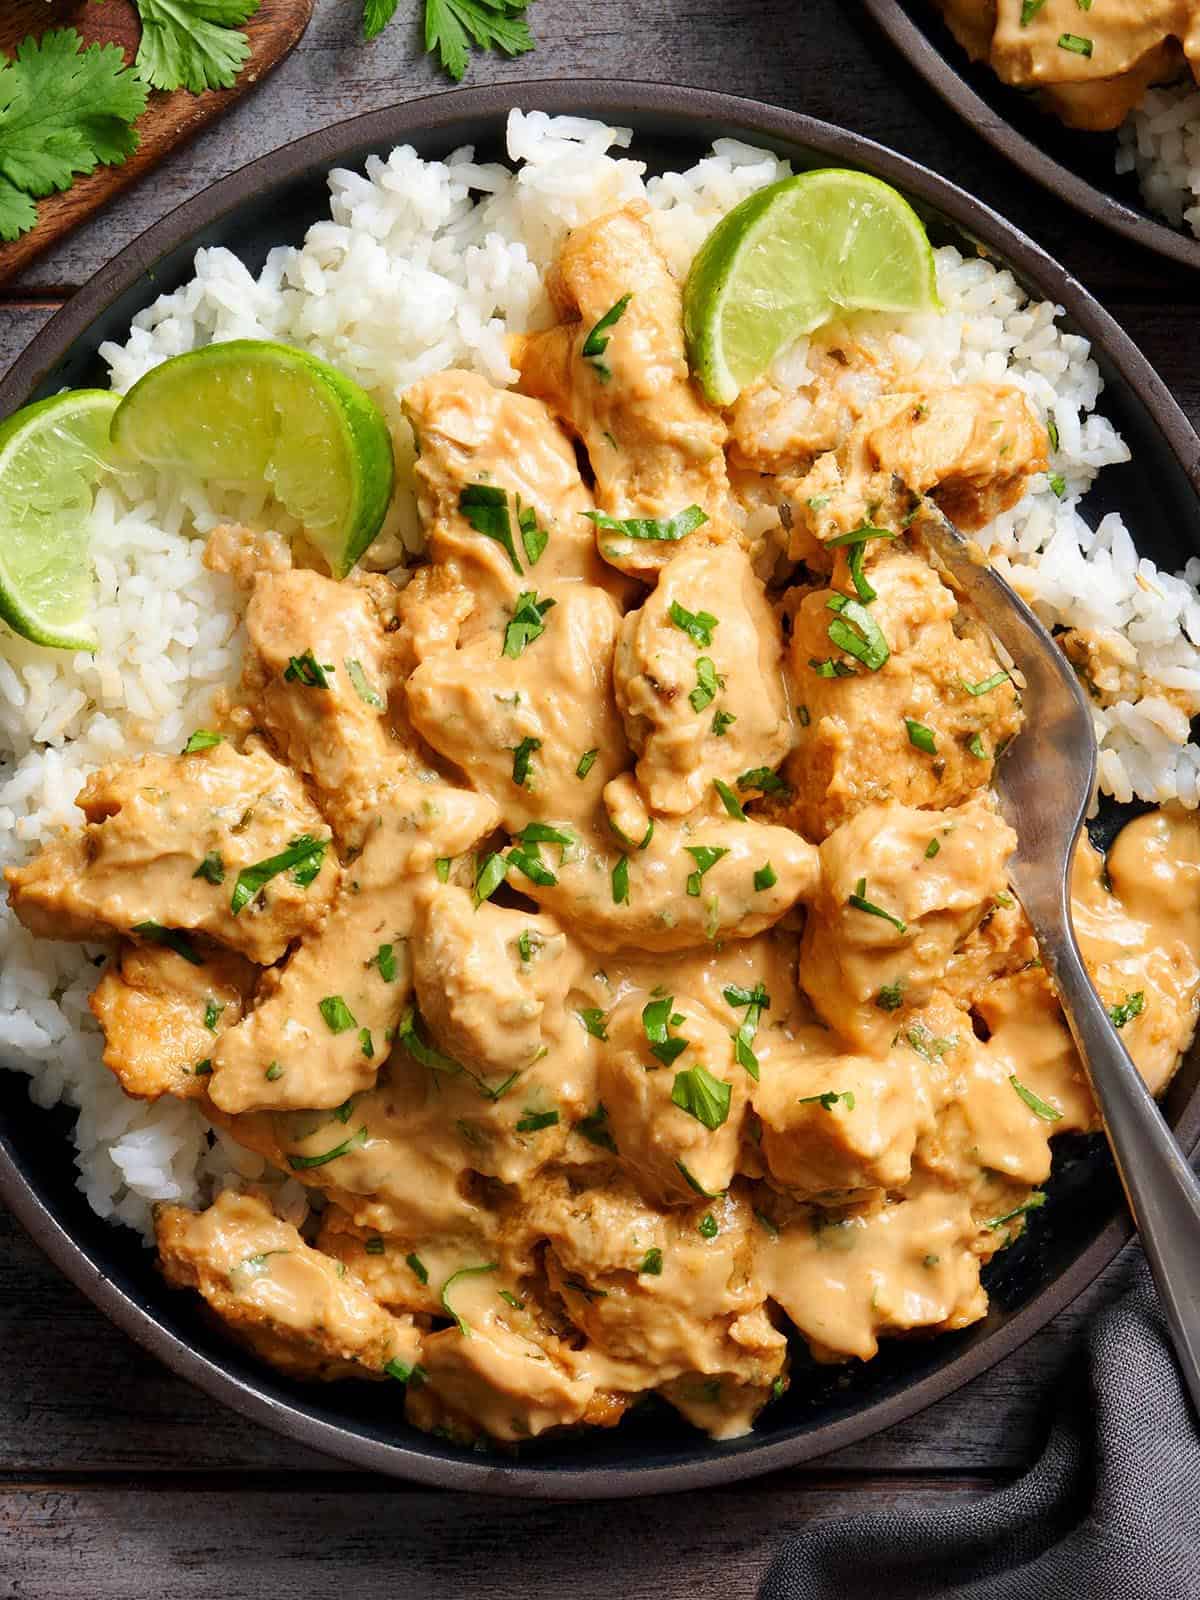
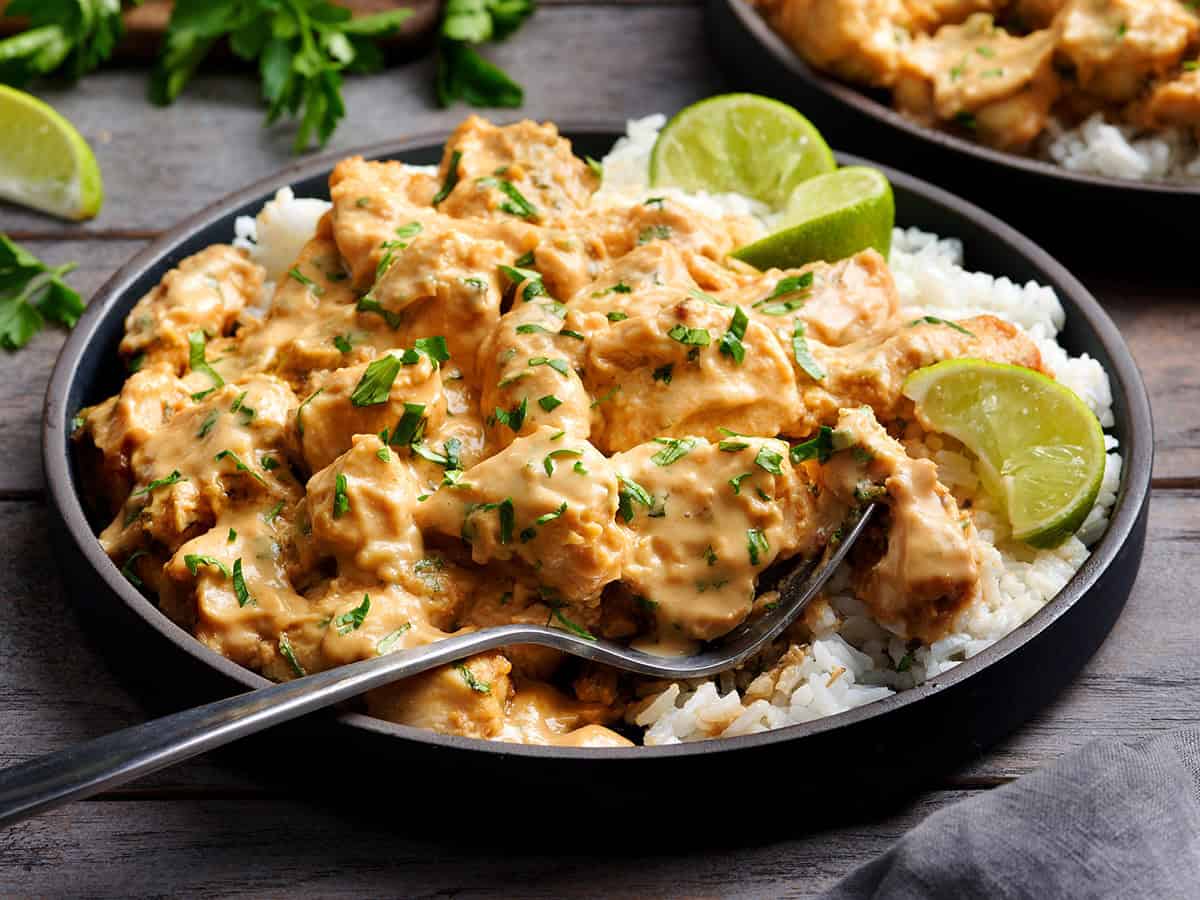
Serve: Top your baked Thai chicken satay with the reserved cilantro and serve. Enjoy!
Serving Suggestions
I like to serve this Thai chicken satay with a scoop of rice and call it a very good night. Coconut rice, regular jasmine rice or cilantro lime rice all taste amazing with the rich peanut sauce. Some noodles on the side would be a VERY good idea if you don’t fancy rice. My sesame kale is also perfect for something green and quick, as is my roasted broccoli salad. The crisp broccoli and crunch from the almonds is so good with the tender chicken.
Storage & Reheating
Let the chicken cool completely, then store it in an airtight container in the fridge for up to 3-4 days. The sauce will thicken as it sits, so don’t be surprised if leftovers look a little thicker! This also freezes really well, so you can portion it into freezer-safe containers and freeze for up to 3 months, then thaw overnight in the fridge. To reheat, warm it gently on the stovetop over low heat or in the microwave in short bursts, stirring in between. Add a small splash of water, chicken broth, or coconut milk if the sauce needs loosening back up.
More Peanut-Inspired Dinners You’ll Love
- Peanut Noodles with Chicken: These Peanut Noodles with Chicken are my go-to when I want a quick, creamy, and irresistible dinner.
- Spicy Peanut Sauce: This turns out so good I could eat it with a spoon, and I love using it on salads, pasta, or drizzled over rice pilaf.
- Thai Chicken Pizza: These individual Thai chicken pizzas on homemade naan are absolutely heavenly.
More Thai Inspired Recipes to Try


Our Thai Chicken Satay recipe was originally published 5/26/15. We have updated it to be the best it can be and republished 2/9/26.
This peanut sauce was perfection! I used honey instead if brown sugar and the reviews from my husband and sins was an enthusiastic “More!”
What’s a good substitute for cilantro if you’re (cooking for) one of those people who thinks it tastes like soap?
I made the updated recipe with chicken breast. This was really good! I’ve always wanted to make this flavor profile but just can’t be bothered with skewers so this was a hit right away. I did it with the suggested Sesame kale. This would double easily, it’s meal prep friendly, kid friendly, and busy mom friendly. ❤️
This is so good! I skip the brown sugar/honey, and add extra ginger and sriracha. We’re putting this on the grill for dinner tonight.
A side note: Honey does not save you any sugar. It is simply sugar processed by the bee. As a Type 1 (auto-immune) diabetic, I use honey as a quick rescue when my blood sugar drops dangerously low.
This is the best ever…I didn’t have time to marinate it but used it as a coating and baked it, so good!!!
The flavors were good but it wasn’t very saucy, what could I add going forward to make them saucier?
Yes, this one was not meant to be saucy. I’d need to try out some different things to figure out how to create a saucy version. Some coconut milk might work.
Yum yum yum! I ended up preparing these on the grill and they were delicious. Note for others interested in preparing on the grill: make sure to shake off as much marinade as possible or it will char.
Thank you for a delicious and flavourful chicken recipe. Used drumsticks that are marinated for several hours. And while baking…the whole house smelled wonderful.
I made this tonight with two big changes (based on whatbI had on hand and my growing aversion to using my oven lol).
I used breasts, sliced up thin. Then I noticed my costco-sized pb was close to empty, so I actually just mixed up the sauce in the jar and then threw my chicken in and shook it all up and stuck it in the fridge.
I cooked on the stove top in a pan and it turned out great. The only flaw was that the sauce separated a bit, but that was totally on me. I managed to scoop enough out, whisked it up, and then poured it back on the chicken to cook. Still really delicious and would totally make again, either with the original oven method, or with a few little adjustments to the stovetop method.
Sorry for this very late reply, but at about the time you wrote this, I purchased a very inexpensive counter top type air fryer–that just happens to have broil, bake, and convection modes(I know convection is “air fry” mode, but I think this isn’t quiet as fast). I was doubtful about its insultation, but it hasn’t overly heated any surrounding surfaces, and I use it constantly, even for baking a small cake or miniscule batch of cookies. Had I dreamed it would be so useful, I would have purchased a more expensive model, but this one, from Woot, was only $75 and is still performing yeoman jobs in my kitchen. Anyway, I used it for this recipe, 2 ways–with the marinade mostly wiped off and in the fry basket on air fry mode (I heated more marinade for a sauce on the stovetop and used a pan underneath the basket to catch drips–used a fairly moderate temp of 350. It was fast, but I’ve never actually timed it), and baked in the marinade as this recipe shows. We kind of liked the dry cooked version slightly better, but both methods were delicious and the chicken tender and moist both ways!
Simply. The. Best. Make sure you spoon up that pan sauce when it’s done and use it with your rice/chicken/side. Even my sister, a doctor with (overly)high standards loves this one! Pull it out when company’s coming :)
This was SO good! The chicken was moist and flavorful. Great Thai flavors! Thanks for another fantastic recipe, Beth!
Another great weeknight recipe that can be marinated beforehand. The flavour of the chicken is so good! I also did as suggested – I made the savory coconut rice to go with it and the combination was heavenly! I scraped off the extra sauce bits from the pan and ate it with rice.
We loved this recipe, although we made some slight alterations, we doubled the amount of sauce ingredients minus the peanut butter and added a teaspoon of fish sauce, a tablespoon of oyster sauce, two finely chopped thai chilies and substituted honey for palm sugar.
Additionally, the drumsticks you can buy in Germany are much smaller than those in the US, so our chicken only required 40 minutes of baking so we added the rest of the sauce after 25 minutes.
It was great served over coconut rice. Thanks for the recipe!
First of all this site is a lifesaver! Thank you Beth! It brought back my love for cooking. This recipe is soooo yummy, and I just made it tonight of my hubby and I. Theres only very minimal changes I made to the recipe, like one person said that the flavor is not absorbed, I adjusted to that by slicing the chicken legs a few cuts before marination. It will also ensure that the chicken is cooked in the oven. I decided to mince the ginger along with the garlic since we both enjoy the taste of ginger. I only marinaded for 60 min and putting on the other half of the peanut sauce after 30 min of baking is genius! it adds so much flavor to the dish. As for peanut butter i just used the regular creamy peanut butter.
The sauce was really good, but I didn’t care for the final product. My husband and two kids agreed this would have been better with small pieces of chicken cut up (thighs or breasts) as opposed to drumsticks and the served over rice. The flavor did not soak into the chicken even though I marinated in the fridge for 6+ hours. The drumsticks were really sticky and messy to eat, and not like hot-wings messy. I’m not sure why my drumsticks were so wet at the end. Everything was cooked through, but they definitely didn’t turn out like the picture above.