

There’s something about peach season that gets me every time. When those ripe, juicy peaches start showing up at the market, I know it’s pie time. And nothing screams summer comfort quite like a homemade Peach Pie! After testing and tweaking this recipe more times than I can count, I’m convinced it’s the easiest peach pie you’ll ever make. I use a store-bought crust to keep things simple, and while fresh peaches are my favorite when they’re in season, frozen or canned work just as well, so you can make this dessert recipe anytime.
All recipes are rigorously tested in our Nashville Test Kitchen to ensure they are easy, affordable, and delicious.
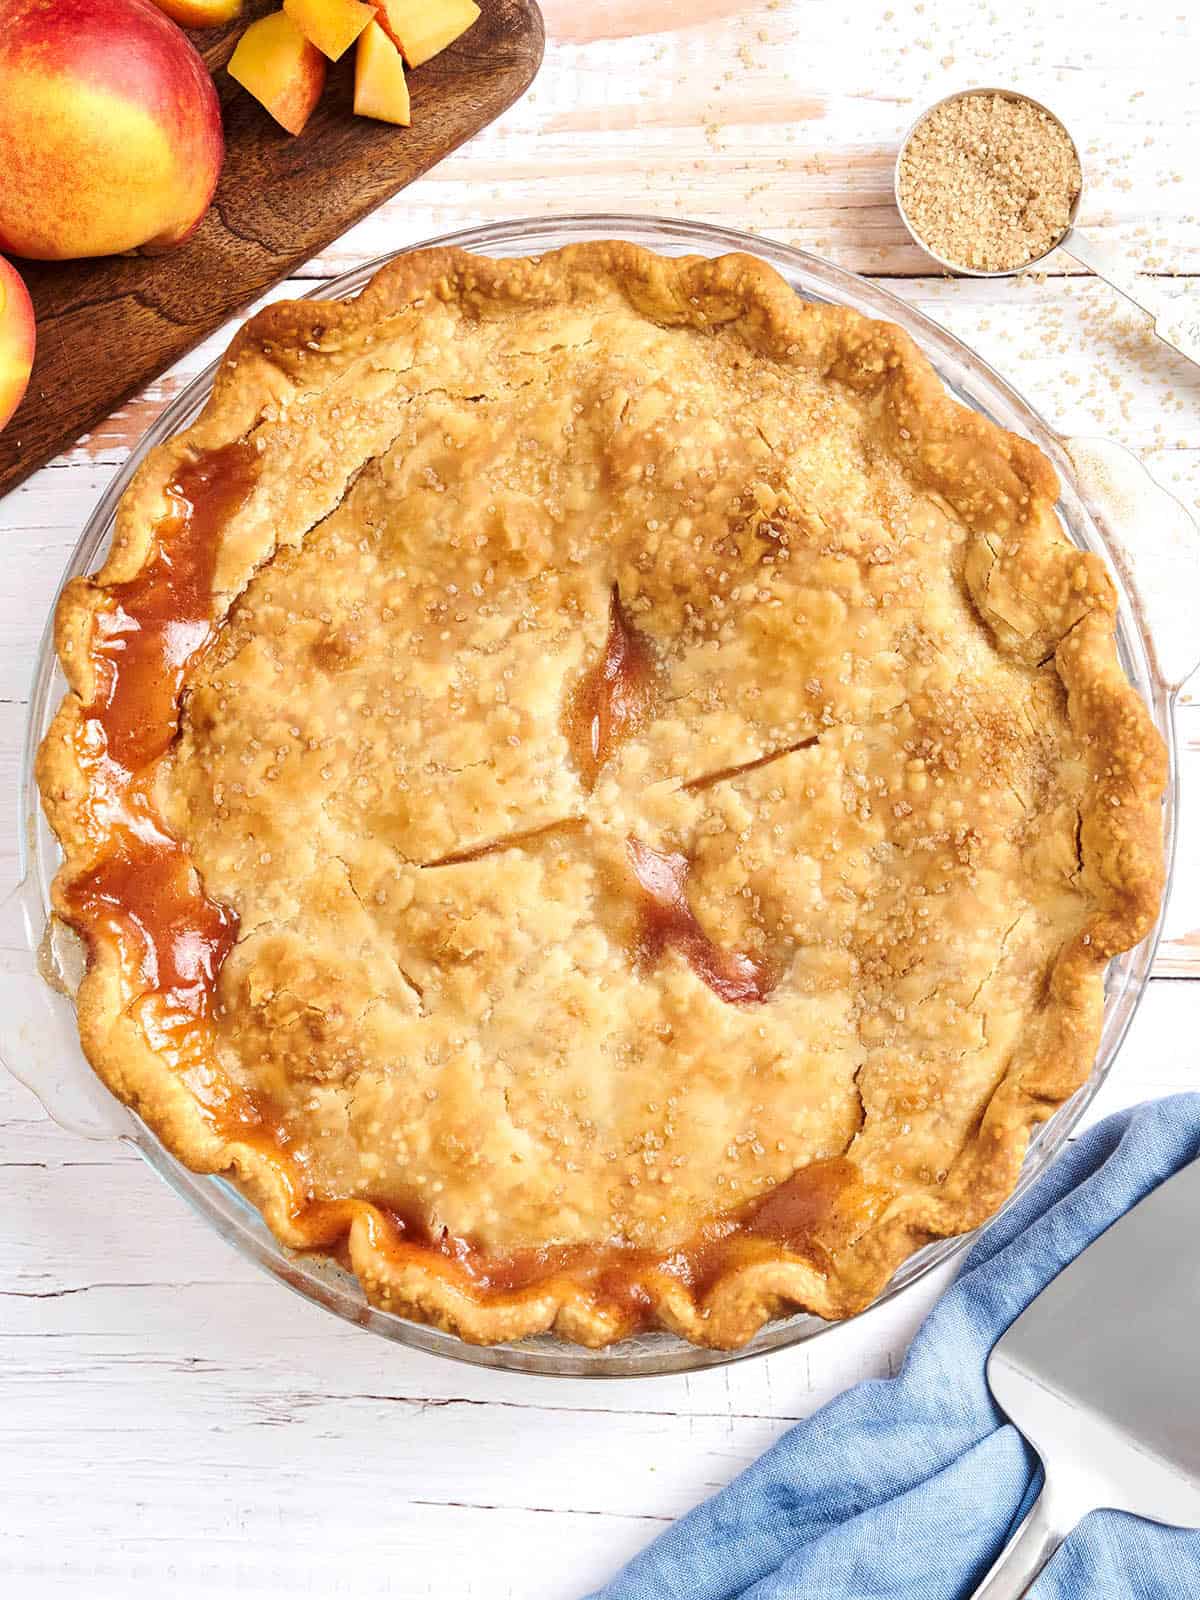
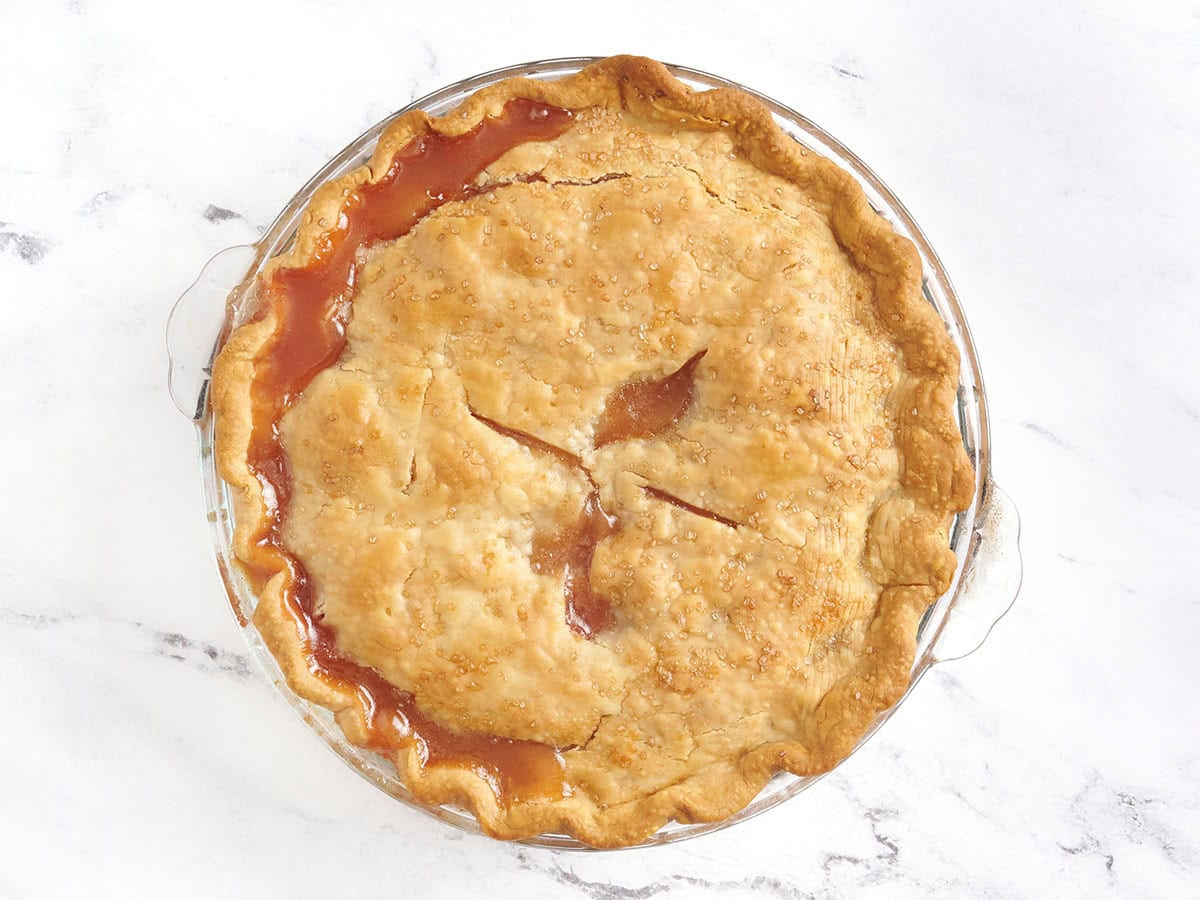
Homemade Peach Pie with a Flaky Crust
This easy peach pie recipe is full of juicy peaches and a hint of cinnamon and ginger to highlight their natural sweetness without overpowering it. The filling bakes up gooey and golden while the crust turns crisp and buttery in the oven. If you’ve tried my peach cobbler, you’ll find this pie has a similar cozy peach flavor, only this time tucked into a buttery double crust!
Since peach pie does take some time to bake and cool (the filling needs a few hours to set before slicing), I always plan ahead and make it earlier in the day. It’s totally worth it though, especially since the simple, budget-friendly ingredients keep it both easy and affordable! Serve it slightly warm with a scoop of vanilla ice cream, and you’ll see what I mean.
Peach Pie
Cost $10.14 recipe / $1.27 serving
Ingredients
- 6 cups fresh peaches (pitted and chopped, $4.35*)
- ¾ cup brown sugar ($0.81)
- ¼ cup all-purpose flour ($0.24)
- 1 Tbsp lemon juice ($0.06)
- ½ tsp ground cinnamon ($0.03)
- ¼ tsp ground ginger ($0.04)
- 2 pie crusts (double pie crust, $4.24**)
- 3 Tbsp salted butter (small cube (divided) $0.37)
Instructions
- Gather the ingredients and place a sheet pan on the lower third rack of the oven (to catch drips and help the bottom crust cook evenly). Preheat the oven to 400°F.
- Chop your peaches and remove the pits.
- In a large bowl, combine peaches, brown sugar, flour, lemon juice, cinnamon, and ground ginger. Stir until evenly coated.
- Roll out one pie crust and gently press it into the pie dish, making sure it’s evenly spaced and pressed into the corners.
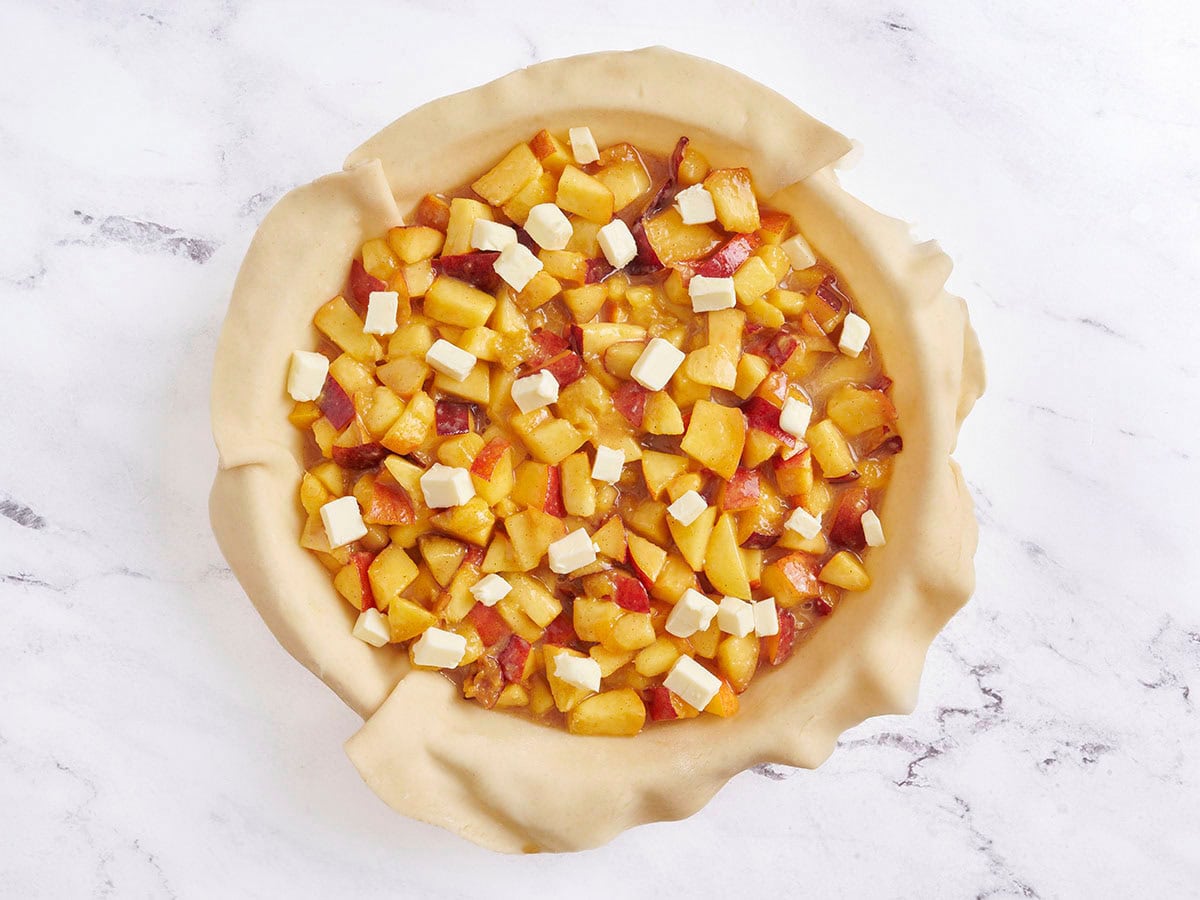
- Pour the peach filling into the crust-lined pie dish. Dot the top with 2 Tbsp cubed butter.
- Roll out the second crust and place it over the filling, pinching the edges of the bottom and top crusts together.
- Crimp the edges of the pie and cut vents. Melt the remaining 1 Tbsp of melted butter and brush it on top of the pie evenly.***
- Cover the edges of the crust with a pie shield or foil to prevent over-browning. Place the pie on the preheated sheet pan in the oven. Bake at 400°F for 25 minutes.
- Reduce the oven temperature to 375°F, remove the pie shield/foil, and continue baking for 40–55 minutes, or until the crust is golden and the filling is bubbling up through the vents.
- Let the pie cool for at least 3 hours before slicing to allow the filling to fully set. Enjoy!
See how we calculate recipe costs here.
Notes
Nutrition Information
how to make Peach Pie step-by-step photos

Gather all of your ingredients. Place a sheet pan on the lower third rack of your oven to catch any drips (this peach pie filling can be bubbly!) and help the bottom crust cook evenly. Now preheat your oven to 400°F.

Make the pie filling: Chop the peaches into a small dice and remove the pits (you need 6 cups total, which was about 6 fresh peaches for me, although your yield may vary depending on the size of your peaches). I use yellow clingstone peaches, so the pits can be quite tricky to remove. Slice the peach in half from top to bottom, twist the halves apart, and then carefully use the tip of your knife (or a spoon) to loosen the pit.
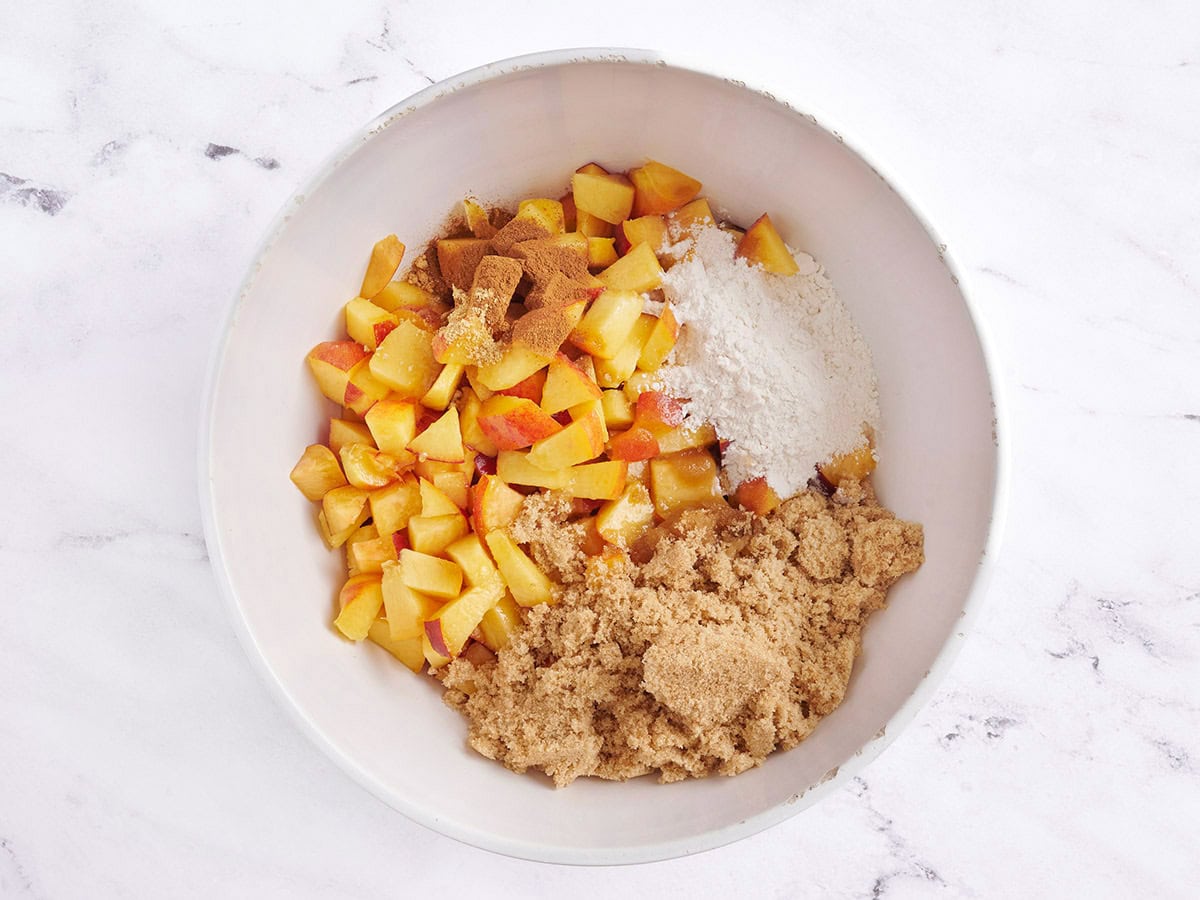
Add the diced peaches, ¾ cup brown sugar, ¼ cup flour, 1 Tbsp lemon juice, ½ tsp cinnamon, and ¼ tsp ground ginger to a large bowl. Stir until the peaches are evenly coated in the sugar and spices.
Make the pie: Roll out one pie crust and gently press it into a 9-inch pie dish, making sure it’s evenly spaced and pressed into the corners. Be careful not to tug or pull on the crust, as this can cause tears.
Add the peach filling to the crust-lined baking dish and dot with 2 Tbsp cubed butter on top.
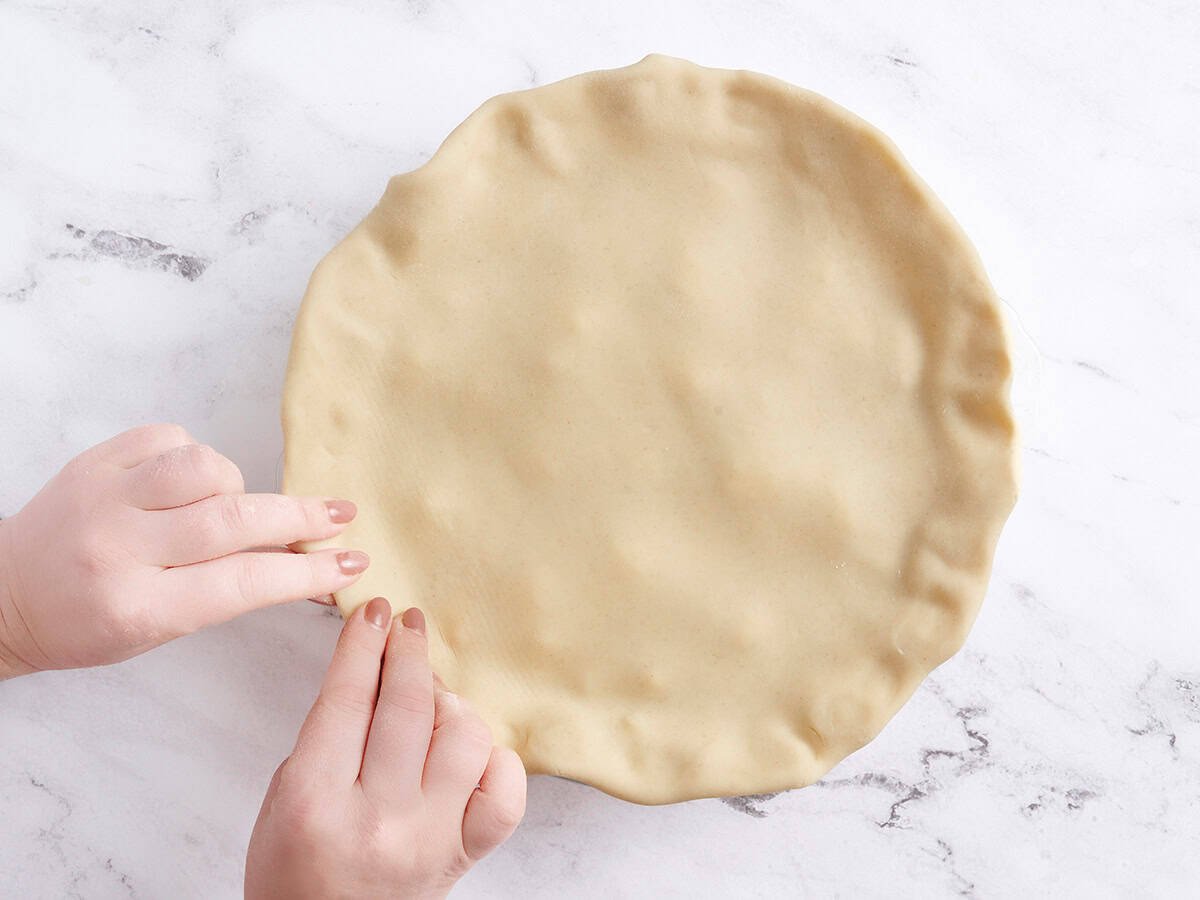
Now roll out the second pie crust and place it over the top of the pie dish. Pinch the edges of the top and bottom crusts closed all the way around the dish.
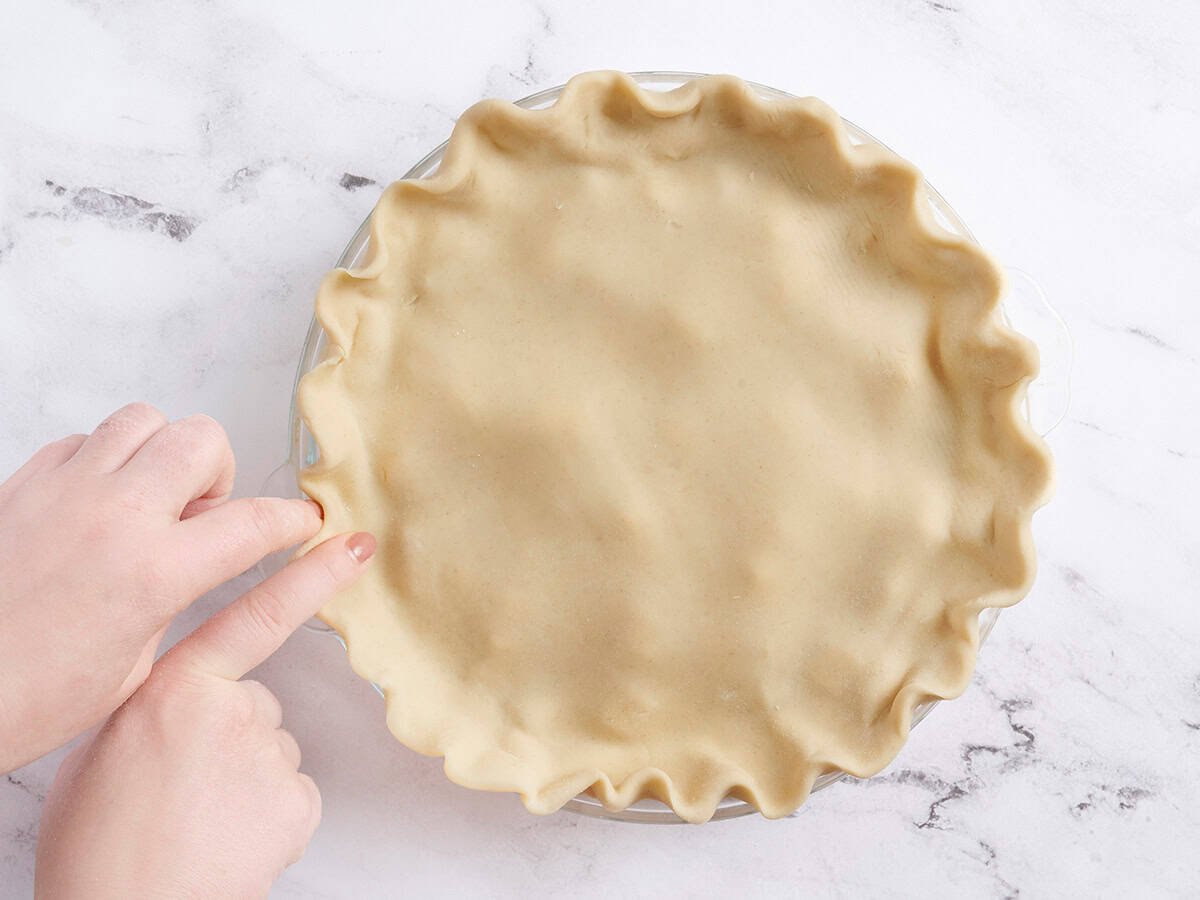
Use your fingers to crimp the edges of the crust to make it look extra pretty when it comes out of the oven!
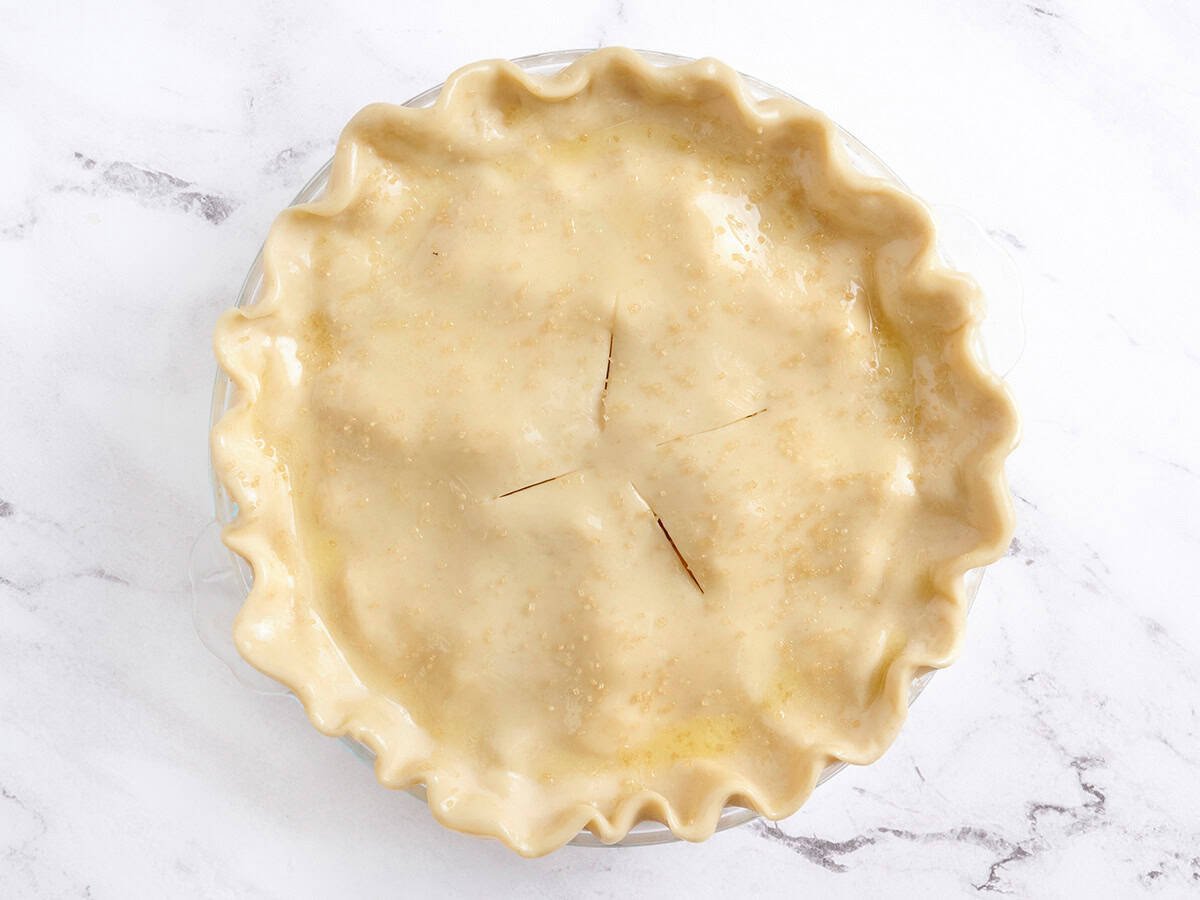
Cut four vents into the top crust (being careful not to slice all the way through). Brush the top of the pie evenly with 1 Tbsp melted butter. I also like to sprinkle the top crust with turbinado sugar for a sparkly finish, but this is optional!
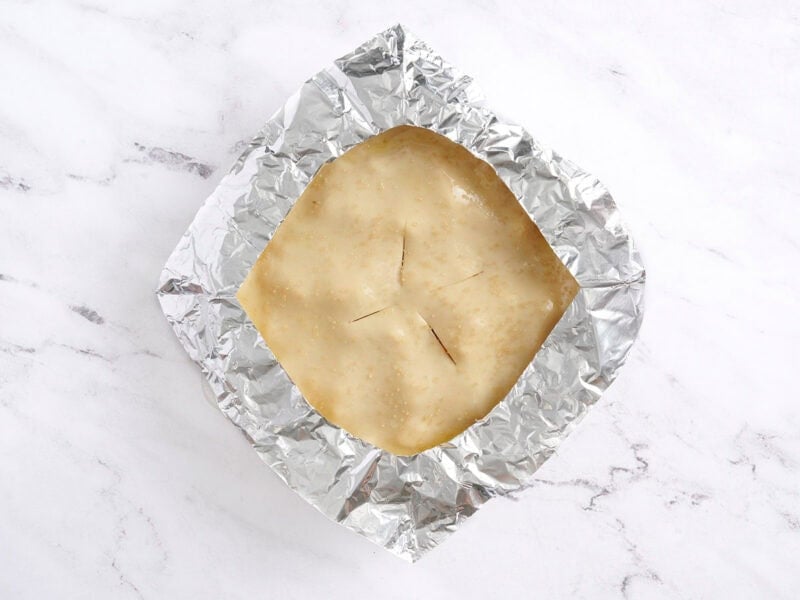
Bake the pie: Cover the edges of the pie with a pie shield or foil collar to avoid over-browning. Place the dish onto the preheated sheet pan in the oven and bake at 400°F for 25 minutes.
Then reduce the oven temperature to 375°F and remove the pie shield/foil collar. Bake for a further 40-55 minutes, depending on your oven, until the crust is golden and the filling is bubbling up through the vents.
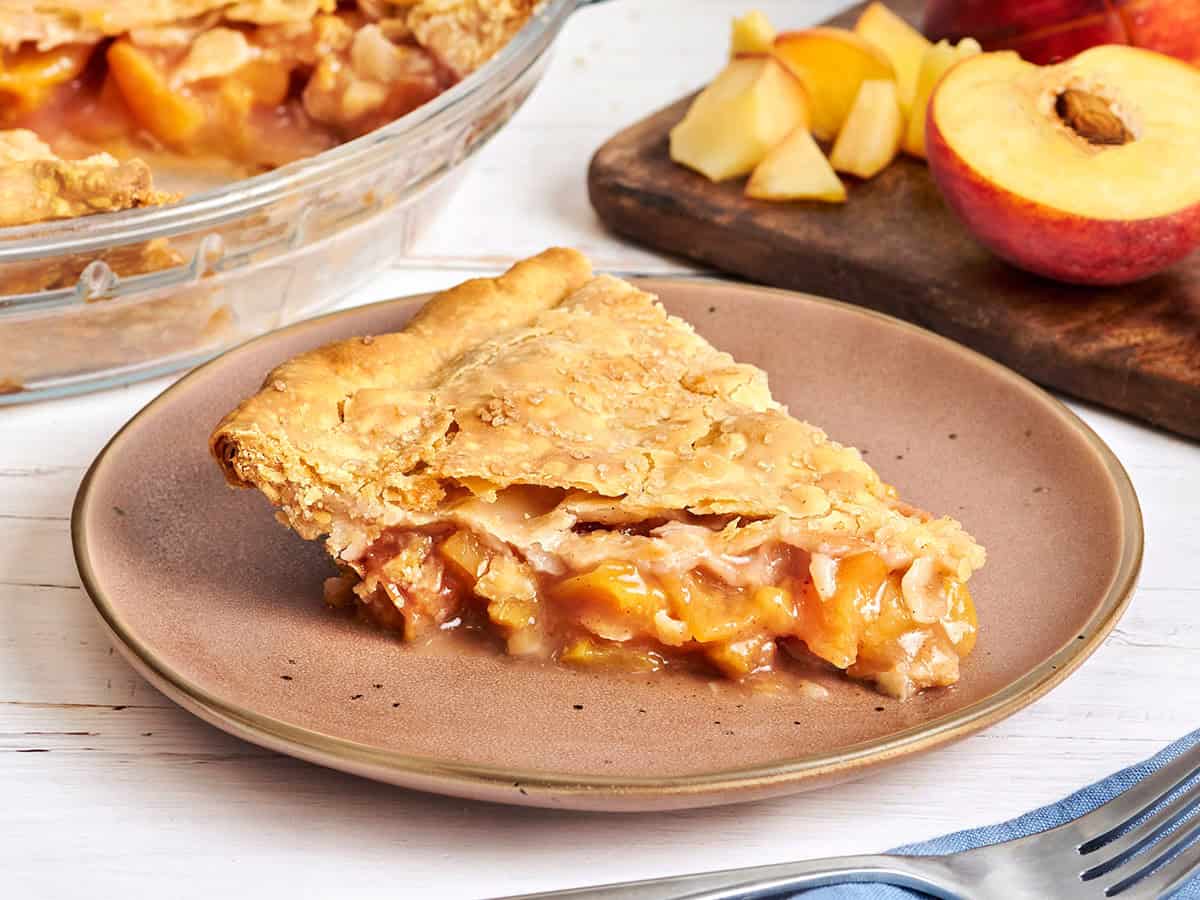
Let it cool: Allow your homemade peach pie to cool for at least 3 hours before slicing. This is a very important step as it allows the filling to set up nicely. After 3 hours, slice and serve! Enjoy.
Recipe Success Tips!
This is a beginner-friendly pie that delivers big flavor without a lot of fuss. From here, you can branch out to other classics like strawberry rhubarb pie or apple pie! Here are a few tips to help you get the best results every time:
- To peel or not to peel. I don’t bother peeling my peaches because the skins soften as they bake, and I like the bit of texture. But if you’d rather peel them, you’ve got options. Use a vegetable peeler, or slice a small ‘X’ in the bottom of each peach, blanch them in boiling water for 30 seconds, move to an ice bath, and then remove the skins.
- Assemble right before baking. Don’t make the filling or assemble the pie too far in advance. The peach filling will release too much liquid the longer it sits. Mix it up, assemble, and bake it right away for the best texture.
- Use a preheated baking sheet. Place your pie dish on a hot baking sheet in the oven. It helps the bottom crust cook through and prevents sogginess (plus it catches any drips).
- Have fun with the design. I kept things simple with a crimped finger edge and a few vents, but you can get creative with a lattice crust! Or for an even simpler pie, press the edges with a fork. However you style it, make sure there are vents so steam can escape during baking.
- Start hot, then lower the heat. I start with a higher oven temperature to help the crust set quickly, which helps avoid the dreaded soggy bottom crust. Then lowering the oven temp afterward ensures the filling cooks evenly without over-browning the crust.
- Let it cool completely. Your fresh peach pie needs several hours to cool so the filling can set. If you cut it too soon, the slices won’t hold their shape, and the filling will be soupy!
How to Serve Peach Pie
After the filling has set, slice the pie and serve it at room temperature or slightly warmed (the oven or an air fryer is good for this!). A scoop of vanilla ice cream, a dollop of whipped cream, or a drizzle of caramel sauce makes it extra special. For neat slices, I use a sharp knife and wipe it clean between cuts.
Storage & Reheating
You can keep your peach pie at room temperature for up to a day if it’s loosely covered with foil or plastic wrap. For longer storage, cover and refrigerate it for up to 4 days. The crust might soften in the fridge, but the flavor stays just as good.
If you’d like to freeze it, wrap the whole baked pie tightly in plastic wrap and foil, and it’ll keep for up to 3 months. Make sure your pie dish is freezer-safe first! Thaw it overnight in the fridge before warming. You can also freeze individual slices by wrapping each one and storing it in a freezer-safe bag or container.
To bring your pie back to life, warm slices in the oven or air fryer at 300°F for about 10–15 minutes. This helps the crust crisp up again. I don’t recommend microwaving, since it tends to make the crust soft instead of flaky.


I made this but had half strawberries, half peaches and a couple tablespoons cornstarch. Turned out pretty good, positive reviews from family, and overall a tasty pie. A rather uninspiring spice profile is the only feedback I have.
Very tasty and easy recipe. I used a vegetable dicer, which made the prep even easier. At step 9, I checked it after 20 minutes and it was already very brown; no need for the remaining 20 minutes