
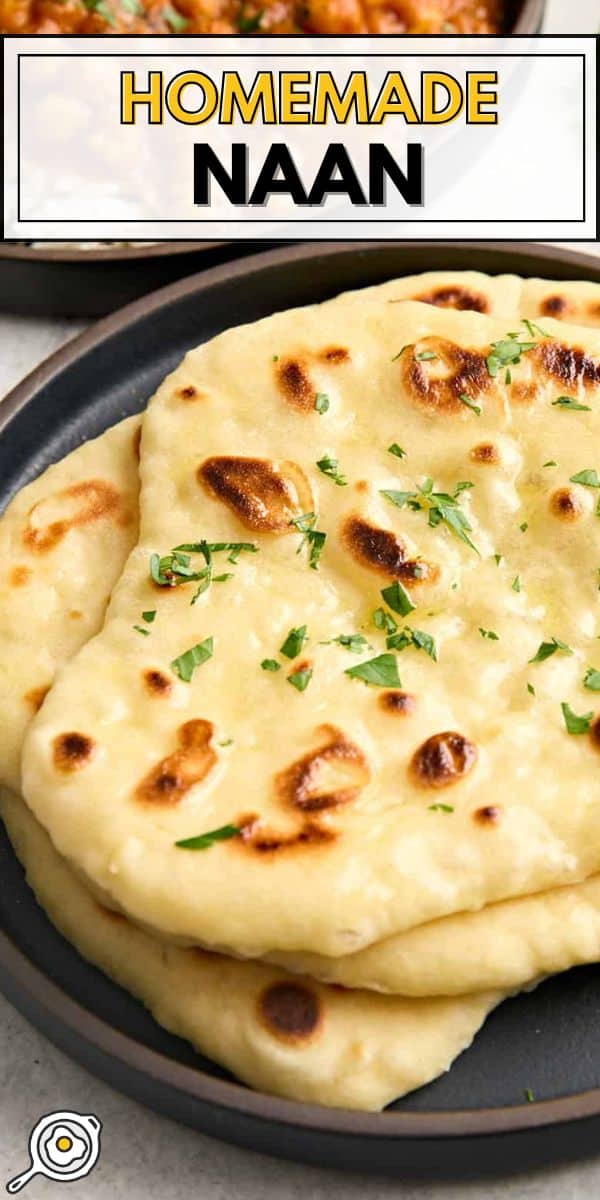
It’s been almost fifteen years since I first made this Homemade Naan recipe, and it still blows my mind every time! This homemade naan is oh so soft and pillowy, full of lovely bubbles, and just so extremely versatile. Use it for mini pizzas, wrap sandwiches, dipping in stews and sauces, and more! Plus, this recipe is very freezer-friendly, so it’s well worth the effort to whip up a batch. I promise you won’t be sorry!

All recipes are rigorously tested in our Nashville Test Kitchen to ensure they are easy, affordable, and delicious.
“This naan bread recipe has been my go-to for the last 10 years. It’s that good! Simple ingredients, easy steps to follow and absolutely delicious results. I highly recommend!”
Angie
Easy Recipe for Homemade Naan
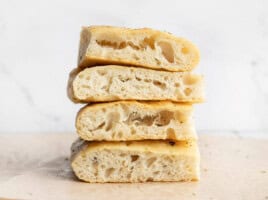
Naan is a traditional flatbread from South and Central Asia, traditionally baked against the hot clay walls of a tandoor oven for that signature bubbly texture. In my recipe, I make my dough with yogurt for a subtle tang, an egg to keep it extra soft and pillowy (but you can leave the egg out if desired), and a touch of yeast to help it puff up beautifully in a hot skillet. It’s easy, satisfying, and perfect for scooping up curries, making wraps, or enjoying warm with a swipe of butter or ghee. 🤤
Recipe Success Tips
- If you don’t like the taste of olive oil, you can use any other oil you like! Just note that strongly flavored oils will flavor your bread.
- This recipe works with full-fat and low-fat plain yogurt, including Greek yogurt. You’ll likely need to use less flour if you use Greek yogurt, as it contains less moisture. I like to use plain, full-fat yogurt (not Greek).
- Be sure to use in-date active dry or instant yeast; otherwise, your dough won’t rise.
- I cook my naan in a dry skillet, but I won’t stop you if you want to add a little oil to the pan. It’s totally up to you. As for the type of skillet to use, I’ve made this recipe with so many different skillets over the years, and they’ve all worked out great. Just make sure your skillet is nice and hot before adding the dough!
Homemade Naan Recipe
Cost $2.62 recipe / $0.32 serving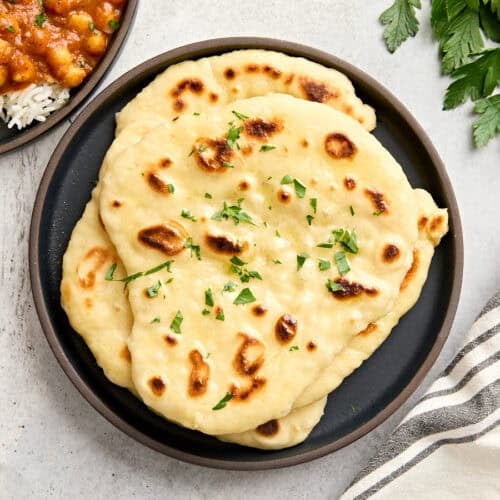
Ingredients
- 2 tsp dry active yeast (or instant yeast, $0.62)
- 1 tsp sugar ($0.01)
- 1/2 cup (120 ml) warm water ($0.00)
- 2.5-3 cups (350-420 g) all-purpose flour* (divided, see notes, $0.40)
- 1/2 tsp salt ($0.01)
- 1/4 cup (60 ml) olive oil ($0.84)
- 1/3 cup (80 ml) plain yogurt (see notes, $0.29)
- 1 large egg (see notes, $0.45)
Video
Instructions
- In a small bowl, combine the yeast, sugar and warm water. Stir to dissolve then let sit for a few minutes or until it is frothy on top. Once frothy, whisk in the oil, yogurt, and egg until evenly combined.
- In a separate medium bowl, combine 1 cup (140g) of the flour with the salt. Next, pour the bowl of wet ingredients to the flour/salt mixture and stir until well combined. Continue adding flour, a half cup (70g) at a time, until you can no longer stir it with a spoon (about 1 to 1.5 cups later).
- At that point, turn the ball of dough out onto a lightly floured surface and knead the ball of dough for about 3 minutes, adding small amounts of flour as necessary to keep the dough from sticking. You'll end up using between 2.5 (350g) to 3 cups (420g) flour total. The dough should be smooth and very soft but not sticky. Avoid adding excessive amounts of flour as you knead, as this can make the dough too dry and stiff.
- Loosely cover the dough and let it rise until double in size (about 1 hour). After it rises, gently flatten the dough into a disc and cut it into 8 equal pieces. Shape each piece into a small ball.
- Heat a large, heavy bottomed skillet over medium heat. Working with one ball at a time, roll it out until it is about 1/4 inch thick or approximately 6 inches in diameter. Place the rolled out dough onto the hot skillet and cook until the bottom is golden brown and large bubbles have formed on the surface (see photos below). Flip the dough and cook the other side until golden brown as well. Stack the cooked flat bread on a plate and cover with a towel to keep warm as you cook the remaining pieces. Serve plain or brushed with melted butter and sprinkled with herbs!
See how we calculate recipe costs here.
Notes
How To Make Garlic Naan
It’s really easy to transform this recipe into a garlic-flavored naan. Simply add about ½ tsp of garlic powder in with the flour and salt, and then after cooking, you’ll want to brush it with some fresh garlic butter. To make the garlic butter, mince a couple of cloves of garlic and then stir them into a few tablespoons of melted butter.Nutrition Information
How to Make Homemade Naan Step-by-Step Photos
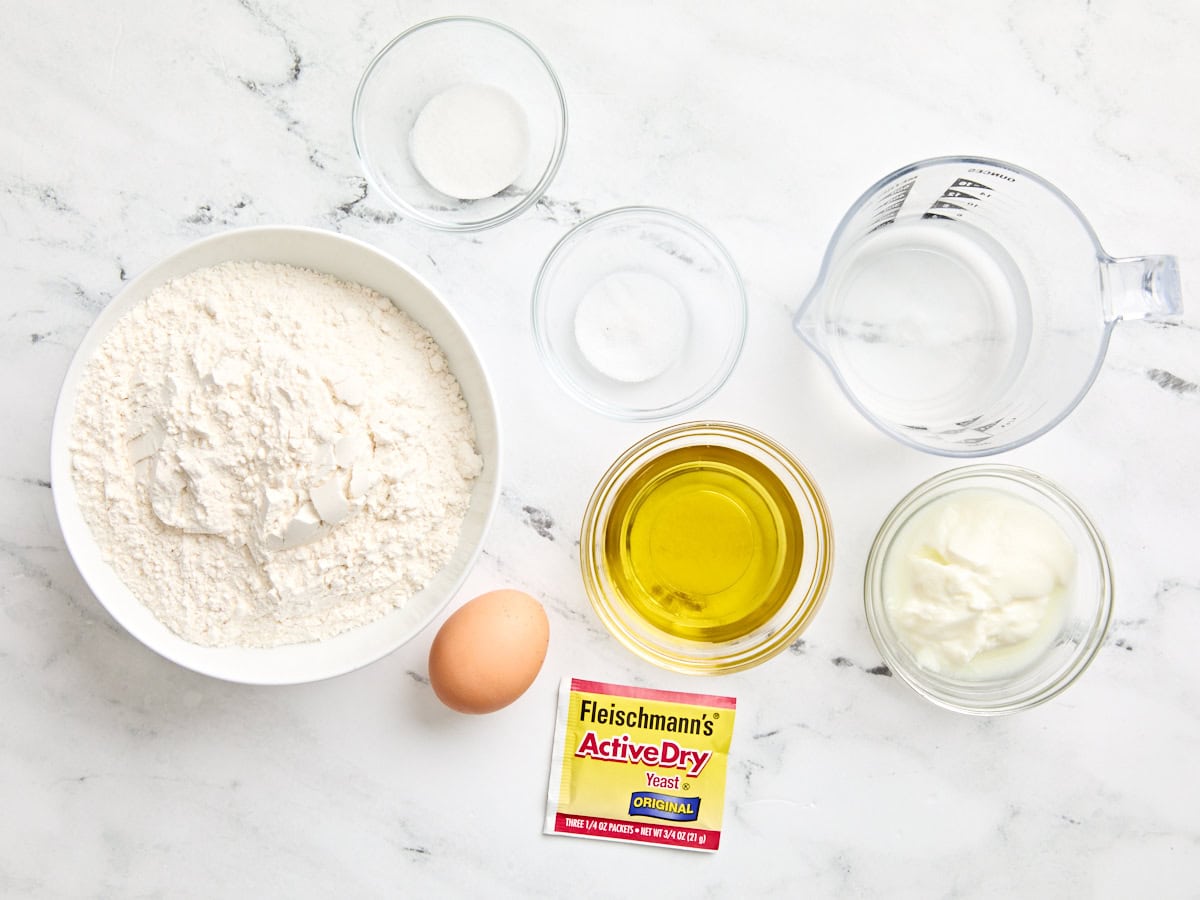
Gather all of your ingredients.
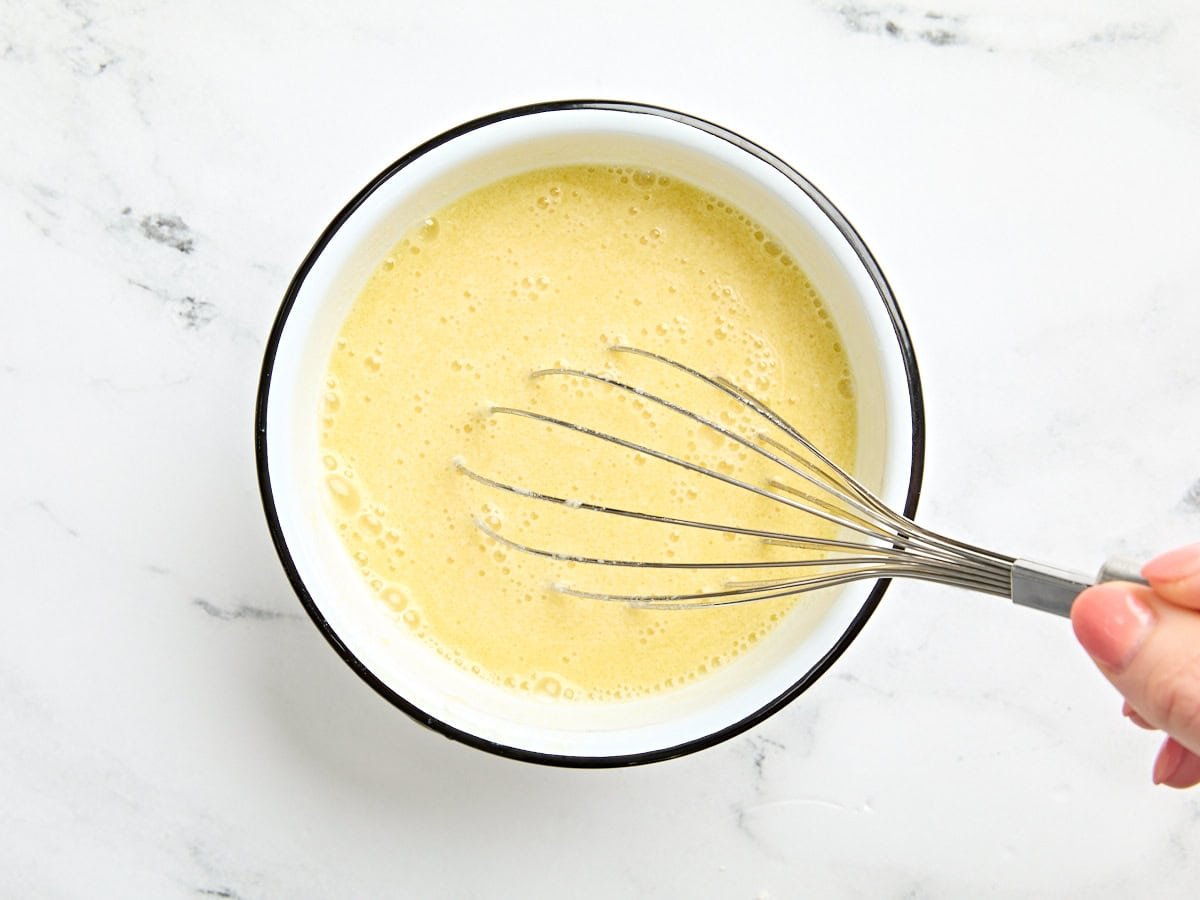
Combine the wet ingredients: Start by dissolving 2 tsp yeast and 1 tsp sugar into 1/2 cup warm water. Let the mixture sit for a few minutes or until it becomes frothy. Meanwhile, measure out 1/3 cup plain yogurt (regular or Greek style), 1/4 cup olive oil, and 1 large egg. Once the yeast mixture is frothy, whisk the yogurt, oil, and egg into the yeast water until smooth.
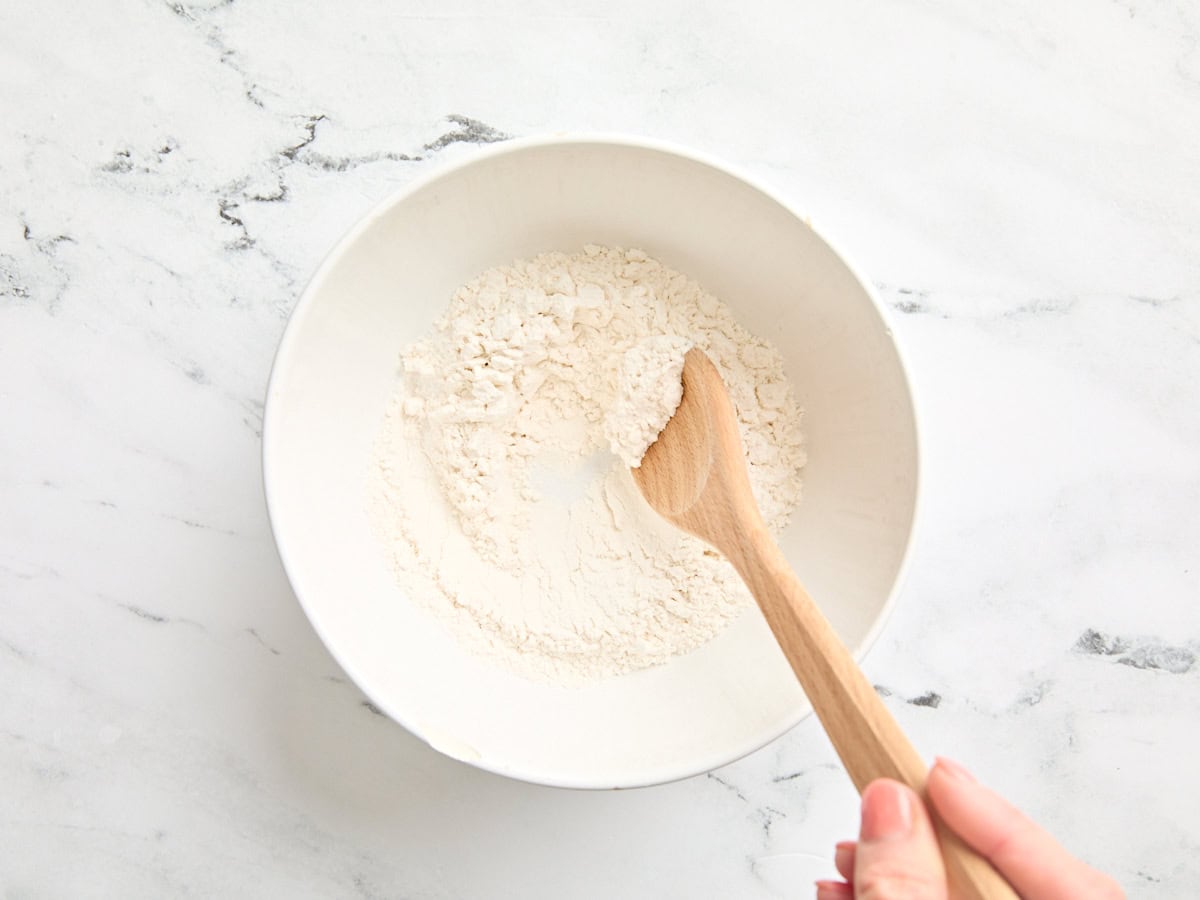
Combine the dry ingredients: In a separate bowl, mix only 1 cup of the flour with 1/2 tsp salt until they’re evenly mixed.
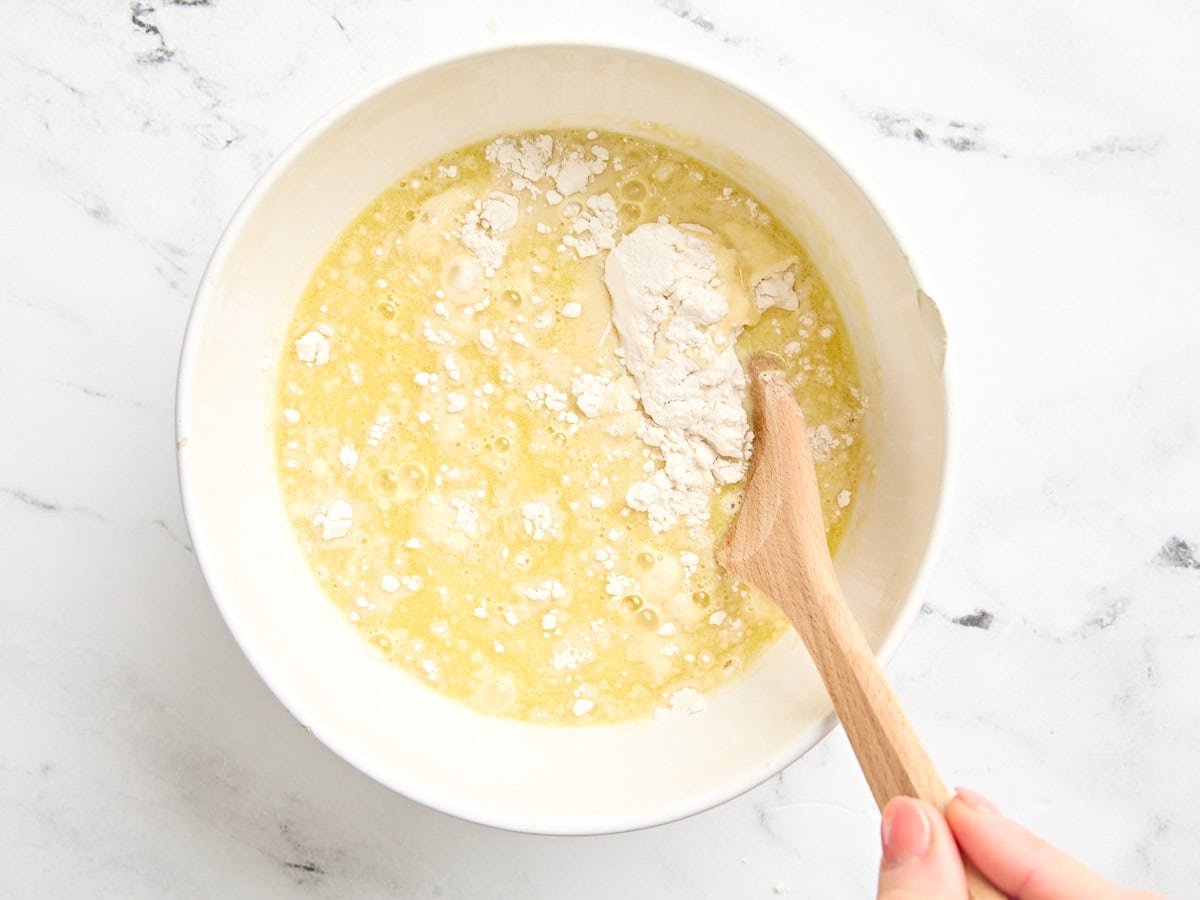
Make the dough: Pour the bowl of wet ingredients into the bowl of dry ingredients and stir well.
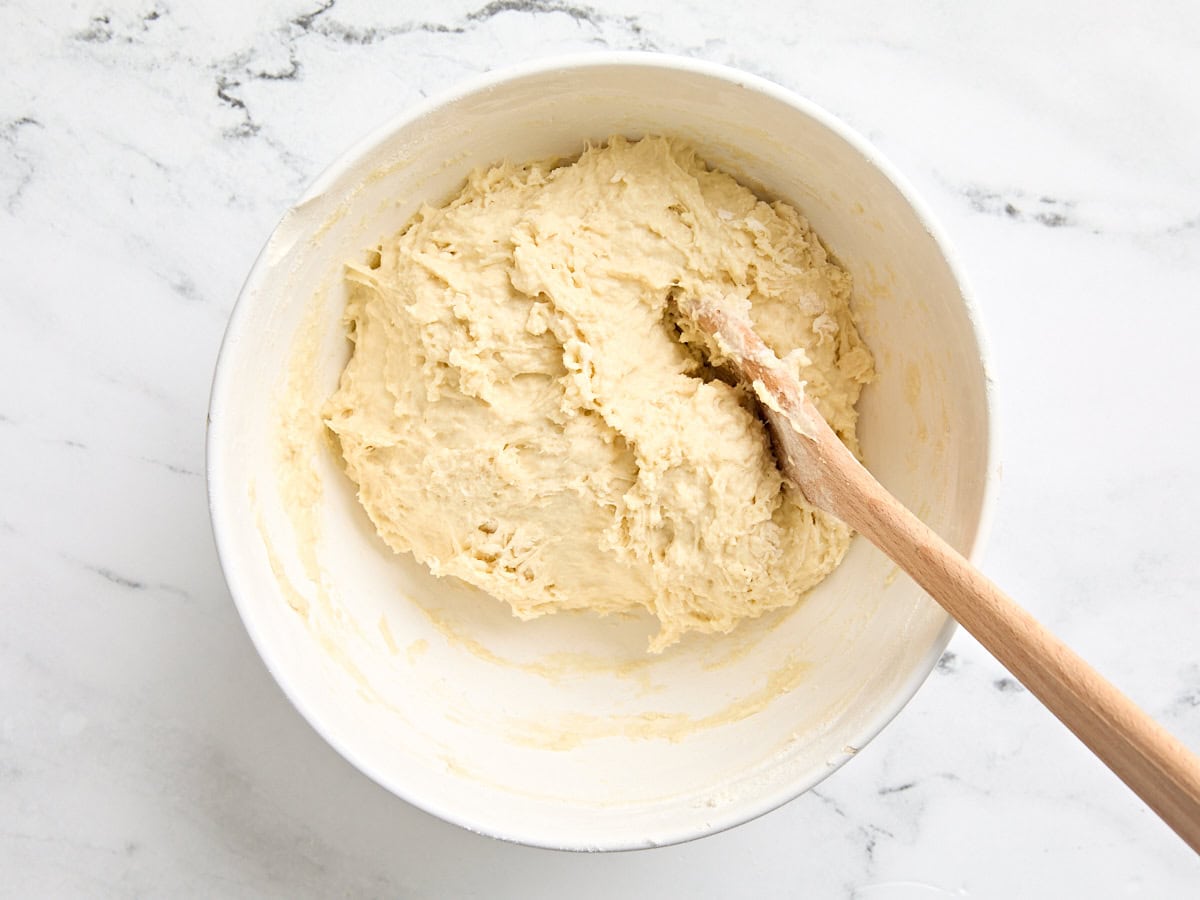
Continue adding flour, a half cup at a time, until it forms a cohesive ball of dough that you can no longer stir with a spoon (about 1 to 1.5 cups later).
Turn the ball of dough out onto a lightly floured surface and knead for 3 minutes. Add small amounts of flour as needed (to keep the dough from sticking) until you have a smooth, very soft ball of dough. I used about 2.5 cups of flour total for the dough. Avoid adding too much flour as you knead because this can make the dough stiff and dry, and prevent the classic bubbles.
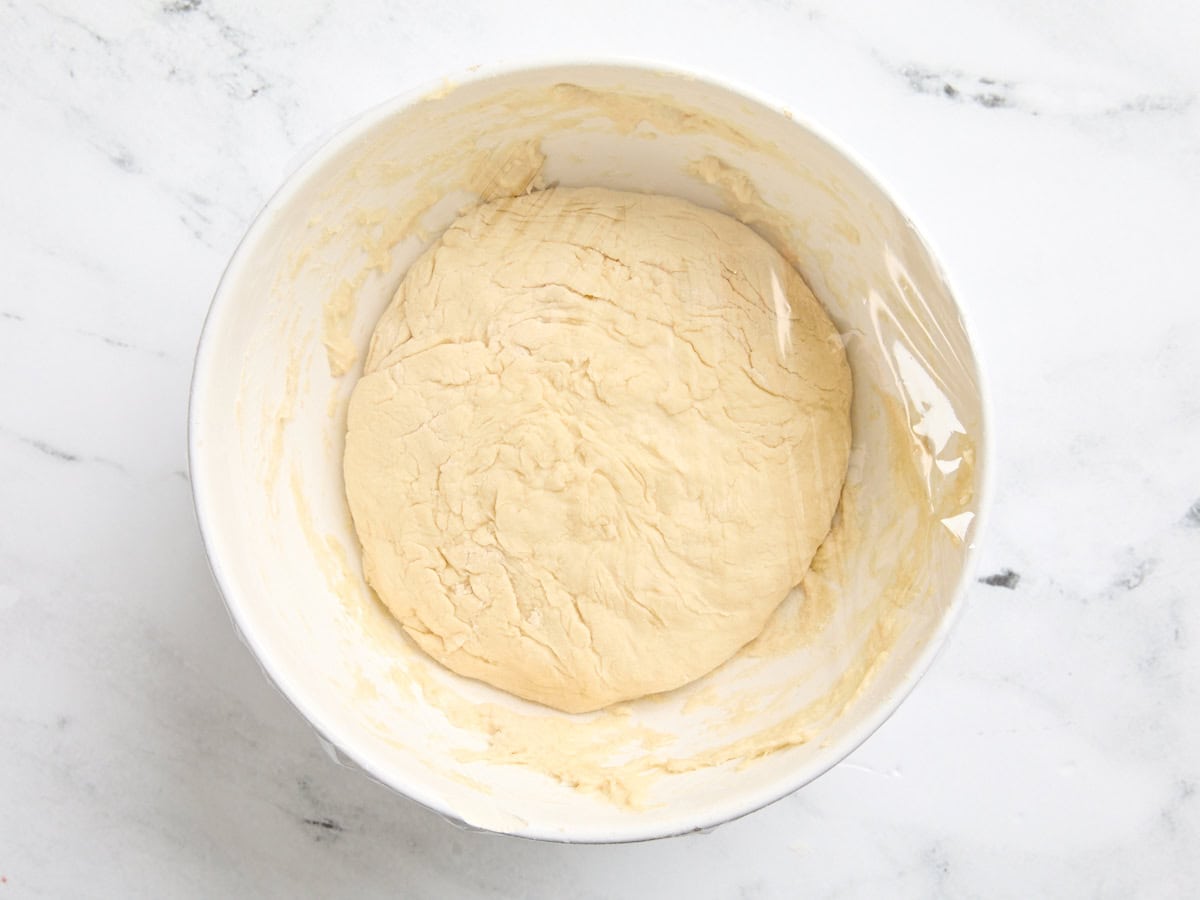
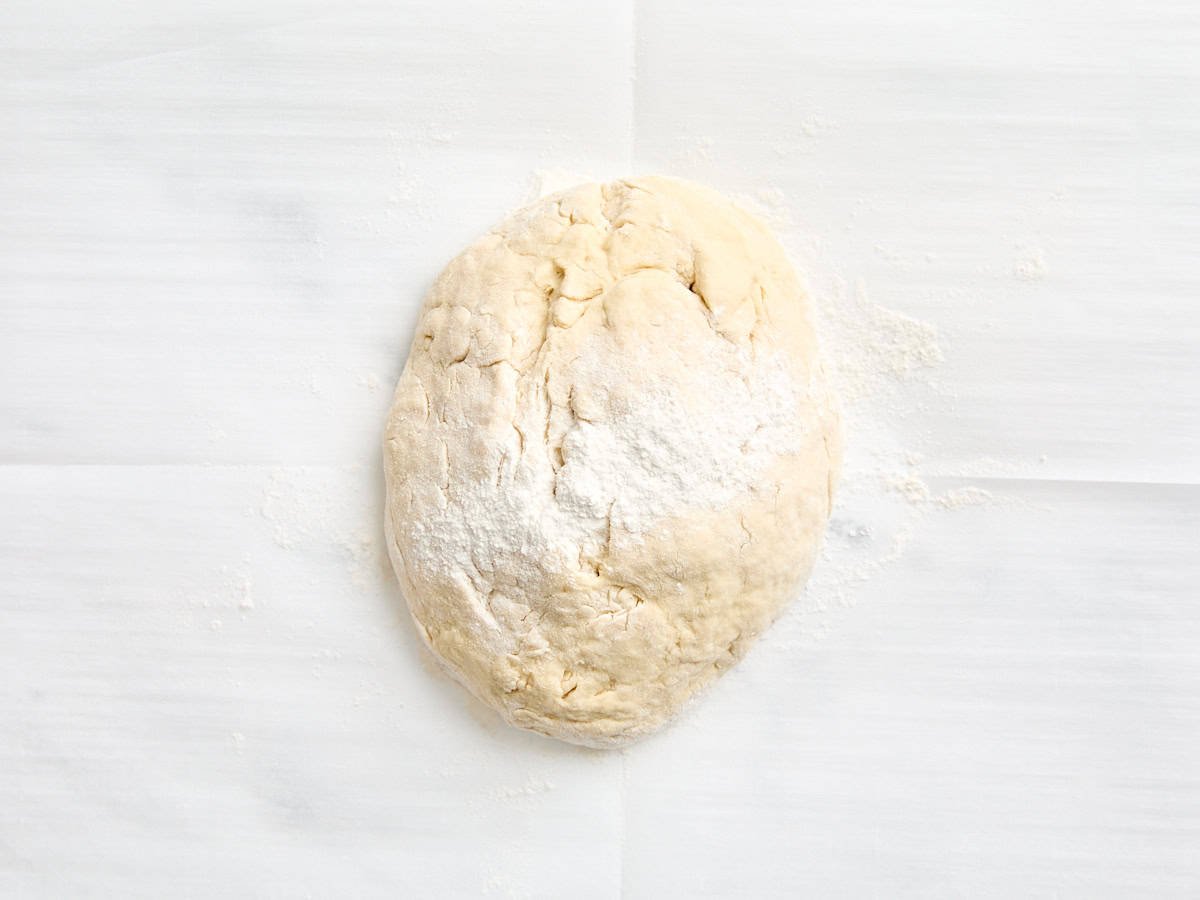
Let it rise: Shape the dough into a ball, loosely cover with plastic wrap, and let rise until it is double in size (this photo is BEFORE it has risen).
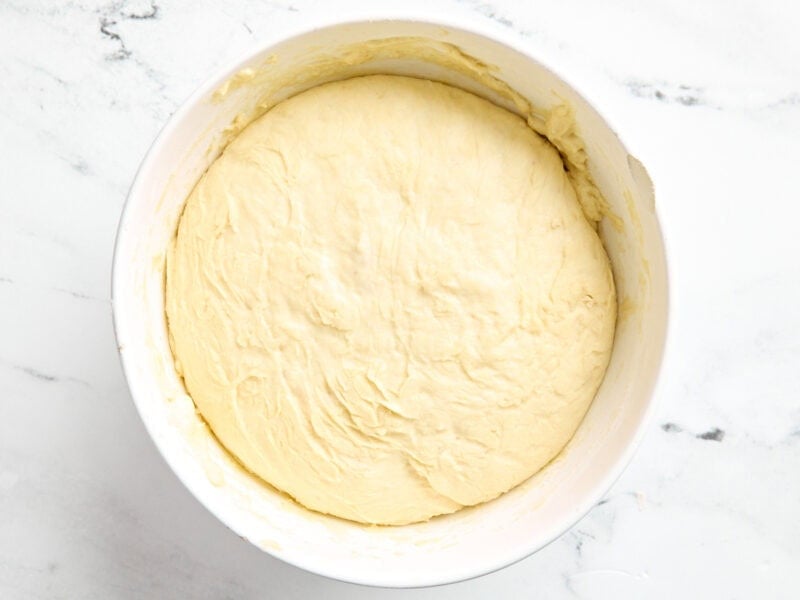
And this is what it should look like after it’s risen and doubled in size.

Shape the dough: After it has risen, flatten it out slightly and cut it into 8 equal-sized pieces.
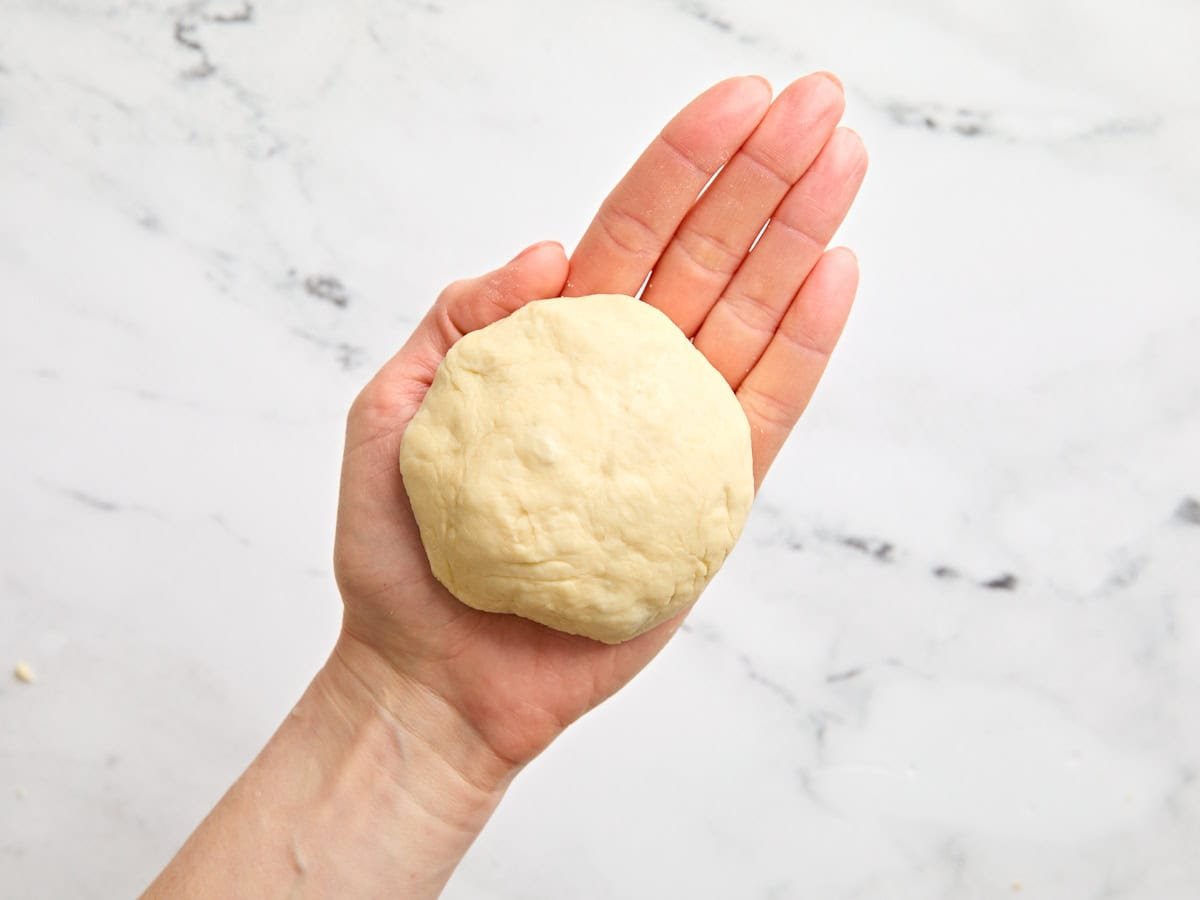
Shape each piece into a small, smooth ball.
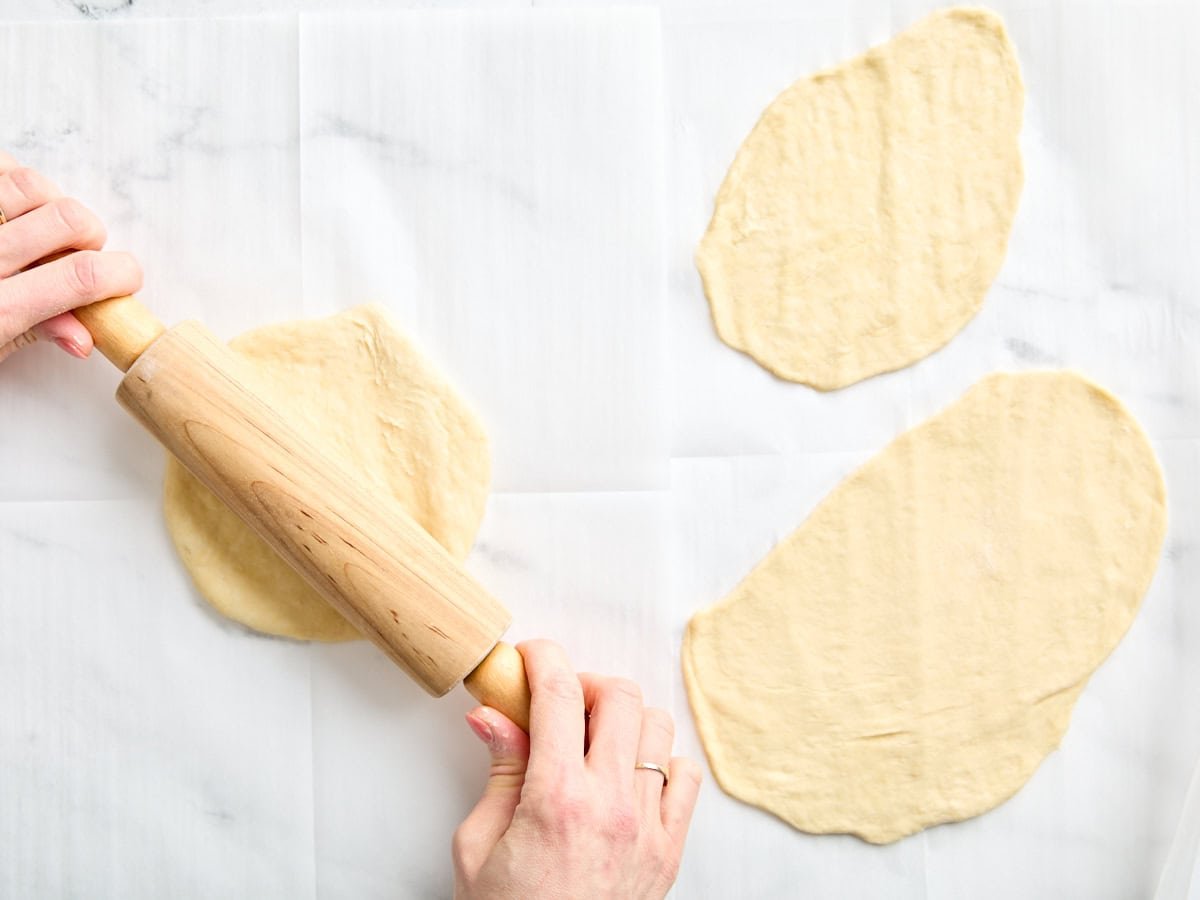
Heat a skillet over medium flame. While waiting for the skillet to get hot, roll out a ball of dough until it is 1/4 inch thick or about 6 inches in diameter.

Cook: Place the rolled-out dough in the hot skillet and cook on one side until large bubbles form and the side touching the skillet is golden brown. The bubbles will start small but eventually grow and merge together to form larger bubbles.
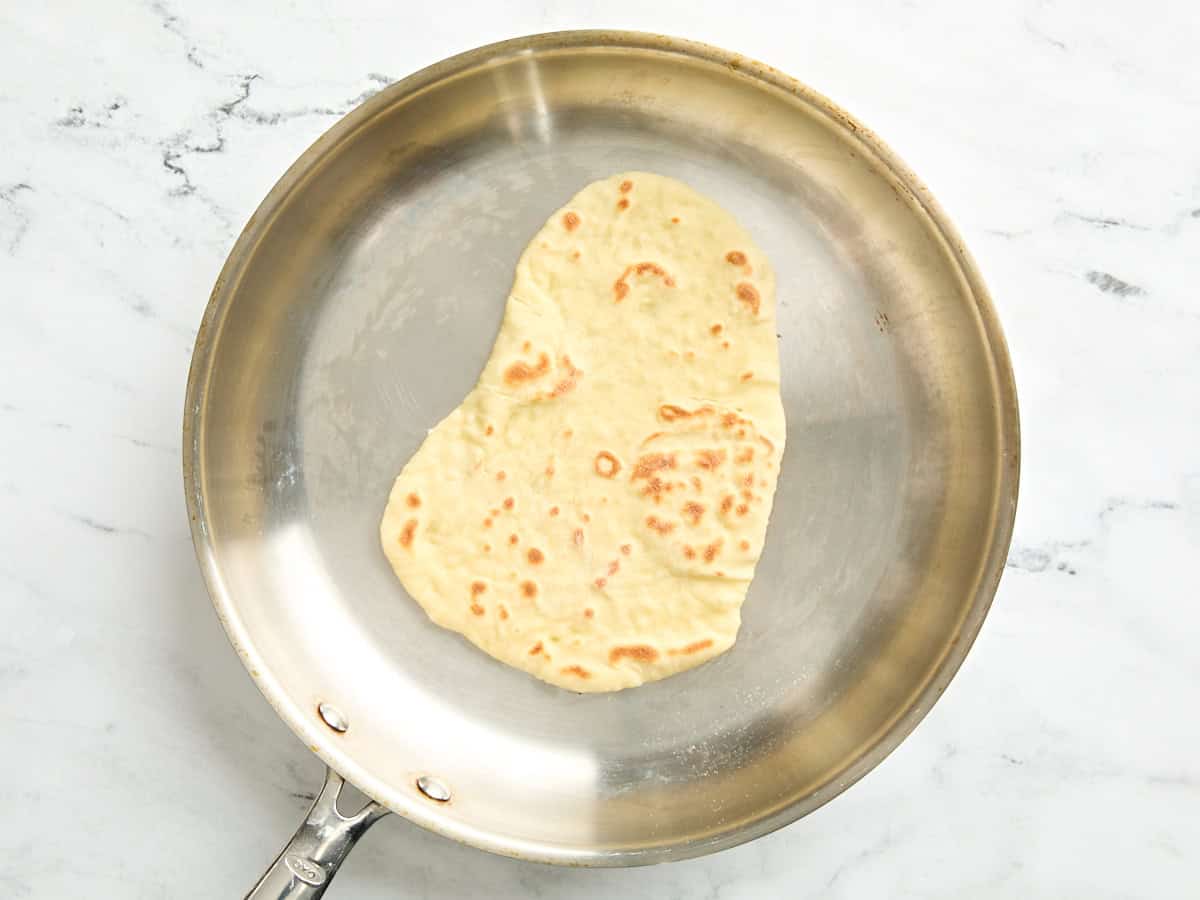
Flip the dough over and cook on the second side until golden brown as well. Naan is kind of like pancakes in that the first side is smooth and has relatively even brown marks, while the second side (where the bubbles were) has a different texture or pattern in the browned surface.

As they come out of the skillet, stack them on a plate and cover them with a clean towel to keep them warm.

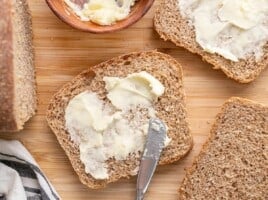
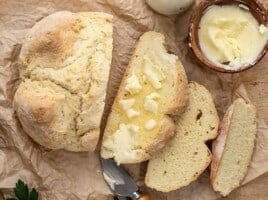
Serve: Brush each one with melted butter, garlic butter, or traditional ghee!

What to Serve with Naan
Naan goes great with pretty much anything. You can eat them alongside a meal to sop up gravies or dip it into sauces, use it to make flatbread “wrap” sandwiches, top it with tomato sauce and cheese for a quick mini pizza, or use it in place of tortillas for quesadillas. Here are some of my favorite ways to eat them:
- Dip it in homemade hummus
- Use it to soak up curries, like our slow cooked chicken tikka masala or butter chicken
- Use it as a base for mini pizzas
- Serve as a side with eggplant curry or curried chickpeas for a veggie option
- Or wrap it around meat and vegetables for a wrap sandwich, like these homemade chicken shawarma wraps
Naan vs. Pita Bread?
While both types of bread are in the “flatbread” family, they hail from different regions of the world, their dough is comprised of different ingredients, and they are cooked using different methods.
Naan is a traditional flatbread made in South and Central Asian countries. It is made with yogurt and egg, which makes it a little more tender and fluffy. It is traditionally cooked in a clay tandoor oven, which helps produce the bubbled texture.
Pita is found in the Mediterranean Middle East and is made with a very simple dough using just flour, salt, yeast, and olive oil. It has a dryer texture and usually has one large characteristic pocket rather than several smaller bubbles like naan.
How to Store Leftovers
After cooking this naan recipe, make sure to let it cool completely to prevent condensation. Once cooled, keep them in a gallon-sized zip-top bag. They’ll last 1-2 days at room temperature, or about 4-5 days in the refrigerator. You can also freeze them for longer storage.
To freeze your naan, first let it cool completely at room temperature, then transfer it to a zip-top freezer bag, label and date it, then toss it in the freezer. Try to use up your frozen naan within a few months. They thaw quickly at room temperature. Reheat it in the microwave, in a toaster, or in a warm skillet.
More Homemade Bread Recipes

Our Homemade Naan recipe was originally published 08/10/10. It was retested, reworked, and republished to be better than ever 5/5/25.
I was wondering if I can use a gluten-free flour to make this and possibly a dairy free Greek yogurt? We love making our pizzas from Naan but I need a gluten free now. Thanks for advice!! Love your recipes!
Not my recipe, but we like using King Arthur’s gluten-free flour in the test kitchen. We’ve never tested it gluten-free or with dairy free yogurt, but if you try it, let us know!
I’ve been making this naan for years and I really think it’s a perfect recipe. They turn out delicious and fluffy every time.
This is easy and yummy! I served it with roasted garlic butter.
Such a fun and quick recipe! Made these for the chicken shawarma recipe here on Budget Bytes and it was great. For efficiency I made the naan on an electric griddle so I could do multiple at a time. Worked perfectly.
This is my go to when I cook full on meals or when I do a cheater with Tasty Bites Indian food. It makes so much! Sometimes well even use it as pizza crusts. Also yummy with an egg in the morning. Super versatile little thing. 😊
This naan bread recipe has been my go-to for the last 10 years. It’s that good! Simple ingredients, easy steps to follow and absolutely delicious results. I highly recommend!
This is, seriously, the most delicious bread recipe I have made recently! I’ve never had naan come out so well.
Real or authentic Indian flat bread, are really Budget Bite, why?
Because we don’t use yeast and eggs. Simple and way better taste.
Flour, water-milk, olive oil-butter and salt and that’s all, no need to rest, no need to steps, you mix all at once, no need of roll, we use hands and fingers.
THIS CAME OUT SO PERFECTLY OMG. I followed the recipe to a tee, and the naan came out beautiful and fluffy like a cloud. The texture is just beyond words…I wish I could attach photos to my review. 10/10 would recommend!
Not crazy about olive oil taste in my house. Can I substitute with canola oil? Can’t wait to make this!
You should be able to!
The recipe and directions are rather too fussy. Also can I ask that more widely used units are given, like grams and millilitres, that everybody can understand. We don’t all use ‘cups’!
Google cups to grams or whatever you need. I’ve been doing it for a few years now even with fresh to dry ratios with my herbs. There are a few sites out there but they are helpful.
Amazing recipe. It was so easy and delicious. So much better than store bought and I would say way better for your body, being that it is not loaded in unnecessary preservatives. I will definitely make this a regular recipe in my home. Thank you so much!
Great recipe! I make this naan bread weekly now. Definitely a house favorite. Thank you for posting
I absolutely LOVE this recipe and make these breads very often. And I recently realized…you can throw them on the grill! I made lamb kafta the other night, and didn’t want to cook anything inside since it’s summer here, so I decided to try cooking them on the grill. The best part, I was able to cook 4 at a time, instead of just 1, so they were done in a flash.
I’ve been making this naan for years and I love it! It comes out perfect every time. My boyfriend is gluten free; can I sub almond flour or another type of flour for the all purpose?
We haven’t tried it! But you can check out this recipe! https://www.mamaknowsglutenfree.com/gluten-free-naan-bread/