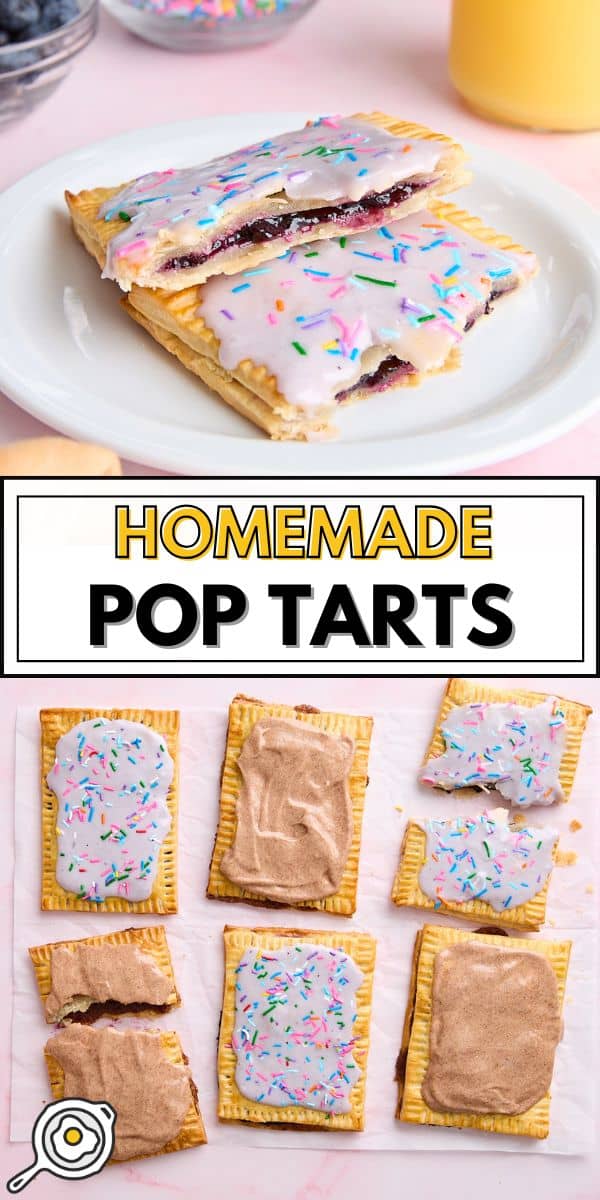
Nothing screams nostalgia more than a Pop Tart. In reality, it’s a dessert disguised as breakfast, but I’m here for it. These easy Homemade Pop Tarts are free of all those mysterious, hard-to-pronounce ingredients (and no high fructose corn syrup!) and utilize pantry staples you probably already have on hand! For me, it required zero trips to the store and resulted in a super cute, budget-friendly treat my family loves. I couldn’t decide on just one flavor, so I made two different fillings, and I’m sharing both here with you today!
All recipes are rigorously tested in our Nashville Test Kitchen to ensure they are easy, affordable, and delicious.
Easy Recipe for Homemade Pop Tarts
I threw this recipe together one weekend morning when I was craving something special but didn’t want to leave the house. I discovered a box of pie crusts left over from the holidays in my freezer. Then, I raided the refrigerator and found blueberry jam at the back…and this copycat homemade Pop Tart recipe was born! Let me tell you, my daughter was thrilled with these! We also ended up making a batch for her babysitter’s family. Huge hit.
Budget Saving Tip
In retrospect, you could easily keep the circular pie shape and cut it into pie-like slices or cut your rectangular dough shapes into smaller squares to get more servings for your money. However, I was going for maximum nostalgia and wanted to make it look as close to the real thing as possible. But, you do you! (And share your favorite flavors and shapes in the comments below!)
Homemade Pop Tarts
Cost $5.98 recipe / $1.49 serving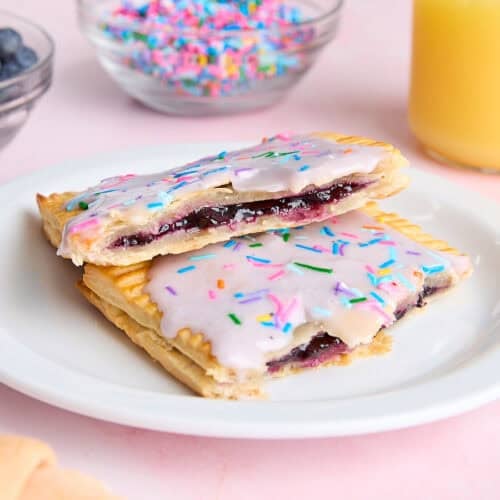
Ingredients
Brown Sugar Filling:
- ¼ cup brown sugar ($0.13)
- 1 tsp flour ($0.01)
- 1 tsp cinnamon ($0.08)
- 1 Tbsp salted butter, melted ($0.12)
- ¼ tsp vanilla extract ($0.16)
Blueberry Jam Filling:
- ¼ cup blueberry jam* ($0.44)
- 1 tsp corn starch ($0.02)
Homemade Pop Tarts:
- 1 package of pre-made pie crusts** ($2.77)
- 1 egg, beaten (optional)*** ($0.49)
Cinnamon Frosting:
- 1 cup powdered sugar ($0.55)
- 2 Tbsp heavy cream ($0.20)
- 1 tsp cinnamon ($0.08)
Berry Frosting:
- remnants of juice from the jam-filling process ($0.00)
- 2 Tbsp heavy cream ($0.20)
- 1 cup powdered sugar ($0.55)
- ½ Tbsp sprinkles ($0.18)
Video
Instructions
- Gather ingredients and preheat oven to 400℉.
- Make cinnamon sugar filling: Combine brown sugar, flour, cinnamon, melted salted butter, and vanilla extract in a small bowl and mix with a fork. Set aside.
- Make berry jam filling: Combine blueberry jam and corn starch. Set aside.
- Flour a large work surface and roll out pie crusts, one at a time, to be even thickness. I like to make my pie crusts fairly thin so I get another serving out of this recipe, but the trick is to cut one rectangle in whatever size you prefer and then use that one as your guide to cut the rest, making them all the same size.
- Add 1-2 Tbsp of prepared filling to one prepared rectangular crust at a time, reserving a rectangle of crust for each to place over the top. Do not overfill your tarts.
- Place reserved rectangle crusts over the top of each filled side and prick once or twice with a fork or toothpick (to help some air escape during baking), then seal each tart by gently pressing the crusts together with a fork.
- Optional: Beat one egg and brush each tart to give it a nice shine.
- Bake for 15-18 minutes on parchment-lined baking sheets until top crusts are golden brown. If you experience a blow out, don’t worry! Once they cool and it comes time to frost them, it won’t be an issue.
- While they're cooling, make the brown sugar frosting and the berry frosting. To make the brown sugar frosting, simply combine 1 cup powdered sugar, 2 Tbsp heavy cream, and cinnamon in a bowl, whisking until smooth. To make the berry frosting, I like to use up any leftover juice from the jam that’s still in my mixing bowl (for color!) along with the remaining 2 Tbsp cream and the remaining cup of powdered sugar.
- Once they're completely cooled, frost each Pop Tart generously. Top the berry tarts with sprinkles. Decorate the berry tarts with sprinkles before serving. Enjoy!
See how we calculate recipe costs here.
Notes
Nutrition Information
how to make Homemade Pop Tarts step-by-step photos
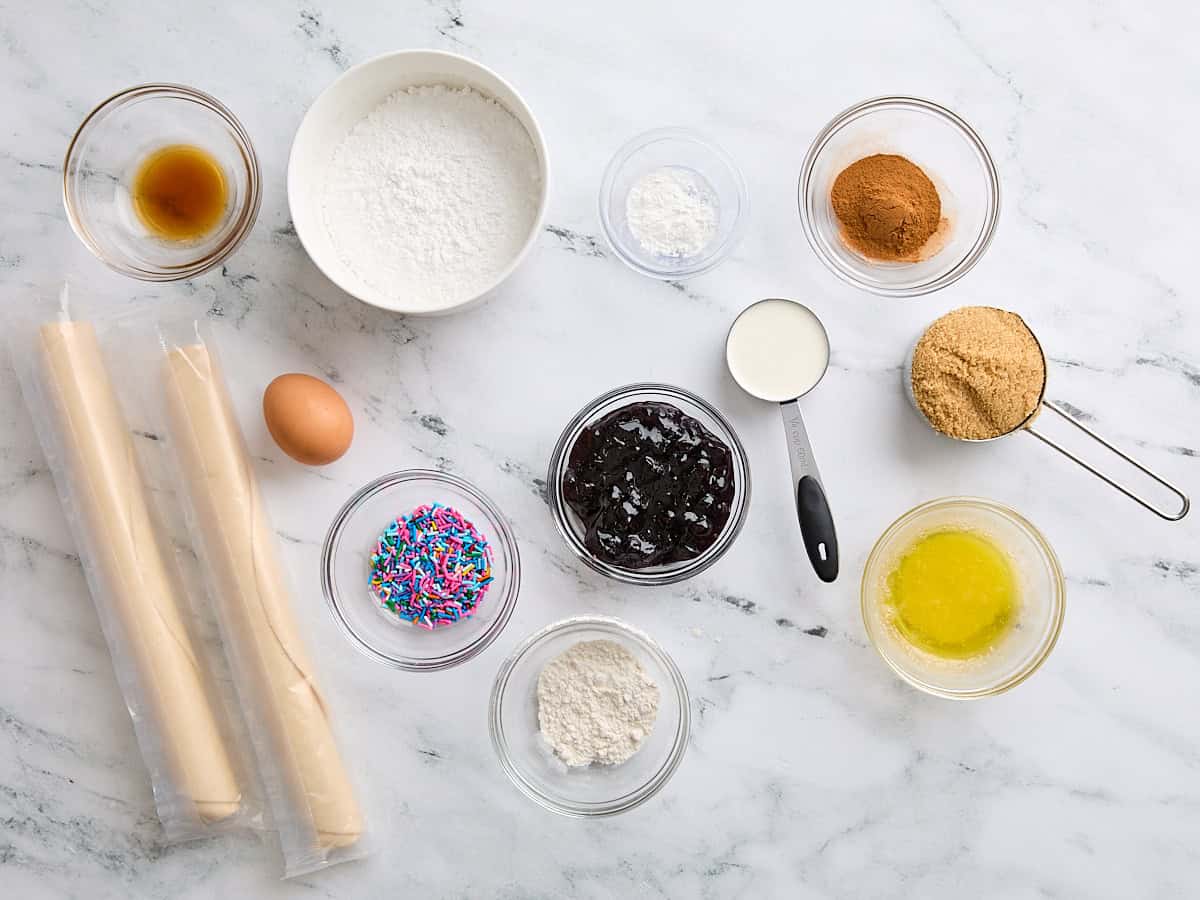
Make the fillings: Gather all your ingredients and preheat the oven to 400℉. Now, make the cinnamon sugar filling by combining ¼ cup brown sugar, 1 tsp flour, 1 tsp cinnamon, 1 Tbsp melted salted butter, and ¼ tsp vanilla extract in a small bowl. In a separate small bowl, bake the berry jam filling by combining ¼ cup blueberry jam and 1 tsp corn starch. Set both fillings aside for now.
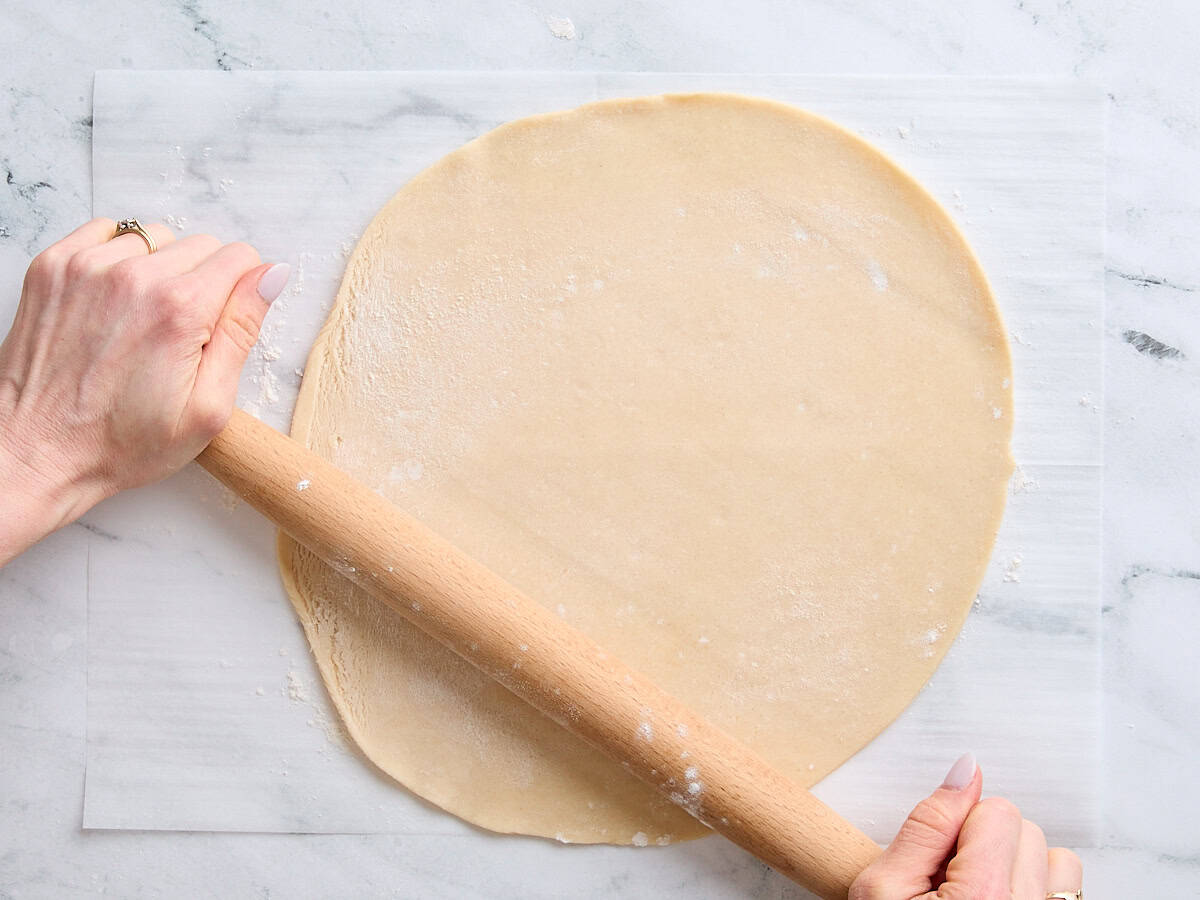
Shape the pie dough: Sprinkle a little all-purpose flour onto your work surface and roll out each pie crust (one at a time) to an even thickness. To get the most out of the pie dough, I like to make them fairly thin.
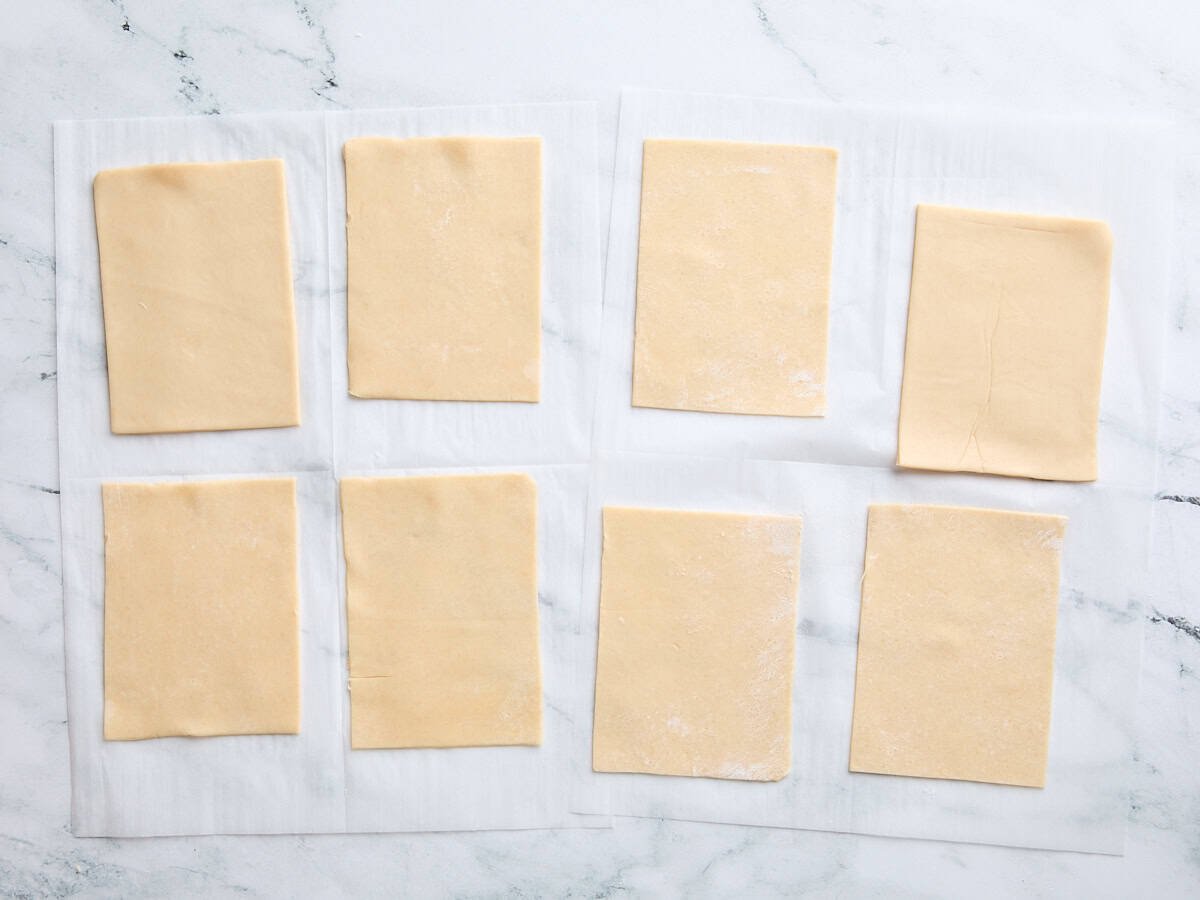
Now cut out one rectangle from your rolled-out dough in whatever size you prefer, and use that one as your guide to cut the rest. You need eight rectangles total to make 4 homemade Pop Tarts.
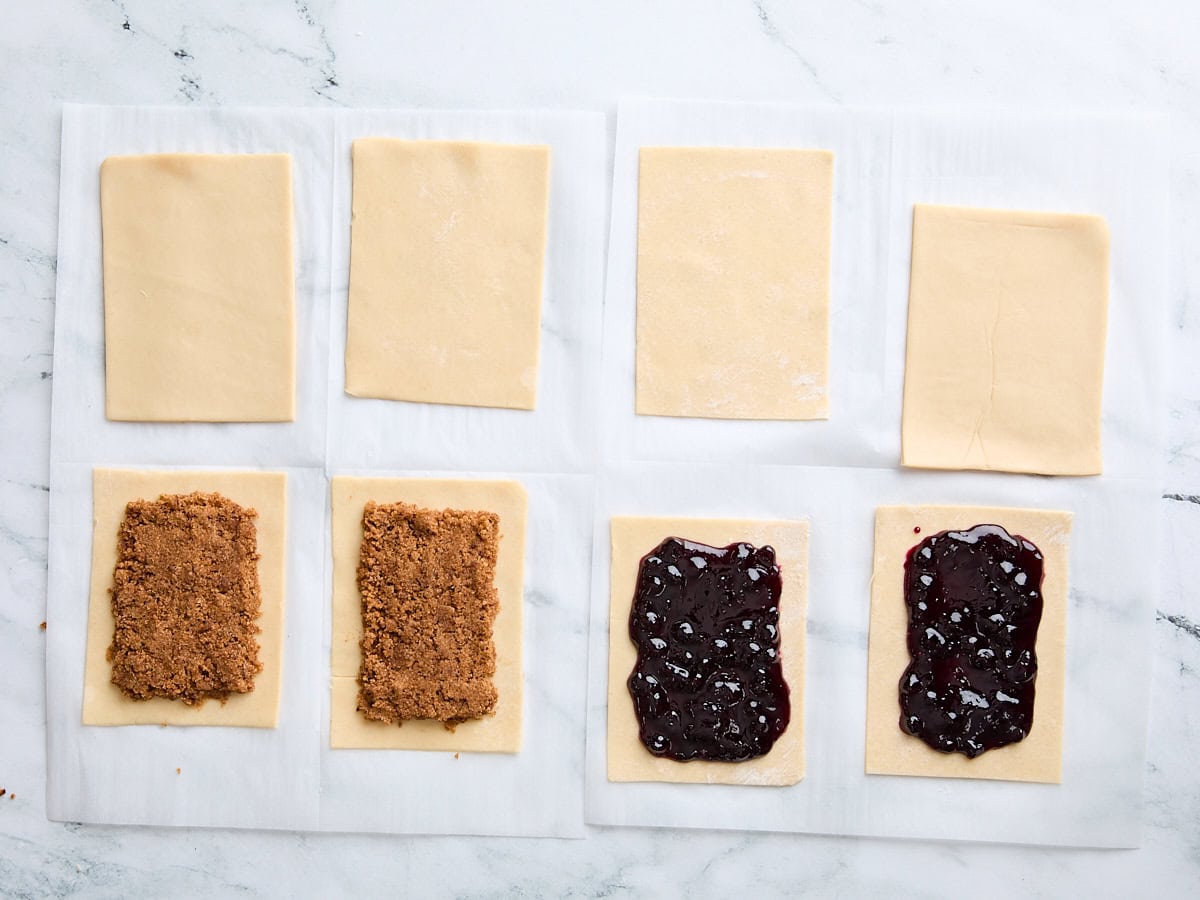
Fill the tarts: Spoon 1-2 Tbsp of prepared filling into one prepared rectangular crust at a time, reserving a rectangle of crust for each to place over the top. Be careful not to overfill your tarts.
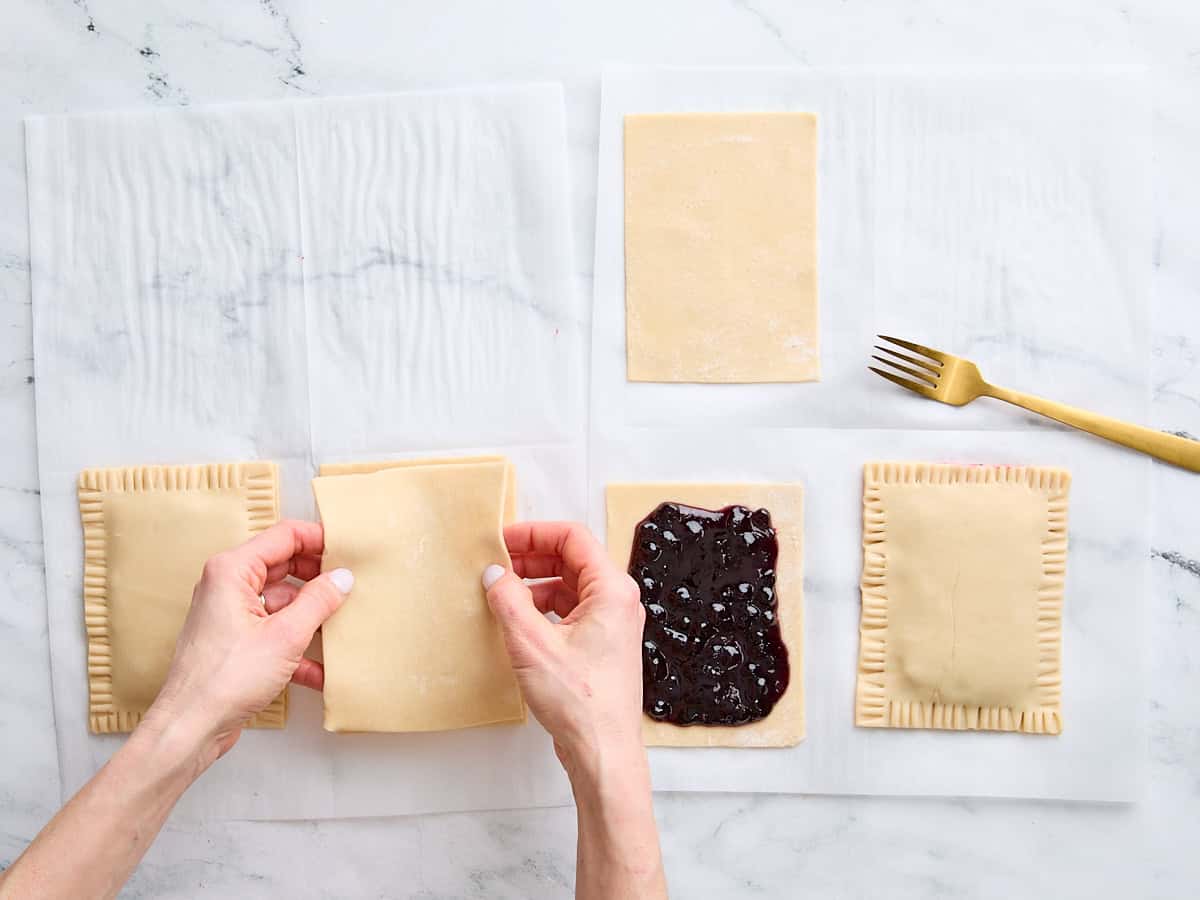
Seal the tarts: Place the reserved rectangle crusts over the top of each filled side. Now, carefully prick the top of each tart once or twice with a fork (or toothpick. This will allow air and steam to escape while baking).
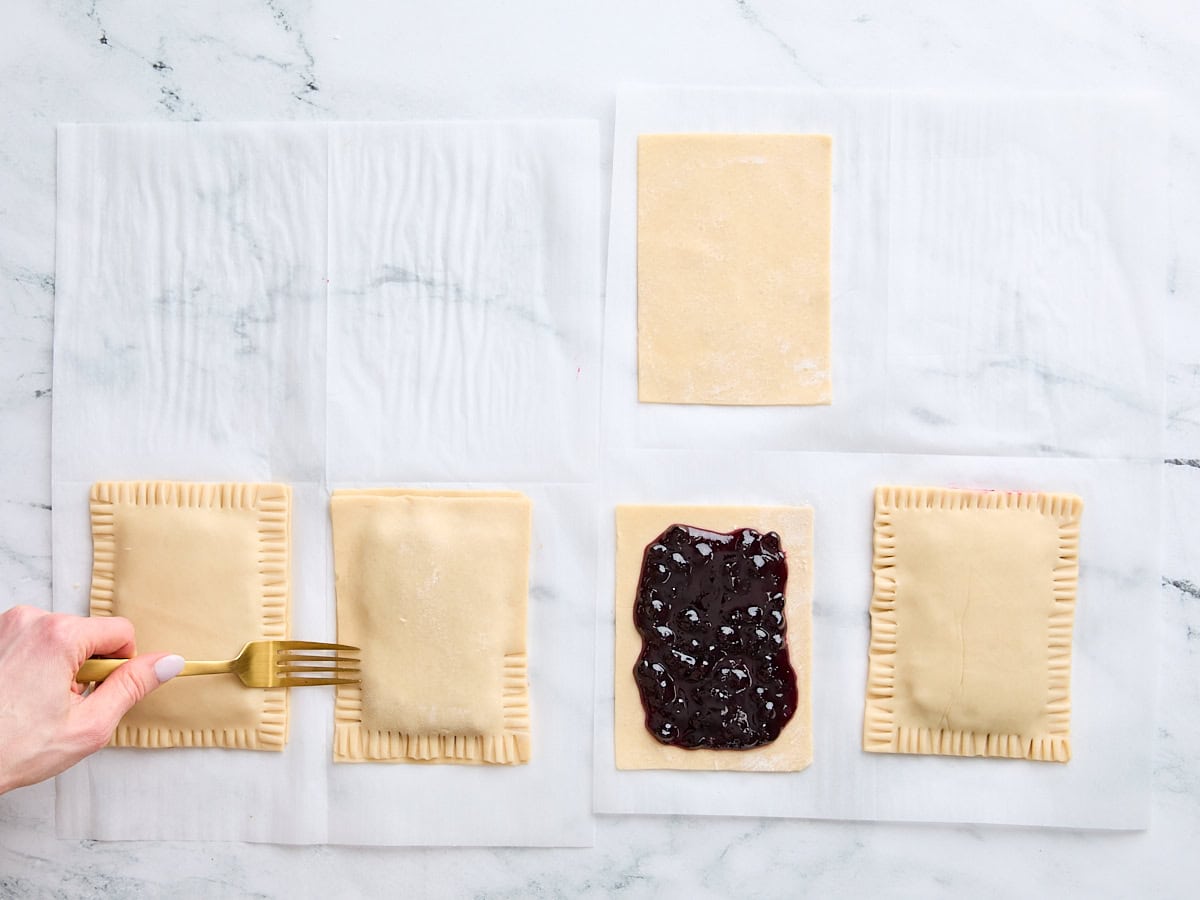
Use a fork to seal the edges of each tart by pressing the crusts together, as shown here.
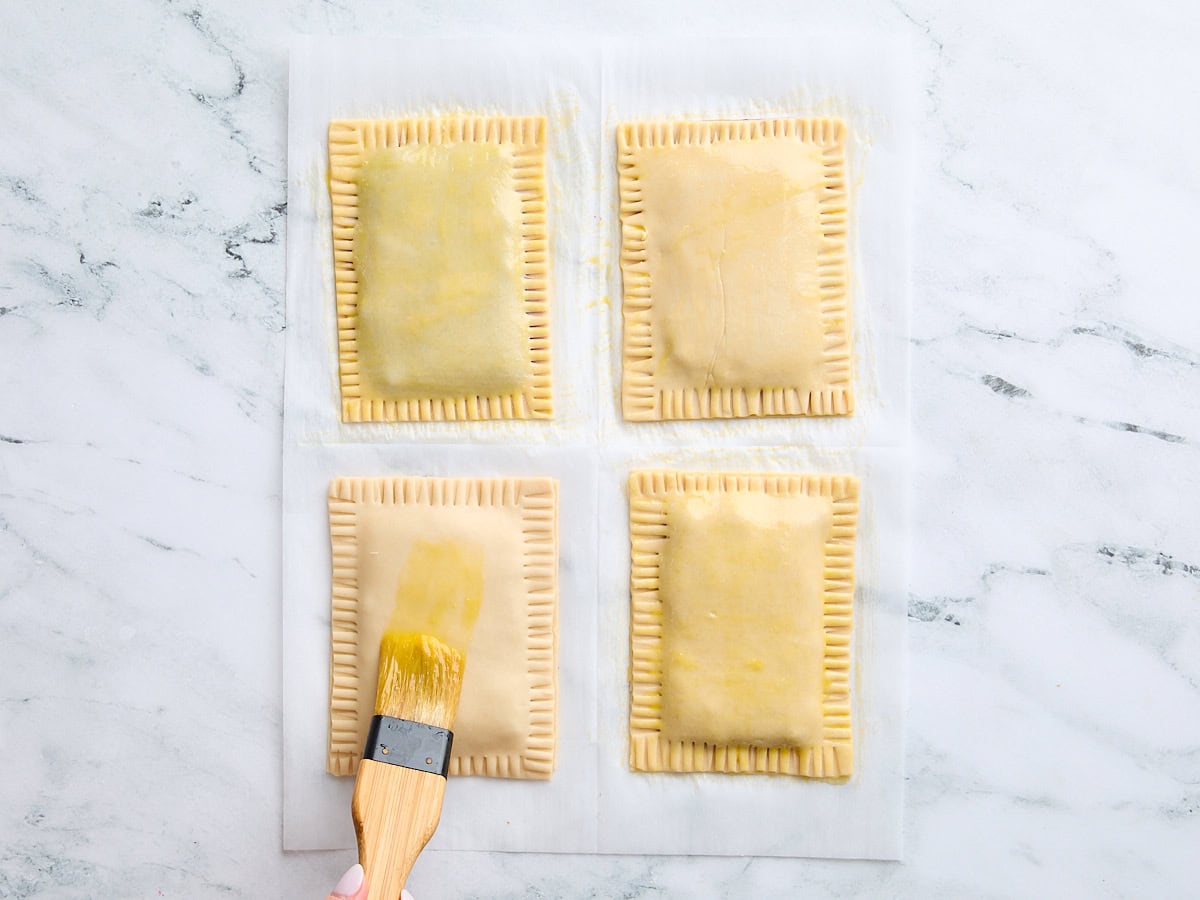
(Optional) Add an egg wash: Brush an egg wash made from one beaten egg over the top of each tart. This will give it a nice shine once baked, but it is entirely optional.
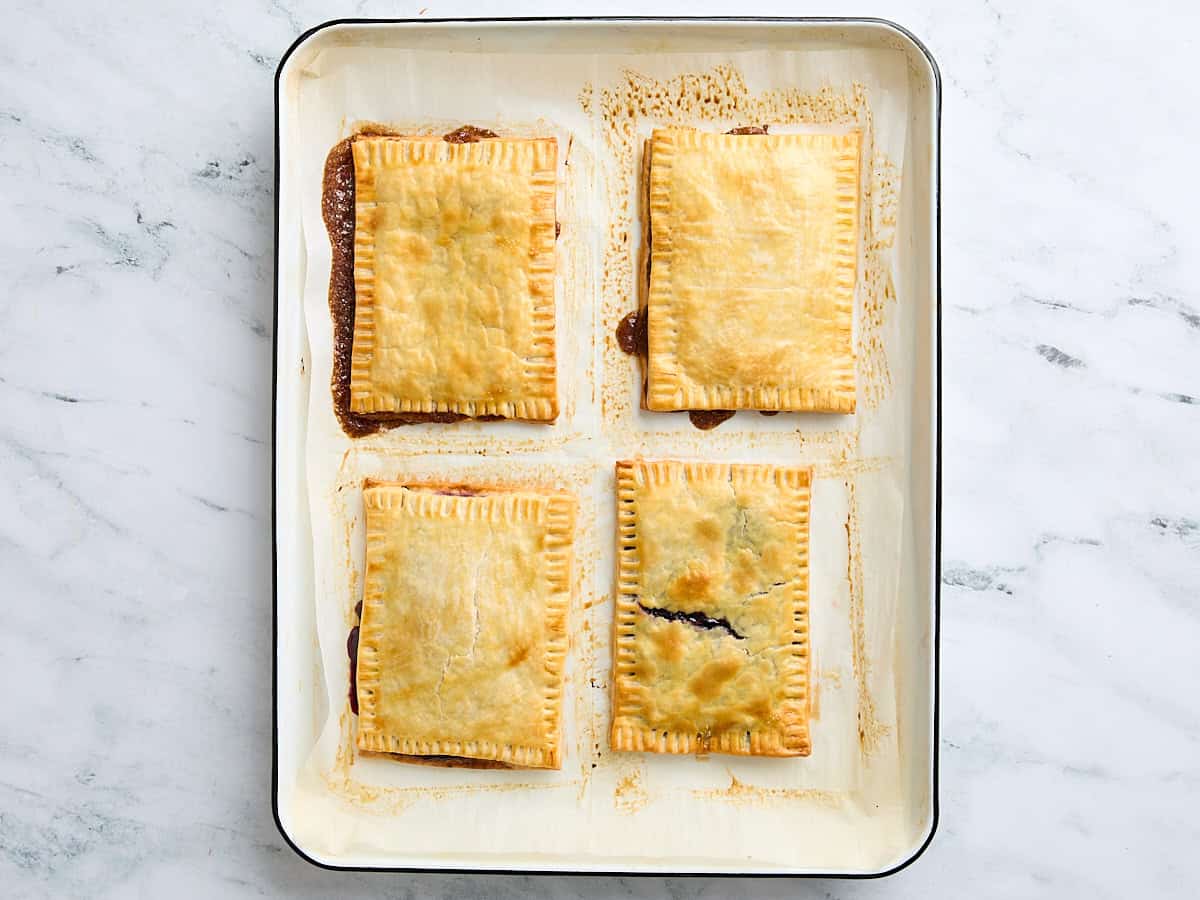
Bake: Place each tart onto a parchment-lined baking sheet and bake for 15-18 minutes or until the crusts are golden brown. Don’t worry if any of the filling spills out during baking! Let them cool while you make the frosting.
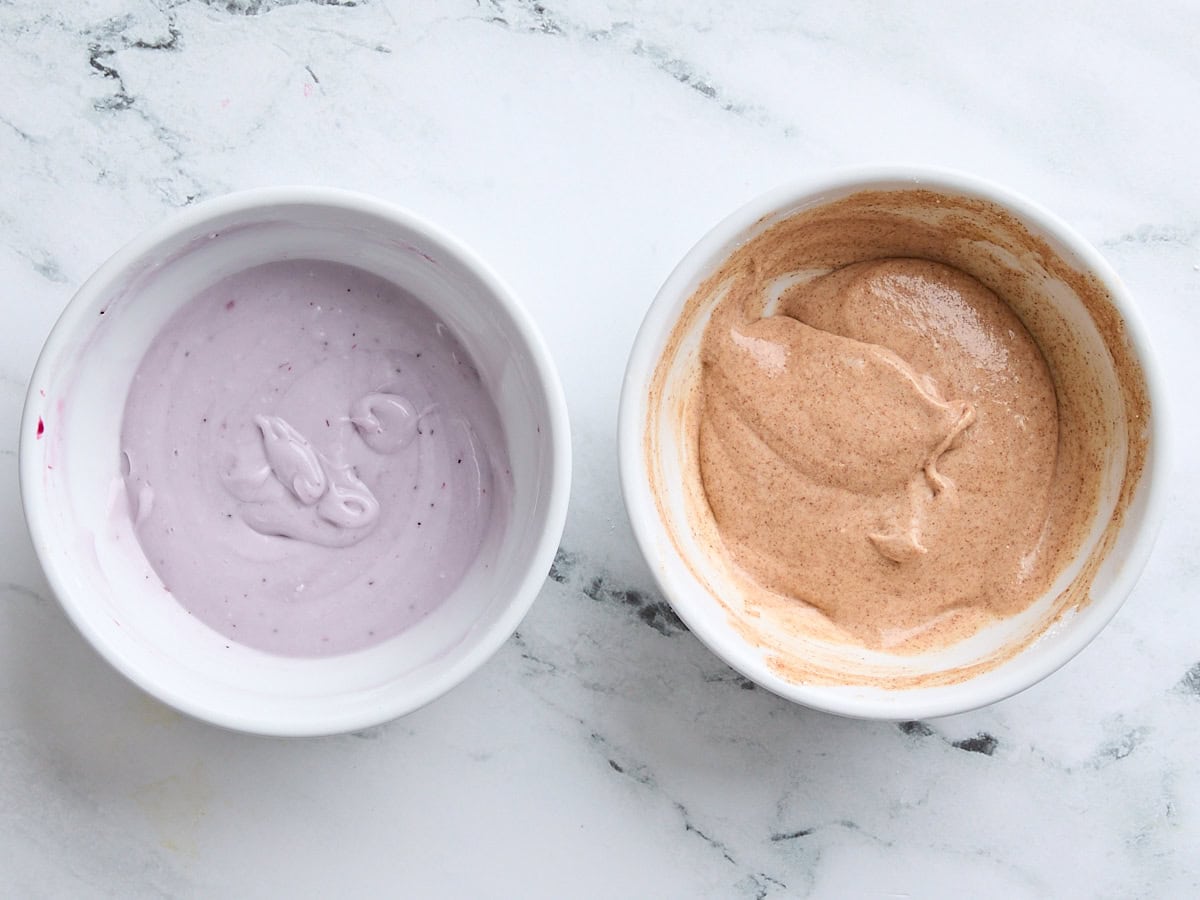
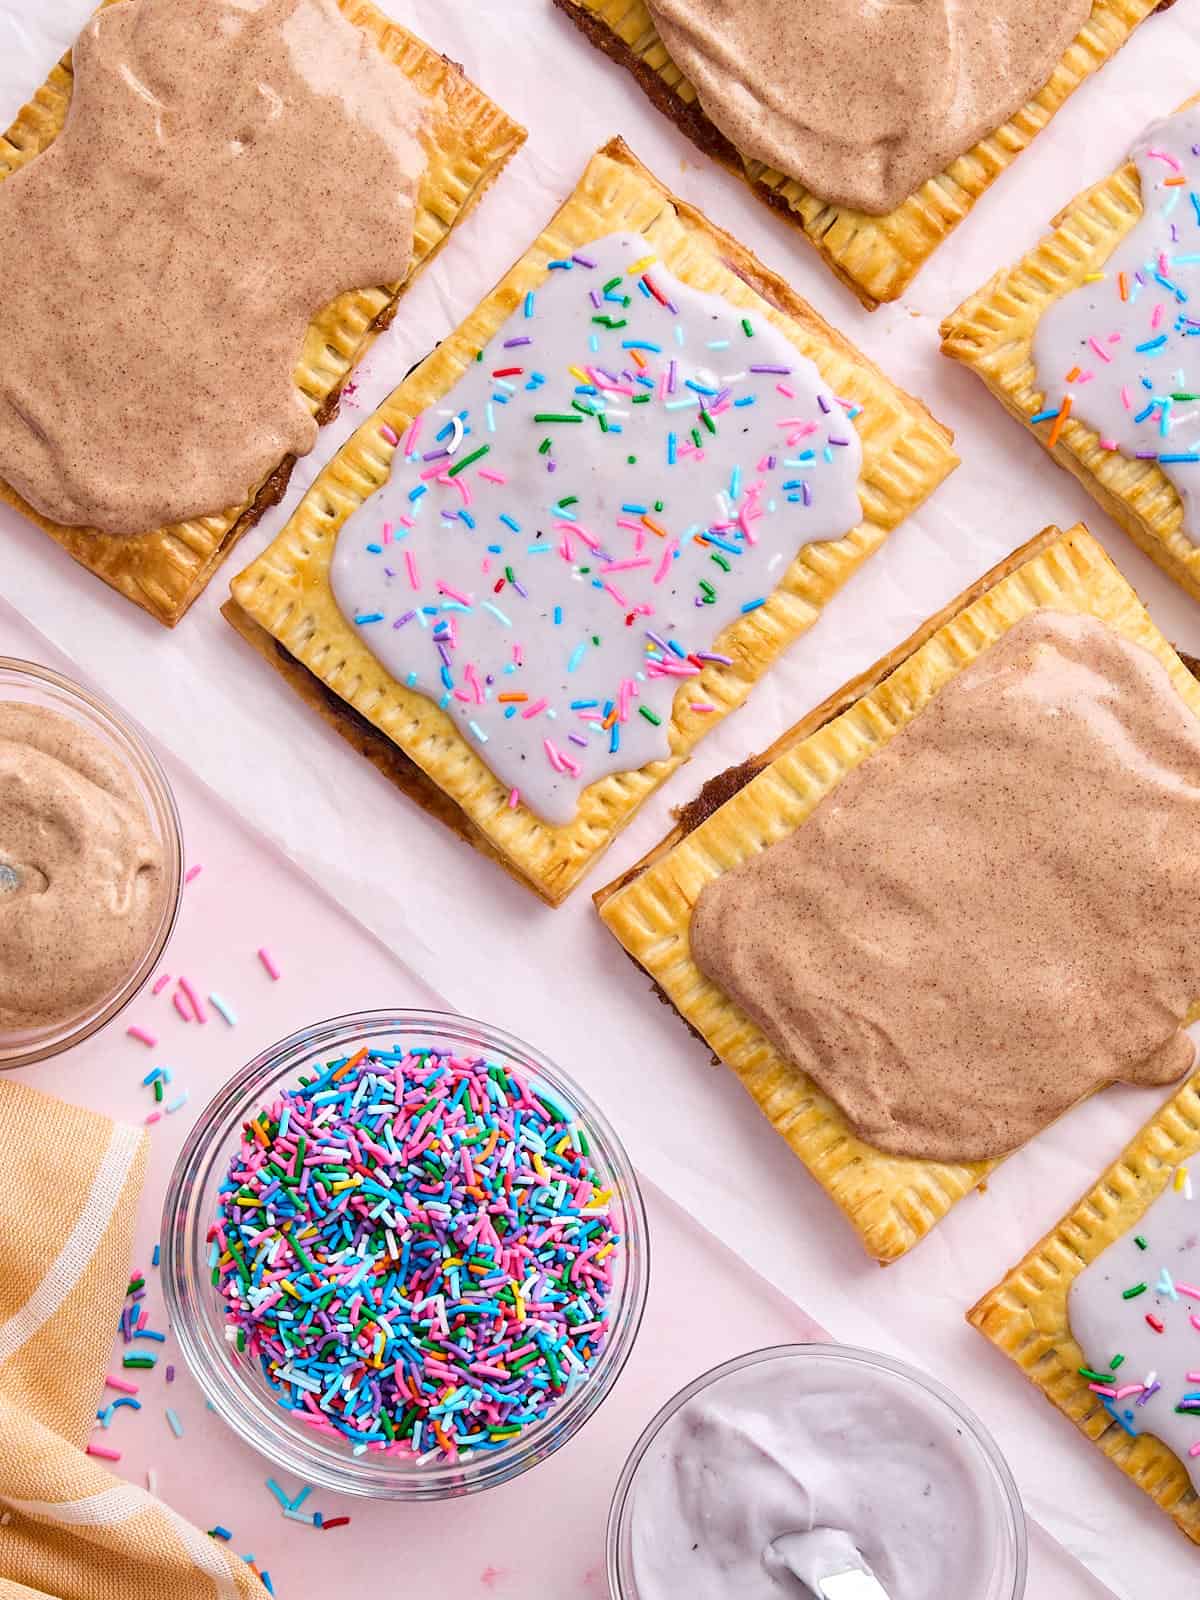
Make the frostings: Combine 1 cup powdered sugar, 2 Tbsp heavy cream, and 1 tsp cinnamon in a bowl until smooth to make the brown sugar frosting. To make the berry frosting, I like to use up any leftover juice from the jam that’s still in my mixing bowl (for color!) along with the remaining 2 Tbsp cream and the remaining cup of powdered sugar.
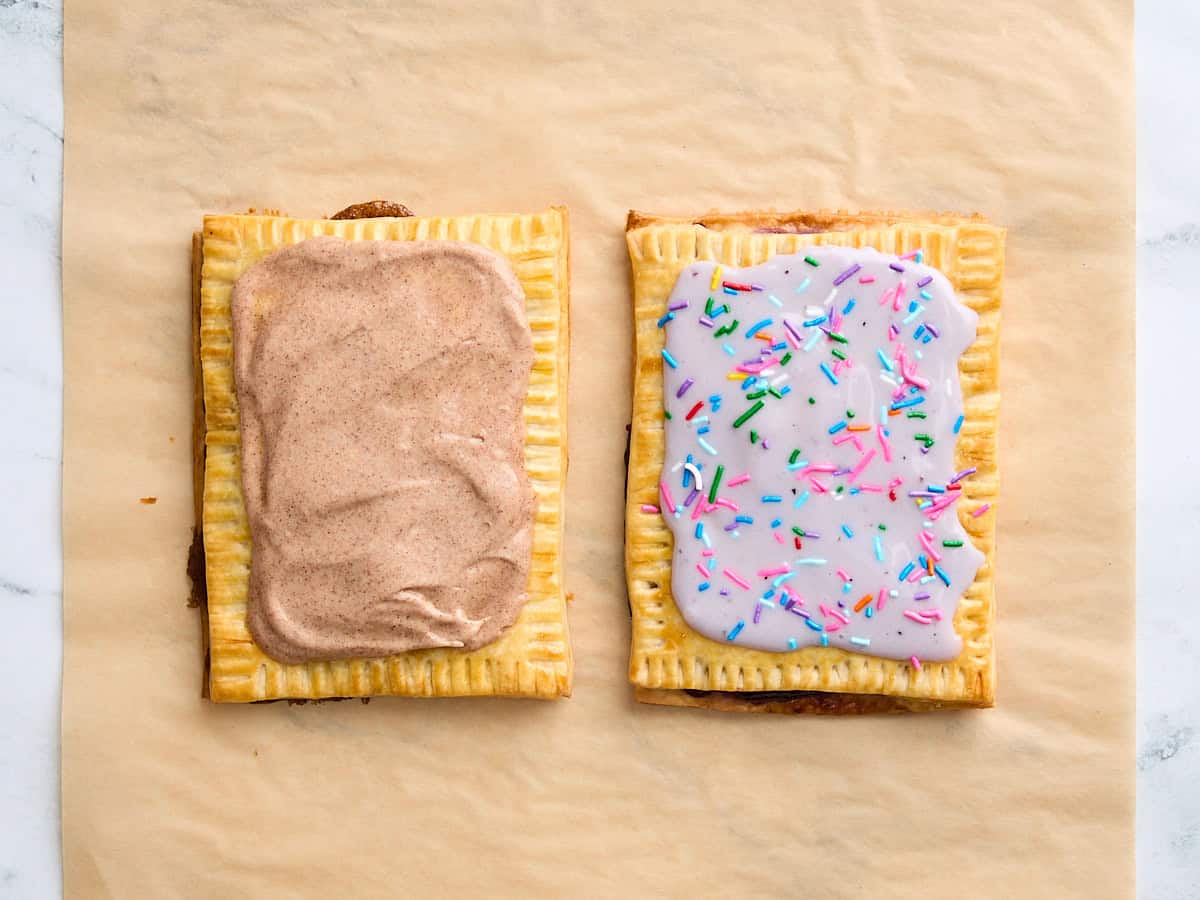
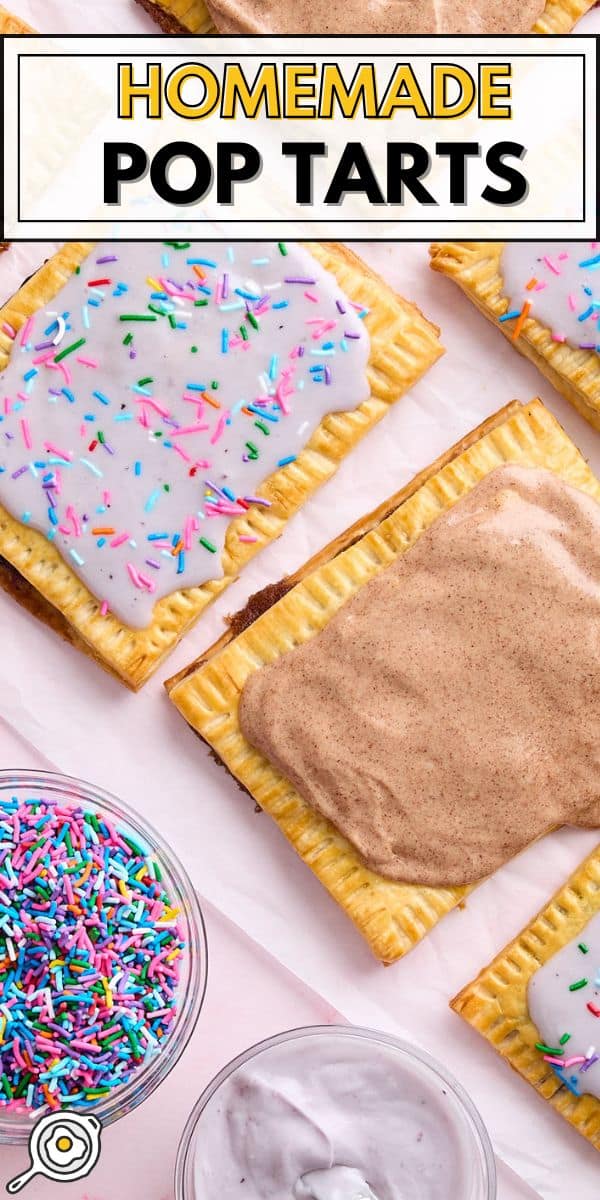
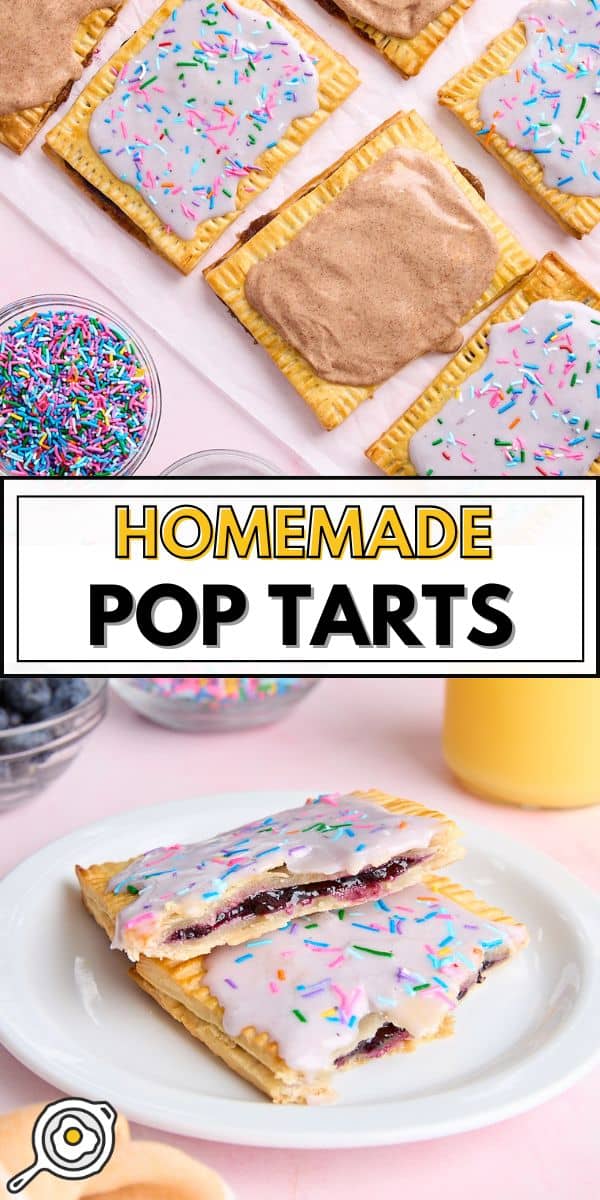
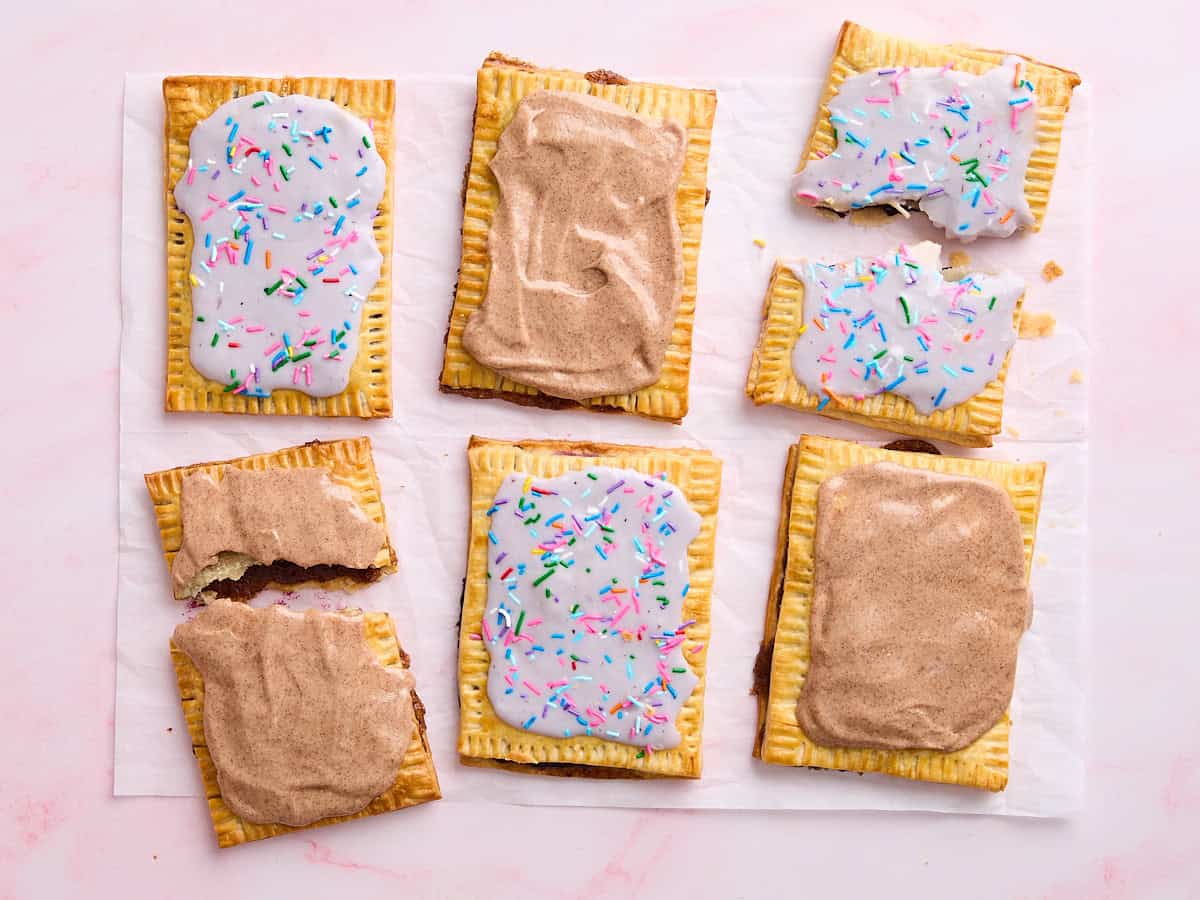
Frost and serve: Once cooled, top your homemade brown sugar Pop Tarts and your homemade blueberry Pop Tarts with the corresponding frosting. Add a few sprinkles to the berry-flavored tarts, and serve!
Recipe Success Tips & Suggestions
- Don’t overfill! I stick to 1-2 tablespoons of filling per homemade Pop Tart. Any more than that, and it gets tricky to close them up properly. Too much filling can also squeeze out the sides during baking or cause the top crust to tear while sealing.
- Leave a gap around the edges. Be sure to leave a little border when adding your filling. Then, gently pierce the tops with a fork or toothpick before baking. This helps release steam and keeps the crust from getting soggy.
- Crimp the wedges well. Use a fork to seal the edges all the way around. If a little filling spills out during baking, don’t stress! That’s exactly why we line the baking sheet. Once cooled, any overflow will separate easily from the tarts, and the parchment paper will make it simple to clean up!
- Use up any pie crust scraps. If you’ve got any little off-cuts from shaping the dough, don’t toss them! Cut them into shapes or strips and bake them into quick pie crust cookies. I’d sprinkle them with some cinnamon and brown sugar before baking or drizzle over leftover frosting once they’ve cooled for an easy bonus treat.
Flavor Variations to Try!
You can use just about any flavored jam to fill these easy homemade Pop Tarts! Use ¼ cup of jam as listed in the recipe card above. I’d also add 1 teaspoon of corn starch if the jam is quite runny, just to thicken it up some. Here are some other ideas I think would work well (you want about ¼ cup of filling per flavor variation):
- Apple butter or pumpkin butter
- Chocolate hazelnut spread (like Nutella)
- Caramel sauce
- Peanut butter and jelly
- Lemon curd
- Marmalade
Storage & Reheating
You can keep unfrosted homemade Pop Tarts covered at room temperature for up to 2 days. If your kitchen runs warm or you’re storing frosted pies, it’s best to keep them in an airtight container in the fridge for up to 3–4 days. You can also freeze them for up to 2–3 months. I recommend freezing them unfrosted for the best results since the frosting can get a little sticky or runny when thawed. Let them thaw in the fridge, then reheat in the toaster oven, air fryer, oven at 350°F, or microwave if desired.


Delicious and so fun and easy to make!!
So fun! I’m glad you had fun making them. Thanks for your comment.
Is the carbohydrate count per Pop Tart, of 133 grams correct?
That’s what our recipe analyzer found, but I always recommend popping the ingredients in an outside recipe calorie calculator (there are lots on google!) if you’re serious about tracking.
We absolutely loved these! We got 8 total Pop Tarts out of the recipe and they were gone in 1 day!
Oh man. A million years ago, when I was a kid, I wanted Pop Tarts sooo bad and my father refused to buy them because of the price and the preservatives. So he made homemade ones, which we called Papa Tarts. They didn’t look the same (the only dough crimper we had was round so they were round, and he topped them with powdered sugar instead of icing) but I loved them and this made me remember them. Time to call my Dad! And make a batch of these for my kids. Thanks for sharing the recipe!
I love this story! You’re welcome. :)