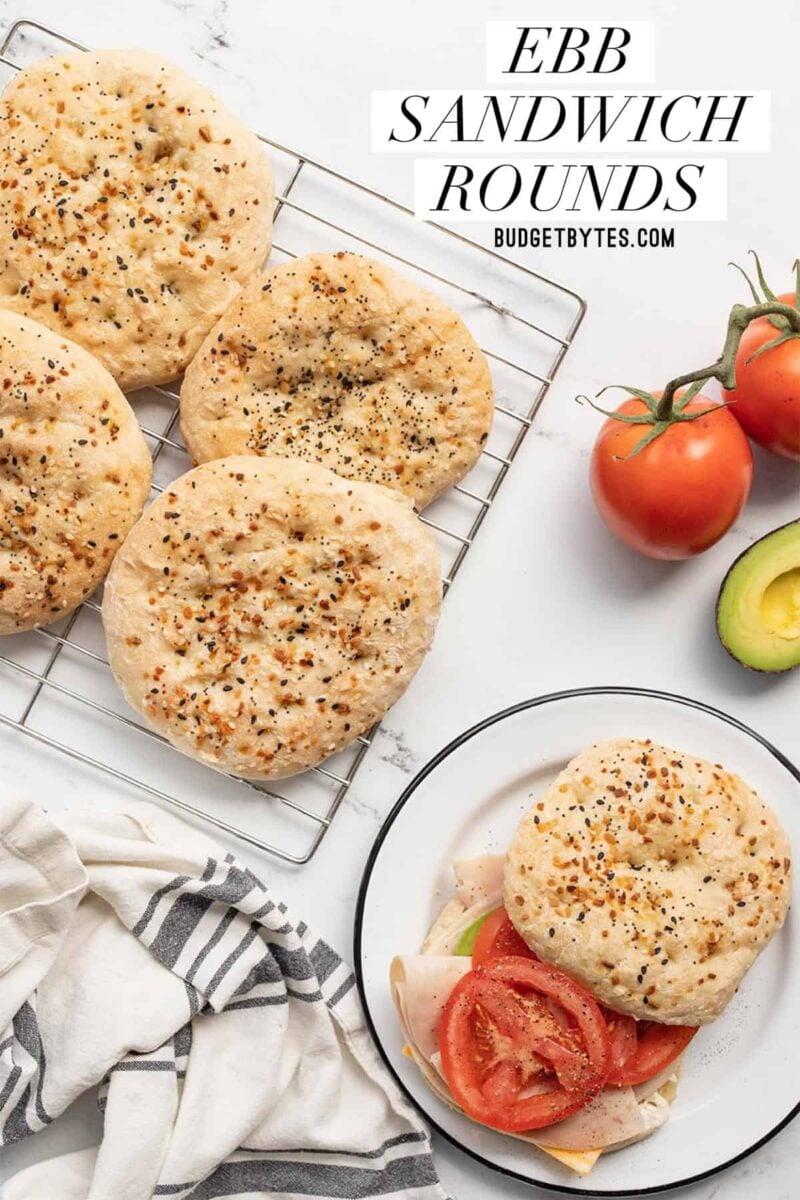

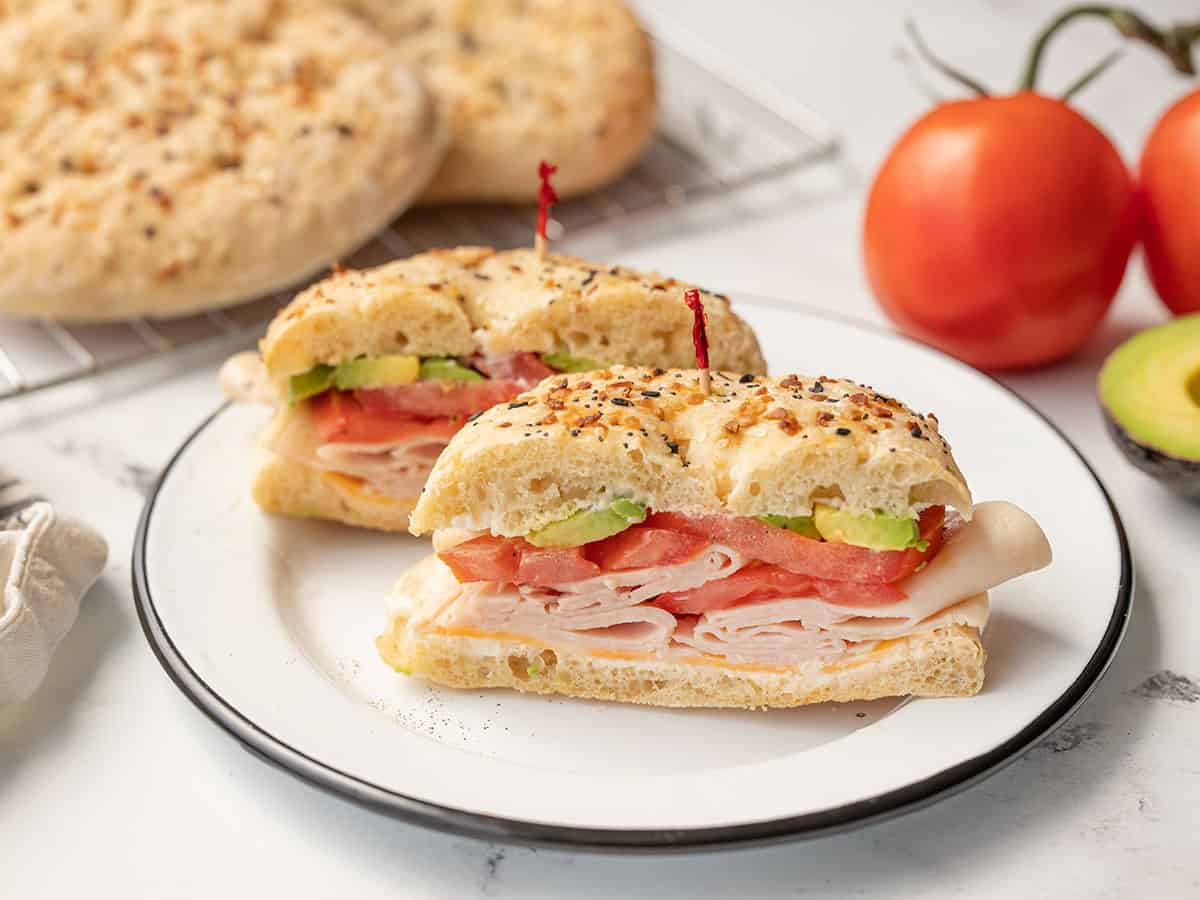
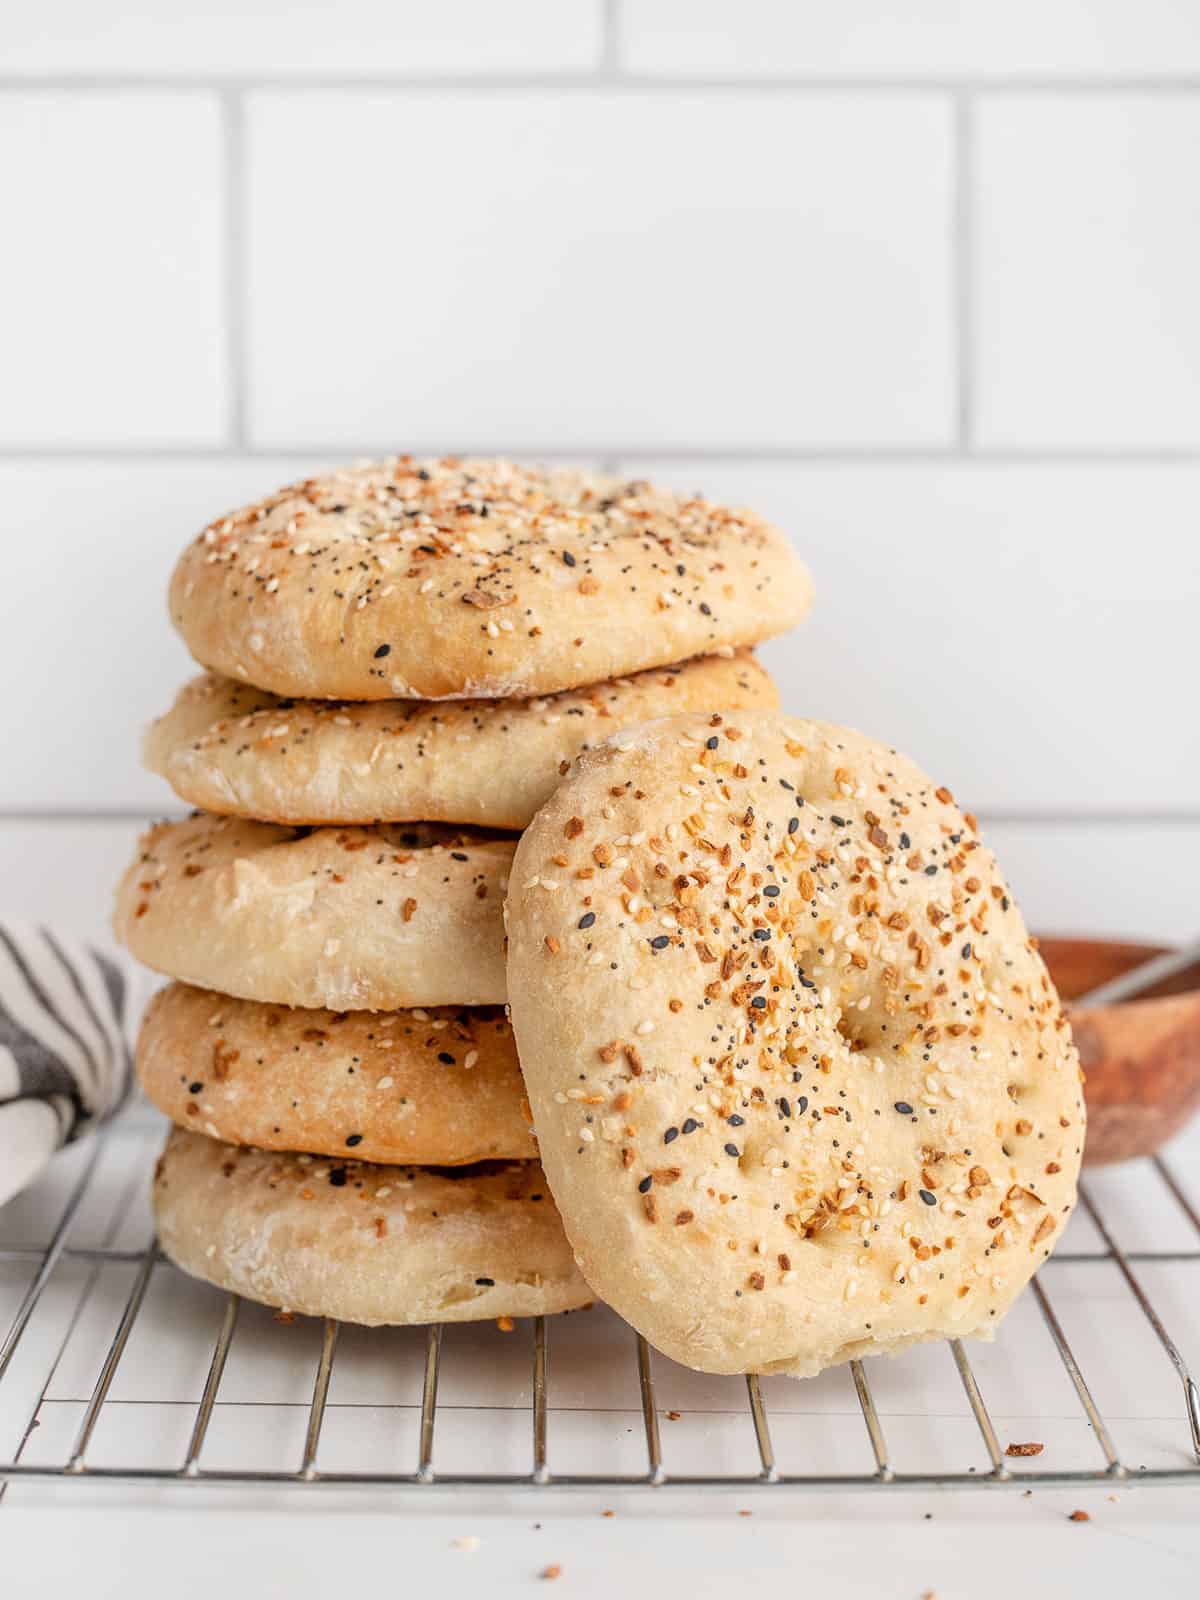
I know these Sandwich Rounds may look kind of like bagels, but they’re not. They’re no knead focaccia bread in an “Everything But The Bagel” disguise! That’s right, it’s my same no-knead focaccia dough in a convenient single-serving round shape and topped with a delicious dose of Everything But The Bagel seasoning. Perfect for building epic homemade sandwiches and WAY easier than making actual bagels!
All recipes are rigorously tested in our Nashville Test Kitchen to ensure they are easy, affordable, and delicious.
What is Everything But the Bagel Seasoning?
“Everything but the bagel” seasoning is that same chunky mix of dried onion, garlic, salt, sesame seeds, and poppy seeds that you find on top of an “everything” flavored bagel. This seasoning is super delish and adds tons of flavor and texture wherever it’s sprinkled! It was popularized by Trader Joe’s a few years back and can now be found in just about every grocery store (I got mine at ALDI). But if you can’t find it at your local store, here’s a recipe for homemade Everything Bagel Seasoning from Two Peas & Their Pod.
What is the Texture of This Bread?
Since this is made with the same dough as my No Knead Focaccia Bread, it’s definitely a more “sturdy” bread. If you’re into soft white bread, this isn’t the recipe for you. This bread is for those that like bread that can stand up to their sandwich toppings without getting soggy. A bread that can handle being doused in Italian dressing. These sandwich rounds won’t bow under pressure!
Can I Use Whole Wheat Flour?
I’ve had success making my no-knead focaccia with up to ½ of the all-purpose flour replaced with whole wheat, but when you go beyond that the bread does tend to get really dense. Even with ½ whole wheat you’re probably going to need to increase the water a bit, as whole wheat flour tends to absorb more moisture.
These Sandwich Rounds Are Freezer Friendly
One of the best parts about making your own bread is that you can keep in the freezer and have fresh, homemade bread on hand all the time. To store your sandwich rounds in the freezer, make sure to let them cool to room temperature first. Then transfer them to a gallon-sized freezer bag and place them in the freezer. They’ll be good for about three months. To thaw, either let them sit at room temperature for 10-15 minutes, or microwave for about 30 seconds. Otherwise, they’ll be good in the fridge for about 3-4 days (air-tight container).

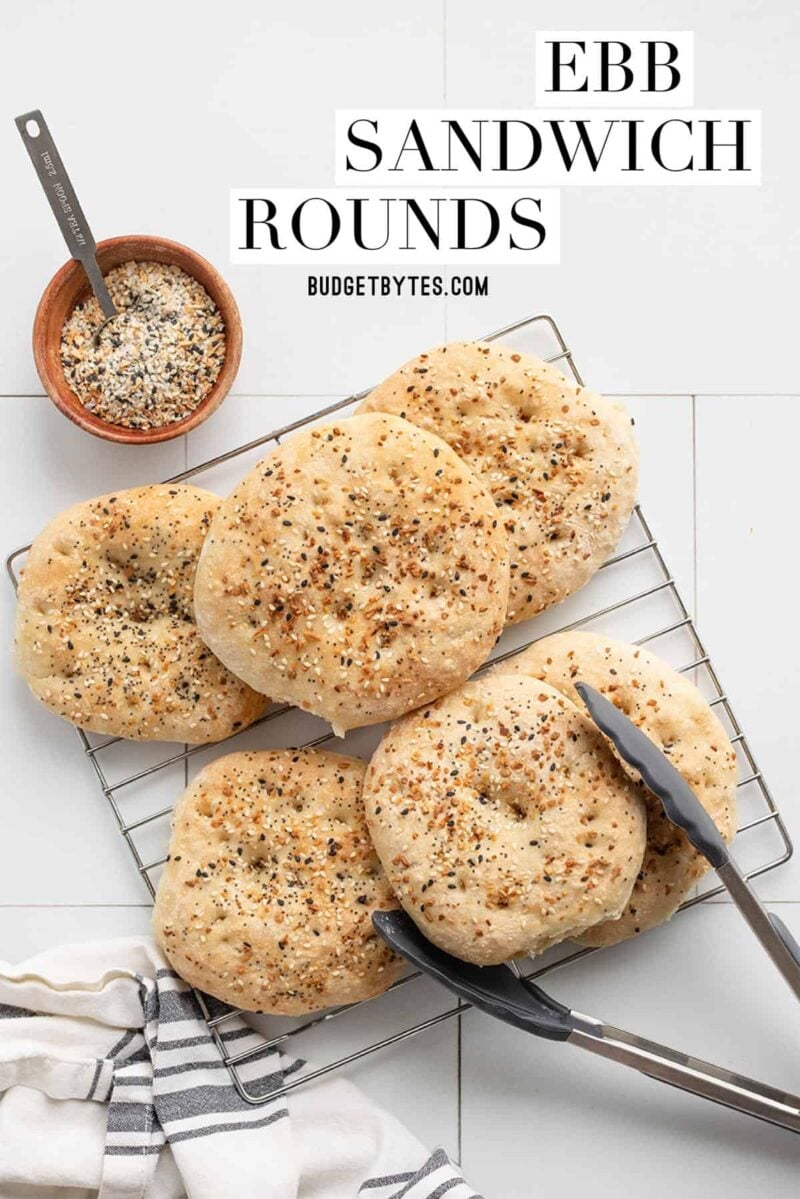
“Everything But the Bagel” Sandwich Rounds
Cost $1.54 recipe / $0.26 serving
Ingredients
- 2 cups all-purpose flour (plus some for dusting) ($0.30)
- 3/4 tsp salt ($0.03)
- 1 tsp instant yeast (or bread machine yeast) ($0.45)
- 1.25 cups water ($0.00)
- 1 Tbsp olive oil ($0.16)
- 2 Tbsp Everything But The Bagel Seasoning ($0.60)
Instructions
- Combine the flour, salt, and yeast in a bowl and stir until very well combined.
- Add the water and olive oil and stir until a sticky ball of dough forms. There should be no dry flour left on the bottom of the bowl.
- Loosley cover the bowl and let it sit at room temperature for two hours, or until the dough has doubled in size and is very fluffy and bubbly in texture.
- Sprinkle some flour on top of the dough and use your hands to scrape it down off the sides of the bowl. Dump the dough out onto a floured surface. The dough will be very loose and sticky, so use flour to keep it from sticking to your hands and work surface.
- Divide the dough into six pieces, then shape each into a ball. Use a rolling pin to flatten each ball into a 4 to 5-inch diameter circle. Place the flattened circles on a parchment lined baking sheet.
- Brush a thin layer of water on top of each round, then sprinkle about one teaspoon of Everything But the Bagel Seasoning onto each one. Let the sandwich rounds rise for 30 minutes.
- Toward the end of the rise time, begin preheating the oven to 400ºF. Use your fingers to press dimples down into each sandwich round (this helps them stay flat as they bake).
- Once the oven is fully preheated, transfer the baking sheet to the oven and bake the sandwich rounds for about 25 minutes, or until they're golden brown.
- Remove them from the oven and transfer to a wire rack to cool. The crust may seem really hard immediately after they come out of the oven, but they will soften as they cool. Once cooled serve or store in the refrigerator (3-4 days) or freezer (3 months), in an air-tight container.
See how we calculate recipe costs here.
Nutrition Information
How to Make EBTB Sandwich Rounds – Step by Step Photos
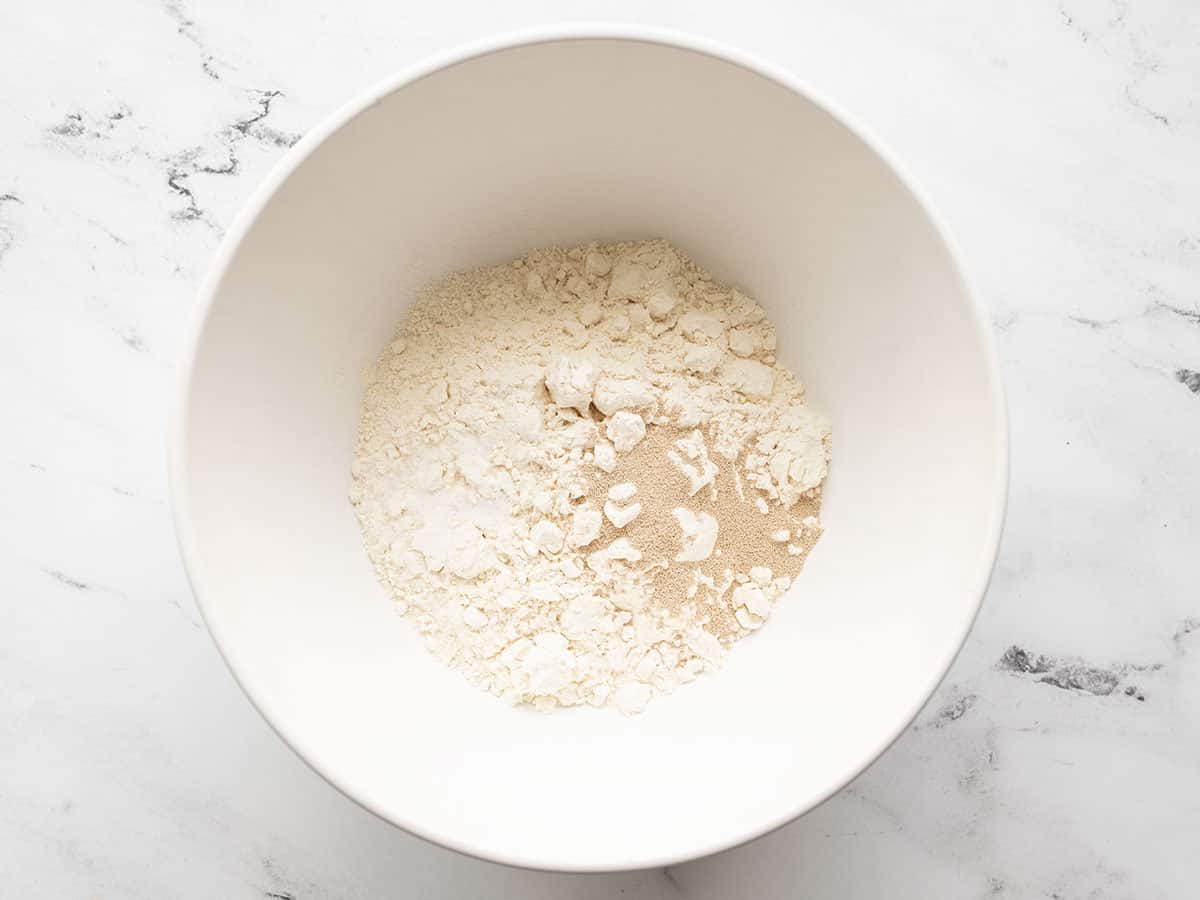
Stir together 2 cups of all-purpose flour with 1 tsp instant yeast (or bread machine yeast) and ¾ tsp salt. Make sure they’re very well combined.
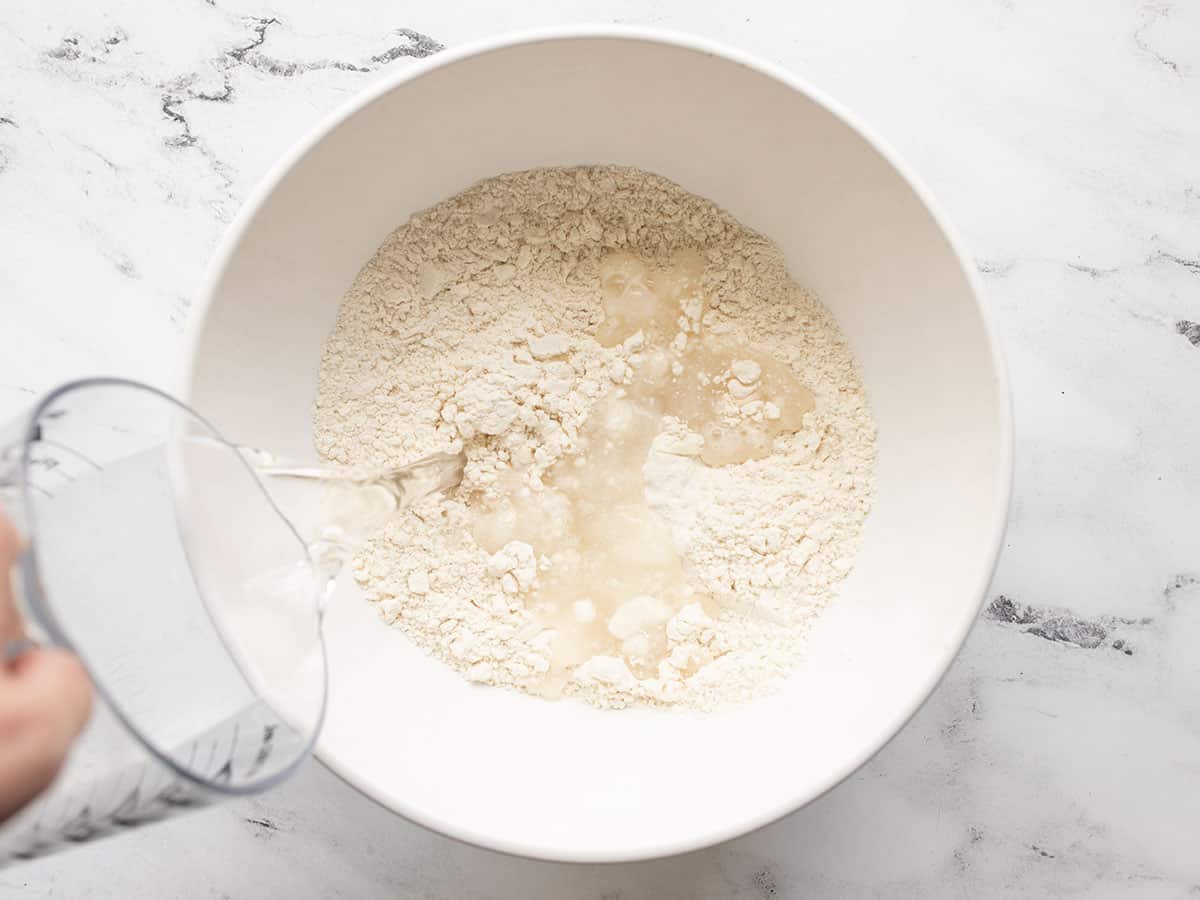
Add 1.25 cups water and 1 Tbsp olive oil.
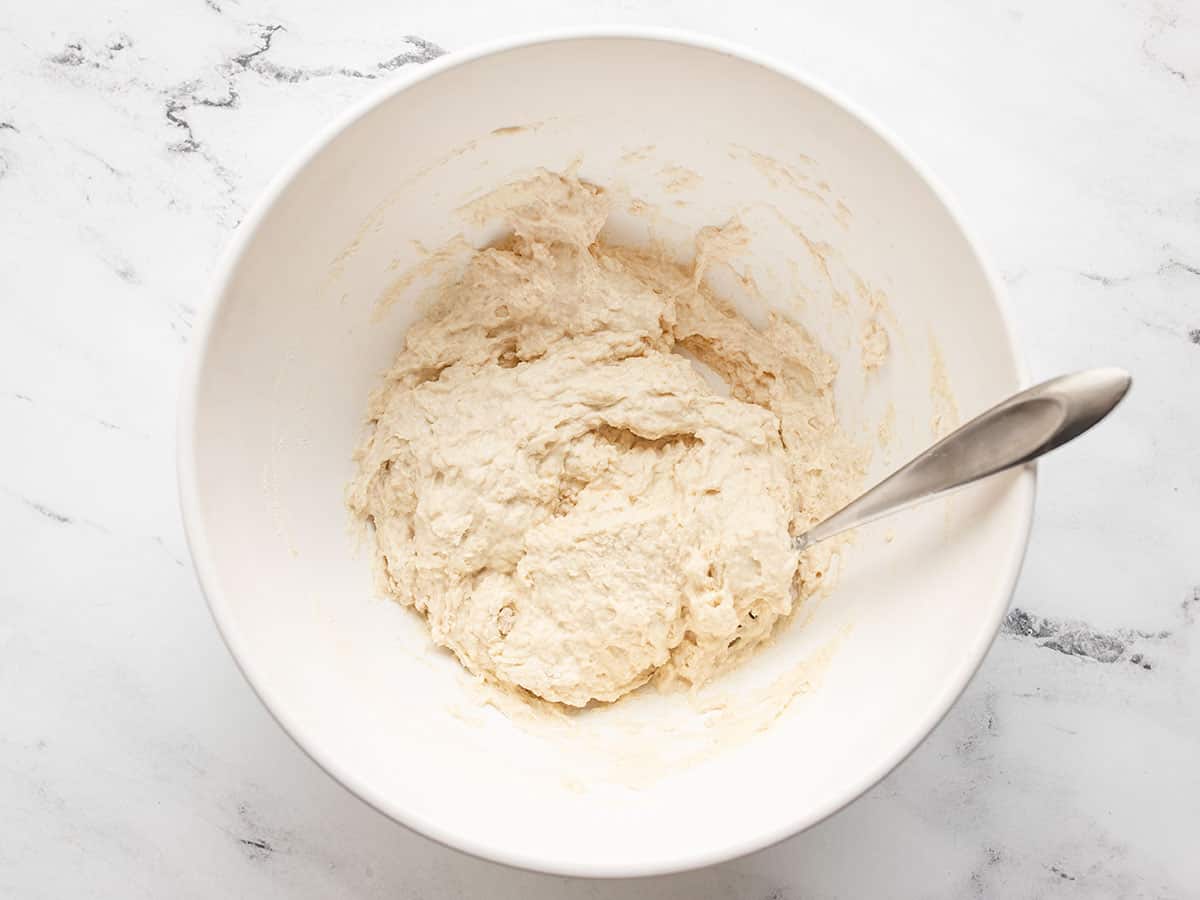
Stir until it forms a sticky ball of dough. There should be no dry flour left on the bottom of the bowl. Loosely cover the dough and let it rise at room temperature for two hours.
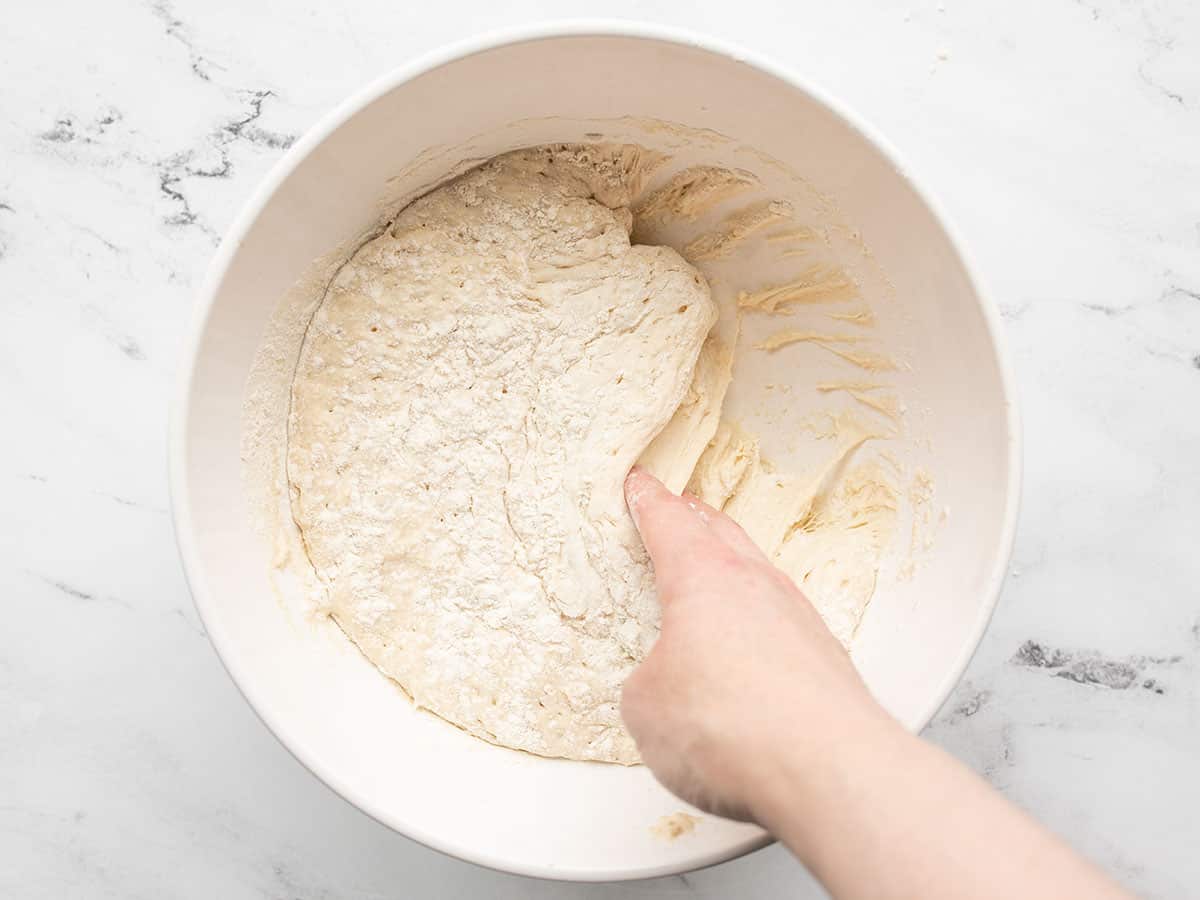
After two hours the dough should have doubled in size and should be very fluffy and bubbly in texture. Sprinkle some flour on top to keep it from sticking (because it WILL be sticky), then use your hands to scrape it off the sides of the bowl.
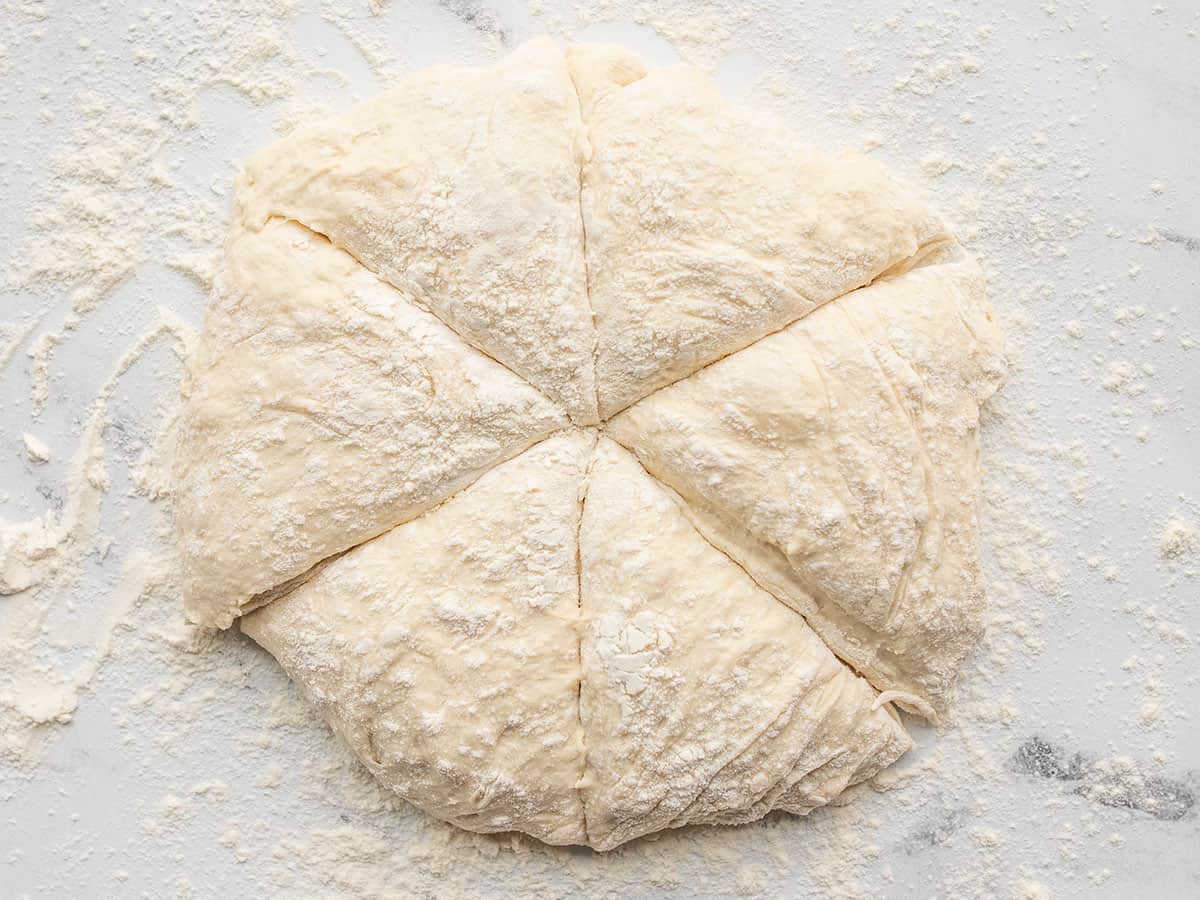
Turn the dough out onto a floured surface and divide it into six pieces.

Use flour as needed to keep the dough from sticking. Shape each piece into a ball, then use a rolling pin to roll it into a flattened circle about 4 to 5-inches in diameter.
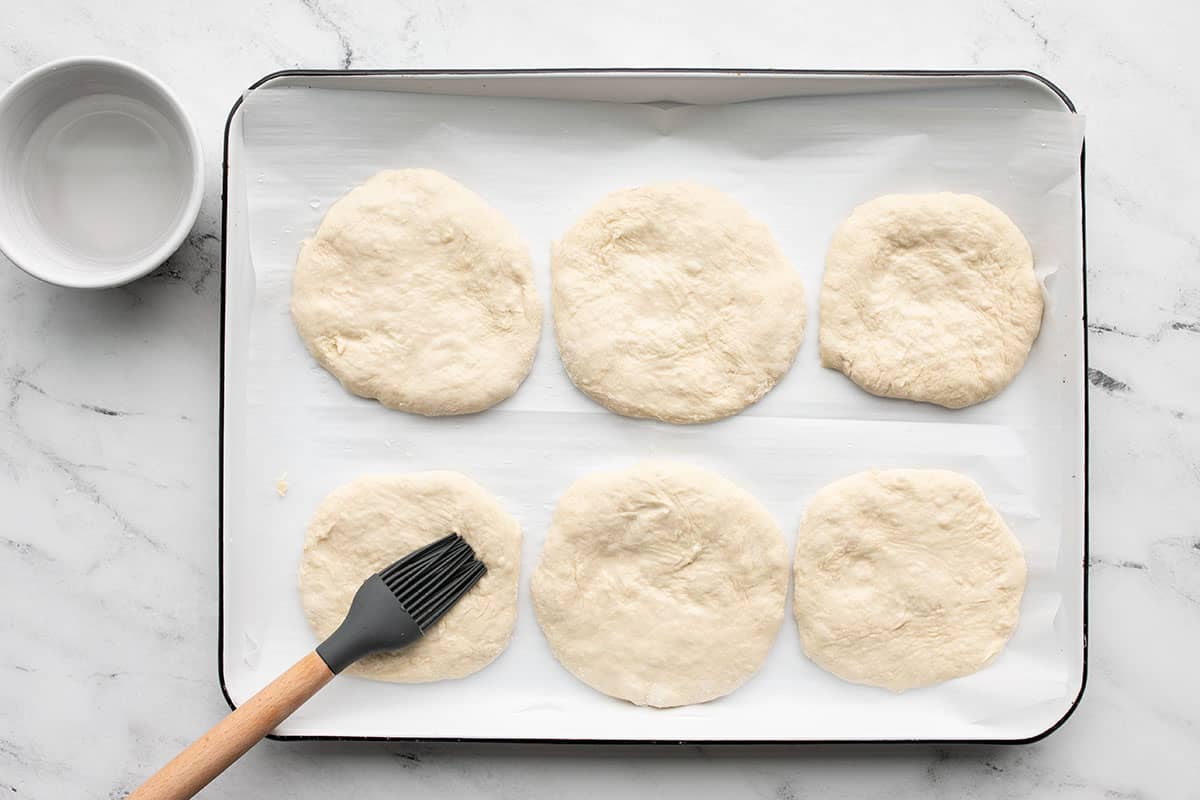
Place the flattened rounds onto a parchment-lined baking sheet. Brush a thin layer of water on top of each one (this helps the seasoning stick).
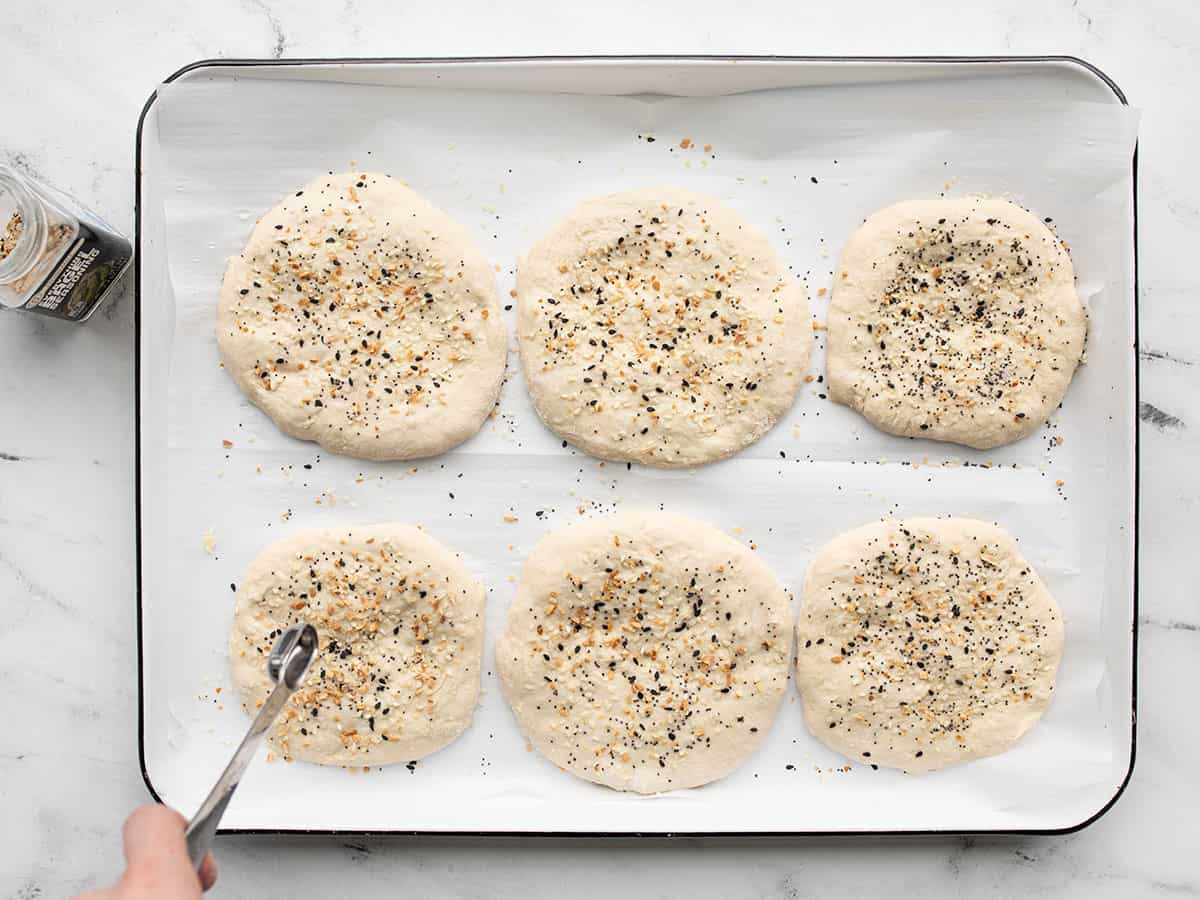
Sprinkle about one teaspoon of Everything But the Bagel Seasoning on top of each round. Let the rounds rise at room temperature for 30 minutes.
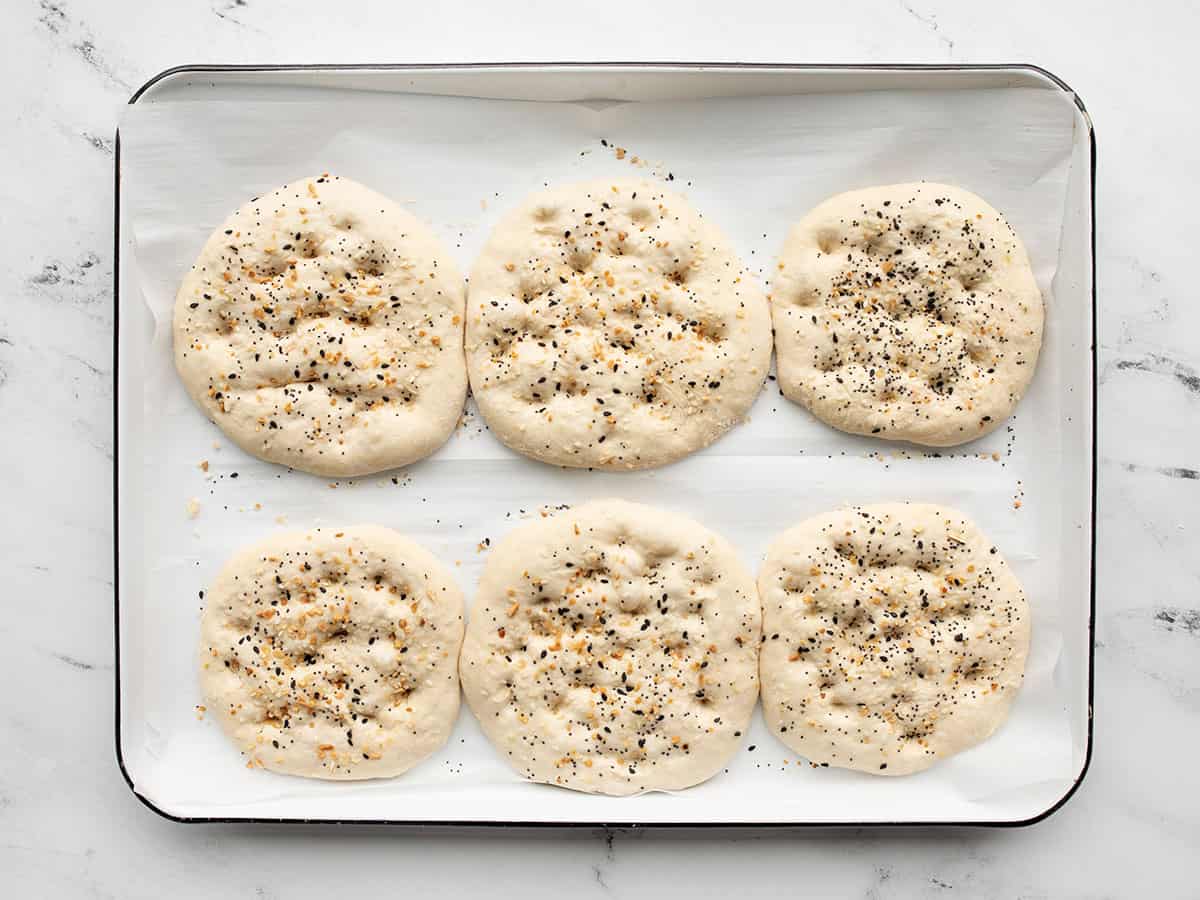
Toward the end of the rise time, begin preheating the oven to 400ºF. Once risen, use your fingers to press dimples into the sandwich rounds. This helps them stay flat as they bake.
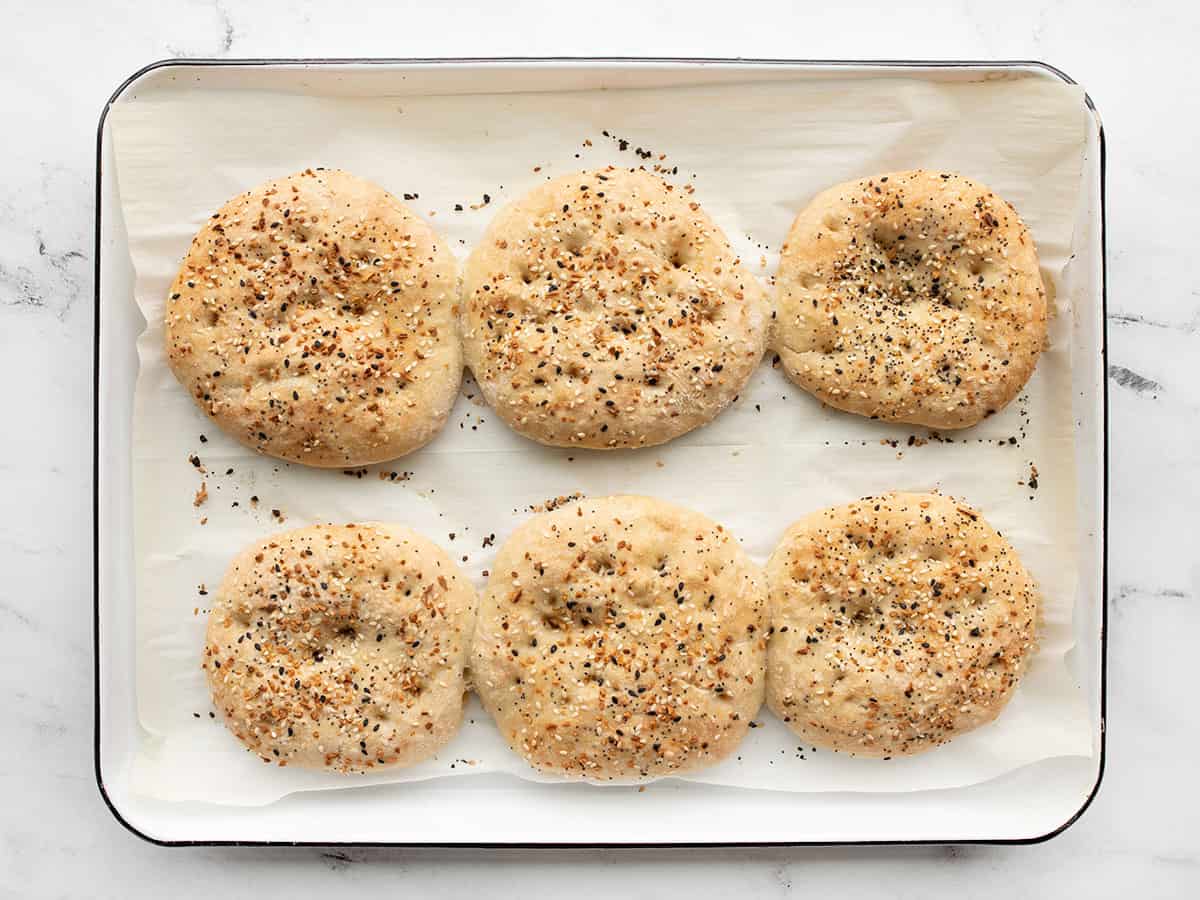
Bake the sandwich rounds in the fully preheated oven for about 25 minutes, or until golden brown.
Transfer the sandwich rounds to a cooling rack to cool until room temperature, then serve or save for later! Once cooled, I keep mine in an air-tight container either in the refrigerator for a few days, or in the freezer for up to about 3 months.
This recipe is great! I have a lot of bread baking experience, and I had to add 1/2 cup more flour to achieve to consistency shown in the step-by-step pictures. The dough is still very sticky as you work it into the rounds, but flouring the top and flouring the work surface as stated does the trick. Will make again.
These flatbreads were great! I saw quite a few less-than-positive comments, and I’m really sorry that this recipe didn’t work out for them for some reason. I read and reread the directions and followed all the tips–I had no trouble with my bread at all. My expanded tip:: when you’re at the step of separating pieces of dough, have a little mound of flour on the counter to dredge the pieces in. Your hands and rolling pin will stick to the dough less. The dough is meant to be super sticky, not solid like other bread doughs.
These tasted fine, but I have no idea what happened because his was the stickiest and wettest dough, and the texture was weird as a result. It was sticky when I followed the directions exactly, and I ended up adding a ton more flour, and it was still impossible to work with. I saw a few other comments mention needing more flour. I think I’ll retry the recipe and go with my instincts and add flour until it seems right.
I just had the same problem. As I was mixing them, I kept adding flour, but I didn’t want to overdo it.
I just pulled the dough (a.k.a. batter — lol) out of the bowl to shape them, and that was impossible. So, more flour … and now the dough is resting. Hoping I can salvage them.
these look fantastic. would you use bread flower with these? or just All purpose?
I used all-purpose flour. :)
I think I might try just keeping it in a large round shape loaf rather than cutting into 6 pieces. We’ll see how it goes!!
These look great! I’m concerned about the mixed reviews. Before I start, would you say the recipe calling for 2 C All-Purpose flour would equal 272 grams? I think metric yields a more consistent product. I’m not a great baker and am humble enough to know when to break out the scale. Just want to confirm you’d say metric might be the ticket?
I’ve never used metric weights to make bread, rather I go by the texture of the dough. It can take a little practice, but once you get it, it’s a breeze. I suggest scrolling down through the step by step photos to see what the texture of the dough should be like once the water is mixed in. It should be soft and sticky, but not so wet that it is glossy.
Made these today. Super easy and delicious results! I will be making these often.
Love this recipe! Thank you so much for all that you share – they are simple and nutritious, easy to make.
Wanted to comment to say this is my second go at making these because the first batch was so delicious and successful. :) They turned out thinner than I’d realized they’d be, but retrospectively looking at your pictures, they’re the right size. I like them because they’re definitely sturdy enough to hold up sandwich toppings so the bread wasn’t all soggy when I popped the container open at work for lunch. Thank you for the recipe!
I made this a few days ago and as a few others have mentioned, my dough was extremely liquidy after rising. I’m not sure how much flour I had to add, but it was a lot. I just kept reaching into the bag and adding more and more until the dough was somewhat workable. The end result was pretty good— no complaints there. I’d probably try this again but I’d have to figure out the wet/dry ratio. I really love the idea of focaccia rounds as opposed to a whole…whatever you call a whole thing of focaccia…loaf?? Thank you!
Can you substitute Whole wheat flour, or would the ratios need to change?
I generally don’t suggest substituting more than 50% of the flour for whole wheat otherwise, it gets too heavy and dense. Even with half of it substituted, you may find that you need more water because ww flour absorbs more, but just go by the texture of the dough as you’re mixing it.
Do you know how these would work with a 1:1 type gluten free flour?
While I haven’t used that type of flour, gluten is very critical when making this type of bread. It’s what holds the bread together and gives it that classic texture, so I would assume that it wouldn’t work correctly without the gluten.
Has anyone tried replacing one cup of white flour for whole wheat white flour?
I usually have pretty good results with bread recipes when substituting up to half of the white flour with wheat. Anything beyond that and it gets too heavy and dense.
Hi! I just wanted to let you know that I tried this recipe and the bread is delicious! However, I had to add two extra cups (a total of 4) because the mixture was way too liquidy. I followed your directions to the “T”, but the consistency didn’t look anything like your picture. It is 1-1/4 C. water correct?
Yes, that is the correct amount. I’m not sure why you would have needed to double the flour.
This is a genius use of your focaccia recipe! These are on my “to-make” list. Thanks!
When I was making the dough, it came out very watery for me for some reason. I had to add quite a bit of flour and the dough was still very sticky, but they turned out just fine and it was a nice sturdy bread!
Sarah, The same thing happened to me, but I agree, they still turned out fine.