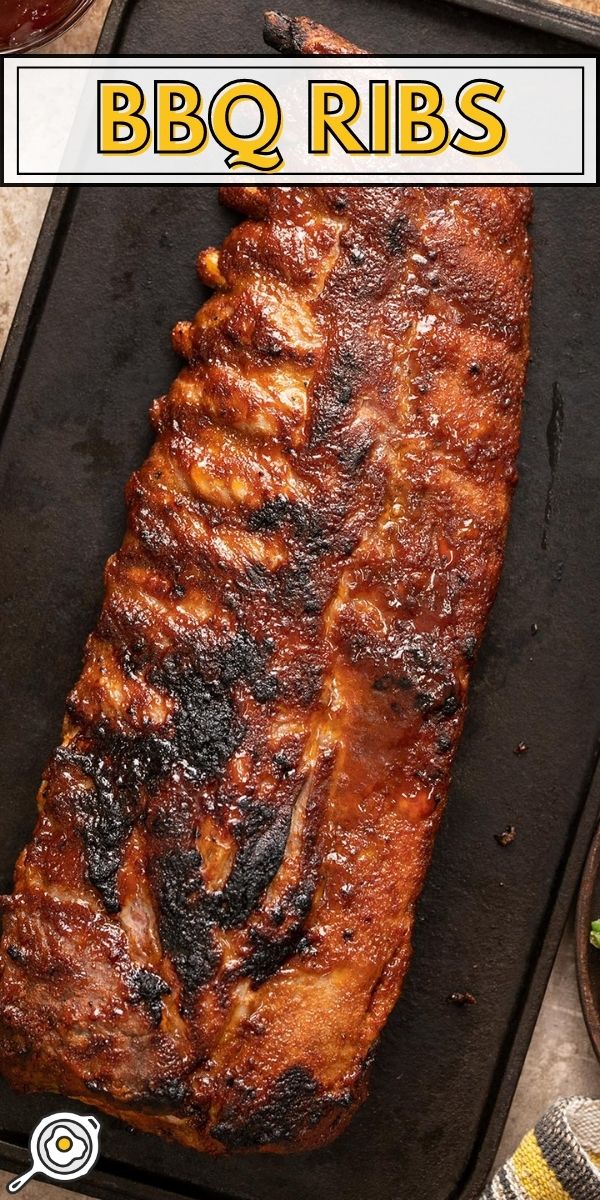
For me, nothing says “Summer is here!” like a succulent rack of BBQ Ribs with All. Of. The. Sides. But maybe, like me, you don’t have a grill or a backyard, or any desire to stand out in the hot sun next to fire. First, I see you. Second, you don’t need a big fancy grill to get juicy, tender, fall-off-the-bone BBQ Ribs. All you need is a baking pan, some foil, and some patience to get oven-baked barbecue ribs on the table that’ll have your whole family asking for more! PS This is a great recipe for Father’s Day, the 4th Of July, or a summer barbecue. So make sure to save it!
All recipes are rigorously tested in our Nashville Test Kitchen to ensure they are easy, affordable, and delicious.
What you need to make BBQ Ribs
Are you ready to skip the grill and fire up your oven? Here’s what you need to make delicious oven-baked barbecue ribs that leave you wishing you’d made a double batch!
- Ribs– your choice: baby back, spare, short, St. Louis style, you name it. Though cook times will vary, you can make any 3-pound rack using this simple recipe.
- Barbecue Sauce– we have a great recipe for Homemade BBQ Sauce if you want to make your own, but any BBQ sauce will do. Not only does the sauce add deep flavors, but it also helps caramelize the outer layer of ribs for mouth-wateringly sticky perfection.
- Spices– a rub is a must if you want to add deep flavor to ribs. For this recipe, we will make our own rub with salt, pepper, garlic powder, onion powder, smoked paprika, brown sugar, cayenne, and mustard powder, but if you have a favorite brand, use 5 tablespoons.
- Butter – mixing the dry rub with melted butter makes it easy for the seasoning to stick to your ribs as they bake. The butter also adds flavor and keeps your ribs from getting dry.
- Liquid– placing liquid in the pan will help keep your ribs from drying out. You can use any liquid: water, chicken broth, and if you’re making pork ribs, apple juice works beautifully.
How To Pick Ribs
Here are a few helpful tips to keep in mind when picking ribs:
- Look for meaty ribs that are the same thickness from end to end. Press your finger down into the rib to get a feel for how much meat there is on the bone.
- Look for ribs marbled throughout with fat, which keeps them juicy and adds flavor. Pass on ribs with big clumps of fat, which adds to the weight and cost of the rack but has to be trimmed before baking.
- The ribs should be about the same size and thickness from end to end, which ensures even cooking. Of course, you’ll have some natural tapering at one end, but avoid racks with a considerable size difference from end to end.
- Plan on at least 3 to 4 ribs per serving and buy accordingly.
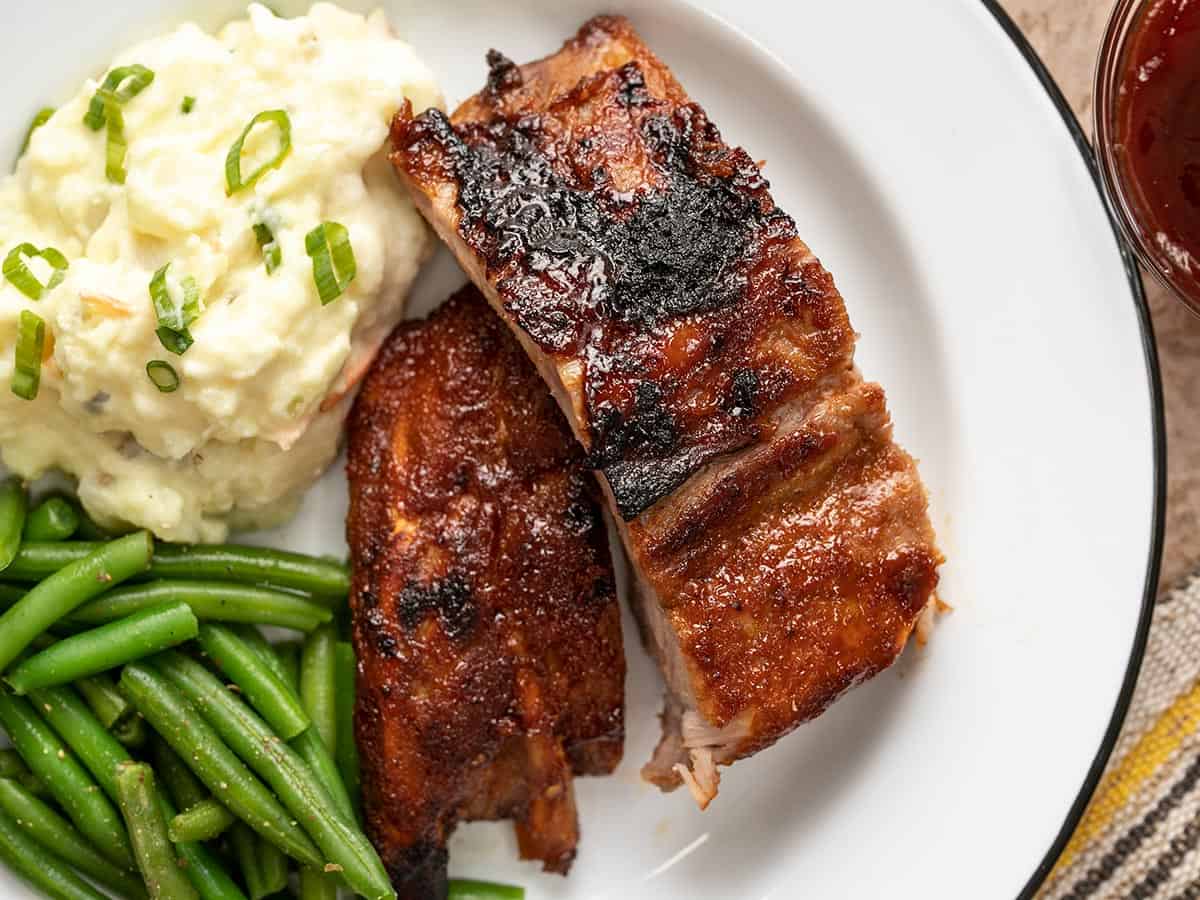
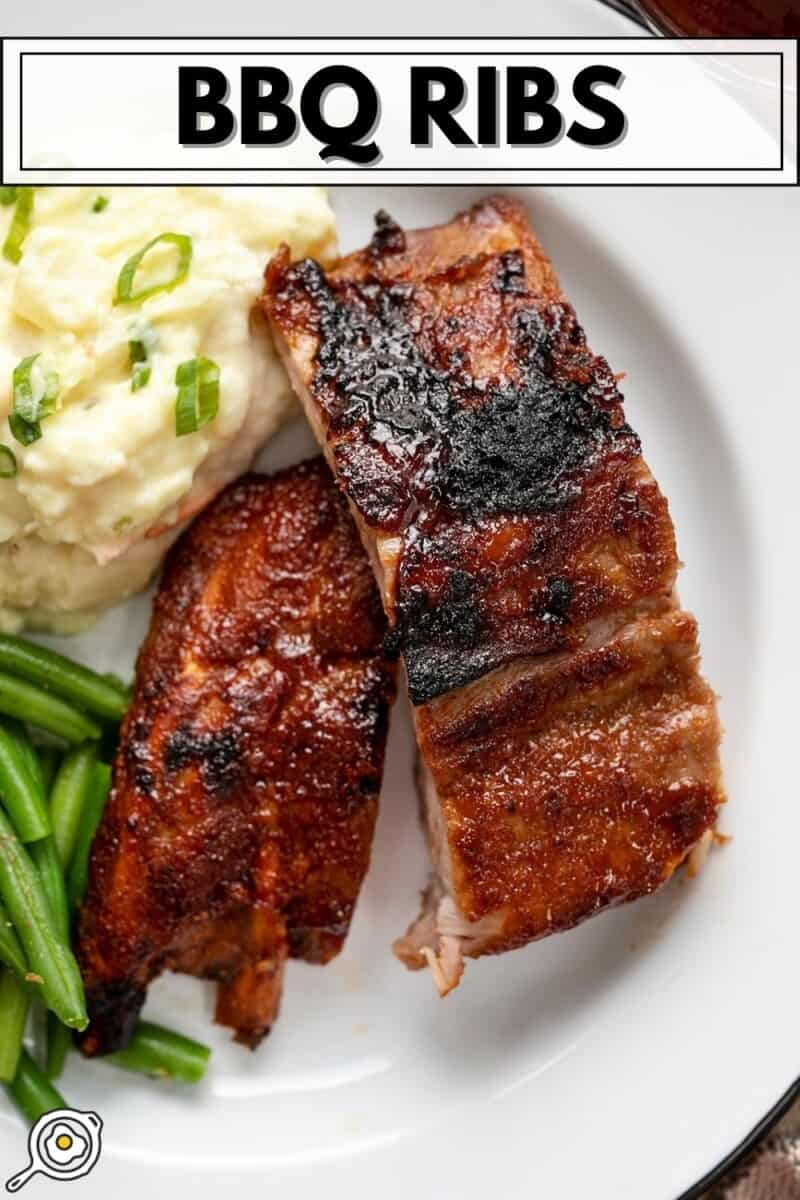
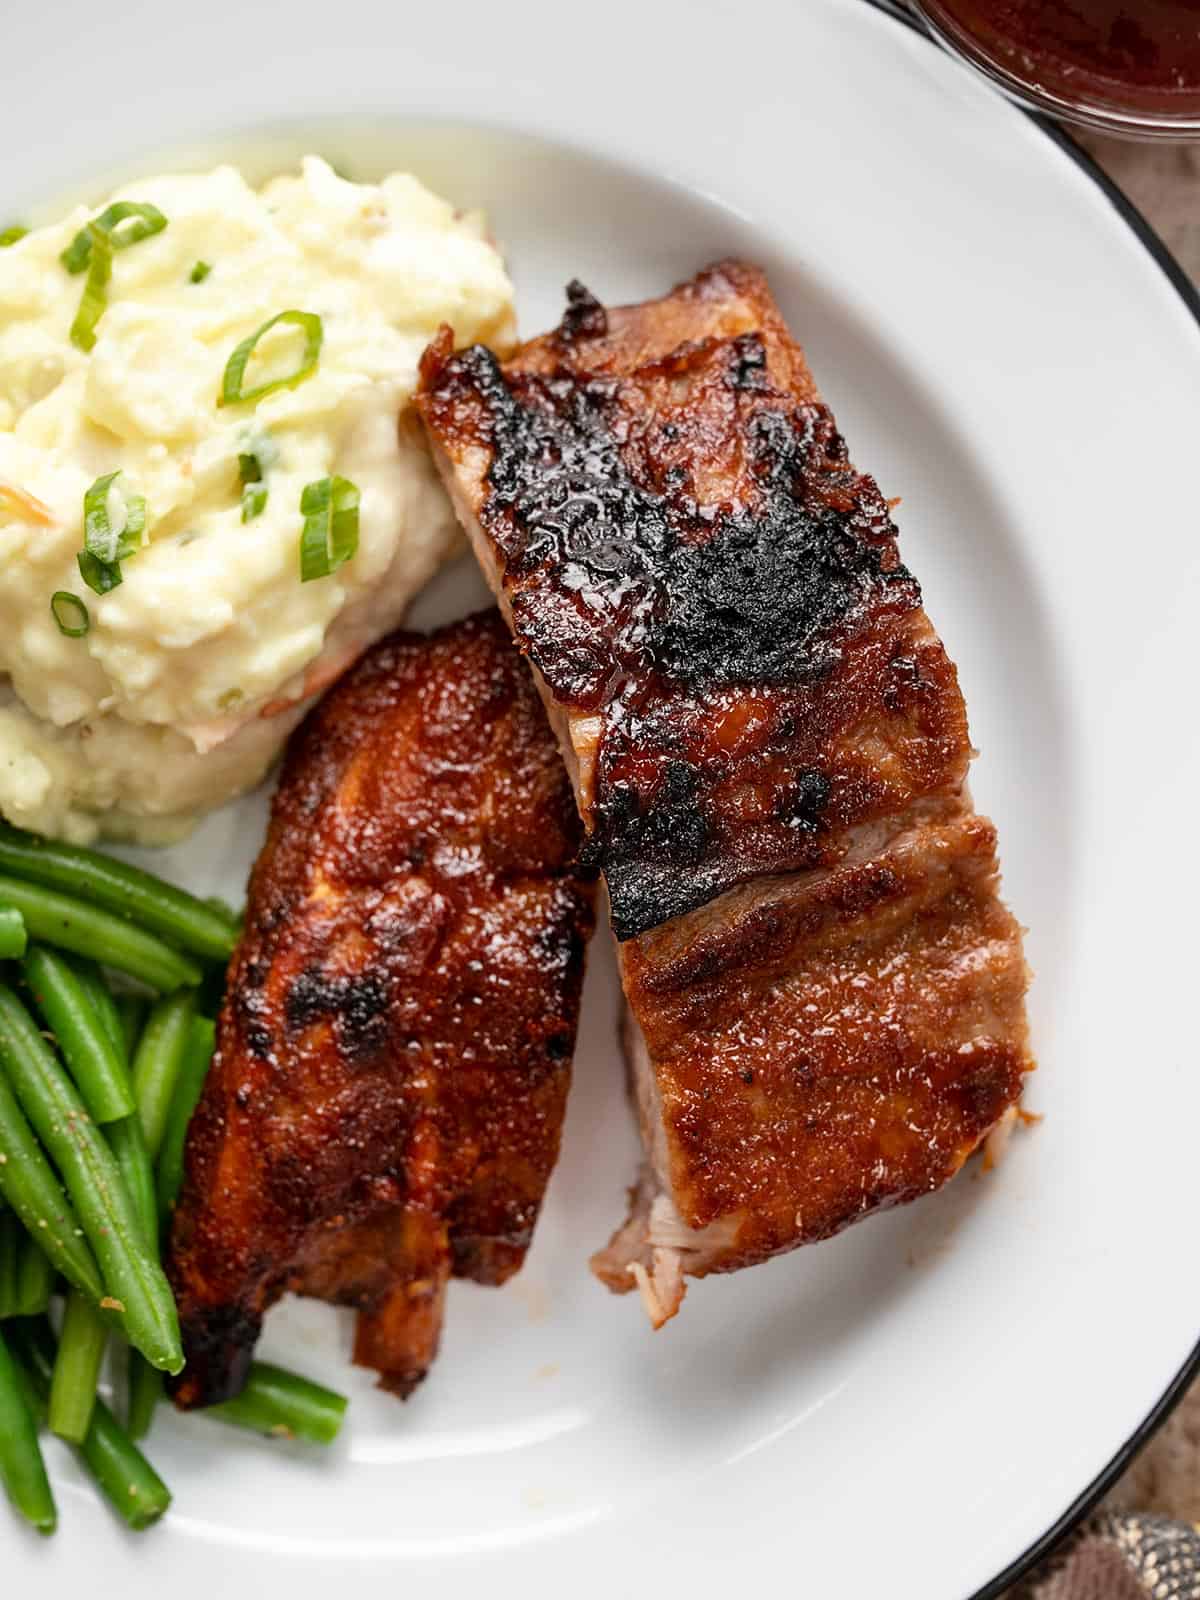
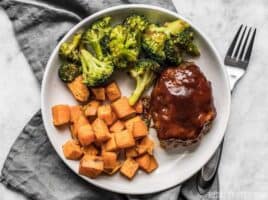
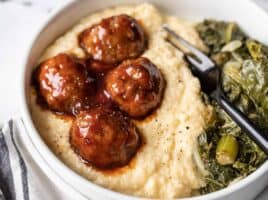
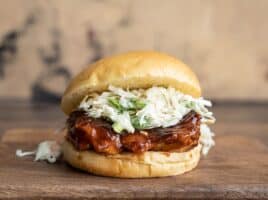
What To Serve With BBQ Ribs
Kick up your BBQ Ribs 100 notches by serving them with delicious, easy-to-make Budget Bytes classics like:
How To Store And Reheat Ribs
Wrap ribs tightly in plastic or foil and place them in an airtight container. Store leftovers in the fridge for up to three days or in the freezer for up to three months. To reheat from frozen, thaw the ribs in your fridge overnight. When ready to cook, bring the ribs to room temperature while you preheat your oven to 250°F. Line a sheet pan with a rack and fill the pan with a few cups of water. Wrap the ribs in foil, place them on a sheet pan, and warm for about 20 to 30 minutes or until steaming.
BBQ Ribs
Cost $11.76 recipe / $2.94 serving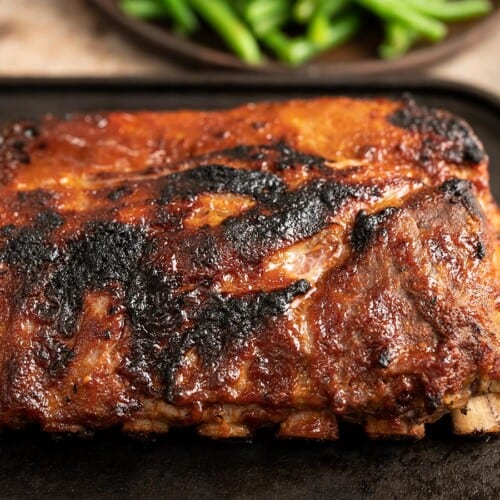
Ingredients
- 3 lbs pork ribs ($8.82)
- 4 Tbsp butter, melted ($0.37)
- 2 tsp salt ($0.10)
- 1 tsp black pepper ($0.10)
- 2 tsp garlic powder ($0.20)
- 2 tsp onion powder ($0.20)
- 2 tsp smoked paprika ($0.20)
- 1 Tbsp brown sugar ($0.04)
- 2 tsp cayenne ($0.20)
- 2 tsp ground mustard ($0.20)
- 3 cups chicken broth ($0.39)
- 1 1/2 cups BBQ sauce ($0.94)
Instructions
- Place an oven rack in the center of the oven and preheat it to 300°F. Trim the ribs, removing excess fat. Trim the thicker end to even out the thickness. (Cook the trimmed meat with the ribs as a cook's bonus.) Turn the ribs over and remove the silvery membrane from the back of the ribs.
- Line a sheet pan that's at least 2 inches deep with heavy-duty aluminum foil and place a wire cooling rack in it. If you do not have a cooling rack, crumple a long sheet of aluminum and roll it into a rack-sized donut that is at least 2 inches thick. Place the trimmed ribs on the rack. Pat off any excess moisture with a paper towel.
- Make a rub by mixing salt, pepper, garlic powder, onion powder, smoked paprika, brown sugar, cayenne, ground mustard, and melted butter.
- Rub the seasoning generously all over the meaty top of the ribs in a thick layer.
- Pour chicken broth into the sheet pan, being careful not to pour it on the ribs. Place the sheet pan in the oven. Lower the temperature to 250°F. Bake uncovered for 30 minutes.
- Cover the ribs in aluminum foil and bake for 60 minutes, rotating the sheet pan midway through.
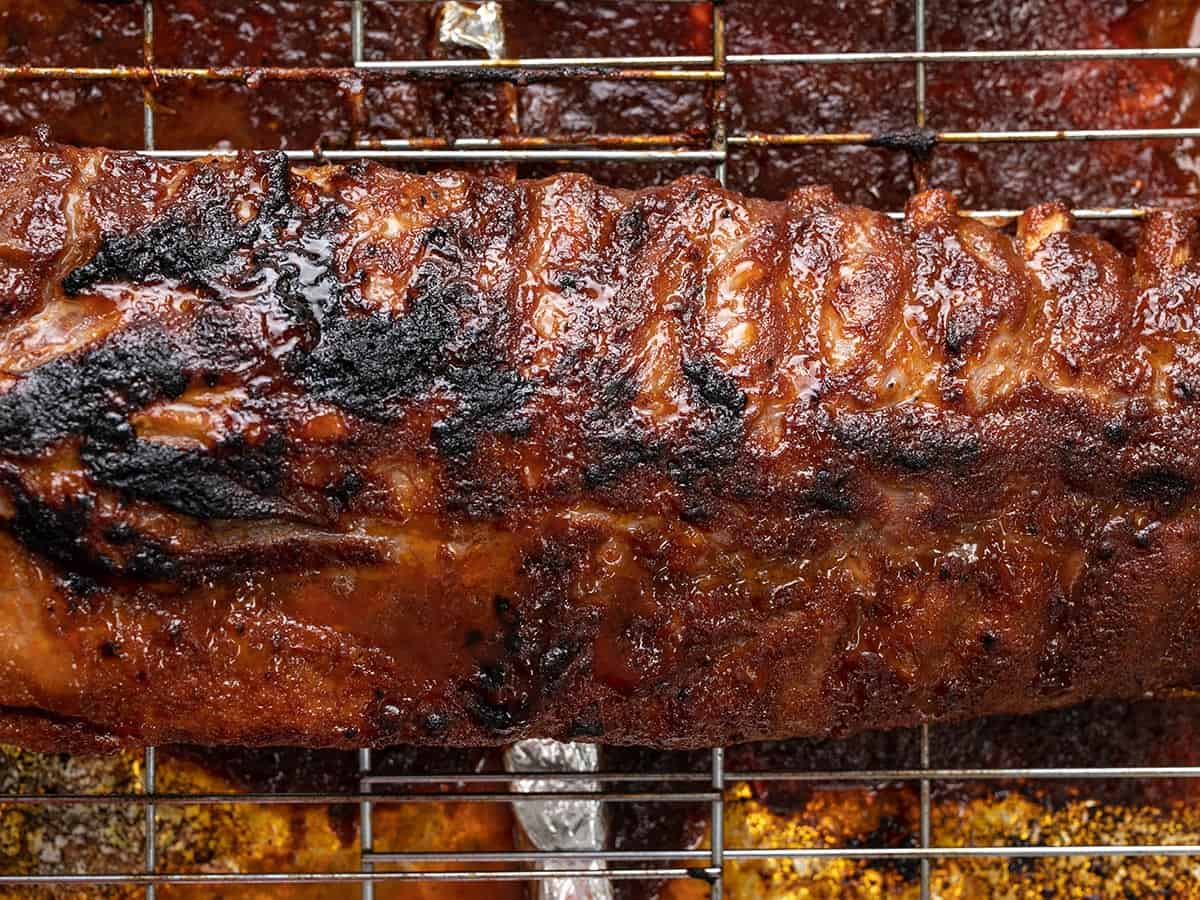
- Remove the aluminum foil and brush the ribs with 1 cup of bbq sauce. Bake for an additional 30 minutes or until tender. Every rack is different. The ribs are ready when a fork can easily pull the meat off the bone.
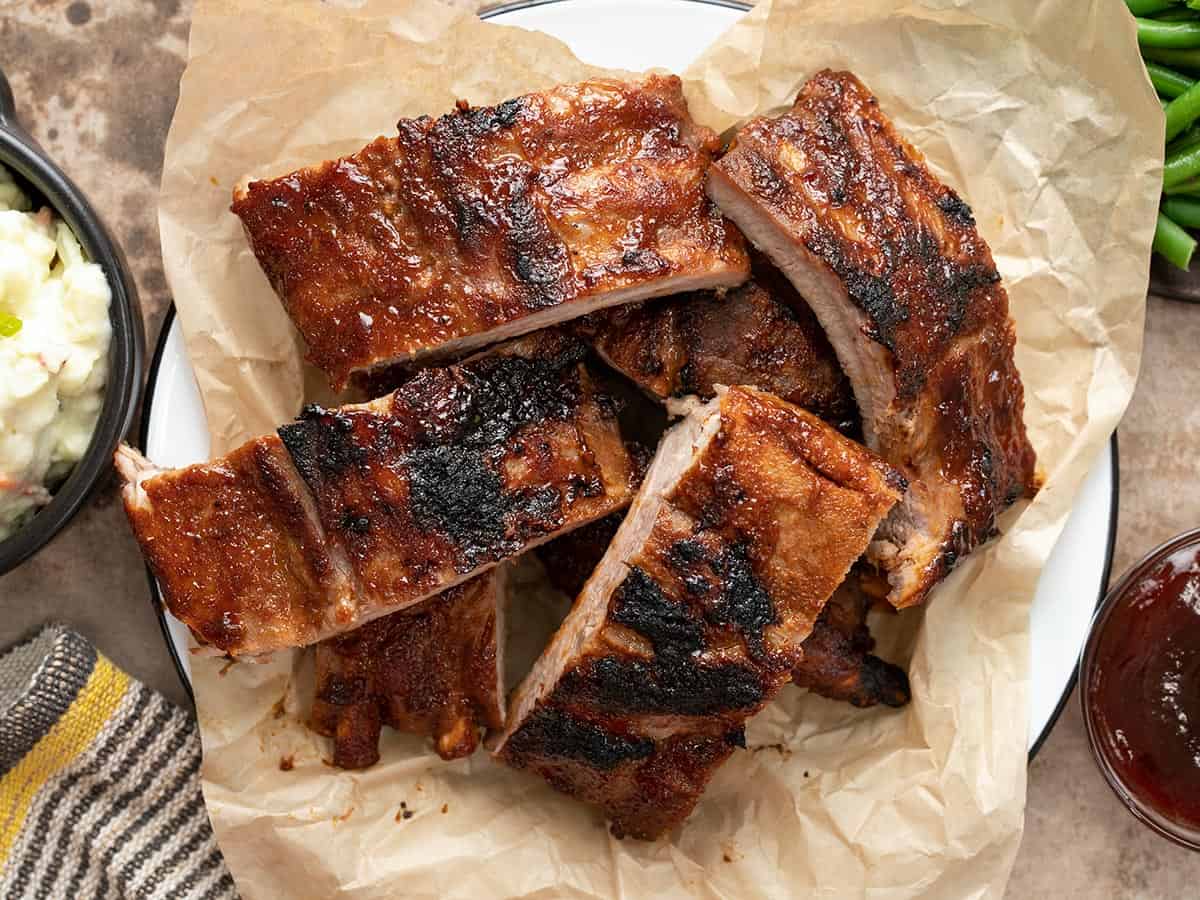
- Turn the heat in the oven on broil. Brush the ribs with an additional 1/2 cup of bbq sauce and place under the broiler for a few minutes, just until a little char develops. Remove the ribs from the oven and rest for 15 minutes. Cut the ribs to your desired size, serve, and try not to lick your fingers!
See how we calculate recipe costs here.
Nutrition Information
How to Make BBQ Ribs – Step by Step Photos
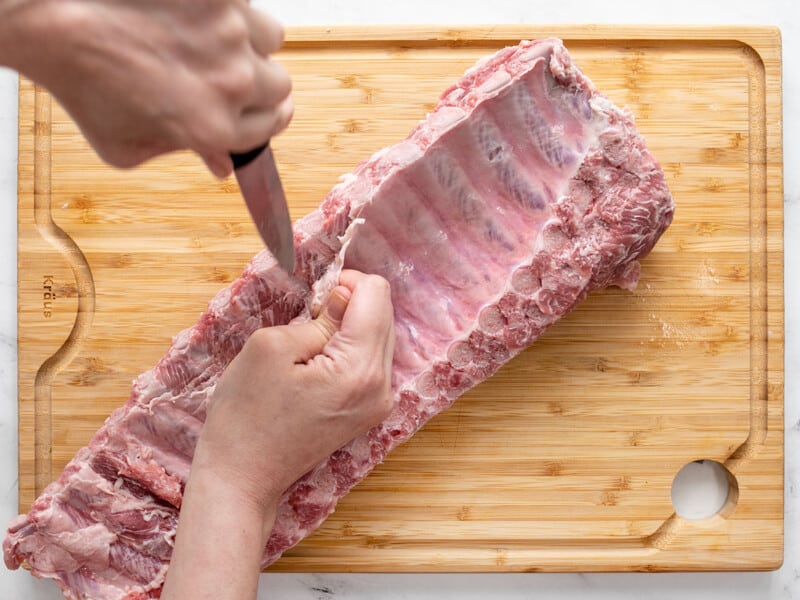
Place a rack in the center of the oven and preheat it to 300°F. Trim the ribs, removing any big clumps of excess fat. Trim the thicker end to even out the thickness and cook the trimmed meat along with the ribs. Cook’s bonus! Turn the ribs over and remove the silvery membrane from the back of the ribs. It gets rubbery when cooked. Use a pairing knife or other sharp small knife to cut away at the skin while you pull it.
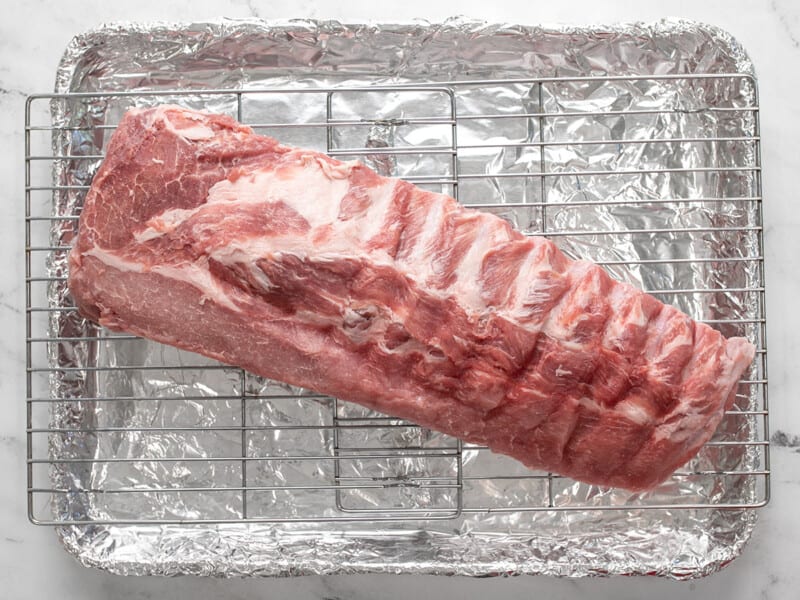
Line a sheet pan that’s at least 2 inches deep with heavy-duty aluminum foil and place a rack in it. Place the trimmed ribs on the rack. If you do not have a cooling rack, crumple a long sheet of aluminum and roll it into a rack-sized donut that is at least 2 inches thick. Place the trimmed ribs on the rack or aluminum donut. Pat off any excess moisture with a paper towel.
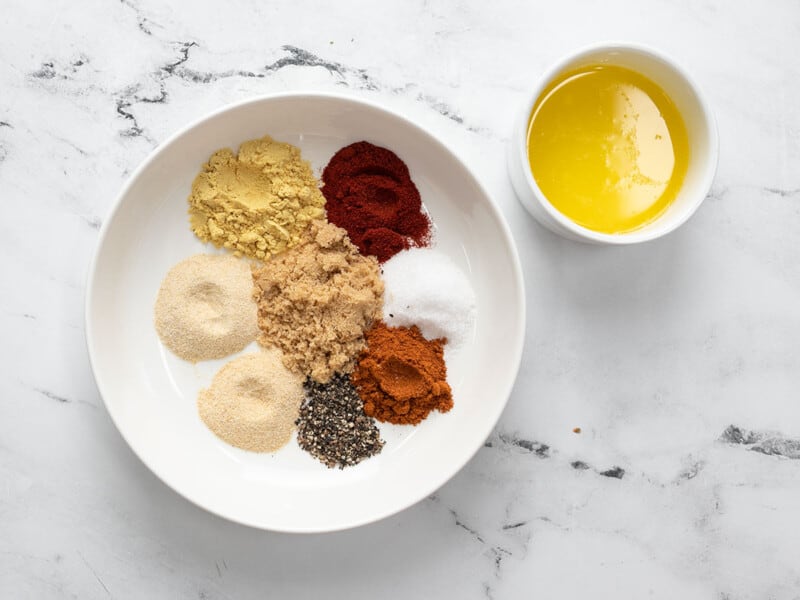
Make a rub by mixing 2 teaspoons of salt, 1 teaspoon of pepper, 2 teaspoons of garlic powder, 2 teaspoons of onion powder, 2 teaspoons of smoked paprika, 1 tablespoon of brown sugar, 2 teaspoons of cayenne, 2 teaspoons of mustard powder, and 4 tablespoons of melted butter.
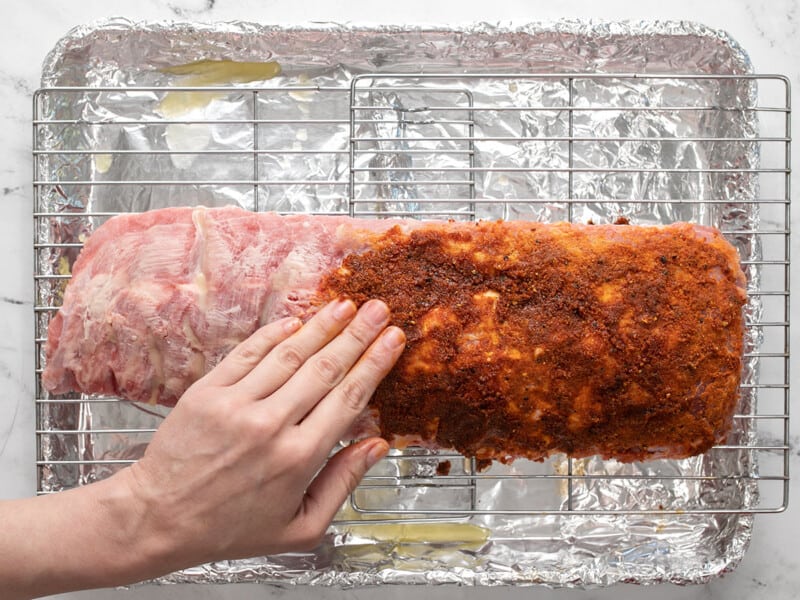
Rub the seasoning generously all over the meaty top of the ribs.
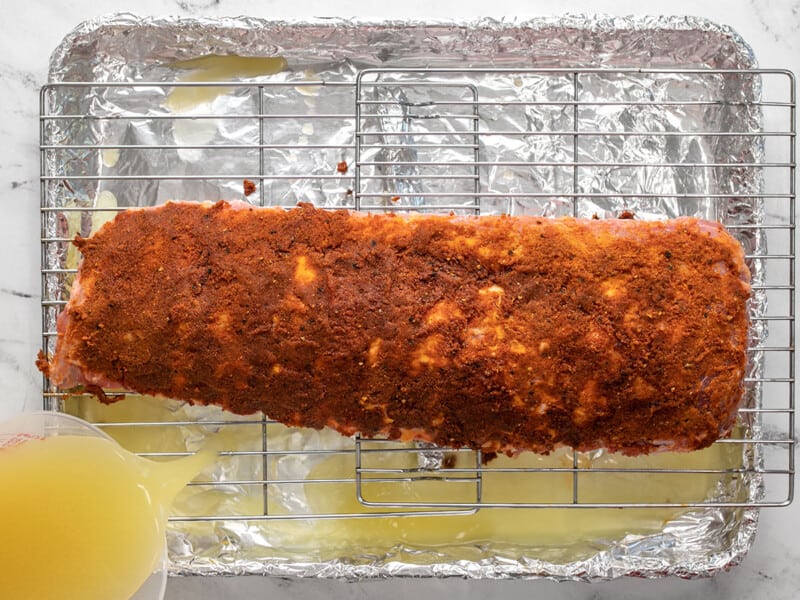
Pour the chicken broth into the sheet pan, being careful not to pour it on the ribs. Place the sheet pan in the oven. Lower the temperature to 250°F. Bake uncovered for 30 minutes. Cover the ribs in aluminum foil and rotate the sheet pan front to back. Bake for another 30 minutes, then rotate the sheet pan again and bake for an additional 30 minutes.
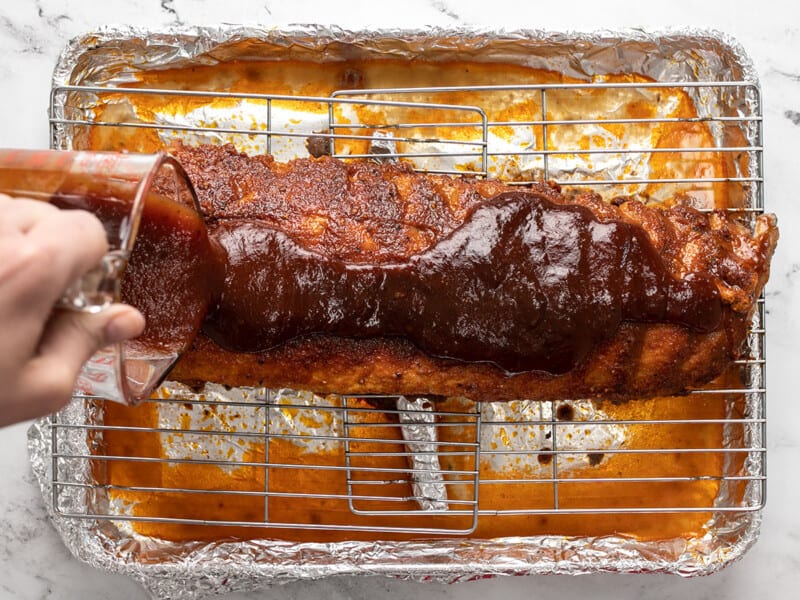
Remove the aluminum foil and brush the ribs with 1 cup of bbq sauce. Bake for an additional 30 minutes or until tender. Every rack is different. The ribs are ready when a fork can easily pull the meat off the bone.
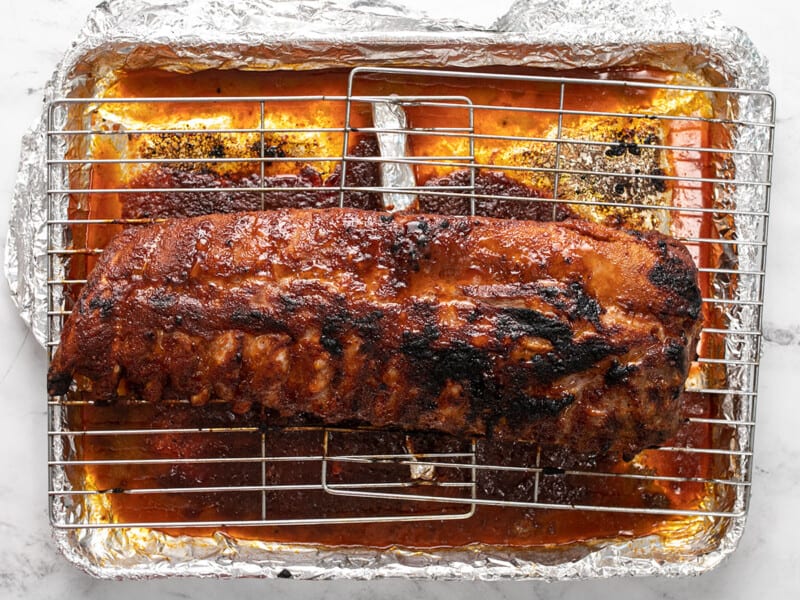
Turn the heat in the oven on broil. Brush the ribs with an additional 1/2 cup of bbq sauce and place under the broiler for a few minutes, just until a little char develops. Remove the ribs from the oven and rest for 15 minutes. Cut the ribs to your desired size, serve, and try not to lick your fingers!

Pro: the rub was delicious, and would definitely use it again.
Con: I was not a fan of the cooking method. I found the chicken broth in the bottom of the pan to be a bit strange, and awkward to deal with when rotating the pan as per instructions. My ribs came out somewhat tough at the end.
While the flavor was good, the texture and cook method was questionable. I really wanted to love this, but feel like I wasted a rack of ribs.
Just made them tonight! Terrific! I wash there was more instruction on removing the thin fatty layer of the back as well as excess fat.
This took way longer than the time suggested in this recipe. I would up it to at least 300. It took about three hours even though I upped the temp to 350 the last 30 minutes.
I followed the recipe precisely and the ribs were so good! I am still unsure about the chicken broth placed under the baking pan, but that would probably help remove the fishy smell from the meat since it wasn’t marinated before the oven. The meat wasn’t perfectly cooked after 3 hours (I added another hour than suggested), before I realized the oven has been roasting instead of baking! I immediately switched the oven to bake for another 1 hour to cook the top side of the meat perfectly. The sauce started to caramelize and the char developed as expected.
I followed the recipe exactly and was so disappointed with the results. First – we love spicy food, but two teaspoons of cayenne knocked the (otherwise great) spice rub out of equilibrium. Second – what was the point of the chicken broth in the bottom of the baking pan and the covering/uncovering of the ribs (apart from the sloshing risk)? In the end, I had to tack on an additional 30 minutes to the baking time AND still never achieved the tenderness I’m used to with the much simpler “wrap tightly in foil and bake” method. For anyone looking for an easier, more flavorful rib recipe, I recommend Chris Morocco’s pork ribs with gochujang barbecue sauce. It never lets us down.
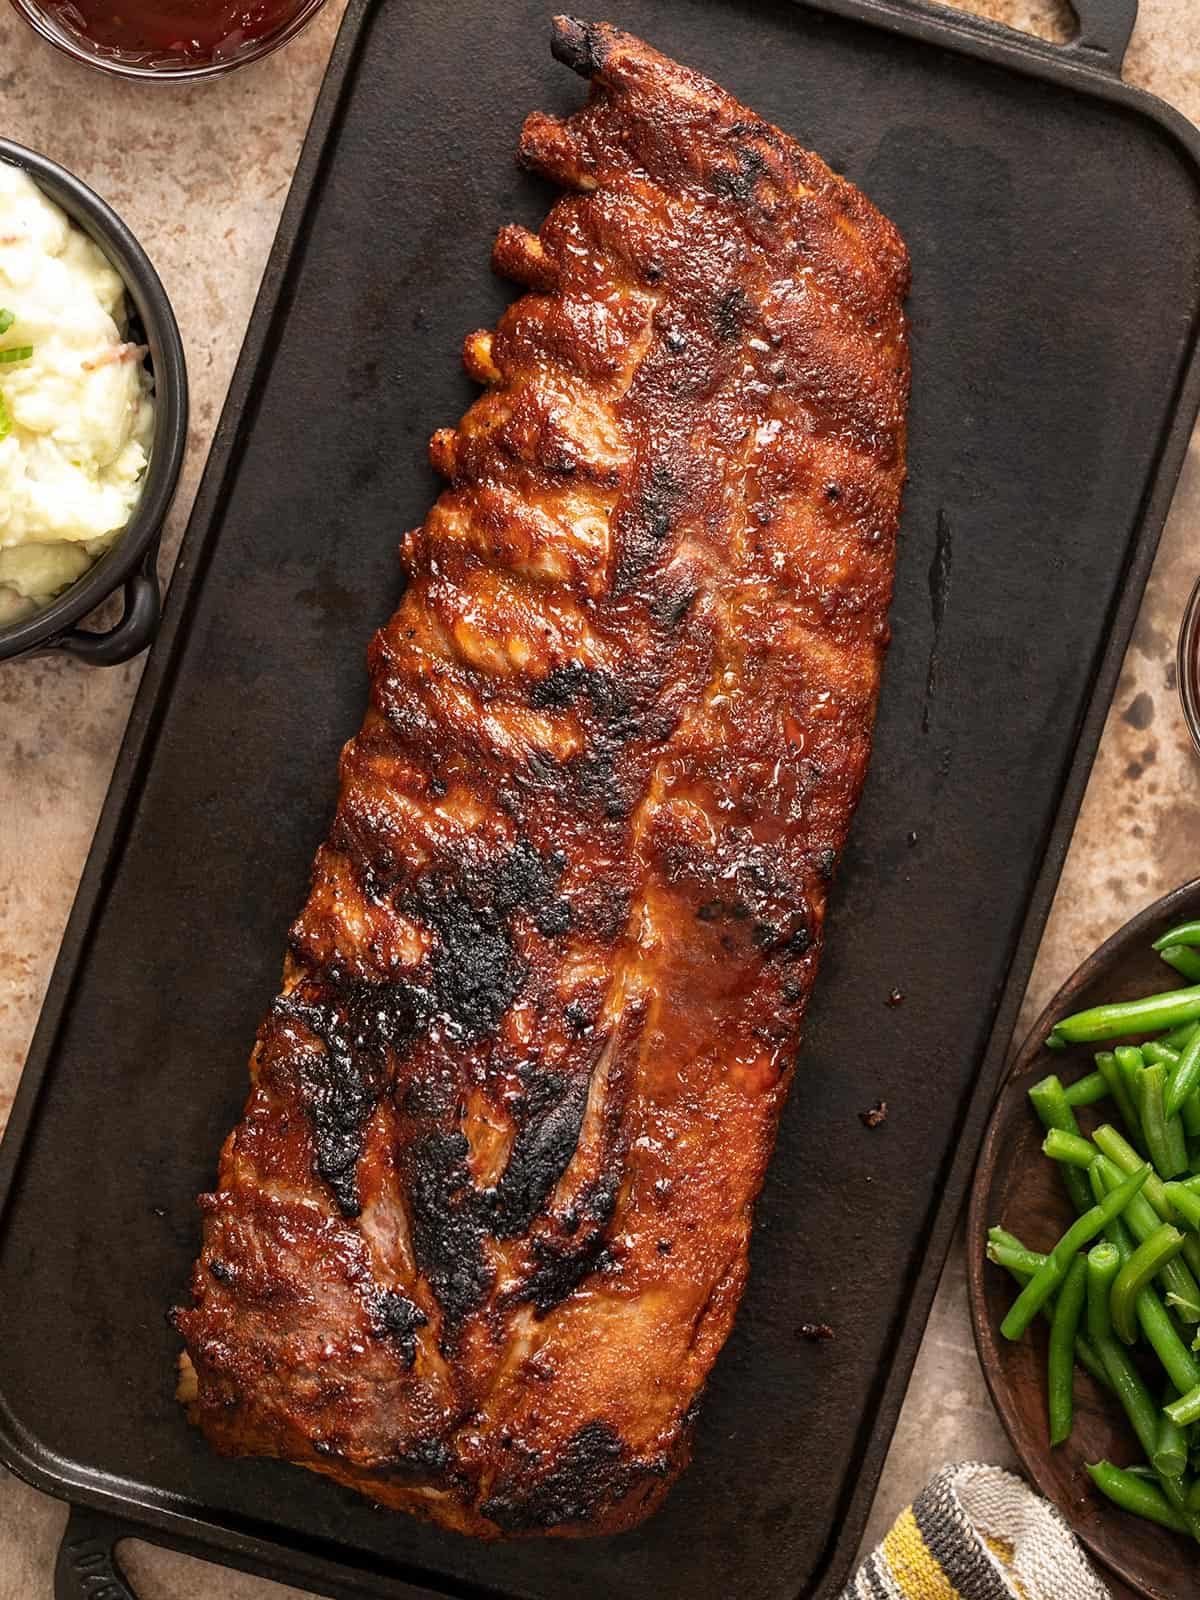
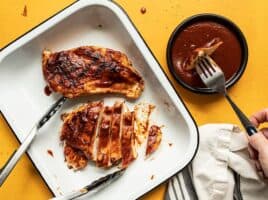
These look amazing and easy! I’m not sure what is meant by Trim the thicker end to even out the thickness. Can you direct me to a video or pictures of doing this? Thanks!
Hi Rainy! If you look at the second pic the top left of the rib rack is the thickest end. You just slice off the top 1/4 to 1/2 inch or so, to even out the thickness some. Place the rib rack on the cutting board and your knife parallel to the cutting board. It’s about a 2 to 3 inch piece, depending on the size of the rib rack. You can also just leave it on an overcook the small end.
Any suggestions for when cooking on a grill rather than an oven?
If using a grill, you will have to keep the temps low for hours and hours. If you think you can do that (it all depends on your grill and skill level) you should be able to follow the recipe as is. But if you can’t regulate the temps, it will not be tender. I’d also wrap the entire rack in aluminum until the very last basting with BBQ sauce. You can also do the majority of the cooking in your oven, and finish on the grill.