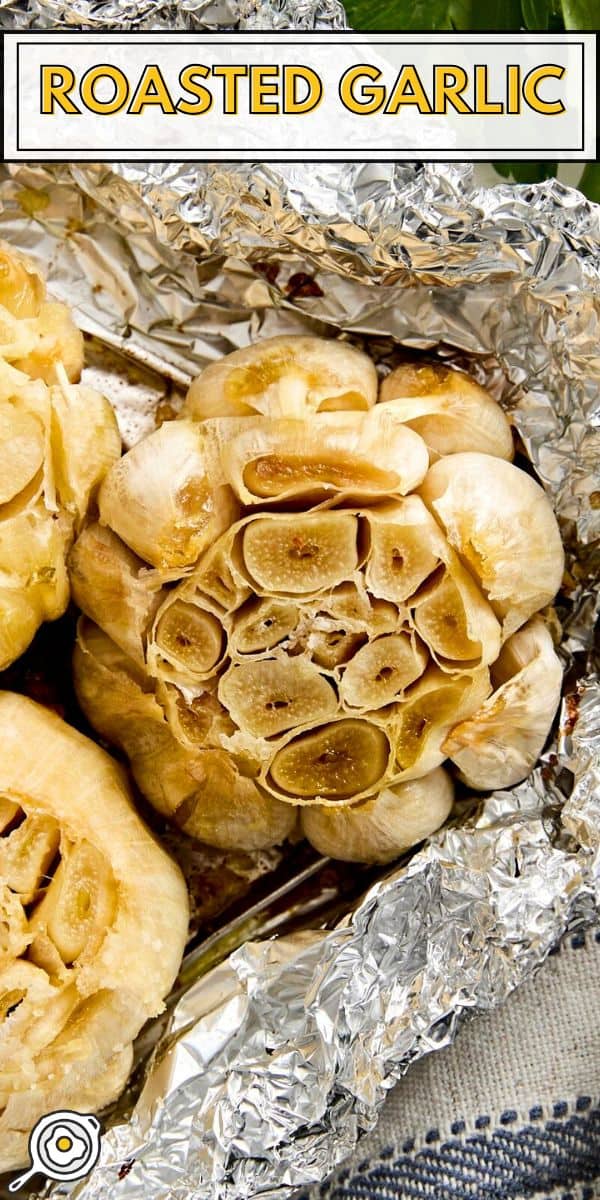
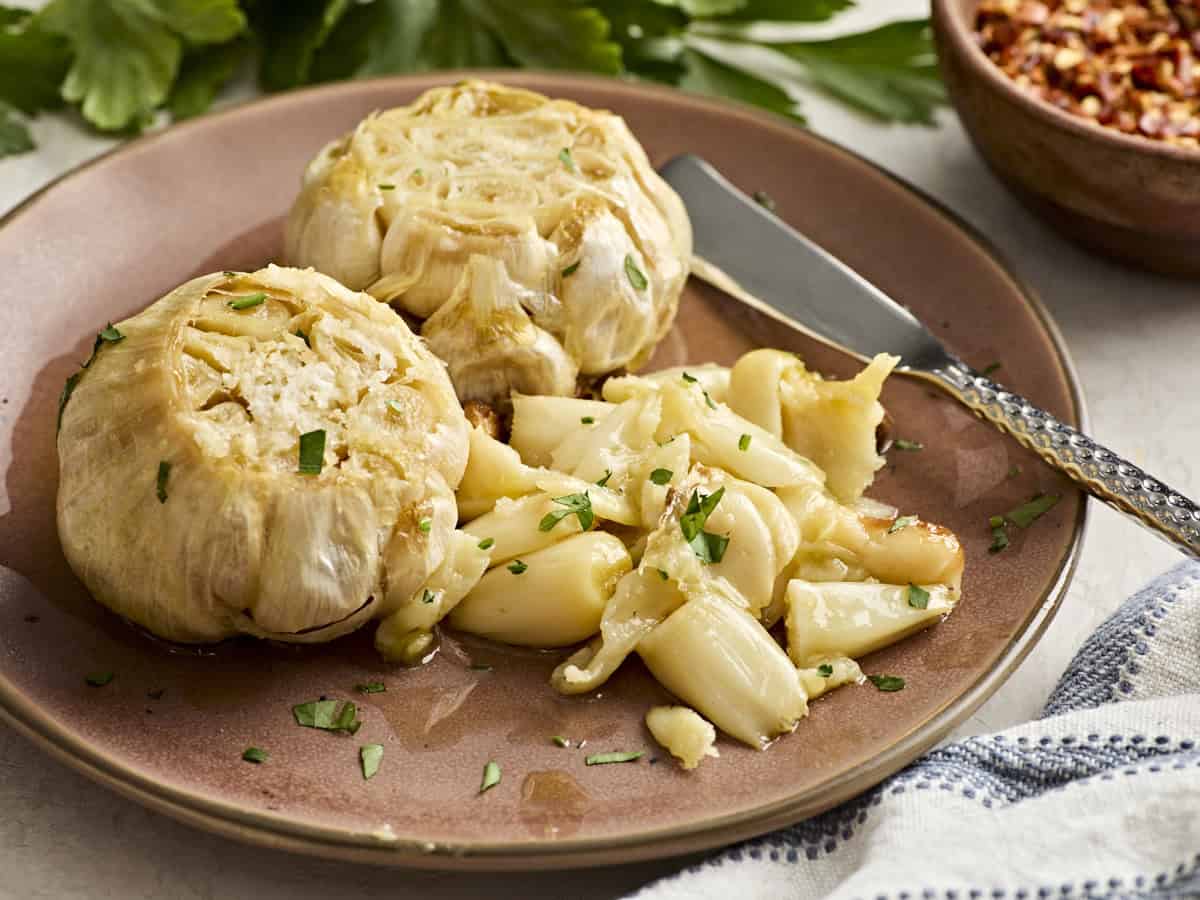
Garlic is one of my favorite ingredients. Being a member of the allium family, along with my favorite ingredient of all time (onions), this should come as no surprise! It’s truly the perfect condiment, too, as you’re about to discover once you get one whiff of this oven Roasted Garlic. Squeeze these little flavor bombs onto some crusty sourdough bread, add them to soups, salad dressings, pickles, or pasta—you name it. The mellowed, slightly caramelized flavor of roasted garlic makes everything taste better!

All recipes are rigorously tested in our Nashville Test Kitchen to ensure they are easy, affordable, and delicious.
I like to roast garlic as a part of my weekly meal prep. It’s full of vitamins and minerals like Vitamin C, calcium, and zinc, and it’s also antibacterial and antifungal (I love a multi-tasking ingredient!). If I know I’m making some salad dressings or planning an easy weeknight pasta dinner, I’ll roast a few bulbs of garlic ahead of time to make the rest of my prep a breeze. It’s sweeter and has more depth of flavor than raw garlic, which is typically described as spicy or hot. I love garlic all ways, but roasting it is extra special because the cloves become soft and spreadable, which is perfect for adding to a pureed soup or kicking your usual avocado toast up a notch!
Roasted Garlic Recipe
Cost $1.97 recipe / $0.65 per head
Ingredients
- 3 heads of garlic ($1.74)
- 1 Tbsp olive oil ($0.22)
- ½ tsp salt ($0.01)
Video
Instructions
- Preheat oven to 400°F. Cut the top off each bulb of garlic so the tops of some of the cloves are exposed.*
- Peel away some of the excess paper to clean them up a bit.
- Transfer the prepared bulbs of garlic (and the little pieces saved from the top of each!) to a piece of aluminum foil. Pour the olive oil over the garlic and sprinkle with salt.
- Wrap the garlic up together in the aluminum foil and place on a baking sheet in the oven. Roast in the oven for 30 minutes.
See how we calculate recipe costs here.
Notes
Nutrition Information
How to Make Roasted Garlic Step-by-Step Photos
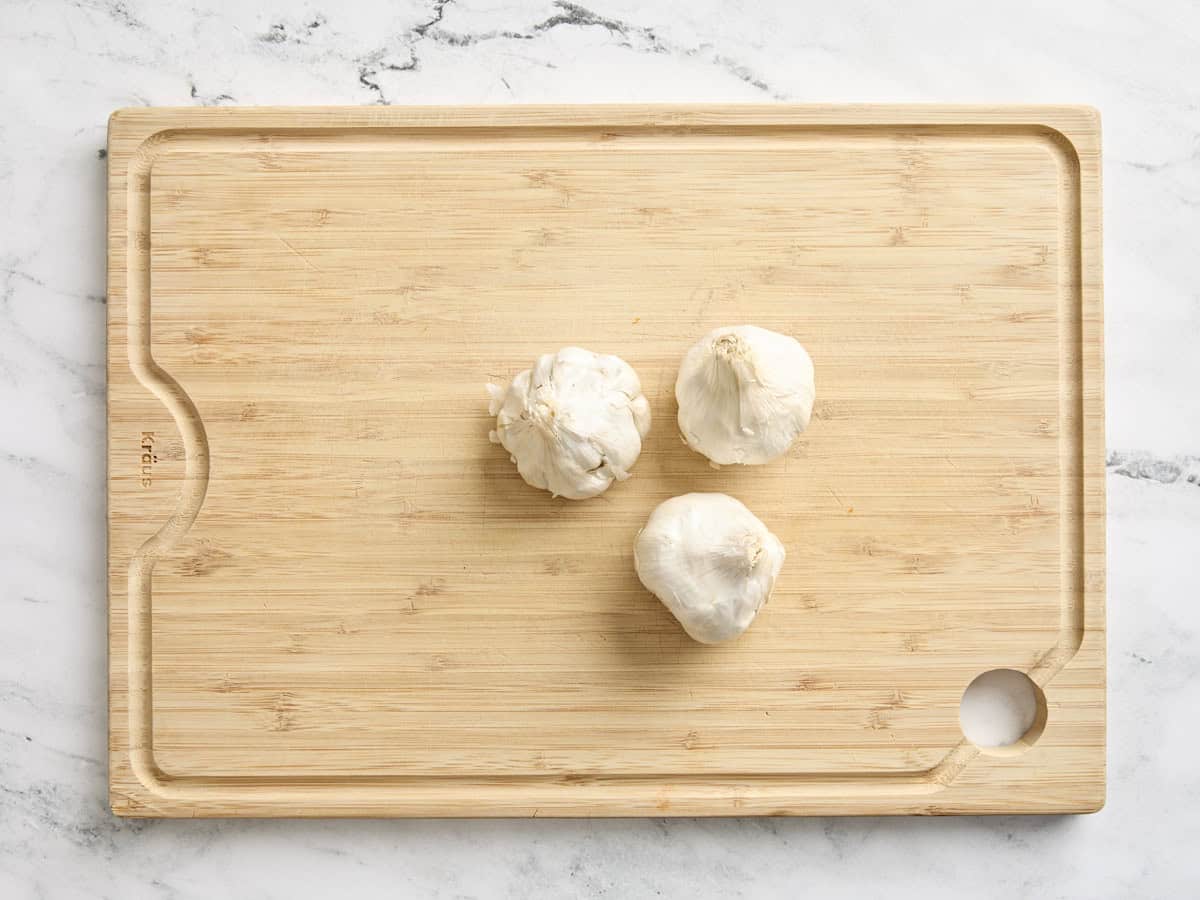
Prep garlic: Preheat your oven to 400F. Slice off the top of 3 garlic bulbs to reveal the cloves beneath, being careful not to cut too much off! We just want to expose the cloves so the oil can seep in and roast them to perfection. Save the little pieces of garlic you chopped off, as you can roast them, too.
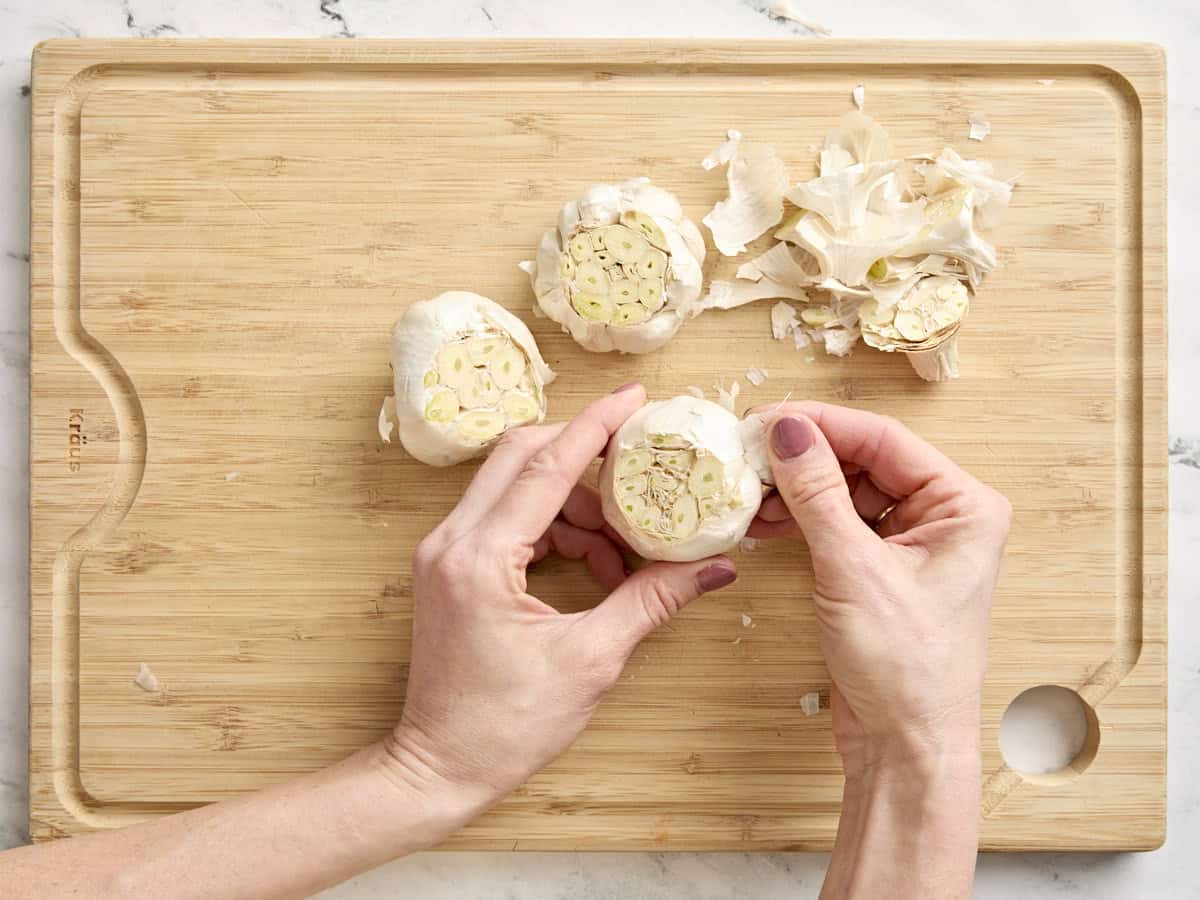
Peel away any papery skin to clean them up a bit.
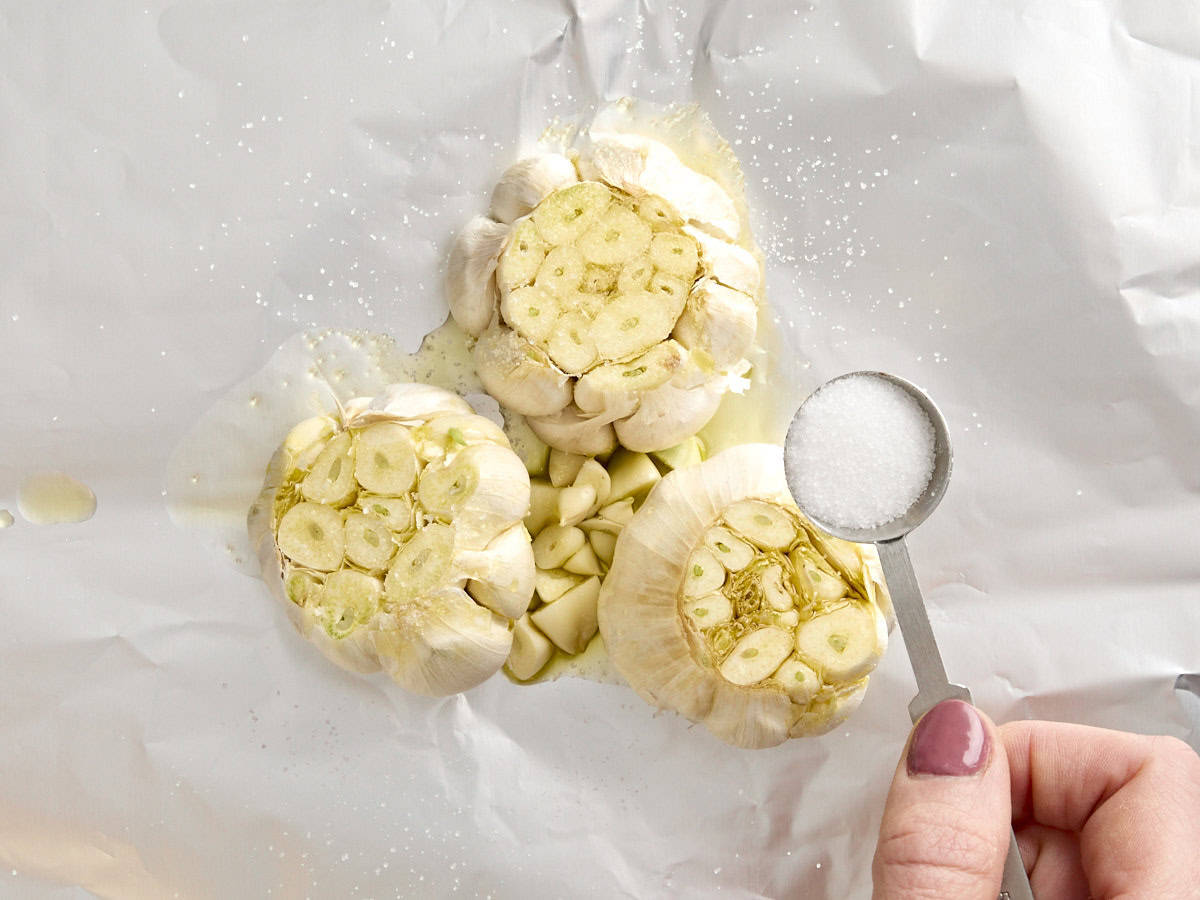
Pour olive oil over bulbs: Place the prepared bulbs of garlic (and the little pieces saved from the top of each!) onto a piece of aluminum foil. Pour 1 Tbsp of olive oil over the garlic and sprinkle them with ½ tsp salt, equally dividing both the oil and salt between each bulb.
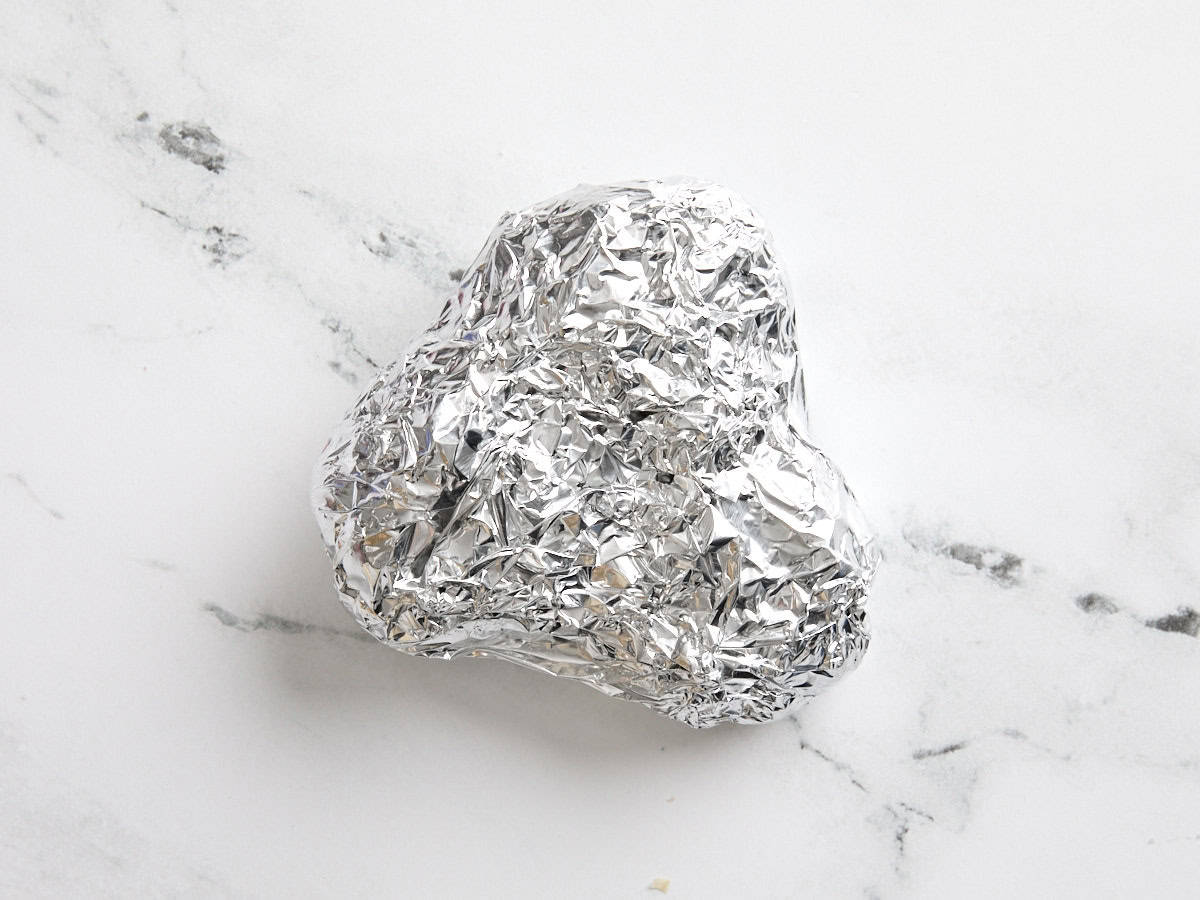
Wrap bulbs in foil: Fold the aluminum foil over the garlic bulbs, wrapping them securely together. Make sure they’re fully covered with the foil.
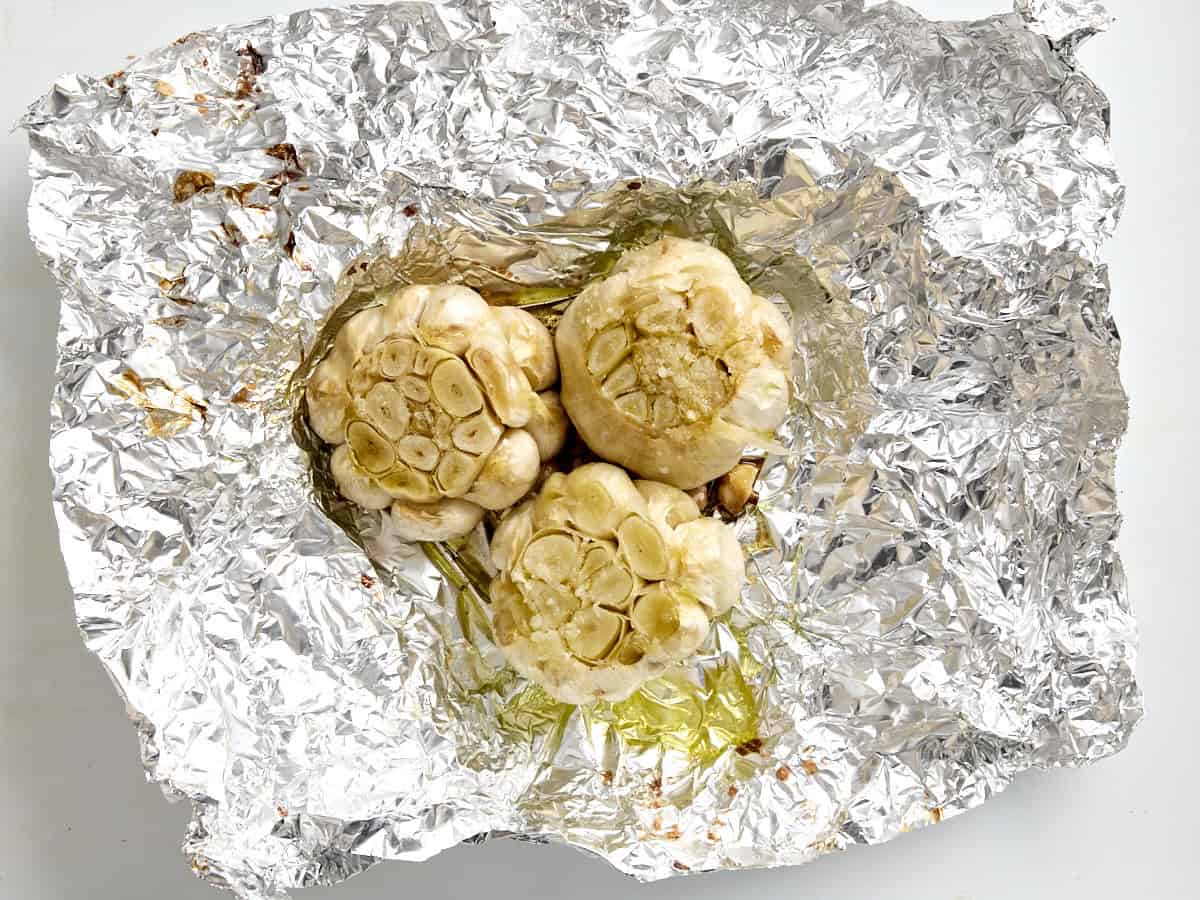
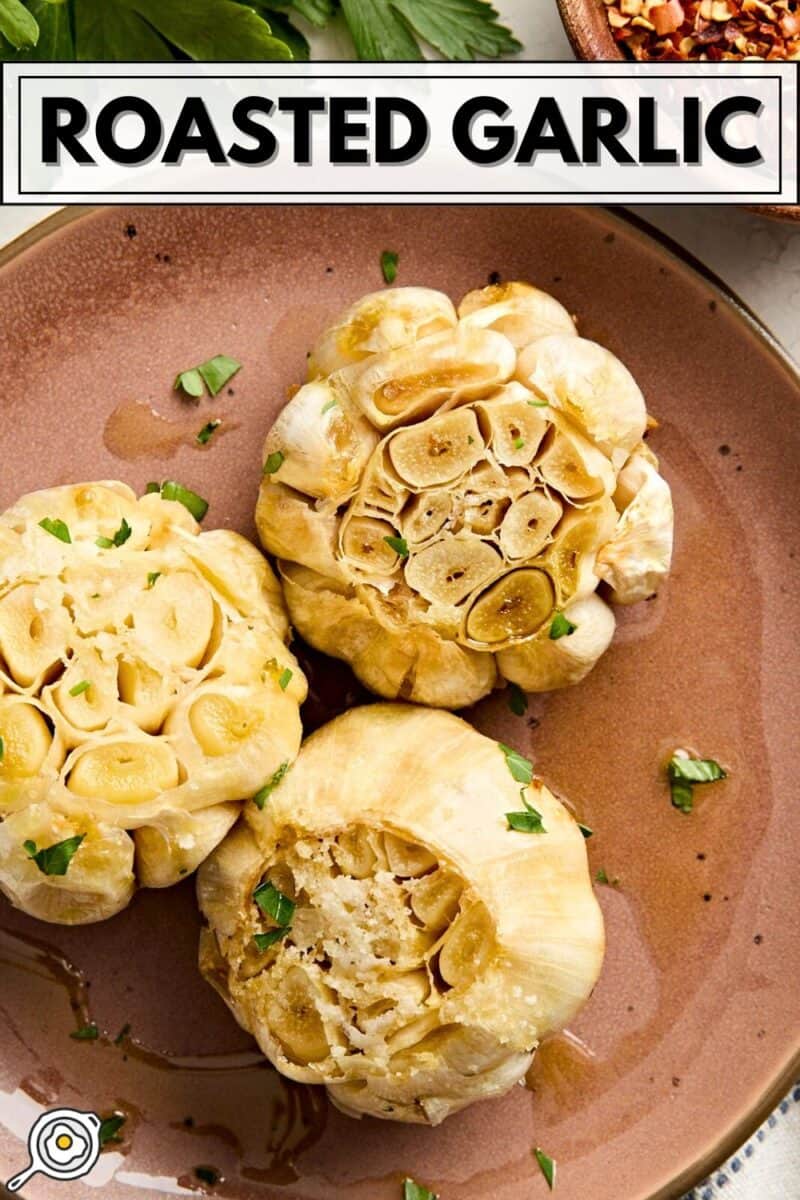
Roast: Place the wrapped garlic bulbs onto a baking sheet and roast for 30 minutes. They’re now ready to be used in any recipe you like!

How to Use Roasted Garlic
Pretty much any recipe that calls for raw garlic can be swapped for roasted garlic. And because the flavor is mellower, it’s also perfect for anyone who’s usually sensitive to the taste of garlic. Here are some of my favorite ways to use it:
- Spread on toast, crackers, or pita bread
- Mix into mashed potatoes
- Add to soups, stews, and sauces
- Blend into homemade white bean hummus or pesto
- Add to salad dressings
- Mix with softened butter to create a compound butter
- Combine with mayonnaise to make an aioli-like dip
- Spread on bruschetta before adding the tomato topping
- Use in marinades or rubs for meats and vegetables
Storage Instructions
This recipe for roasted garlic is a great one to batch and store for later. If using the garlic fairly soon, store it in an airtight container in the fridge for up to 4 days. You can also freeze roasted garlic cloves for longer storage. Depending on how you plan to use them, you can peel the cloves, lay them on a baking sheet, and flash-freeze for an hour before transferring them to a freezer-safe bag or container.
Alternatively, you can mash the cloves into a paste and freeze them in ice cube trays for easy portioning (you can pop out a cube or two at a time to add directly to soups, sauces, or stews!). Frozen roasted garlic is good for about 3 months in the freezer.


This is one of those “money in the bank” recipes! I can always find ways to use roasted garlic, particularly for some last minute garlic bread–just smear it on some buttered or oiled rustic bread toast. So much faster than mincing garlic and adding to melting butter. This is often something I do when having to heat the oven to 400F for another purpose such as baked potatoes or roasted veggies. To be honest, I can eat those delicious little roasted cloves all by themselves.
Hi Bess, cam I use yukon yellow fles potatoes instead of russets for the fluffy mashed potatoes?
Hi! You can use yukon’s, but they are waxier than the russets and you won’t achieve the same results. XOXO -Monti
I love this site but I honestly can’t wait for this photo to be swamped out. It triggers my Trypophobia big time. (Trypophobia refers to a strong fear or disgust of closely packed holes.)
Honestly Budget Bytes is a STAPLE in my food repertoire. Never had a poor recipe with Beth! Bought the cookbook. Thank you Beth!
If I’m roasting a tray of mixed veg, I always add a load of whole peeled cloves to it as well.
But I love the idea of roasting several bulbs at once and then freezing.