Salmon is a bit on the expensive side, but it’s a really nice “sensible splurge” to have on special occasions or when you want to treat yourself. Fish can be intimidating if you’ve never cooked it before, but I promise that this Baked Ginger Salmon is so foolproof that it’s a great beginner fish recipe. I also love this recipe for the fact that the leftovers hold up really well, so it’s a really great item for meal prep.
All recipes are rigorously tested in our Nashville Test Kitchen to ensure they are easy, affordable, and delicious.
Baking Time Will Vary
Salmon filets come in a variety of thicknesses, even sometimes within one fillet, you’ll have one end that is very thick while the opposite end is very thin (like the filet I used in the photos below). Thankfully, this recipe is pretty forgiving. For thicker fillets (1-2 inches thick) you’ll want to bake your salmon for about 20 minutes, for thinner fillets (½-inch or so) you’ll probably only need around 15 minutes. Since my fillet had both a thick end and a thin end, I baked for the whole 20 minutes and the thin side was still not dried out.
To verify you’ve cooked your salmon long enough, you can use an instant read thermometer in one of your thicker pieces and make sure it has reached 145ºF.
What is Toasted Sesame Oil?
Toasted sesame oil is an important ingredient in this dish. This is an oil that is expressed from toasted sesame seeds, so it has a super deep nutty flavor. Just a little splash of this oil really adds a lot of flavor, so you don’t want to skip it. You can find toasted sesame oil in the international foods aisle of most major grocery stores. While it is not always labeled “toasted” you can tell you have toasted sesame oil by the deep brown color. Regular sesame oil (not toasted) is a light straw color, like canola oil.
What to Serve with Baked Ginger Salmon
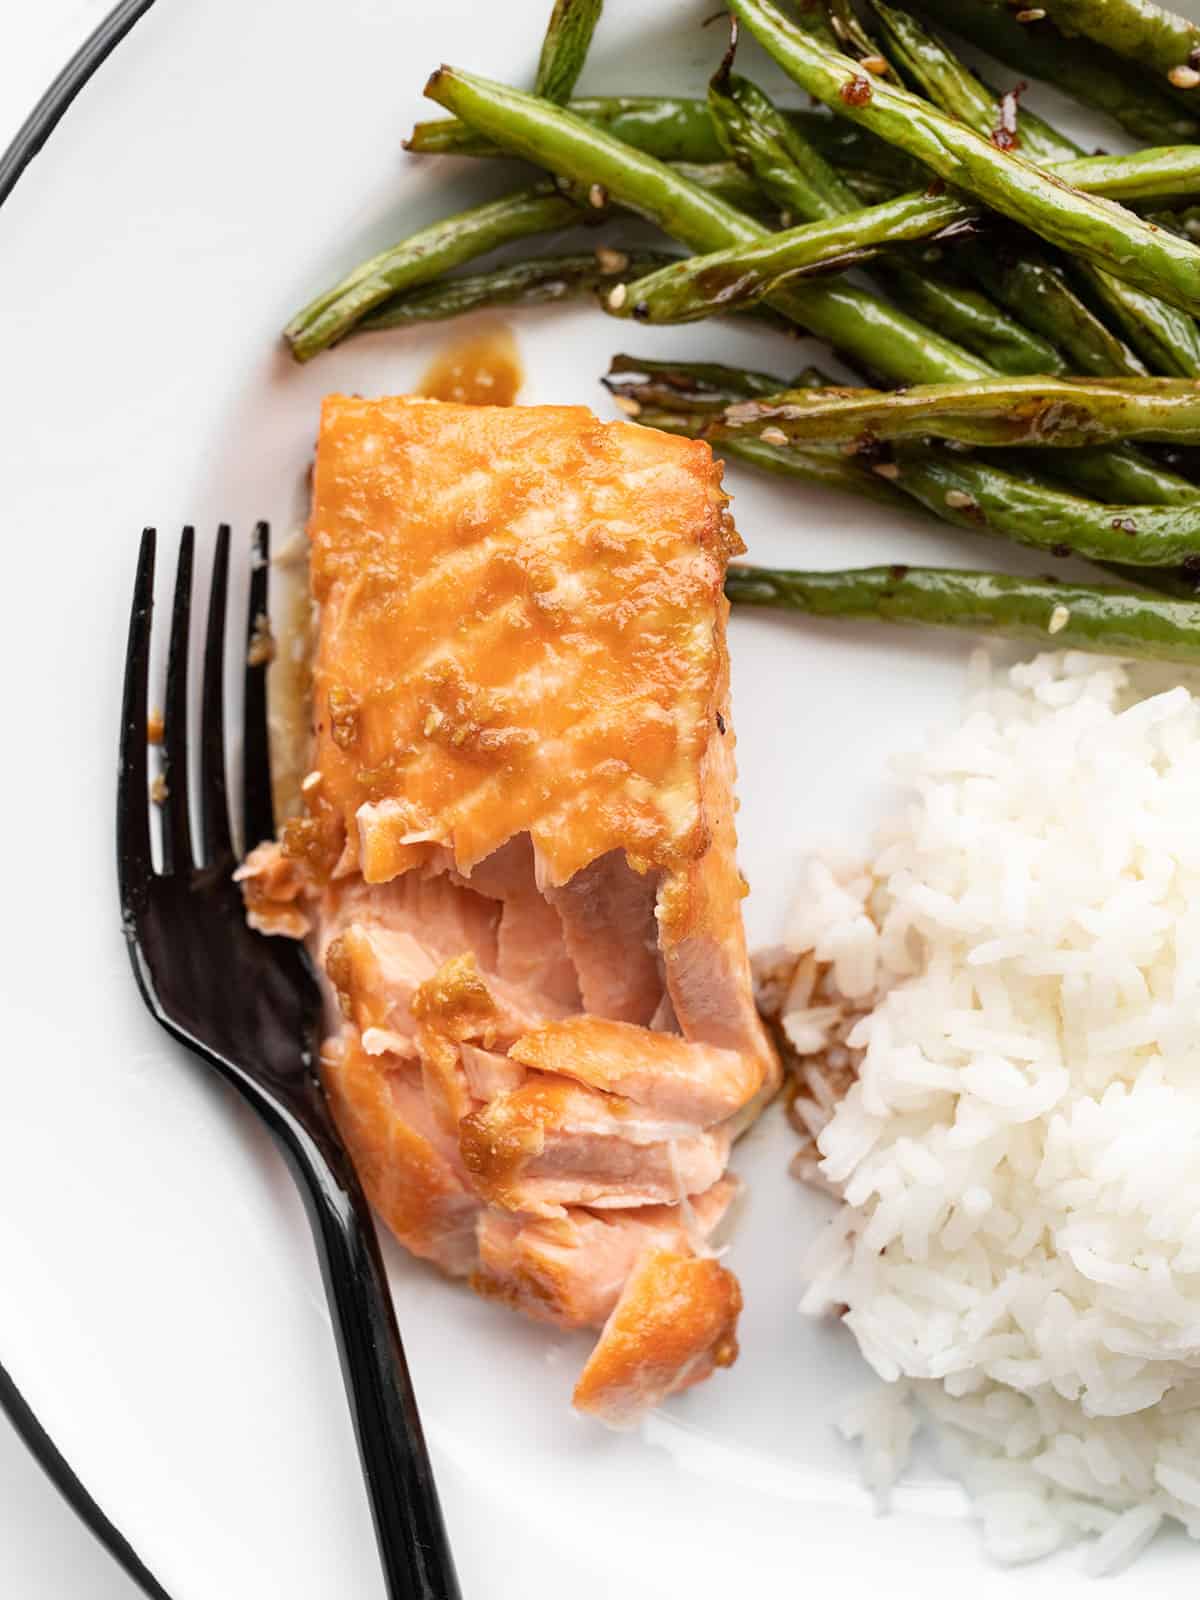
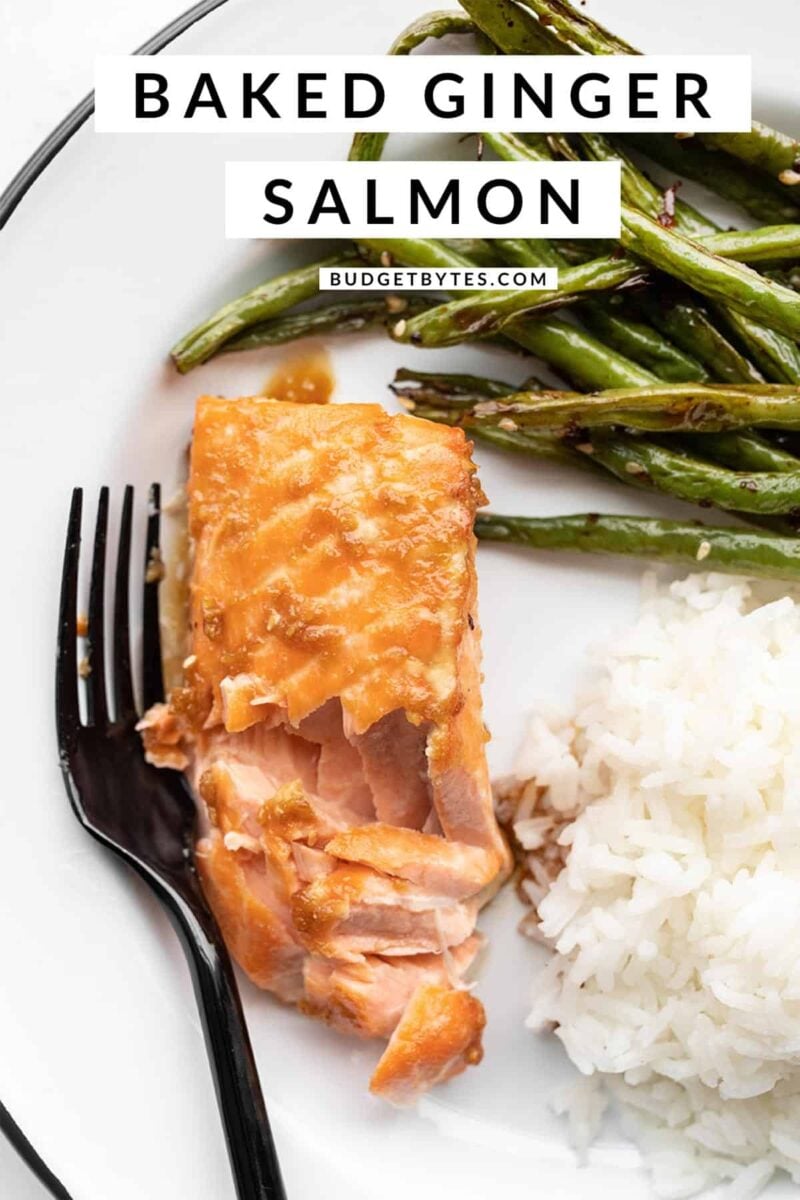
Because this main dish is so simple, I like to keep everything in the meal super simple. Today I served my Baked Ginger Salmon with Sesame Roasted Green Beans and plain rice, but I think this salmon would also be AMAZING served over Coconut Rice or my Crunchy Cabbage Salad. You could also pair it with something simple like steamed broccoli and Sesame Rice.
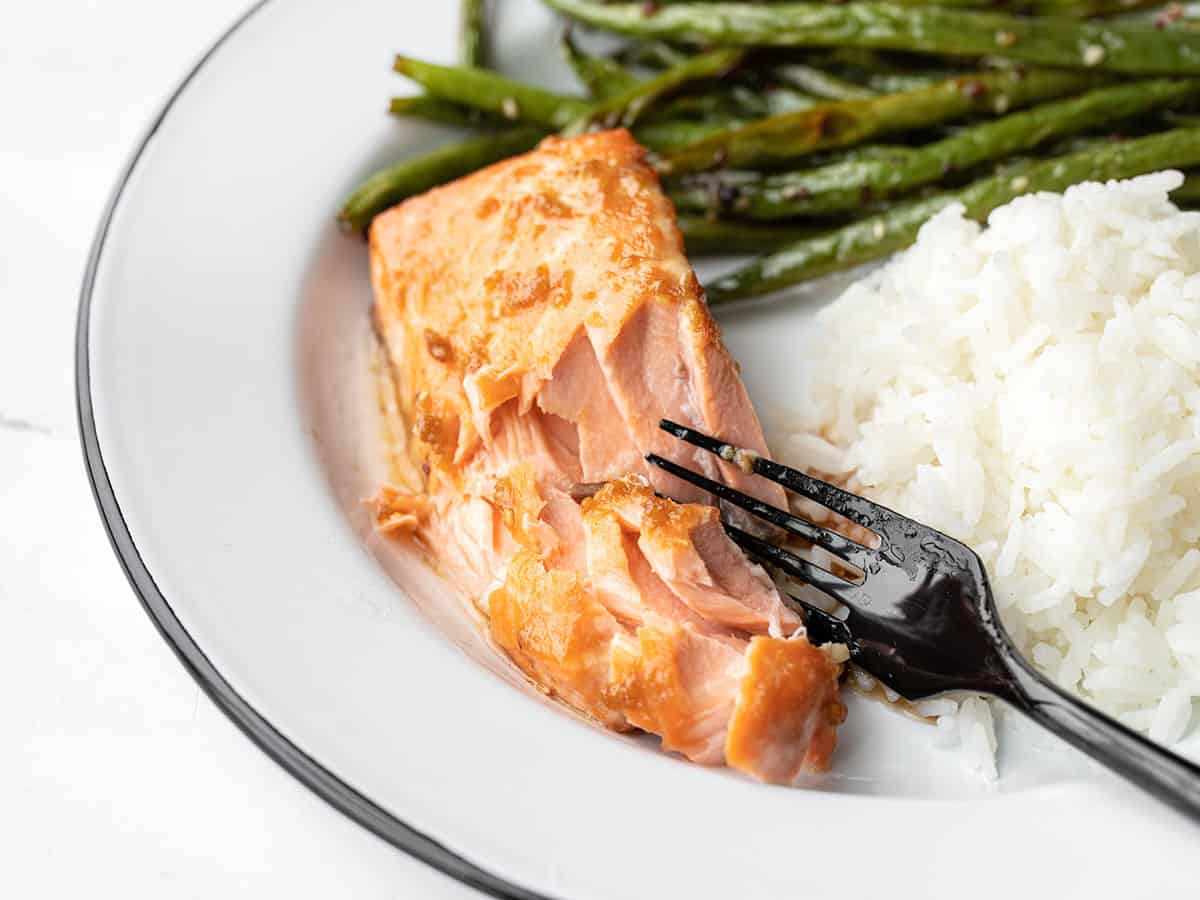
Baked Ginger Salmon
Ingredients
- 1 tsp grated fresh ginger ($0.10)
- 1 clove garlic, minced ($0.08)
- 2 Tbsp brown sugar ($0.08)
- 1 tsp soy sauce ($0.02)
- 1/4 tsp toasted sesame oil ($0.02)
- 1 lb. fresh salmon ($7.57)
Instructions
- Preheat the oven to 425ºF. Grate about 1 tsp fresh ginger. Combine the ginger, garlic, brown sugar, soy sauce, and toasted sesame oil in a bowl.
- Cut the salmon into four equal portions. Place the portioned salmon on a baking sheet lined with parchment or foil, skin side down.
- Spread the prepared ginger glaze over the top of each piece of salmon.
- Bake the salmon for about 20 minutes (15 minutes for thin fillets), or until the internal temperature reaches 145ºF. Serve immediately.
See how we calculate recipe costs here.
Equipment
- Enamelware Sheet Pan
- Parchment Paper
Nutrition
How to Make Baked Ginger Salmon – Step By Step Photos
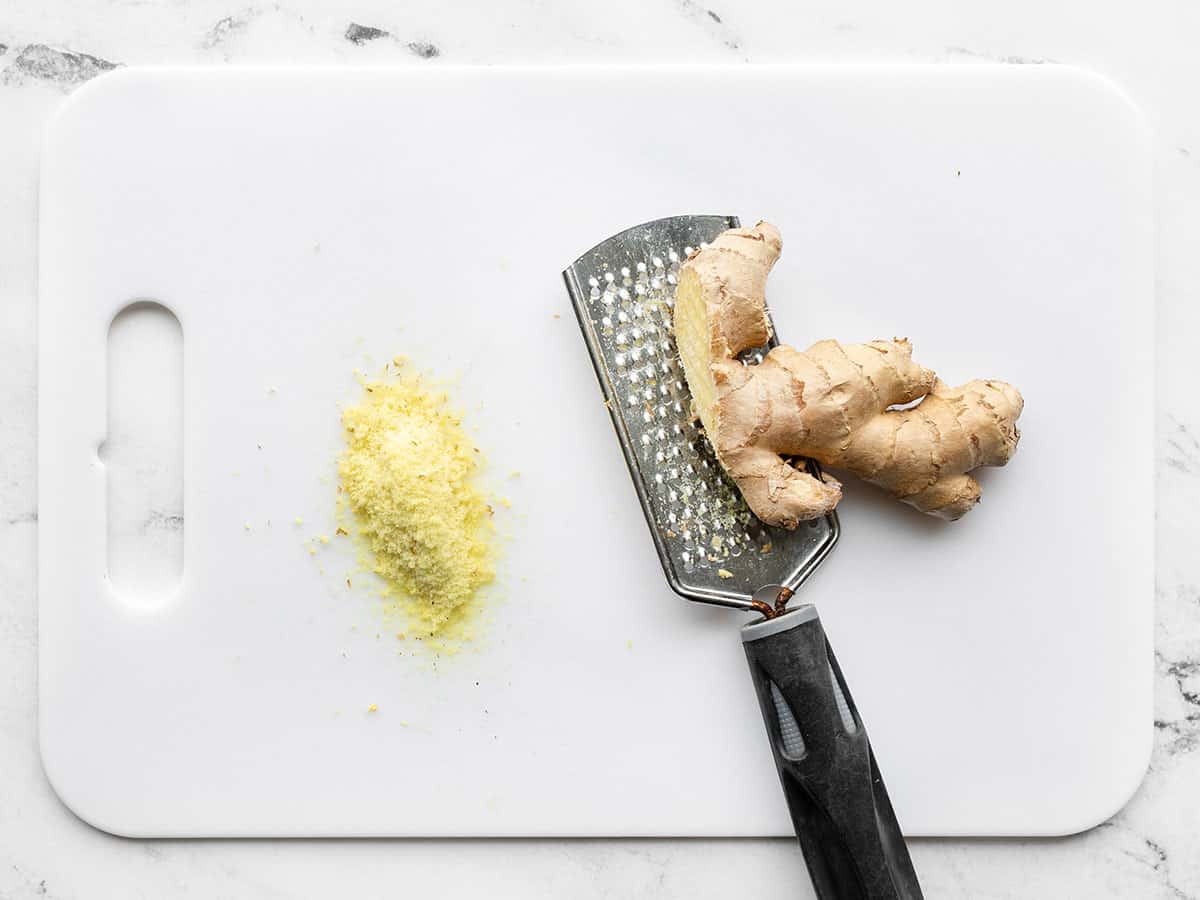
Preheat the oven to 425ºF. Grate about 1 tsp fresh ginger. If you’re new to working with ginger, it is actually easier to grate when it’s frozen, so when I bring it home from the store I wash it up really well then just pop it into a freezer bag and store it in the freezer. That way I always have fresh ginger on hand. P.S. I never even bother to peel it anymore, I just make sure it’s washed well before freezing.
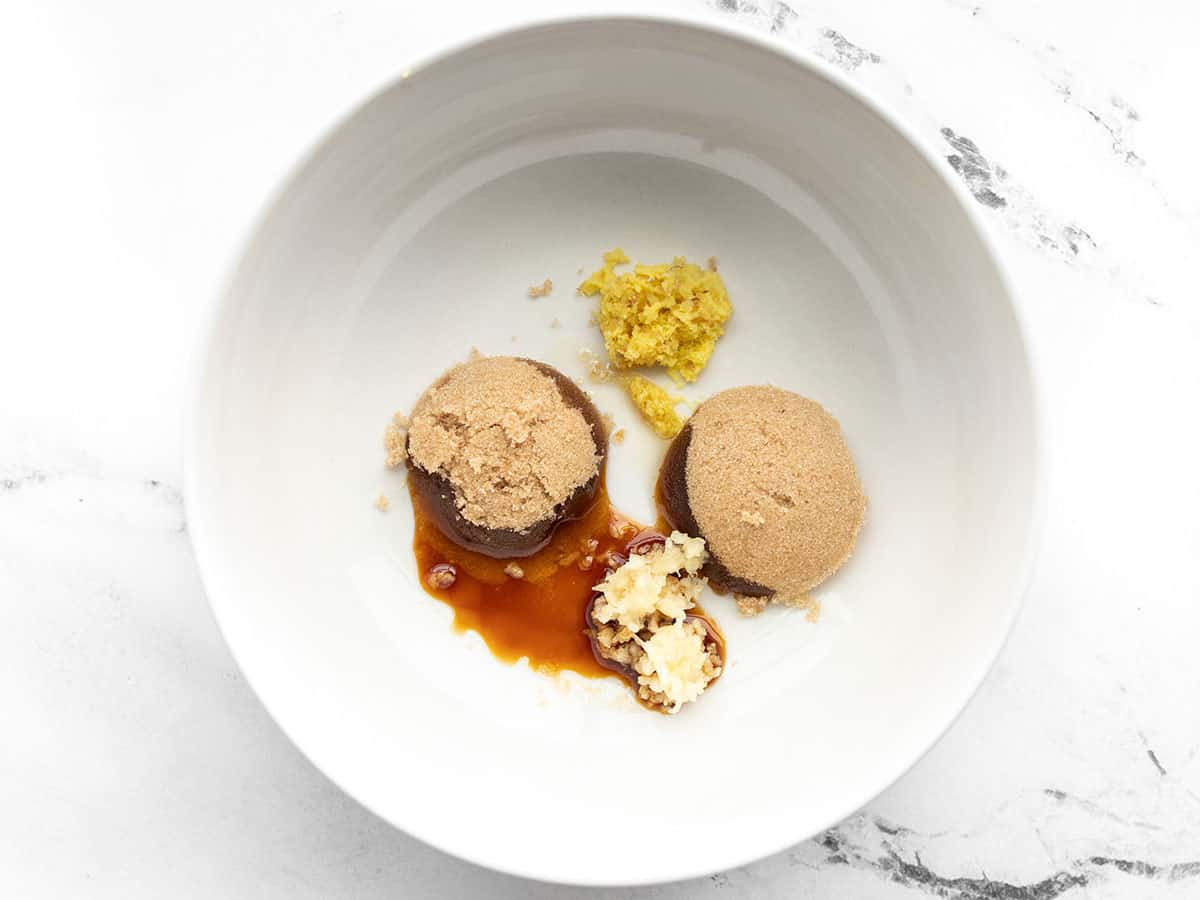
Combine the grated ginger with 2 Tbsp brown sugar, 1 clove of garlic (minced), 1 tsp soy sauce, and ¼ tsp toasted sesame oil.
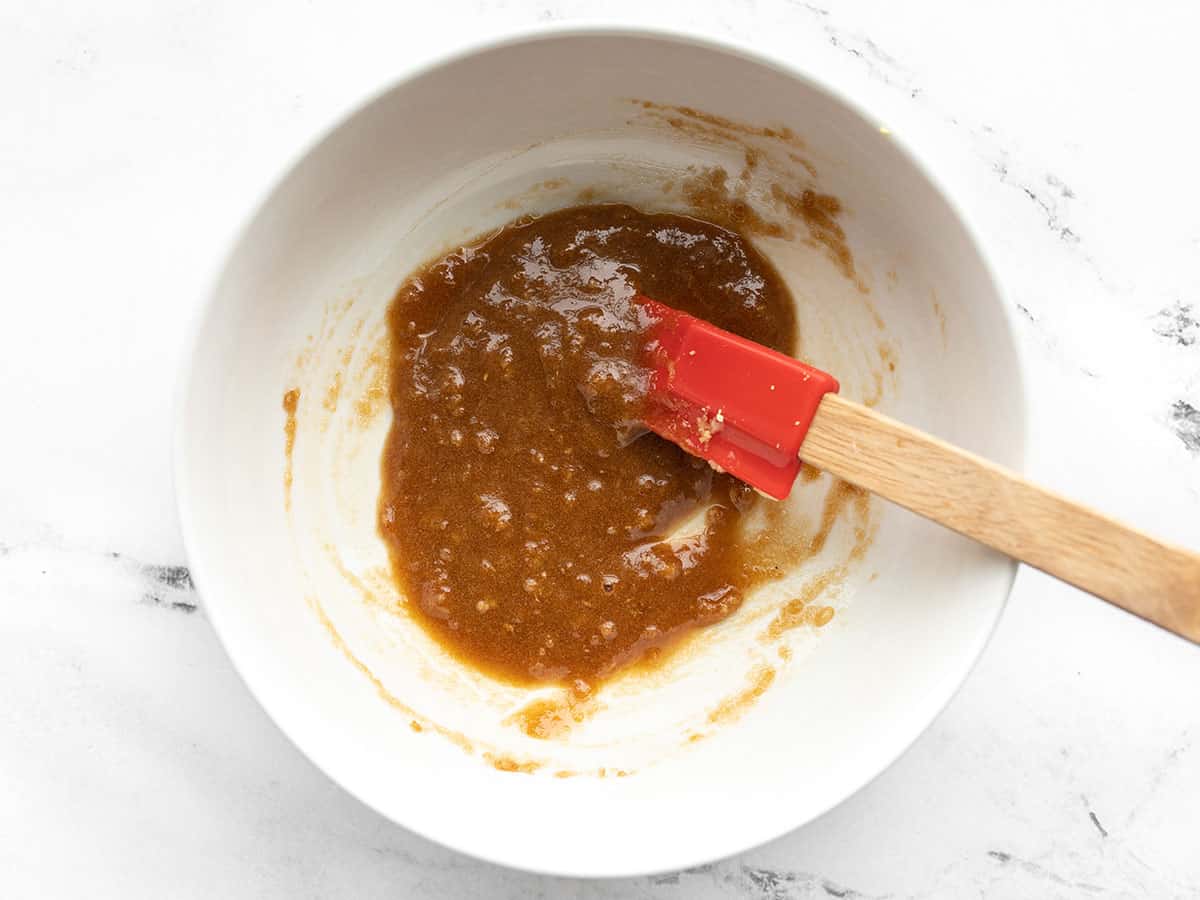
Mix the glaze ingredients together until combined.
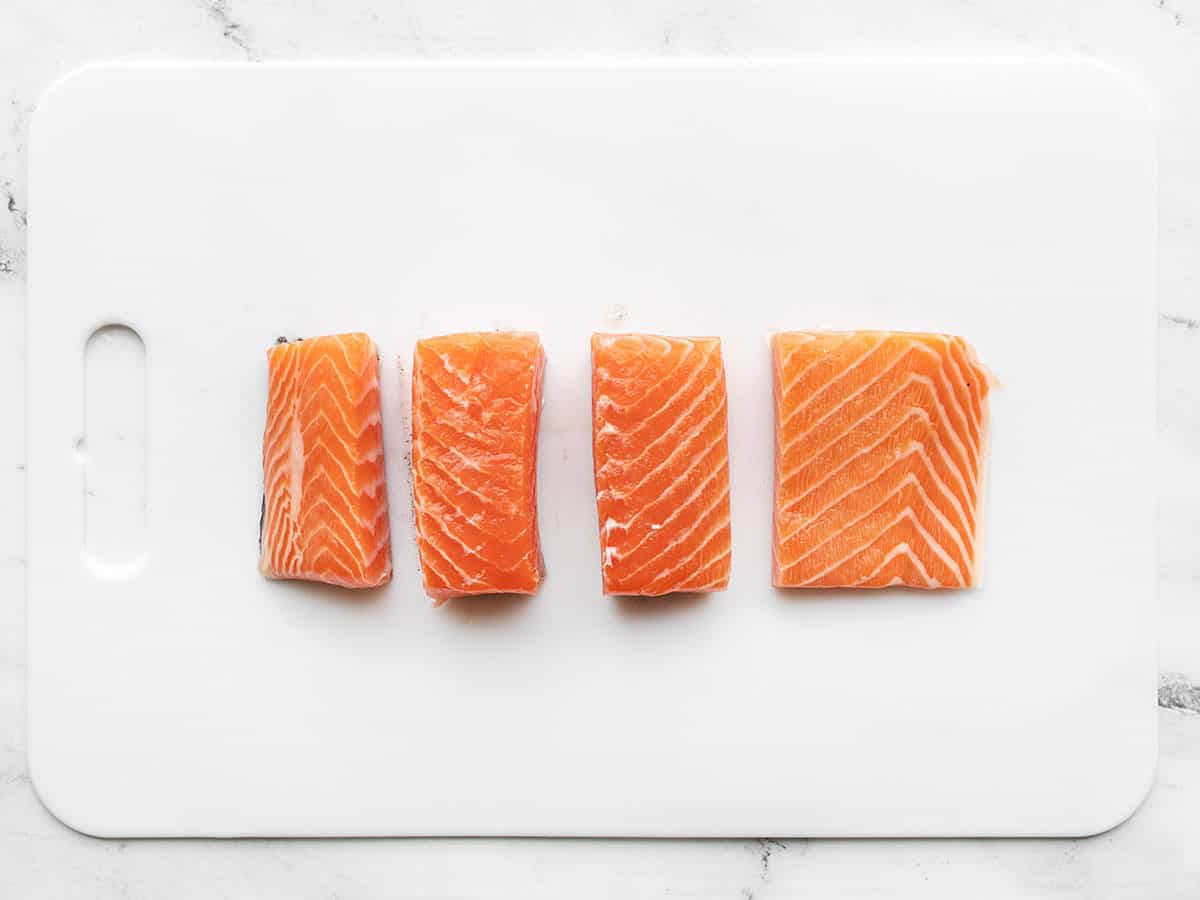
Cut a one pound salmon fillet into four portions. I cut the thinner end a little wider and the thicker end a little narrower to make the portions more even. If your salmon has skin and scales, you don’t need to remove it. The salmon will be baking skin down, and the salmon flesh easily comes off the skin after baking.
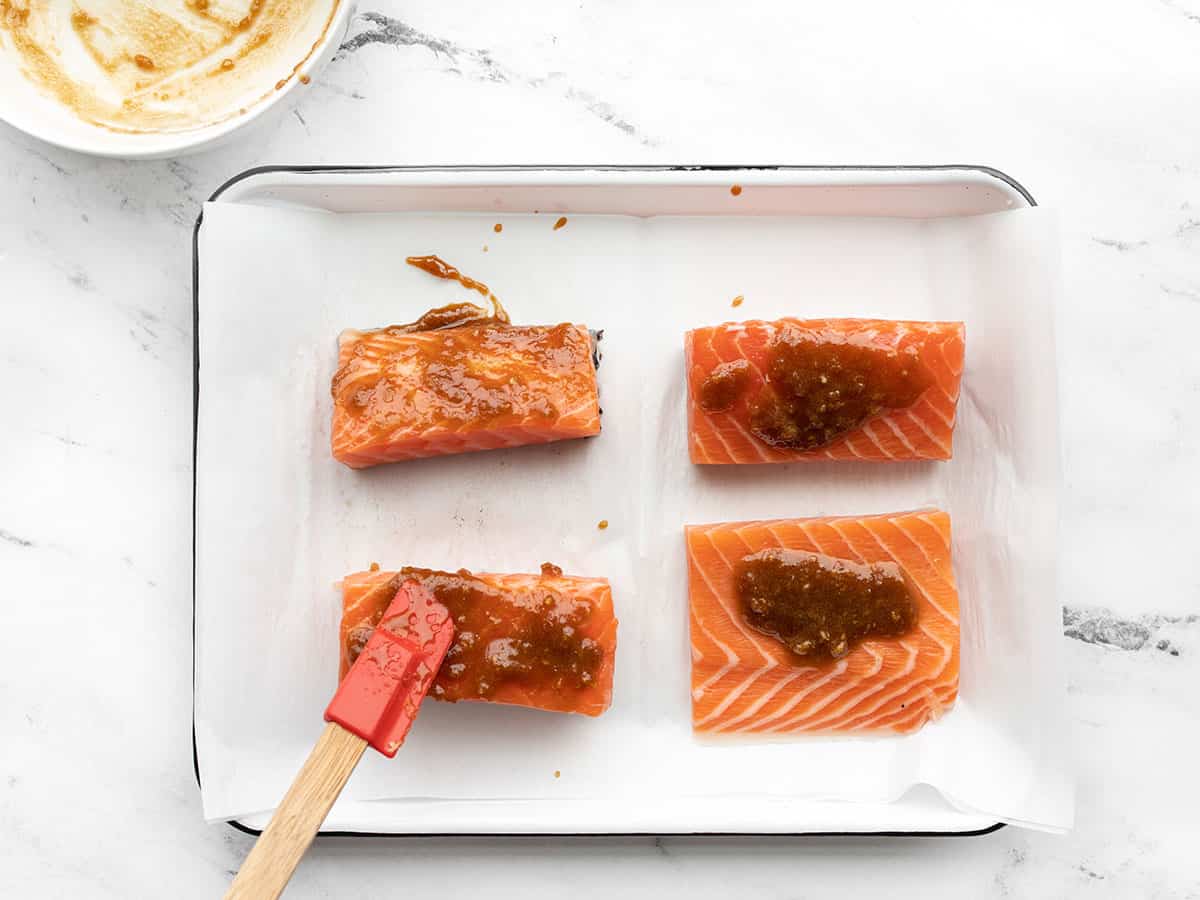
Place the salmon portions on a baking sheet lined in parchment or foil (for easy cleanup), then spread the ginger glaze over the surface of the pieces. You can smear a little on the sides, but leave most of it on top. It will drip down the sides as it bakes.
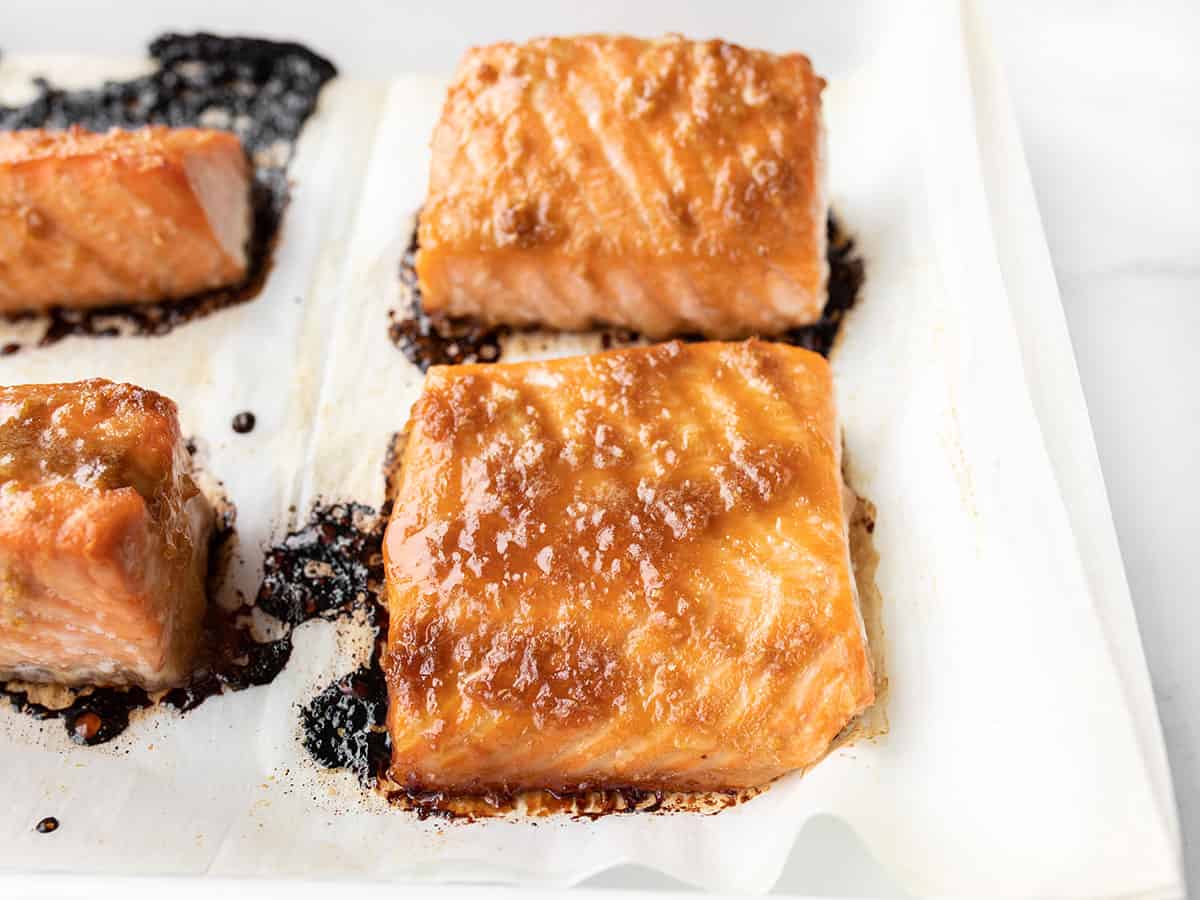
Bake the salmon in the fully preheated 425ºF oven for about 20 minutes (a little less if your fillets are thin), or until the internal temperature of the salmon reaches 145ºF. The glaze that drips off the side of the salmon may burn on the baking sheet, but the fish and the glaze that is on the fish will not burn.
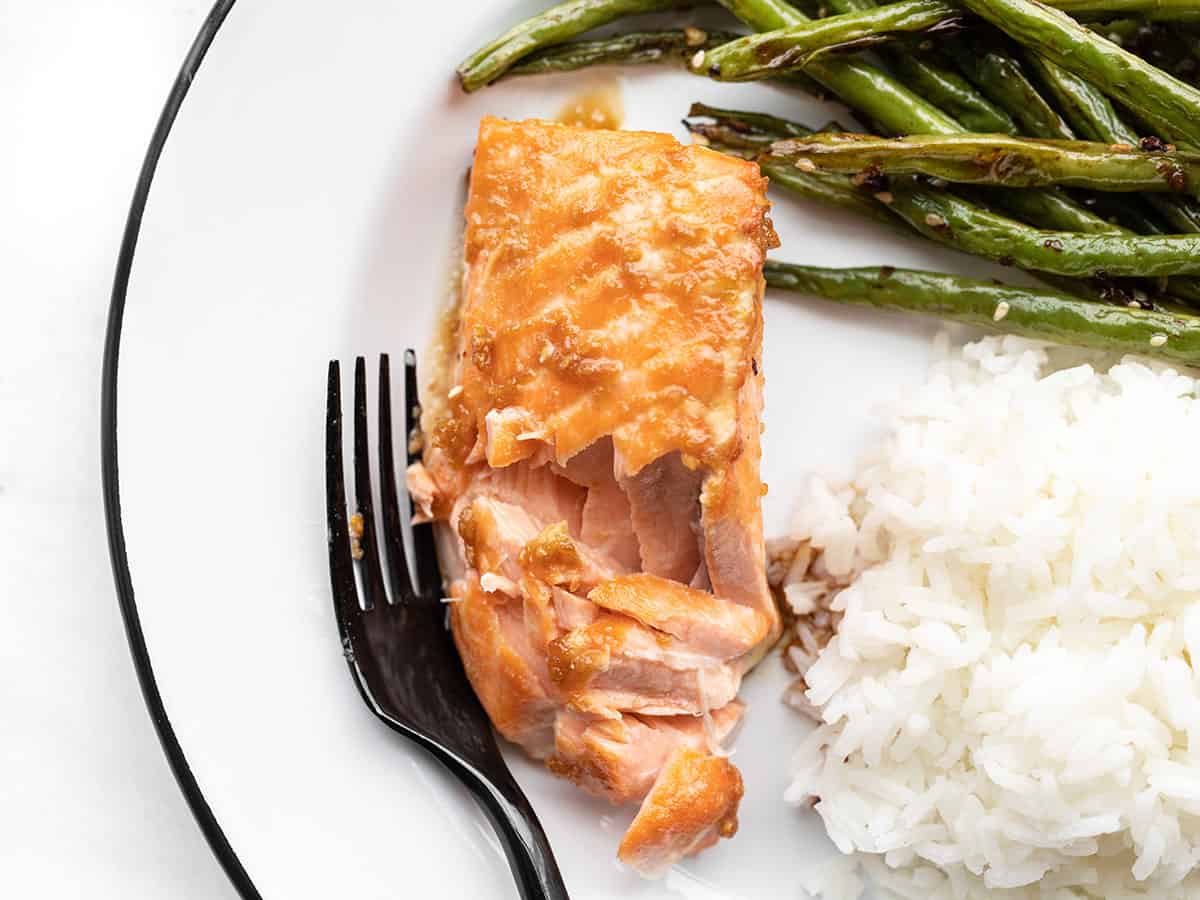
Serve immediately or refrigerate up to 3 days. Enjoy!





Much too sweet for us. I increased the ginger and decreased the sugar but the sugar was still the dominant flavor.
Loved it! So easy and delicious. I did half the sugar, and I used the air fryer for faster cooking.
This recipe looks tasty,I certainly will try it.
This was SO GOOD! Had it with coconut rice and curry roasted broccoli. We just might be making it again tomorrow!
Made this with your coconut rice and sesame roasted green beans and it was delicious! Always nice to have a meal that leaves you time to clean up the kitchen before you eat while the food cooks :)
Been making this regularly and it’s great every time
Made this with coconut rice and served with steamed veggies. So delicious – I will be using this recipe on my salmon from now on!
This was really good and easy. I doubled the glaze quantity and am glad I did. So delicious!
Can this recipe be adapted for the instapot? Thank you.
Hi Suz. We have not tested the recipe in an Instant Pot and have no guidance. XOXO -Monti
This recipe is delicious. Hasn’t failed us once and we’ve made it about 6 or 7 times now. I won’t really make salmon another way lol! Love to put this over steamed snow peas tossed with sweet chili sauce, rice noodles and top with sesame seeds and sriracha!But really it’s great with anything. So so good.
I made this with the baked sesame green beans and coconut brown jasmine rice. It was a huge hit. Delicious, simple, and easy.
Made this last night. Very tasty and well received. Will be bookmarking this to make it again.
Made for my elderly parents and this recipe was a subtle but smashing success for all of our palettes. Definitely going into regular rotation!
How well would this pair with your savory cabbage pancakes?
Hmm, I feel like the cabbage pancakes would be a little too heavy for this. I would choose something lighter and more fresh, like a cabbage salad or slaw. But that’s just my taste buds! :)
Really love this recipe and it’s my husband’s absolute favorite — I’m sure we’d have it every night of the week if salmon wasn’t so pricey! I’ll either serve with brown/wild rice or a salad. There are never any leftovers!
Two pieces of feedback:
1.) I poke the salmon with a fork all over so that the sauce absorbs into it a bit more.
2.) It’s never fully cooked for me at 425 for 20 mins. I usually have to put it back in for at least another 10 minutes to get the internal temp up to 160.
Really delicious and super easy. Thanks for sharing your genius as always, Beth!