I’m pretty much a pizza addict. I want it all the time. Thin pizza, thick pizza, frozen pizza, artisan pizza, I want it all. I love exploring the pizza frontier, which is why I decided to test out this No Knead Pan Pizza technique. I’ve seen the technique quite a few places around the web, but this post from Serious Eats has a really excellent tutorial with photos.
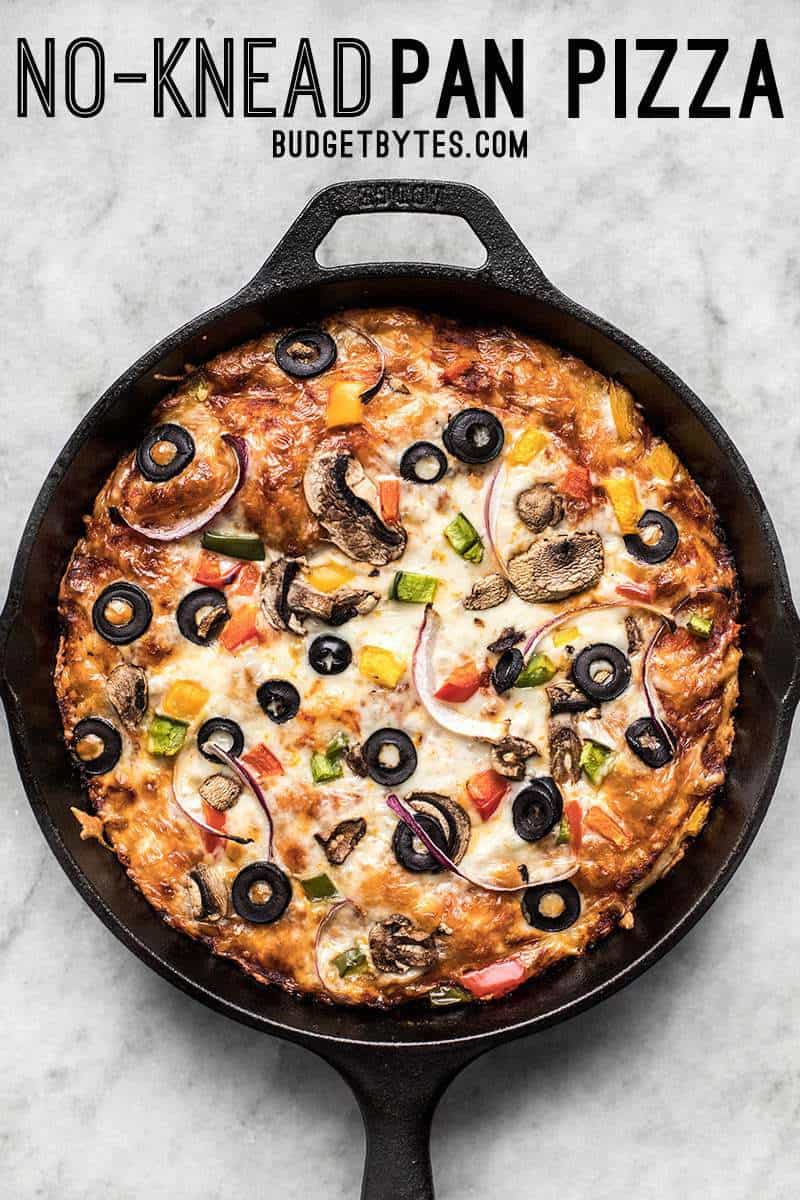
The idea is simple. Make a basic batch of no knead bread dough (I used my awesome Focaccia Roll dough), plop it into a well oiled cast iron skillet, top it with your favorite goodies, then bake at a really high heat. The outer crust gets nice and crispy from all the oil, the inside dough is thick and bubbly, and the whole thing is just divine. Plus, as always, it’s super cheap! Hooray pizza night!
As mentioned before, I used the Focaccia Roll dough for my no knead pan pizza (halved to fit my skillet, plus added a little olive oil), I had some left over sauce and cheese in my fridge, and I stopped by the salad bar at the grocery store to get a handful of vegetables for toppings (my salad bar pizza method). This no knead pan pizza is great for using up leftovers, so keep this trick tucked up your sleeve. You can use leftover BBQ sauce as a base instead of red sauce, use up extra beans, cheese, veggies, or meat, whatever you have on hand. Just keep in mind that the dough needs at least 12 hours to do it’s thing, so you have to plan it out at least one day ahead.
No Knead Pan Pizza
Cost $2.92 recipe / $0.97 serving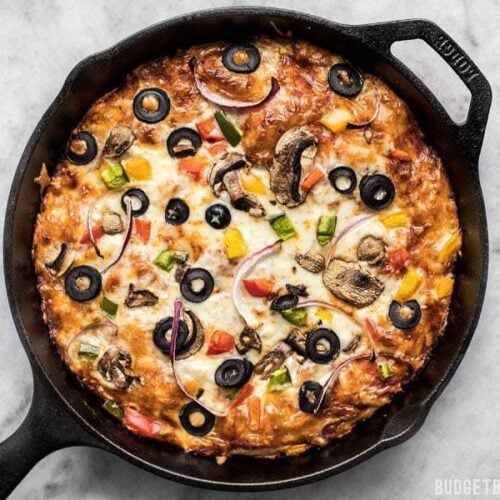
Ingredients
DOUGH
- 2 cups all-purpose flour ($0.30)
- 1/8 tsp instant or bread machine yeast ($0.02)
- 1 tsp salt ($0.05)
- 1 Tbsp olive oil ($0.16)
- 3/4 to 1 cup water ($0.00)
PIZZA
- 1 Tbsp olive oil ($0.16)
- 1/2 cup sauce ($0.40)
- 1 cup shredded mozzarella ($0.99)
- Toppings of your choice ($0.84)
Instructions
- The day before, combine the flour, salt, and yeast in a bowl. Stir until they’re very well combined. Add 1 Tbsp of olive oil and 3/4 cups water. Stir until the dough forms a ball. If there is still dry flour on the bottom of the bowl or the dough doesn’t form a single, cohesive ball of dough, add more water, 1 Tbsp at a time until the dough comes together. The dough should be slightly sticky and shaggy in appearance.
- Loosely cover the dough in the bowl and allow it to ferment for 12-16 hours at room temperature. This develops the gluten, making kneading unnecessary.
- When it’s time to make the pizza, begin preheating the oven to 450 degrees. Oil a cast iron skillet with another tablespoon of olive oil. Use the excess oil from the skillet (there will be a lot) to oil your hands and the dough in the bowl. Pull the dough out of the bowl and place it in the oiled skillet. Press it down into the skillet until it covers the entire bottom of the skillet (it will be very loose and soft).
- Top the pizza with sauce, cheese, and your desired toppings. Cover the pizza edge to edge with the sauce, cheese, and toppings. The dough will be very thick, so there is no need for a dry edge or crust around the outside.
- Bake the pizza in the fully preheated oven for 18-22 minutes, or until the top is golden brown and the cheese is bubbly.
See how we calculate recipe costs here.
Notes
Nutrition Information
Scroll down for the step by step photos!
All recipes are rigorously tested in our Nashville Test Kitchen to ensure they are easy, affordable, and delicious.
How to Make Pan Pizza – Step by Step Photos
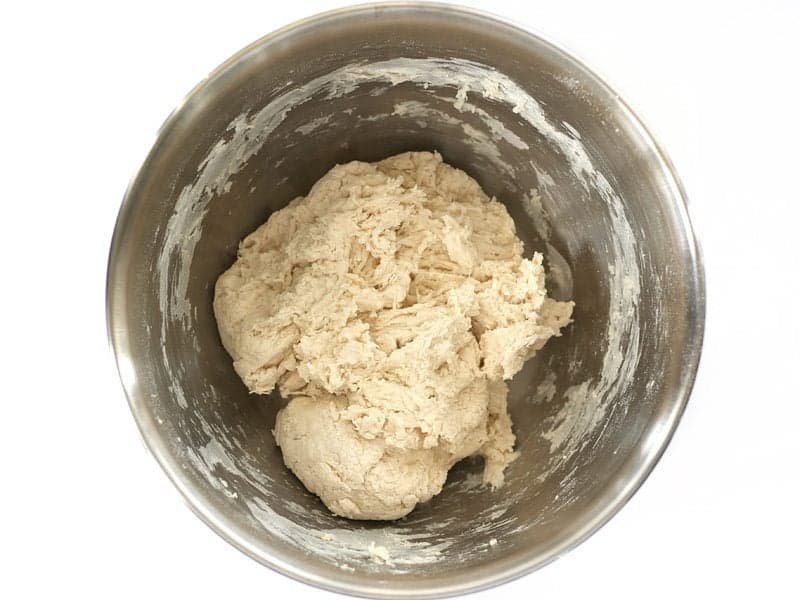
Begin the dough the day before so that it has time to “ferment” for at least 12 hours. In a bowl, stir together 2 cups all purpose flour, 1/8 tsp instant or bread machine yeast, and 1 tsp salt. Once those are well combined, add 1 Tbsp olive oil and 3/4 cups water. Stir until the dough forms one cohesive ball. See how there is no dry flour left in the bowl and the dough is all in one piece? If needed, add more water 1Tbsp at a time until it forms this sticky ball of dough.
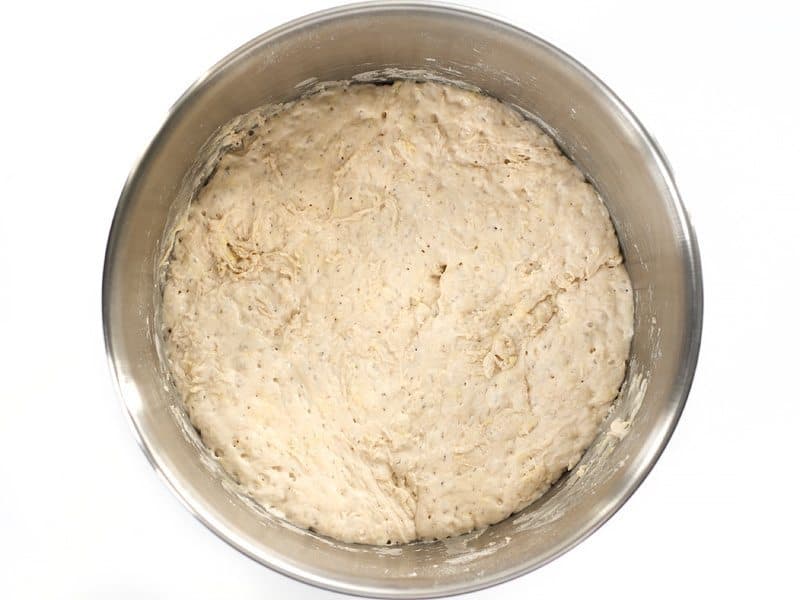
Loosely cover the dough and let it ferment at room temperature for at least 12 hours. During that time, it puffs up and becomes light and airy. It’s still very sticky, though…
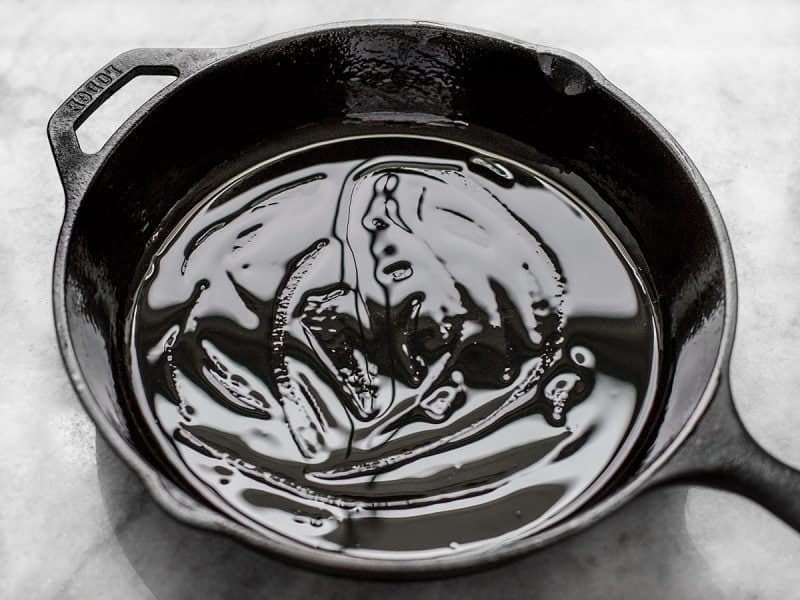
Begin to preheat your oven to 450 degrees. It needs to be FULLY heated before you put the pizza in there. Add 1 Tbsp olive oil to a 10 or 12 inch cast iron skillet and spread it around. There will be a LOT of oil, but that’s what gives pan pizza that awesome crispy crust.

Use some of that excess oil to coat your hands and that sticky ball of dough, then transfer it from the bowl to the skillet. Press it out until it covers the bottom of the pan. The dough will be VERY loose and should be easily manipulated.
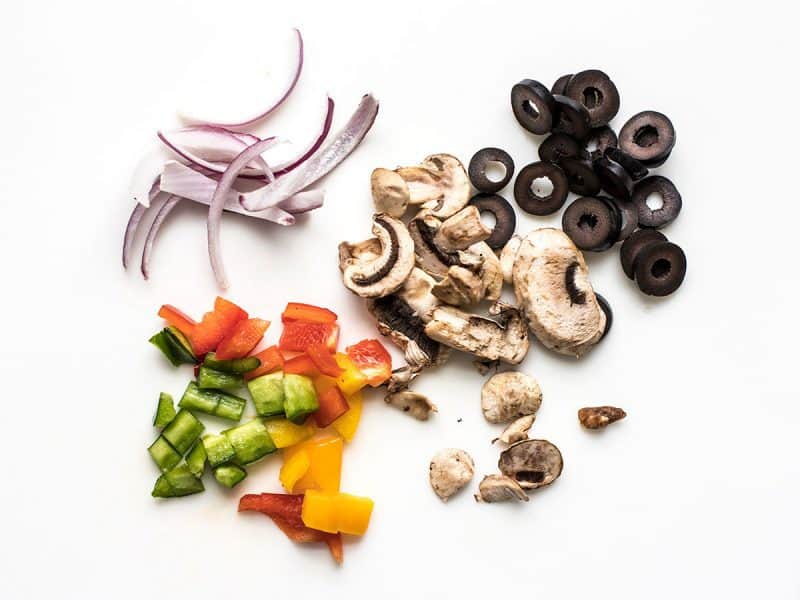
Instead of buying a bunch of things to add to the top of this pizza, I stopped by the salad bar and got a small scoop of black olives, bell peppers, mushrooms, and red onion. The small handful of toppings was only 84 cents! Much better than buying a whole package or item of each then trying to figure out how to use up the leftovers.
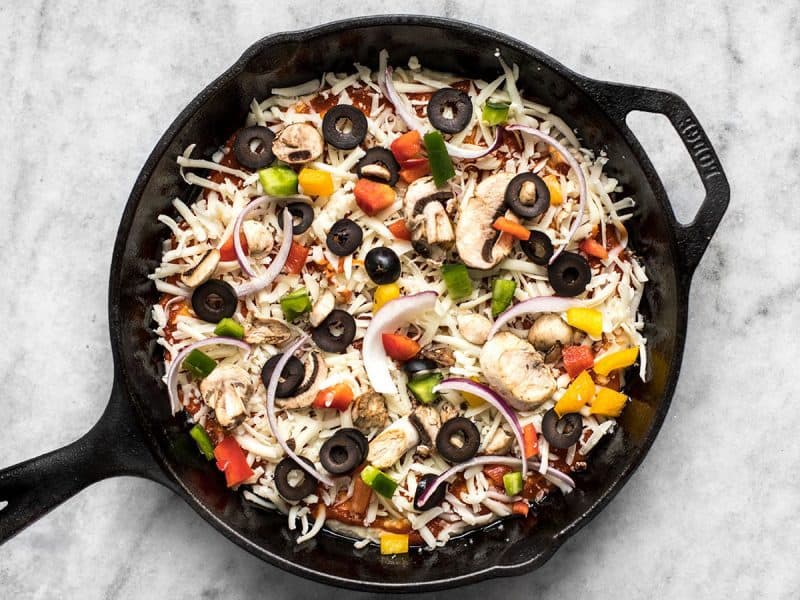
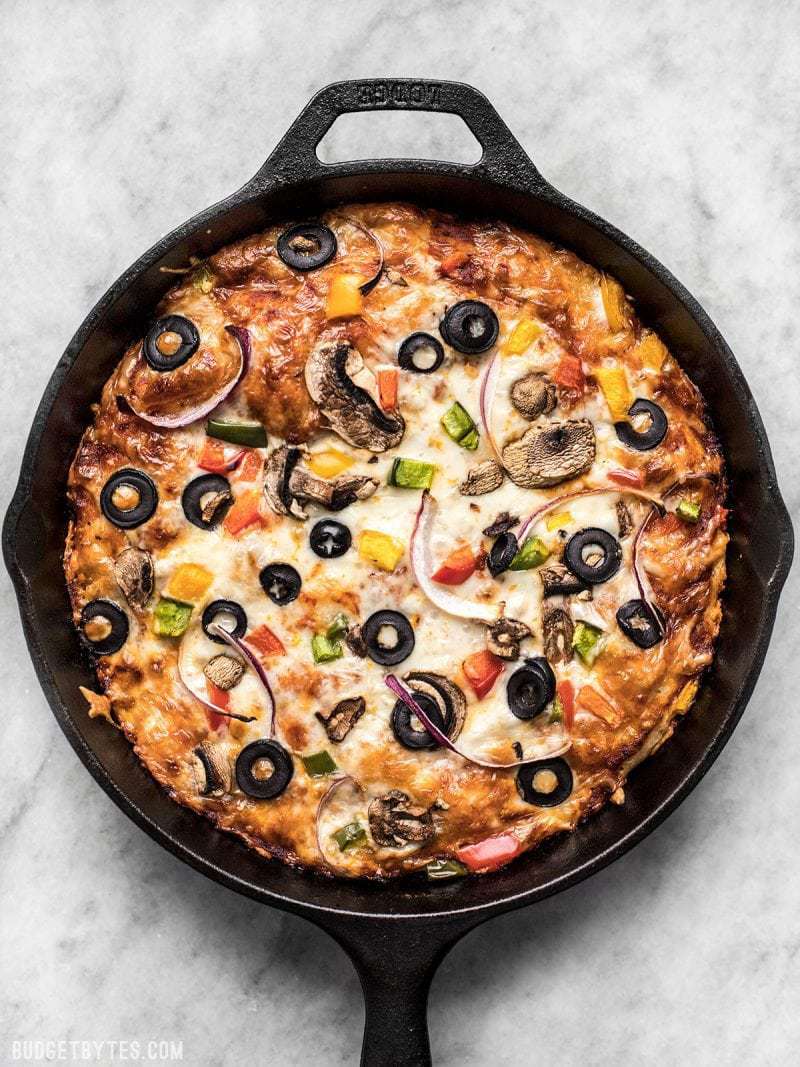
Top the pizza with sauce, cheese, and your veggies (I used leftover sauce and cheese from my fridge). Go ahead and spread the sauce, cheese, and toppings ALL the way out to the edge. The dough will be thick once baked, so you need all those toppings to go to the edge to balance all the bread and keep things moist. By this time the oven should have finished preheating, so go ahead and pop the pizza in the oven. Bake it for about 18-22 minutes (depends on your pizza, toppings, skillet, and oven), or until the edges are browned and the cheese is bubbly all over.
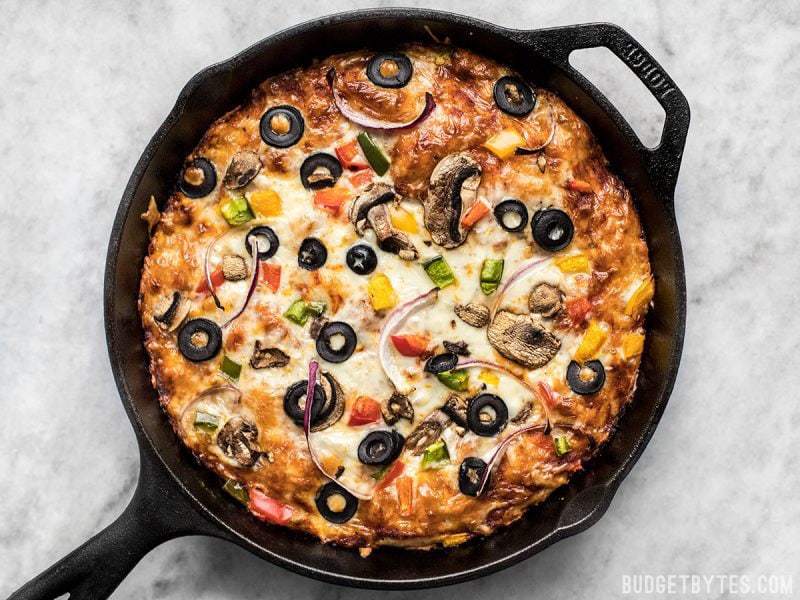
Like this! Yummm… smells like a real pizzeria in here. (take my word for it)
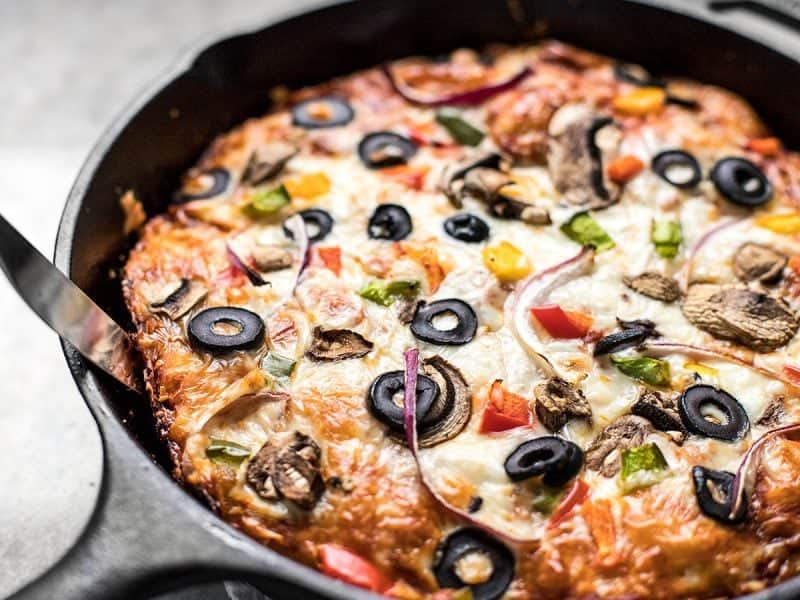
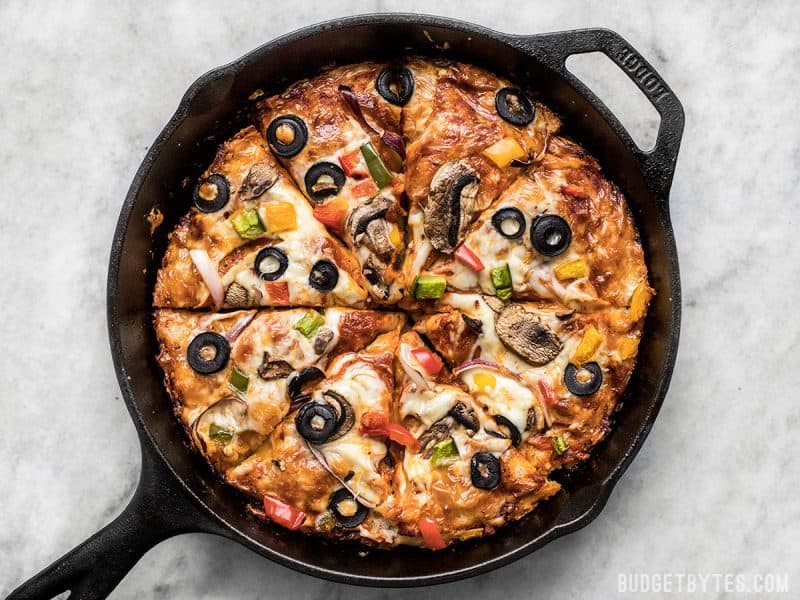
You’ll want to run a knife around the edges to loosen any cheese that has stuck to the side. Because we used so much oil in the pan, nothing should really be too difficult to loosen. Once loose, I suggest sliding the pizza out onto a cutting board to slice, rather than leaving it in the pan like I did for the photos. It’s rather hard to cut while in the pan and you may damage the finish on your cast iron!
Crispy on the outside, soft and fluffy inside, all around moist and delicious.


This is so, so easy to make, and my husband says it is one of his favorite pizza recipes, which says a lot! I do add extra cheese, but other than that, this recipe is great as is!
So good! I used a 12 inch skillet and that worked well. It’s 80 degrees in my apartment in phoenix and 10 hours was plenty of time for it to rise haha. Thanks for the recipe!
So good! So simple! We have two 5.5” cast iron pans, so we opted to make personal pan pizzas instead and it worked great! Dough fit fine split between the two, and I just used a 1/2 tbsp of oil in each pan. Still took 20 minutes to cook, no reduction there. Topped mine with sliced Kalamata olives and baby spinach I sautéed in olive oil and garlic beforehand. Such a hit, can’t wait to make it again!
Can I let the dough sit for 24 hours instead of 12-16 hours if I want to make it for dinner the next night? Or does it have to be 12-16 hours?
You should be able to make that work, but 24 hours is the absolute max.
Great idea for a change from store bought pizza! I’m wondering though, the recipe calls for 1/8 teaspoon of instant yeast; do you take that out of a yeast packet, what would you do with the remaining yeast in the packet? To clarify, I’m talking about those “strip of three” yeast packets that are sold on store shelves, but when I get them home, I put it in the butter shelf of my fridge (I live in a small trailer, and it would get lost in my tiny little pantry if I put it in there!). So what I’m asking is, can you put the unused portion of the packet of yeast in a Ziploc baggie, or do you pitch it, or use it by…? Hopefully I’ve explained myself clearly, I’ve got chemo-brain, and I have issues with making myself understood sometimes.
You have totally explained yourself well, and this is a great question — so no worries! We use a jar of instant yeast rather than the packets. Yeast keeps a long time in the fridge and the jar is less messy and much more budget-friendly than the packets (though more expensive, you get a whole lot of yeast more for the money). However, if you only bake bread occasionally, the packets are perfect! Definitely keep it and use the rest later. And yes, you can just keep the open packet in a baggy tucked somewhere safe in the fridge. It will keep until the use-by date, and potentially up to a year. ~ Marion :)
I have self-rising flour. Can I use that? Do I also need yeast? It’s King Arthur brand, pretty fresh.
Hi Jenny! Great question. Short answer: you can try it, but it won’t have the chewiness of pizza dough, and it will have a different texture for sure, as well as a possible aftertaste. If you do it, omit the yeast. Long answer: All-purpose flour and self-rising flour are different beasts. AP has about 10 percent protein, and when you work it into a dough it creates a wonderful amount of gluten which gives you a product that has a chewy mouth feel. The gluten strands act like rubber bands that help the dough stretch and prevent breaking. It also doesn’t let the pizza dough rise too high. Self-rising flour is a mix of all-purpose flour, baking powder, and salt. It has a lower protein content of about 8.5 percent. It will give you more of a cakey dough without elasticity. XOXO -Monti
I have to come back and leave another review. I’ve been making this once a week for my family for about a month and a half. It’s so delicious and easy. I actually switched to using all whole wheat flour and my family prefers the flavor and I had seasoning to the dough. It’s so easy and delicious. I love budget bytes so much. The recipes encourage me to try new things and also take ownership of the recipes to make them perfect for my family!
Okay I seriously love this! I wanted to swap out our Thursday frozen pizza nights for an easy homemade pizza and this was perfect! So easy for my 3 year old to help me prep the dough and she can even help with the toppings. I’m so excited to make this again and again!
Wondering if anyone has tried putting this in the refrigerator for a really slow fermentation? Like making the dough one night, and baking it 24 hours later? I’m guessing it should work, but I always love hearing of others experiences.
I’ve made this dough several times now. So easy and results in a great crust. I use a 12” pan and it’s pretty thick. I think it would be too thick in a 10” pan.
I’ve made the dough in this recipe several times. I haven’t had any issues preparing the dough the night before and baking it anywhere from 2-7pm. I’ve also forgotten the oil in the dough a few times and it turns out okay, not as crispy maybe.
I have a 12″ cast iron pan. I bake the dough for 10-15 minutes by itself then add the toppings and bake until done.
I also suspect the recipe would work just as well with active dry yeast if that’s what you have. I haven’t tried it for this recipe specifically but I make my no knead bread with active dry and it’s almost the same.
Fantastic recipe! Just made it for the second time. It’s a hit with my family. Definitely more like delivery than my usual pizza recipe.
I wanted to try out my new cast iron skillet so made this pizza last night and it was really great however the whole pizza bubbled up in the middle while it was cooking. I’m not sure what I did wrong, any suggestions?
Hmm, I haven’t had that issue, so I’m not sure how to prevent that. Maybe poking a fork in the center of the raw dough a few times once it’s in the pan to prevent large bubbles from forming?
Love this recipe! I’ve made it several times now and it’s always turned out perfect! Crispy edges, soft thick crust, extra cheese and toppings. Can’t ask for an easier homemade pizza dough recipe.
I made this for our lunch today and it was delicious! Yesterday for the dough I used 1 1/2 cups all purpose and a 1/2 cup semolina. I put my 12” cast iron skillet in the oven as it preheated and let it heat an additional 10 min. When I took it out of the oven I added a roasted garlic olive oil to the pan and then dropped in the crust I had rolled out and all the toppings. The crust immediately sizzled and started cooking in the hot pan so when it had finished baking it was baked all the way through and wonderfully crispy on the bottom. Thanks for the recipe!