All recipes are rigorously tested in our Nashville Test Kitchen to ensure they are easy, affordable, and delicious.
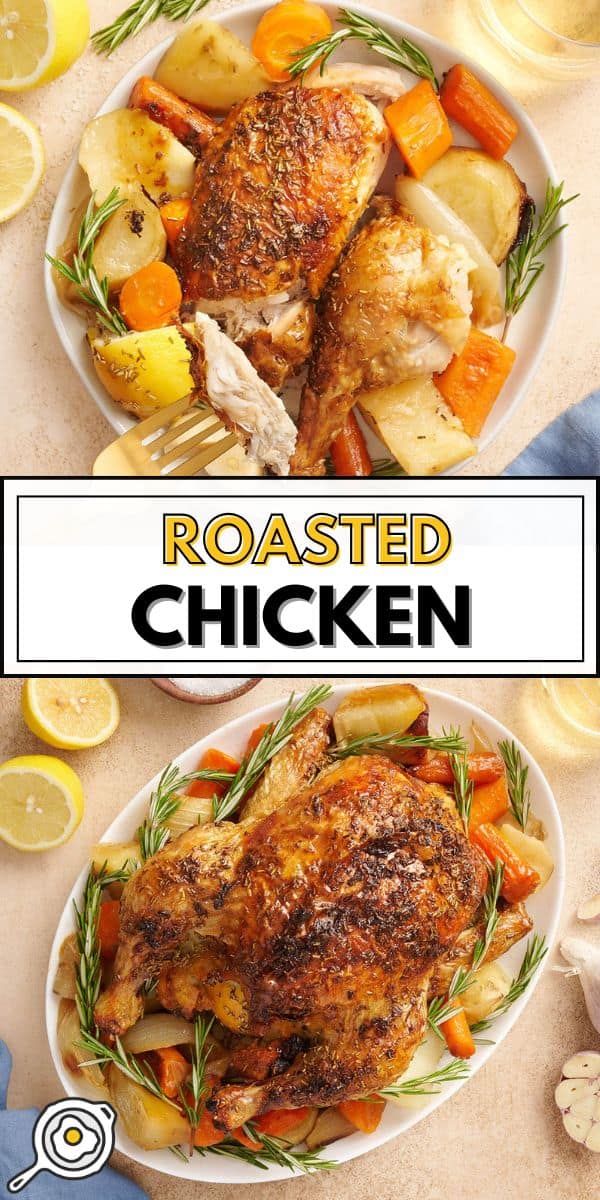
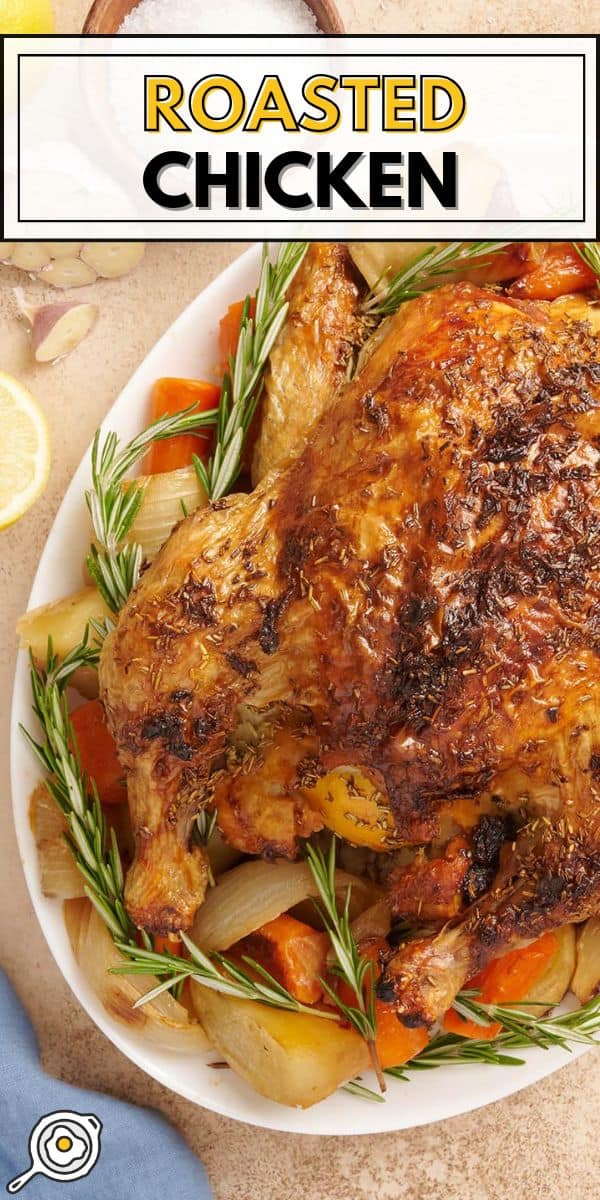
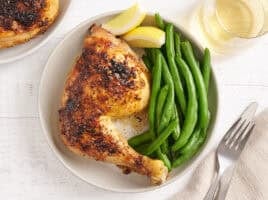
There’s nothing quite like this easy Roasted Chicken recipe. Every time I make it, the skin turns shatter-crisp from its butter bath, and the tender meat is softly scented with lemon, garlic, and rosemary. There’s also a mix of vegetables that cooks under the chicken and soak up the buttery chicken jus until they’re almost too good to share. And when you cook a whole roasted chicken, you can spin the leftovers into easy meals for days! Talk about a budget-friendly, meal-prep worthy dish. It truly is perfection.
“Have made this recipe multiple times with a 4 or 5 pound chicken and I love it so much. The meat comes out moist, the skin crispy. I make extra potatoes and carrots underneath and my partner described them as the best vegetables he has had (he doesn’t really like vegetables).”
Emily
Juicy WHOLE Roasted Chicken Every Time
I’ve tried all sorts of “tricks” over the years, but the method that gives me the juiciest, most flavorful roast chicken is wonderfully straightforward. The best and tastiest way to keep your chicken moist is to use a dry brine and rub your chicken down with softened butter. (Unless you save your bacon fat, in which case, you should definitely use that!) The dry brine tenderizes the meat, and the butter bastes the notoriously dry breast meat as it cooks. This keeps your bird juicy while adding a HUGE wallop of flavor. It will also give you deeply golden, crispy skin.
Now you’ve set the foundation for a perfectly oven-roasted chicken. But why stop there? As that chicken roasts and that butter melts, all of the drippings fall to the bottom of the pan. This is precisely why you fill the pan with carrots, onions, and potatoes. They soak up all that incredible juice and transform into intensely flavored, unctuous bites.
How To Perfectly Roast Chicken
For the uninitiated, roasting a whole chicken in the oven can be intimidating. It used to make me nervous, too! But I’m telling you, it’s easier than you think. You just need to know a few helpful pointers, and lucky for you, I’ve gathered plenty over the years. It all comes down to drying your chicken, using salt correctly, introducing fat to keep the breast meat moist, and using the cavity as a vehicle for flavor.
To make the best roasted chicken, use these four tricks:
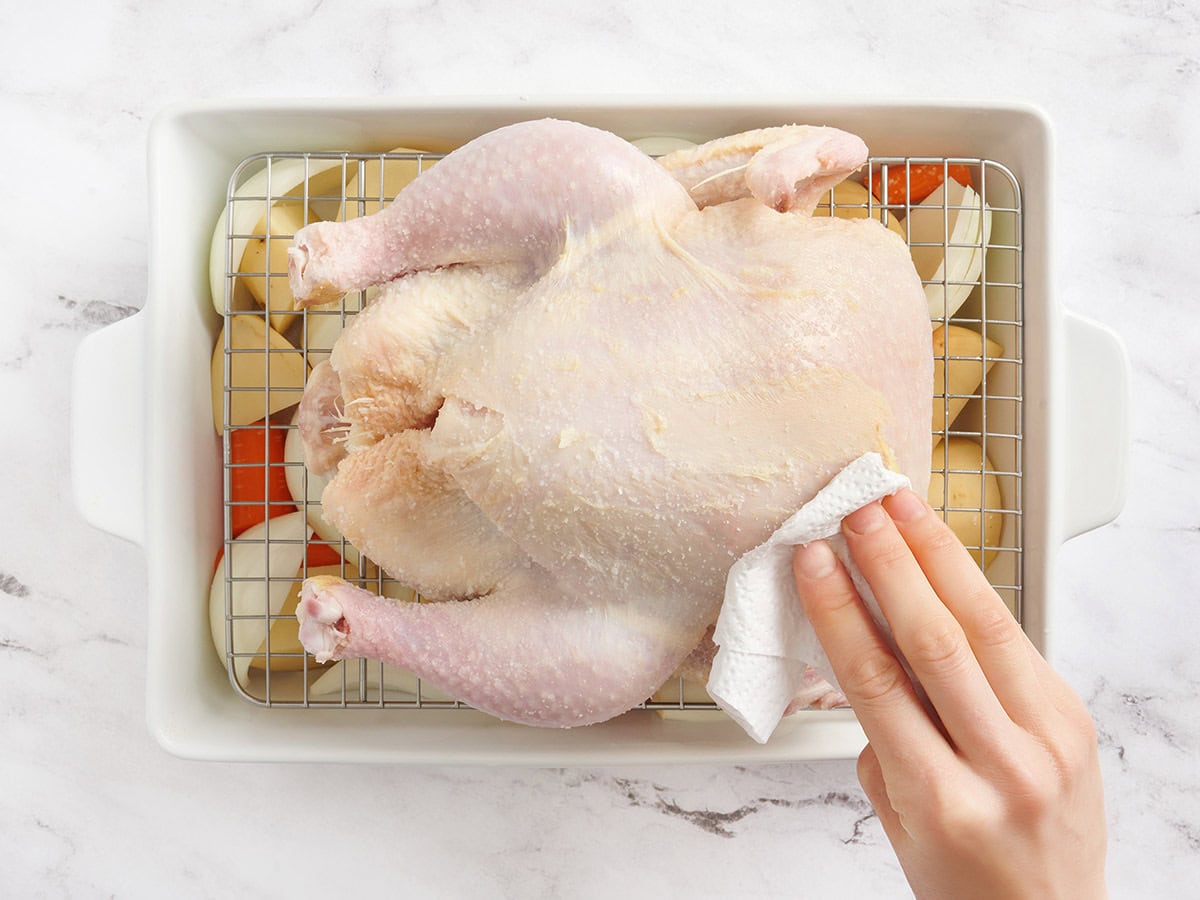
- Dry your chicken well. To make sure I get extra crispy skin (I use paper towels and take my time, because the drier it starts, the crispier it finishes. Don’t skip this step!).
- Use a dry brine. This keeps meat tender and infuses flavor.
- Get a crispy skin. Coat with herb butter for a deliciously golden brown crispy skin.
- Make every bite full of flavor. Stuff the cavity with aromatics to make every bite flavorful.
I show each of these tips in action in the recipe below so you can follow along and feel confident doing it yourself!
Extra Success Tips
This recipe is fail-safe, so even beginners can follow the directions and feel confident from start to finish! However, here are a few extra tips and explanations to make it even easier:
What Is A Dry Brine?
Dry brining is the act of salting chicken (or any other meat) and letting it sit uncovered while the salt draws out the juices. The chicken then reabsorbs the now-salted juices, which tenderize the meat and add deep flavors all the way to the bone. This is far superior to just salting the skin on the outside, which leaves you with a bland bird.
You can dry brine for as little as an hour, but if you want real magic, dry brine your chicken overnight. Leave it uncovered in your fridge, on the bottom shelf, for at least 8 hours.
Why Should I Stuff Chicken?
Leaving the chicken’s cavity empty is a missed opportunity to add flavor. Stuff the cavity with aromatics, like garlic and lemon. If you have fresh rosemary, put a sprig in there as well. (If you don’t, that’s OK. You add dried rosemary to your butter in this recipe.) As the chicken cooks, the garlic, lemon, and rosemary release their essences and perfume your entire bird, from the inside out.
Should I Baste Chicken?
I know, I know. Every time you see someone cooking chicken on TV, there’s always a scene where they have the oven door wide open as they baste their chicken in its juices. Don’t believe the hype. (Said in my best Flavor Flav.) You don’t have to baste chicken to get juicy results. That’s what the dry brine was for in my recipe—leaving the oven door open to baste lets all of the heat escape and ruins the roast.
What Temperature Do I Cook Chicken To?
Insert a thermometer into the breast and pull the chicken at 160°F. Avoid touching the bone for an accurate reading. Then, check the thickest part of the thigh and look for about 170°F, again without hitting the bone.
Remember the magic of carry-over cooking. The chicken will continue to rise in temperature when it is out of the oven.
- The temperature rises 5 to 10 degrees while resting.
- After resting for 10 minutes, the chicken will settle into the ideal range:
- 165°F to 170°F for the breast
- 175°F to 180°F for the thighs
No thermometer?
- Cut where the thigh meets the body.
- Pink or red juices = needs a little more time
- Clear juices = done
Roasted Chicken
Cost $14.83 recipe / $2.47 serving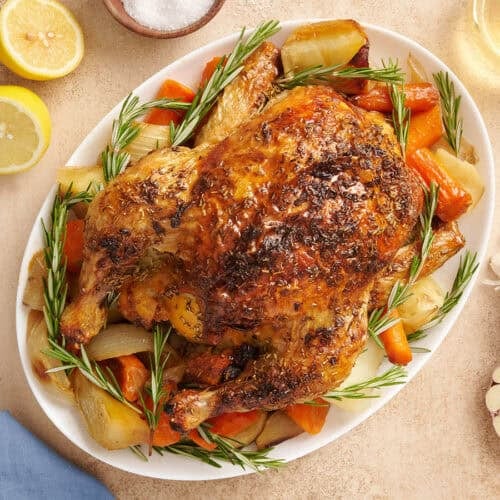
Ingredients
- 1 whole chicken (5 lbs, $8.97)
- 5 tsp coarse sea salt (or kosher salt, $0.10)
- 2 russet potatoes (about 2 lbs., $1.60)
- 1 onion ($0.94)
- 3 carrots ($0.30)
- 1 Tbsp dried rosemary ($0.65)
- 8 Tbsp salted butter (softened, $0.99)
- 1 head of garlic ($0.64)
- 1 lemon ($0.64)
Video
Instructions
- Gather ingredients. Place a rack in the center of your oven and preheat it to 425°F. Remove the chicken from its packaging.
- Remove the innards from the chicken.
- Dry the chicken thoroughly inside and out with paper towels.
- Dry brine the chicken by rubbing salt on it, inside and out (on top of the skin). Use 1 teaspoon of kosher salt or coarse sea salt per pound of meat. Or ½ teaspoon of fine sea salt or iodized salt per pound of meat. Let it rest uncovered in your fridge for at least an hour, but preferably overnight.
- Chop the vegetables. Quarter an onion, slice the carrots, and quarter the potatoes.
- Add the dried rosemary to the softened butter and mix thoroughly.
- Half the bulb of garlic and quarter the lemon.
- Add the prepared vegetables to the bottom of your roasting pan.*
- Place the chicken on a rack over the vegetables and pat it dry again, brushing off any extra salt.
- Add the garlic and the lemon into the cavity of the chicken.
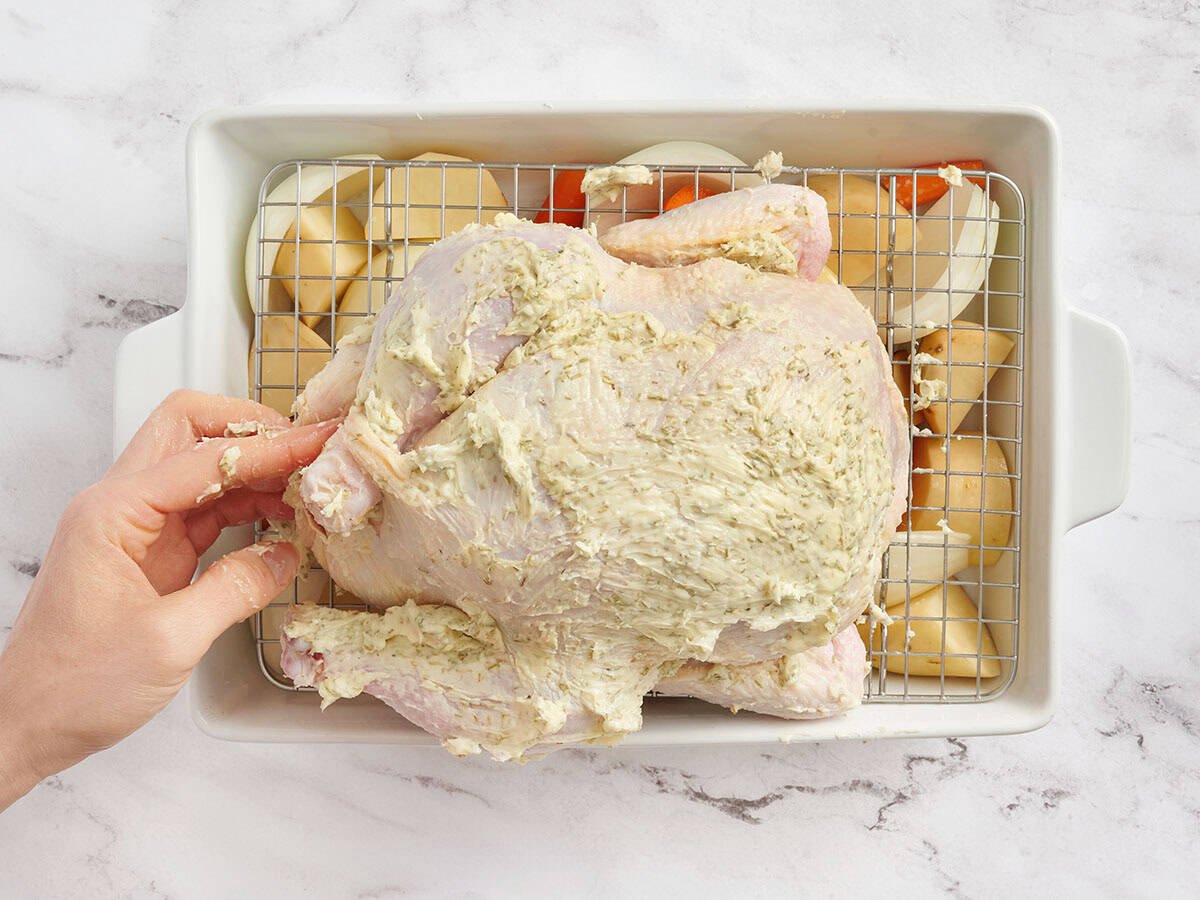
- Cover the chicken inside and out with butter. Work your way under the skin on the breast and add butter there too.
- To truss your chicken without using twine, tuck the wings behind the chicken’s back (as shown in the step photos below). This will keep the wings from burning.
- Then, with a knife, carefully poke a hole in one side of the skin hanging off the breast, covering the cavity opening. Carefully stick each drumstick into the hole.**
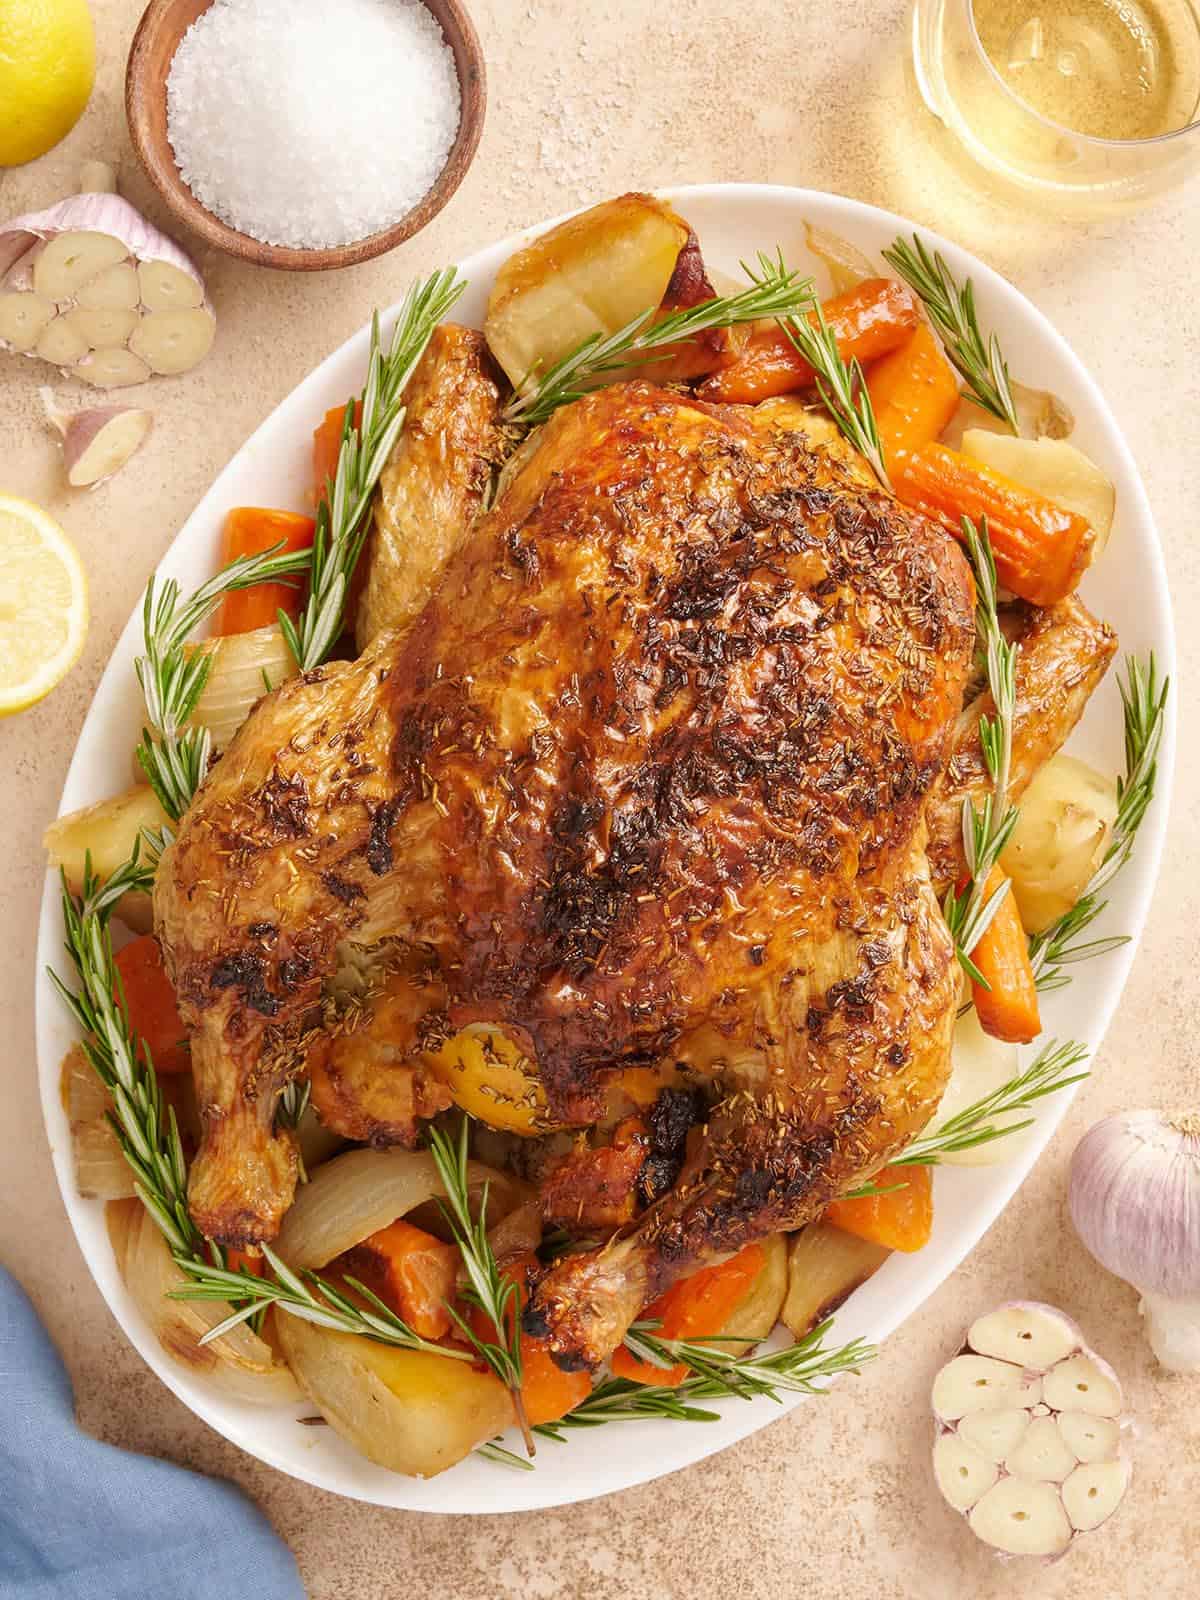
- Roast your chicken at 425°F for about 20 minutes per pound, or until a meat thermometer inserted into the breast reads 160°F and inserted into the thigh it reads 170°F. Remove the chicken from the pan and place it on a serving platter. Let it rest for at least ten minutes before carving it. Serve with roasted vegetables topped with any drippings and enjoy.
See how we calculate recipe costs here.
Notes
Nutrition Information
How to Roast a Chicken Step-by-Step Photos
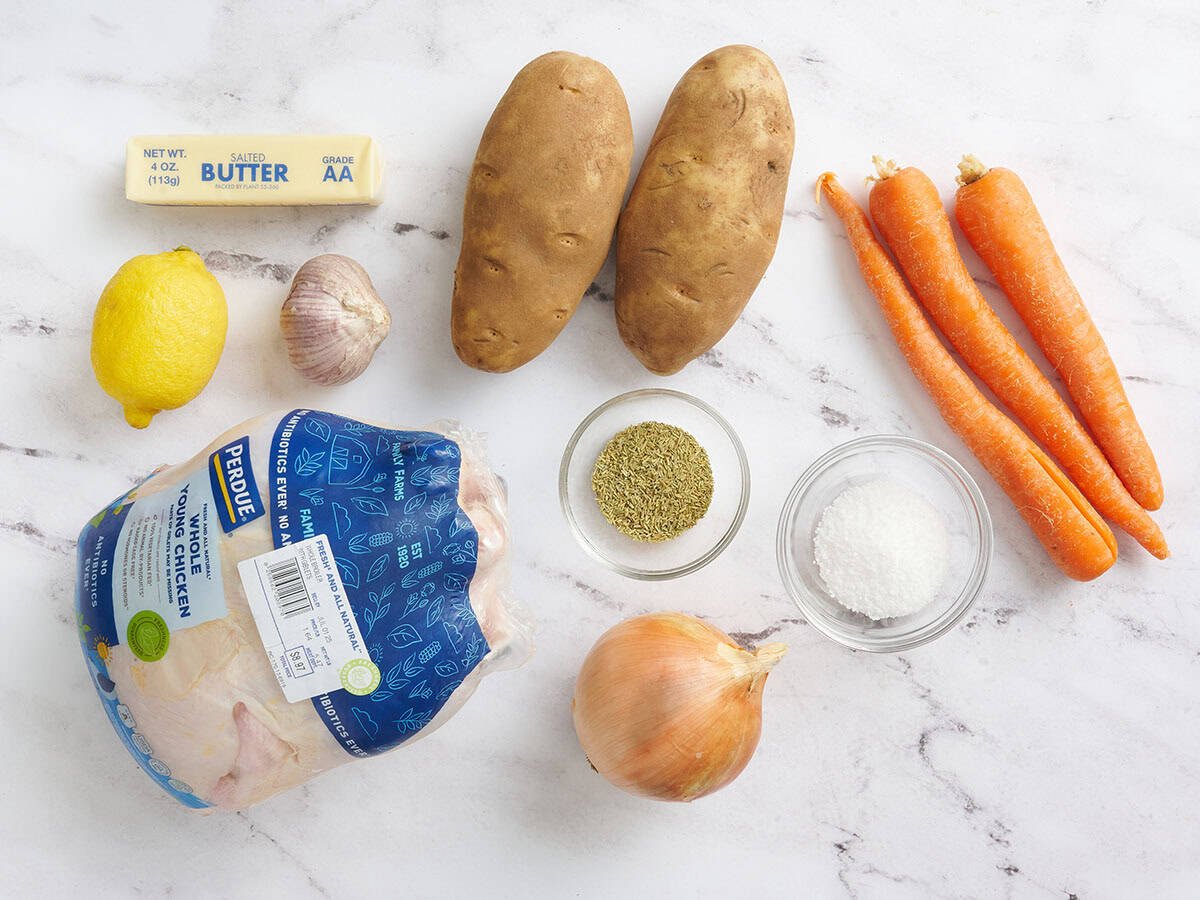
Gather all of your ingredients. Set your oven rack in the middle and warm the oven to 425°F. Take the chicken out of its packaging.
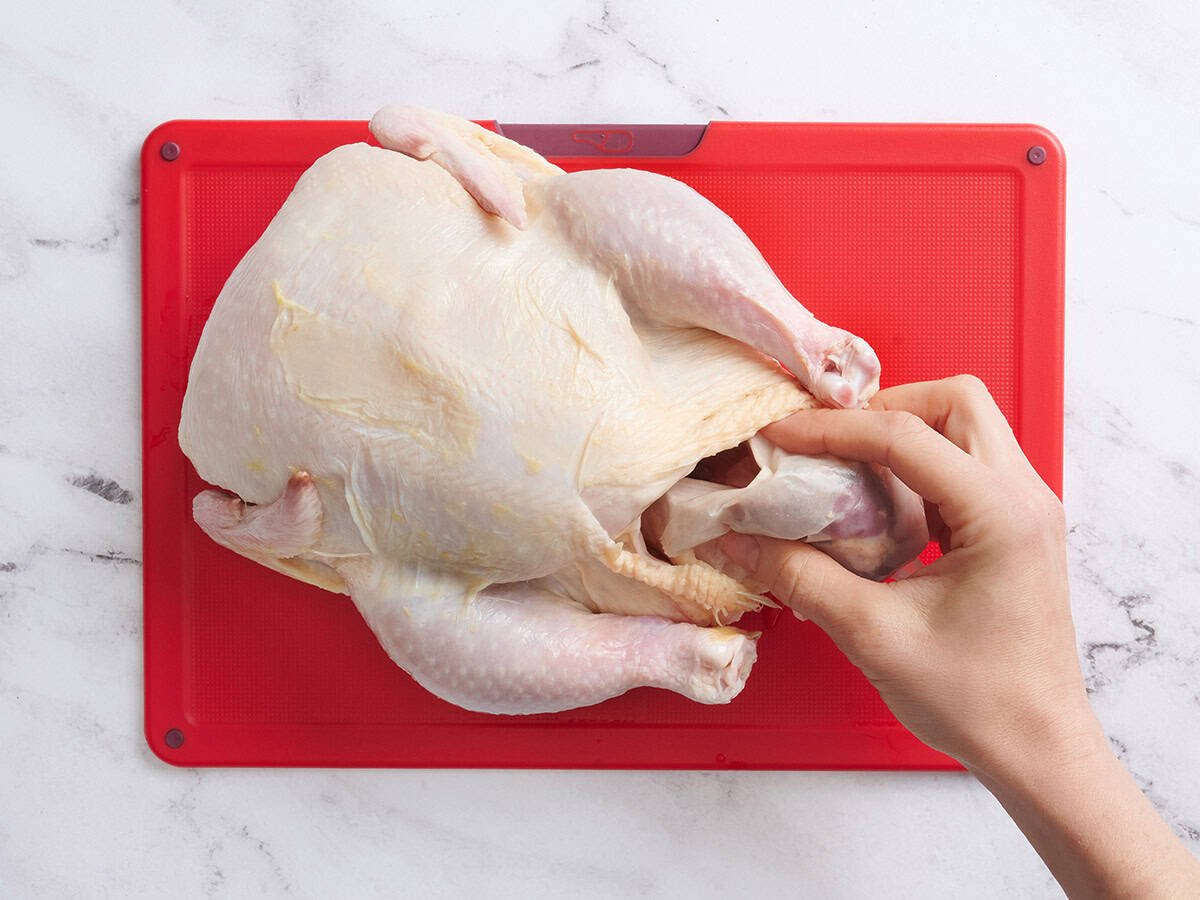
Prep the chicken: Remove the innards from your chicken. Reserve them for chicken stock.
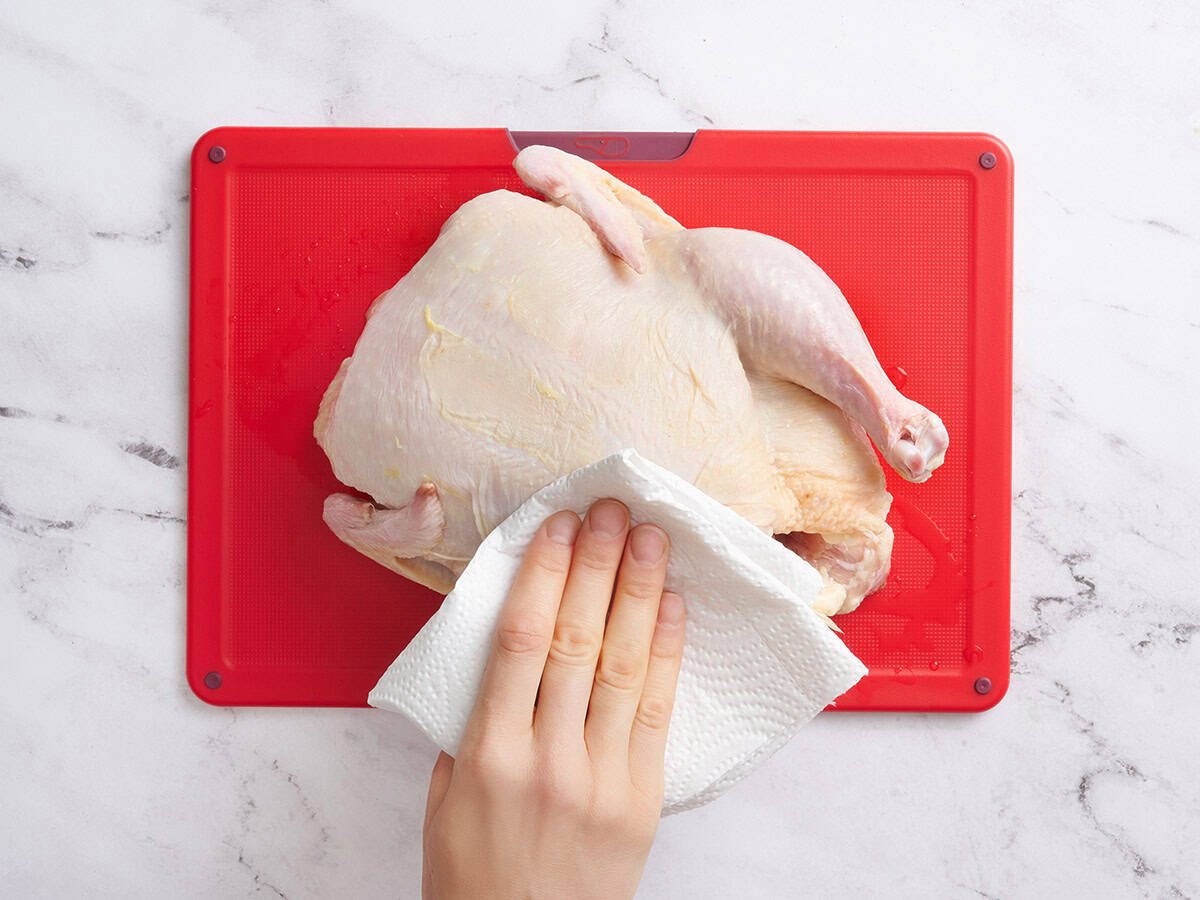
Dry the chicken thoroughly inside and out with paper towels.
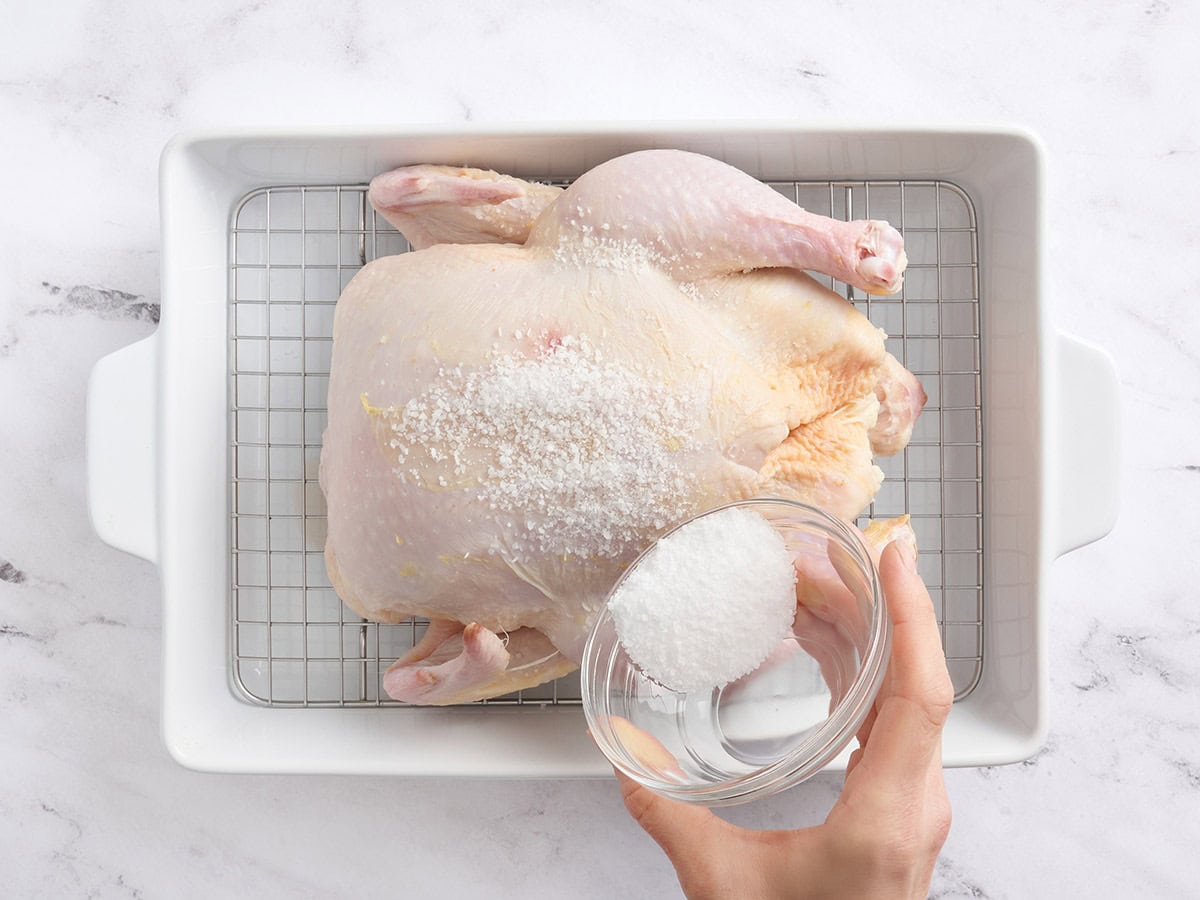
Dry brine the chicken: Season the chicken with a dry brine by rubbing salt all over the surface of the skin and inside the cavity. Stick to 1 teaspoon of kosher or coarse sea salt per pound, or 1/2 teaspoon per pound if you’re using fine sea salt or iodized salt. Leave the chicken uncovered in the fridge for at least an hour, though overnight is ideal.
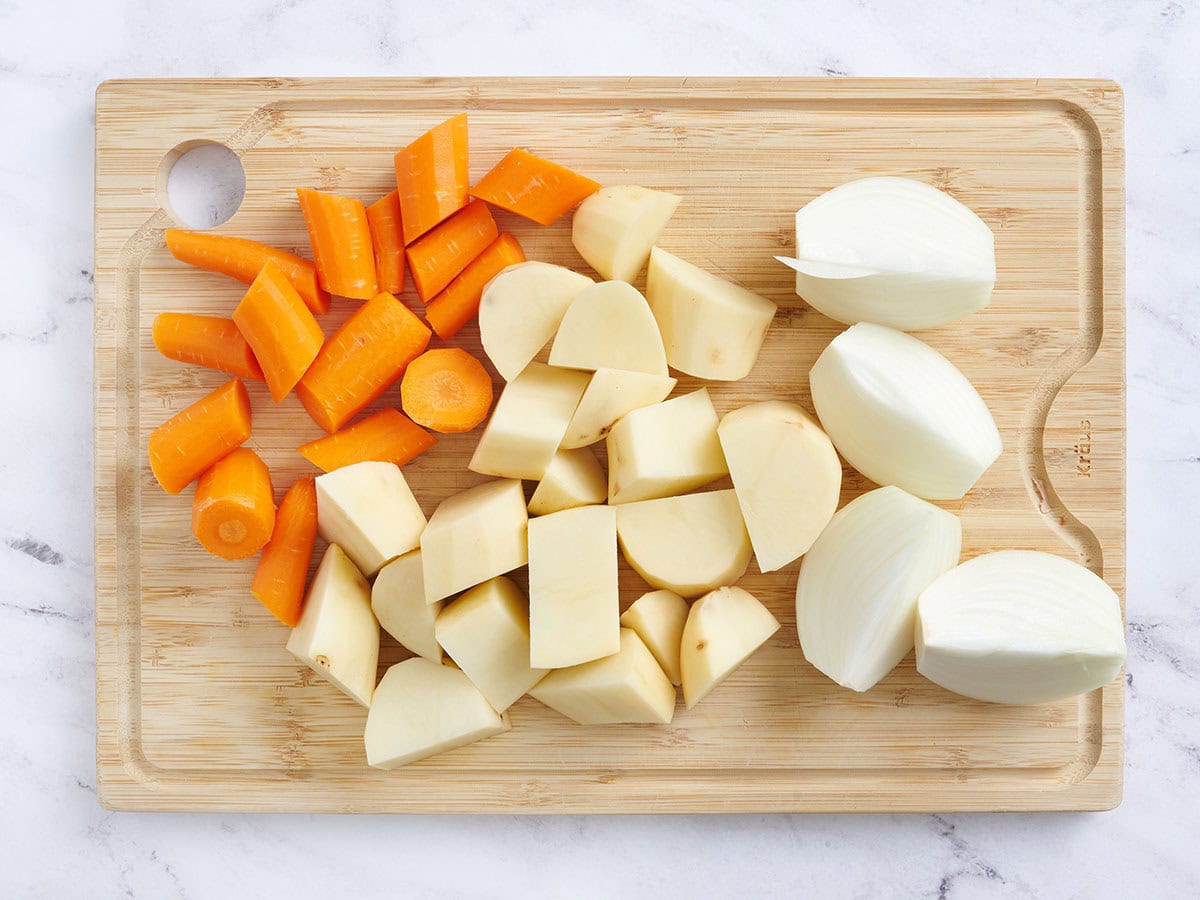
Prep the veggies: When the chicken has brined for an hour, chop the vegetables. Quarter an onion, slice 3 carrots, and quarter 2 potatoes.
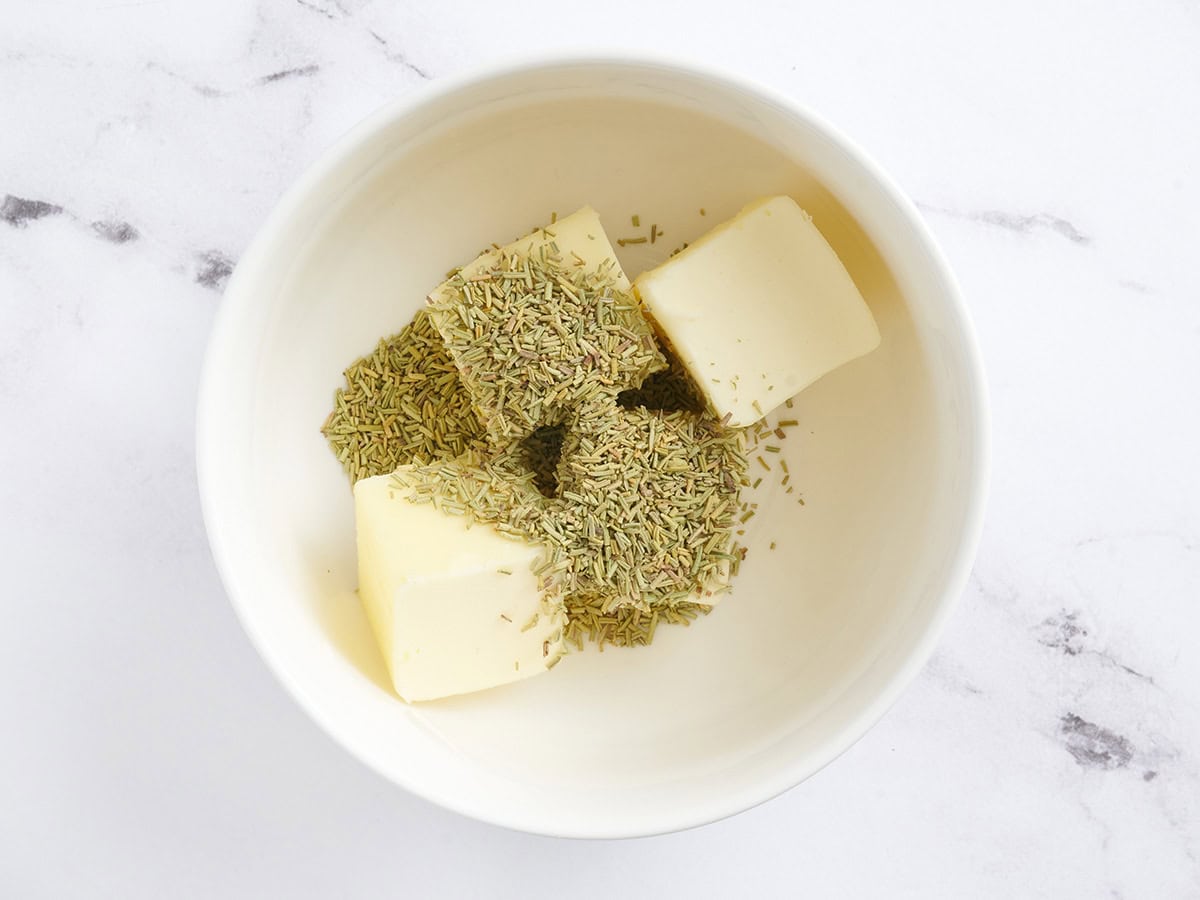
Make the herb butter: Add 1 Tbsp of dried rosemary to the softened 8 Tbsp of butter and mix thoroughly.
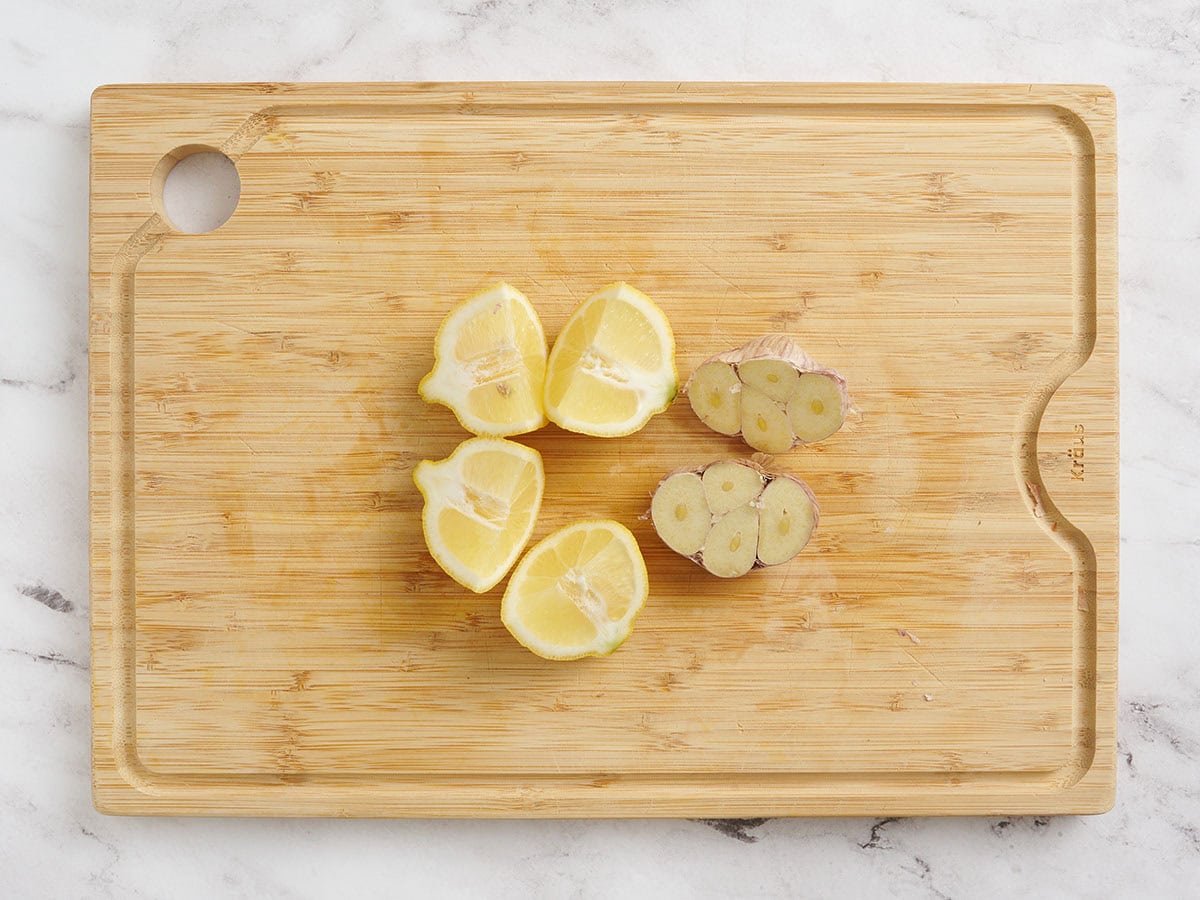
Slice the aromatics: Slice the garlic bulb in half and cut the lemon into quarters.
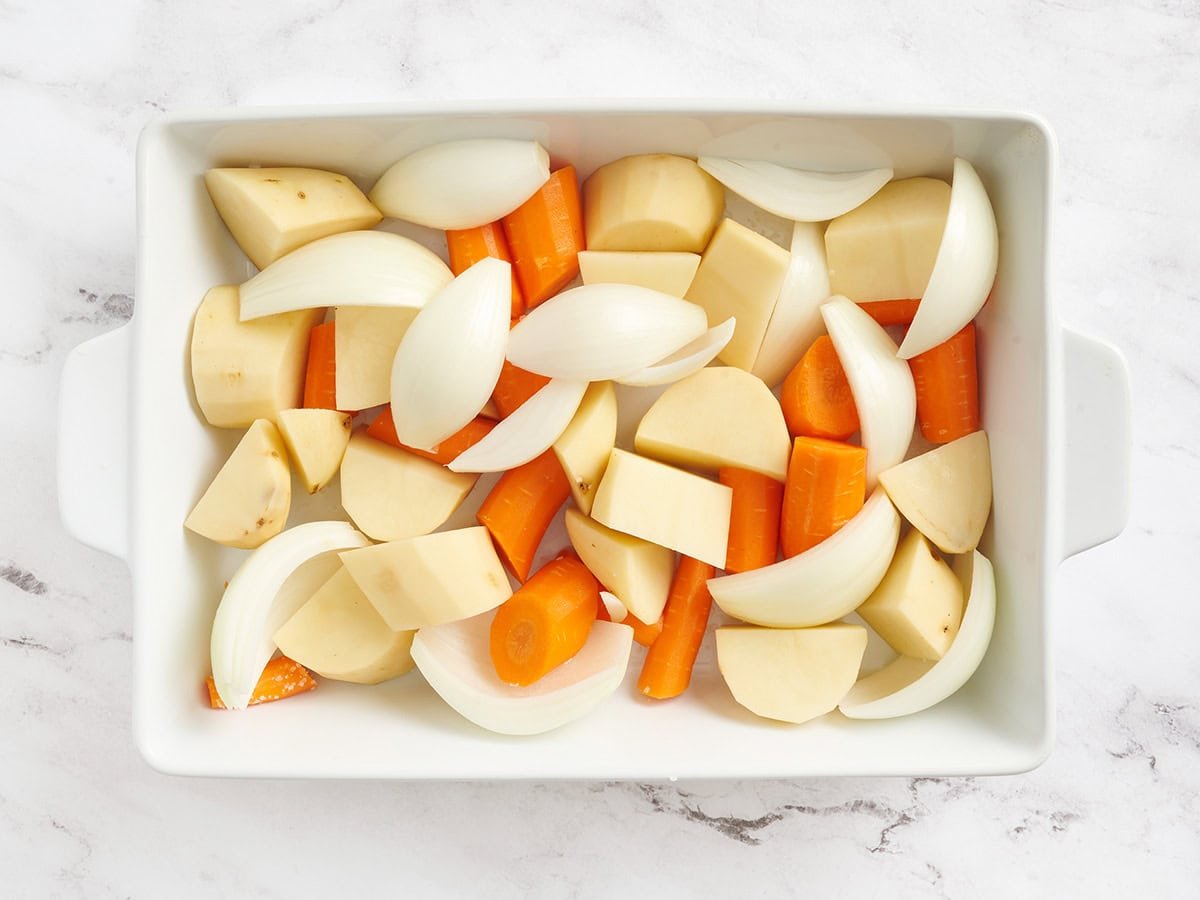
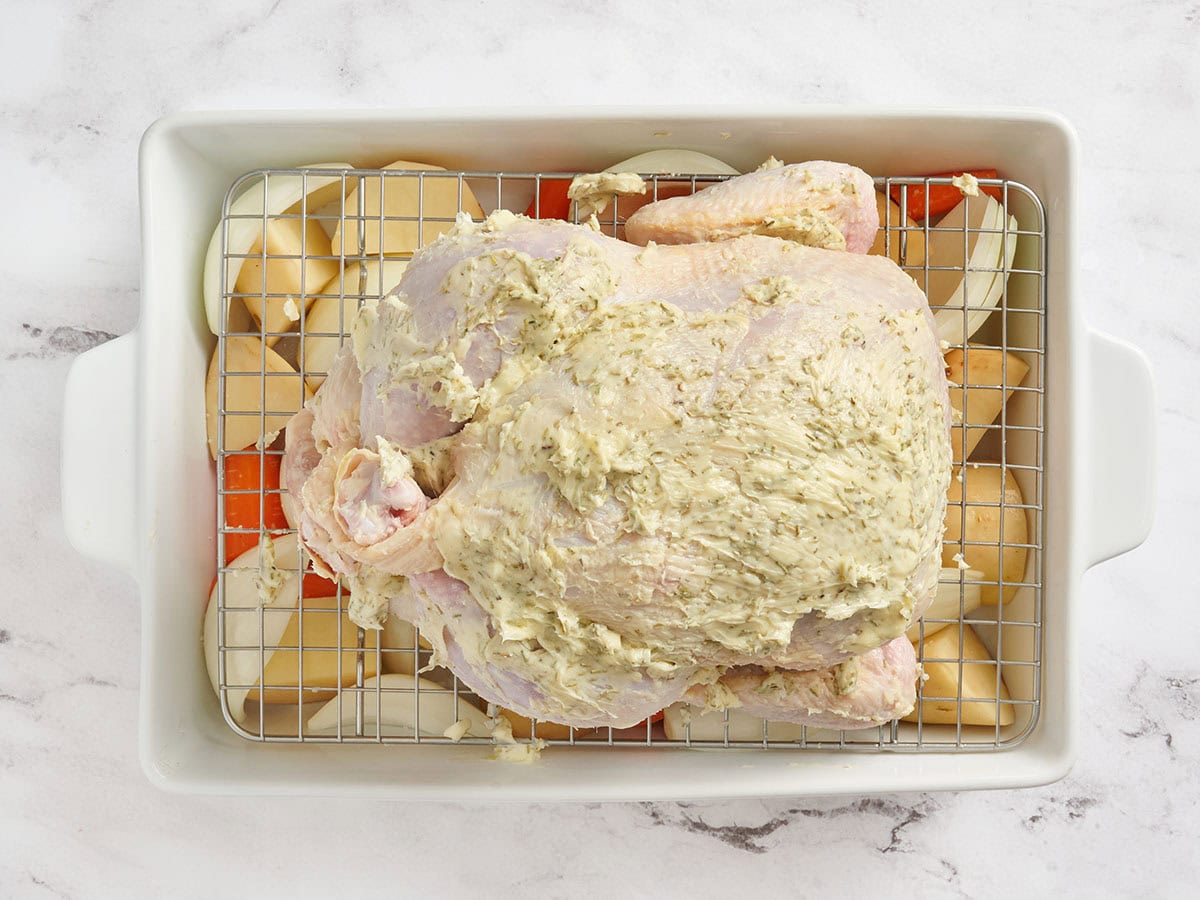
Get ready to roast: Spread the prepared vegetables across the bottom of your roasting pan.
Set the chicken on a rack over the veggies, pat it dry one more time, and brush away any excess salt.

Tuck the garlic and lemon pieces into the cavity of the chicken.
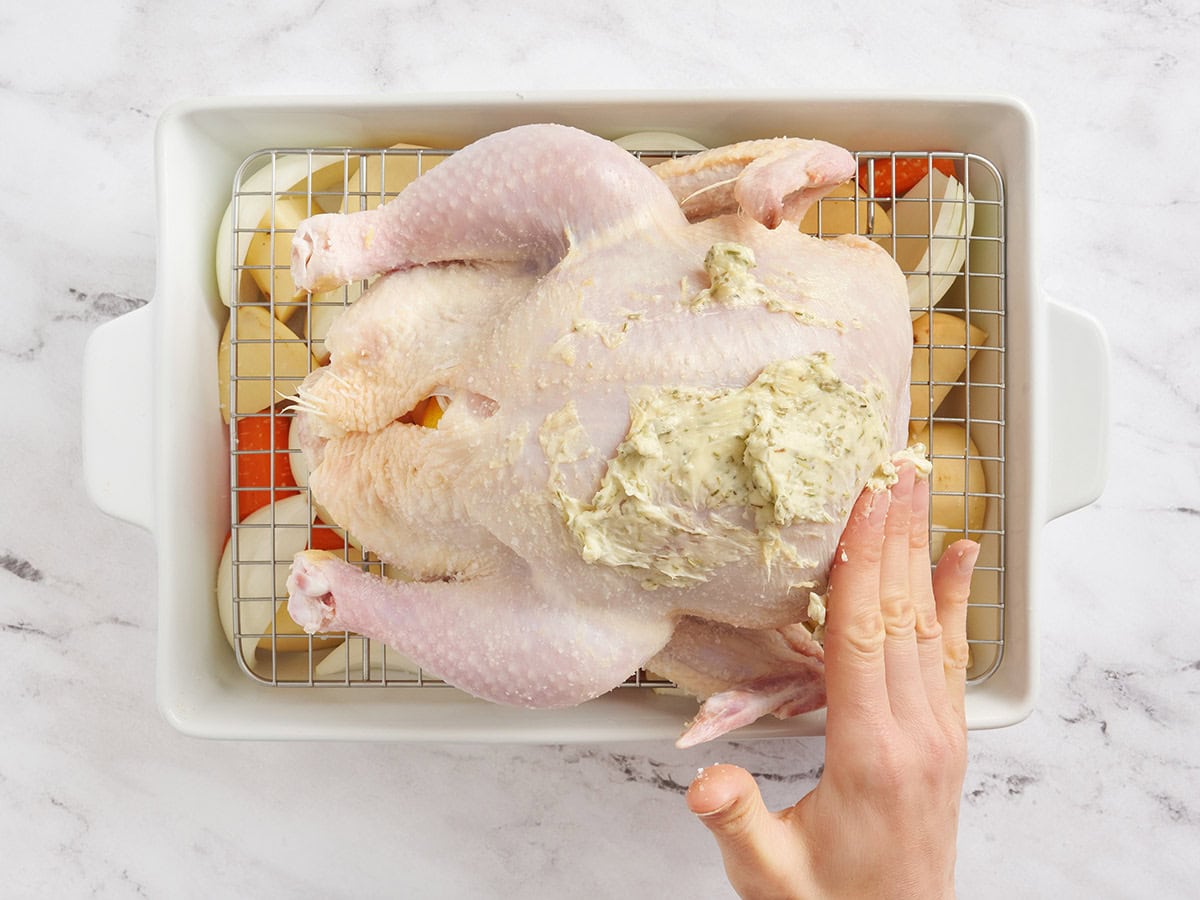
Cover the chicken inside and out with the herb butter. Work your way under the skin on the breast and add butter there too.
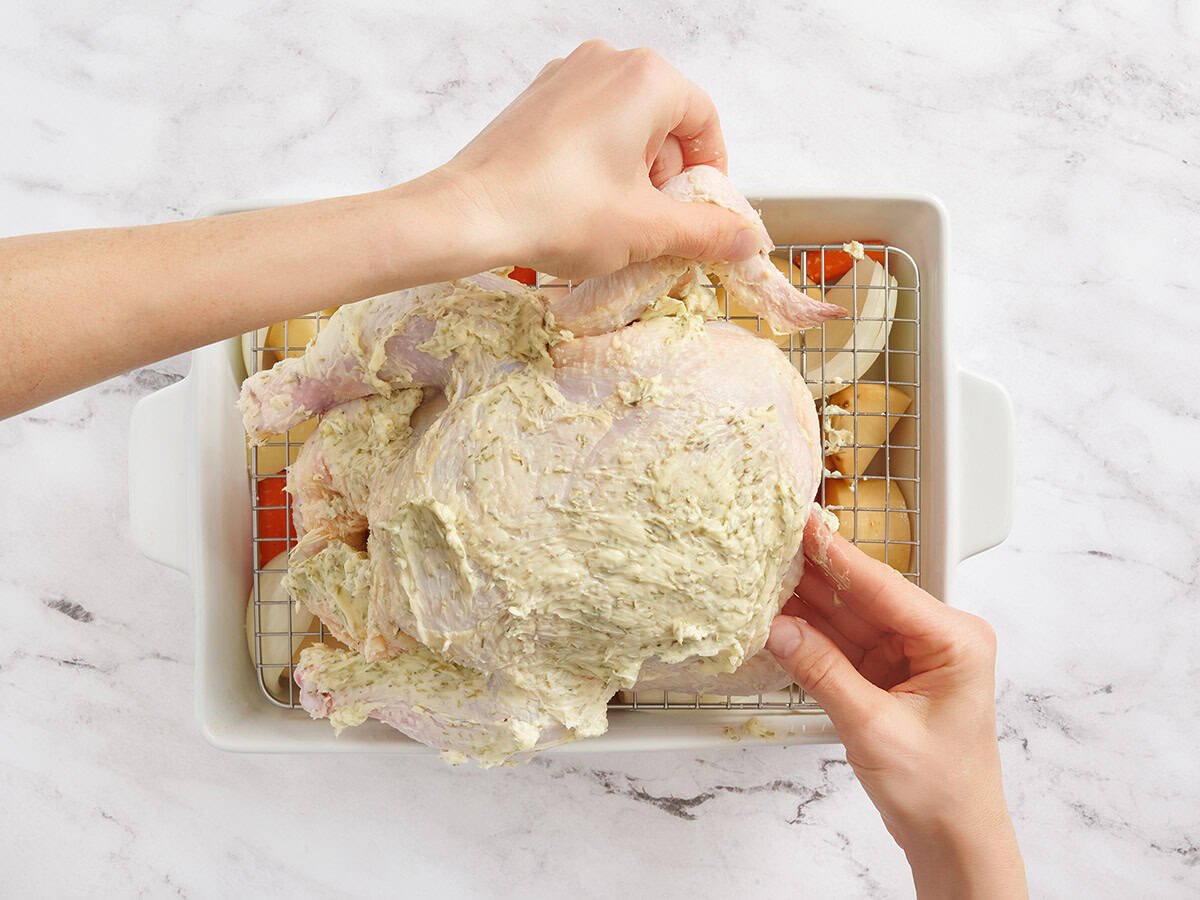
Truss the chicken: For a simple twine-free truss, fold the wings behind the chicken so they don’t burn.
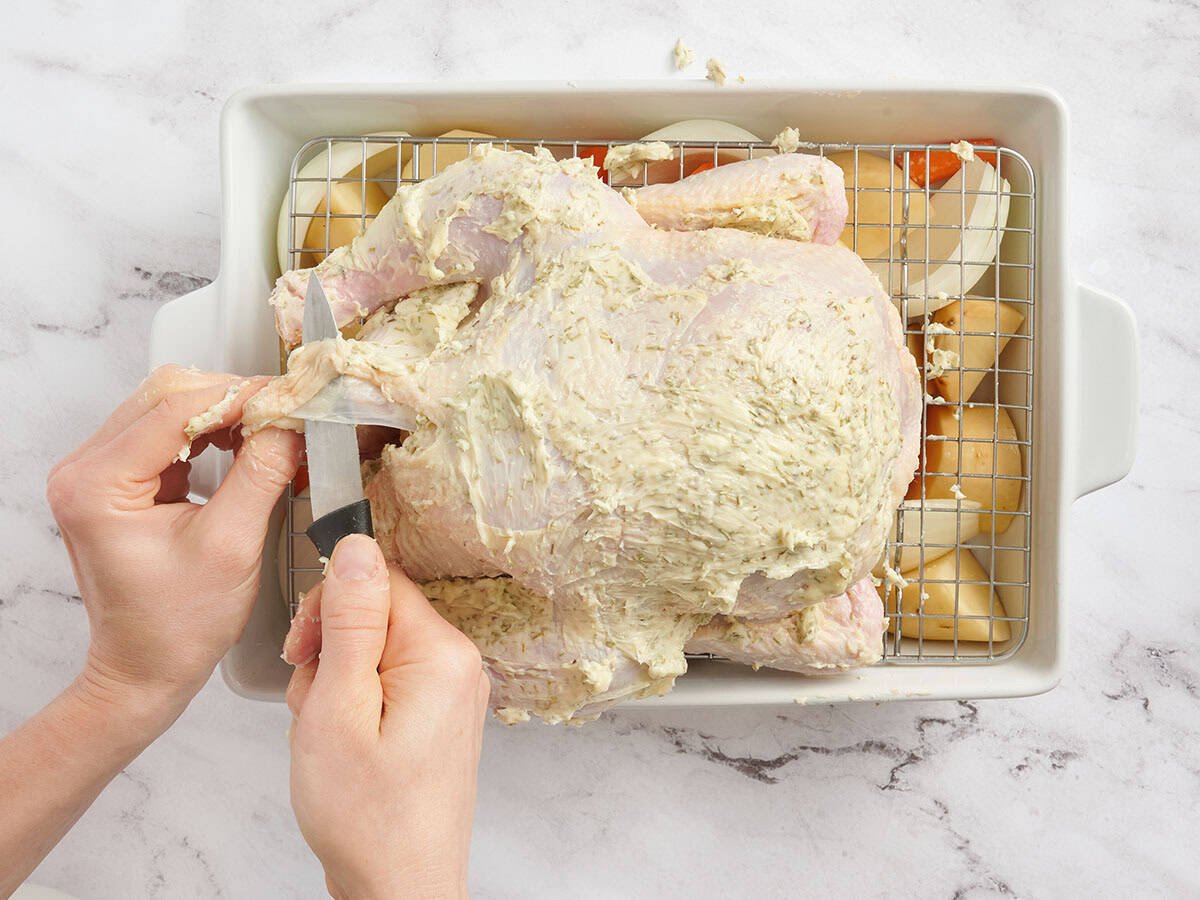
Then use a knife to make a small slit in the skin flap near the cavity opening…
…and slip both drumsticks through the opening.
Don’t worry if the legs pop out as the chicken cooks. It’ll still help to keep your chicken plump and make sure it roasts perfectly.
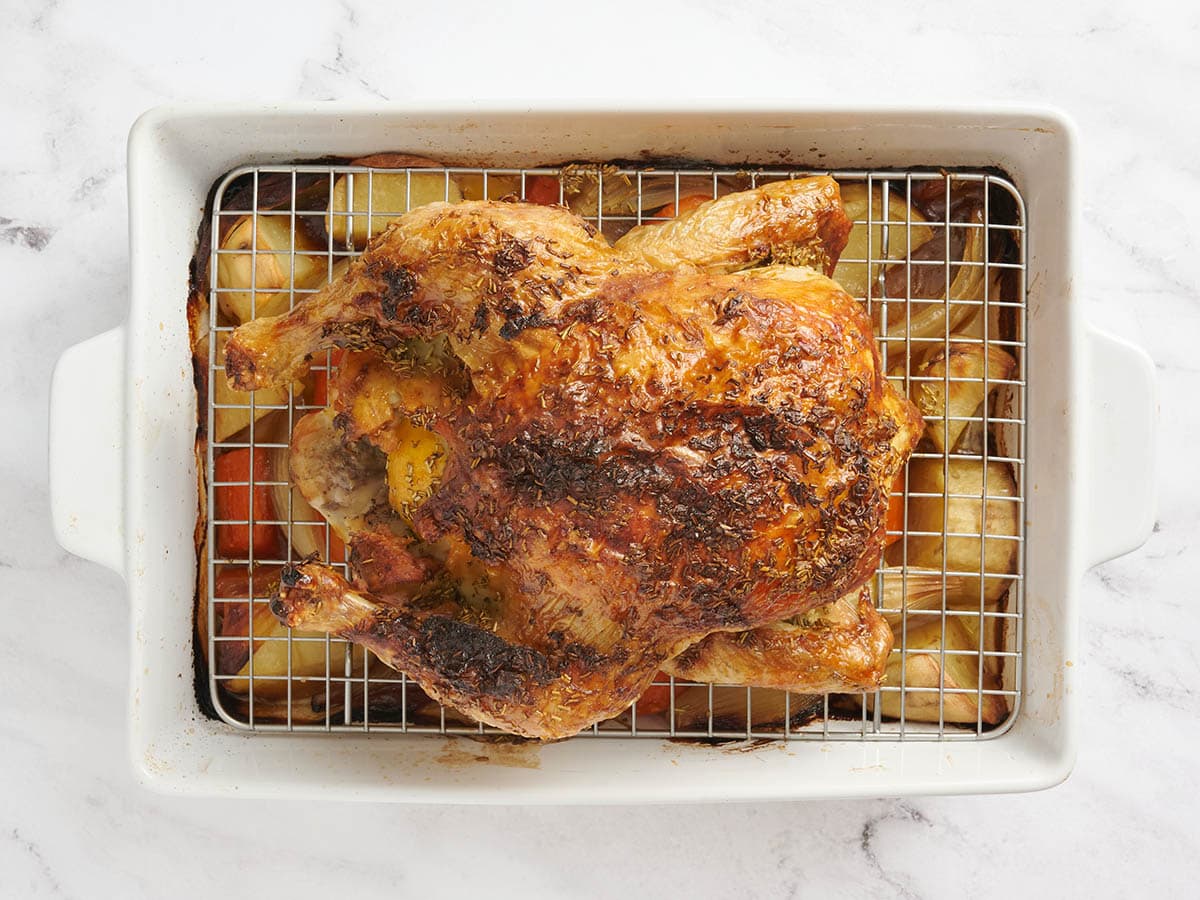
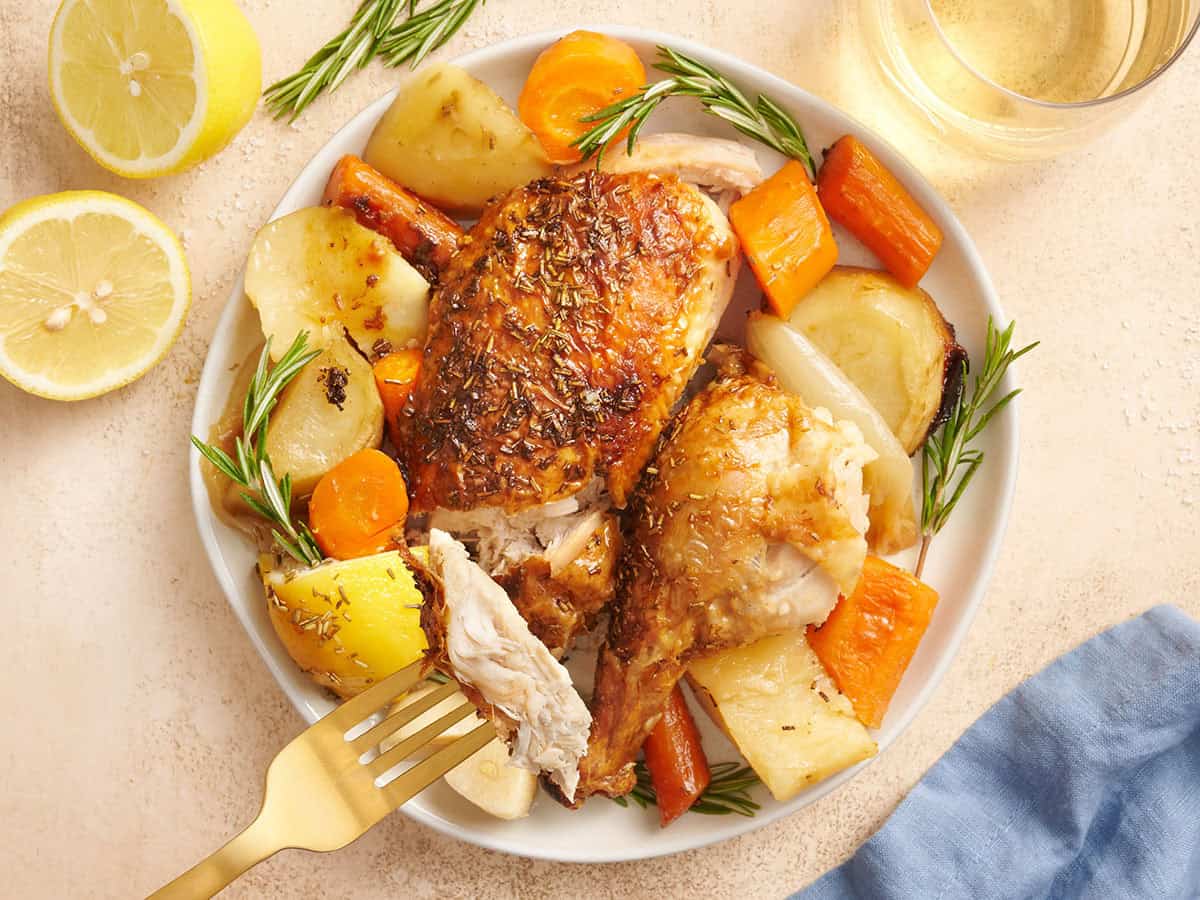
Cook: Roast at 425°F for roughly 20 minutes per pound, or until a thermometer reads about 160°F in the breast and 170°F in the thigh. Move the chicken to a platter and let it rest for at least ten minutes before slicing. Serve with the roasted vegetables and spoon any pan drippings over the top. Enjoy.
Pull any leftover meat off the bones and store it in an airtight container. Reserve the bones for chicken stock. Simply add them to a freezer-safe container and freeze them until you are ready to use them. Use the pulled chicken for other recipes. Beth’s bone-in oven roasted chicken breasts are also incredible if you are still unsure about the whole chicken concept ;).
What to Make with Leftover Roast Chicken
If I’m not serving the whole roasted chicken right away, I love shredding the leftovers and turning them into something new. You can spoon it into a cozy chicken pot pie soup, fold it into a traditional chicken salad, simmer it into a white chicken chili, or toss it into our one-pot creamy Cajun chicken pasta (to name a few options!). Add the cooked chicken to any recipe that needs a quick protein boost, and you’ve got an easy meal ready to go. You can also simmer the bones and create chicken stock!
Storage & Reheating
After the roasted chicken cools, pull the meat from the bones and store it in an airtight container along with any pan drippings to keep it moist; it will stay fresh for 3–4 days in the fridge. You can also refrigerate any leftover veggies. When reheating, warm the chicken gently by adding a splash of broth, covering the dish, and heating in a 325°F oven or in short, covered microwave bursts. For longer storage, freeze the meat (with drippings or a little broth) for up to 3 months, then thaw in the fridge and reheat the same low-and-slow way to keep it tender and juicy.


Our Roasted Chicken recipe was originally published 11/2/22. It was retested, reworked, and republished to be better than ever 12/10/25.
The recipe is good, The website is terrible. when you needed the most it jumps to the very top and you have to re-scroll all the way to the bottom on a phone. Do you have any idea how irritating that is?
I have a growing family, so I was looking to make something affordable that would give plenty of leftovers without too much work. This checks the boxes.
The recipe is pretty forgiving. I overcooked the chicken by a bit and it still came out juicy and delicious. I agree with others that it definitely needed more vegetables. You could easily double the recommended amount to stretch this further.
It is also toddler approved. My 3 year old ate it and he is super picky.
I’ve made this several times now, and every time it is delicious. I find that with all the butter that drips down you can definitely add more than the stated amount of potatoes and carrots. My whole family loves it!
Love this recipe and so does my family! Not only is it super easy to make, but it tastes great and makes the house smell so cozy. Just remember to take your time and mix up the veggies (especially ones that area a bit exposed) while you’re cooking to make sure they’re cooking thoroughly. So worth it, especially if your super market is having a sale on whole chickens!
Another absolutely stellar recipe!
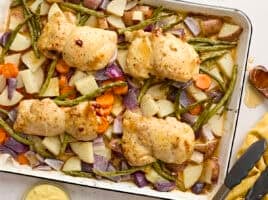
Unfortunately, my supermarket only had two whole chickens left to buy, and they were each around $20 (no thank you!). Luckily, I was able to grab a value pack of three large bone-in breasts, with the skin on, for half as much.
This recipe is so simple to put together that, despite the swap, I was able to use almost the exact same method and cook time. I stuck some lemon slices and garlic cloves under the skin since there was no cavity, and used less butter, but those were really the only changes I needed.
No exaggeration, this is the best chicken I have ever made. The skin was beautifully crispy, the flavor from the brine went all the way down to the bone, and the potatoes and carrots were perfectly cooked. I can’t get over how decadent it tasted for having relatively few steps and ingredients. I served this with a simple salad with vinaigrette, and I think it will be my go-to “cook to impress” recipe.
Made this tonight for myself and my mother – I don’t think I’ve seen her eat so enthusiastically in years. It felt really good to see something I made being devoured by the pickiest eater in TX. 💜
I did follow Chloe’s advice in a previous comment and used less butter – I used about 4 tablespoons, which seemed to work well enough. Like I said, my mother is a fussy eater, and I didn’t want to take any chances by loading everything with butter. It was risky enough for me to stuff the cavity with lemon and garlic. 😂
My chicken (5.15lbs) turned out great, though I probably could have taken it out earlier – final temp was higher than I expected. If it matters, I did roast it in a 10×15 glass baking dish, and only had enough time to do a 1hr dry brine.
The vegetables were the star of the show though; absolutely delicious. I did the same thing as Kelsey, and waited to add them in later: I put them in after 40 minutes.
This was my first time roasting a chicken, so thanks again for making these recipes so forgiving and accessible to new home cooks! 💜
I’m confused as well – if the cooking time is 20min per pound, and the recipe calls for a 5lb chicken, why is the listed cooking time 1hr instead of 1hr 40min?
You’re right, Megan! the math isn’t mathing there! It should still be 20 minutes per pound, but that should equal to 1 hr and 40 minutes. I’ll get that changed!
Thanks so much Paige, I was worried I was missing something obvious that everyone else had managed to figure out. 😅
Going to make this tonight, wish me luck!
I only have a toaster-oven to cook with, so if I was to spatchcock my chicken, where should I put the lemon and garlic? Just laying them underneath the bird maybe?
That would be my best guess, but it’s hard to say what the best method would be for sure without testing!
How many minutes per pound should the chicken roast approximately? I understand to check the temp.
Sorry for the confusion, it will be approximately 20 minutes per pound.
I accidentally got an 8lb chicken for this recipe. Do you have any advice on modifying the cooking time? I’m concerned cooking it at 425 the whole time would make the outside too dry/burnt by the time the inside got up to the right temperature.
An 8 lb chicken is quite a score! You have two options:
1. You can spatchcock the chicken. You would cut out it’s spine, place it flat and breast up on a sheet pan, and press down on the breast to flatten the bird. You can cook it at 400°F.
2. Lower the heat to 350°F and roast it 20 minutes per pound plus an additional 10 to 15 minutes, or until the temperature of the bird reaches 160°F.
Have fun and happy cooking!
I’ve made this twice now, both times doing an overnight dry brine. Just the juiciest result ever! The first time I used salted butter and I thought it came out too salty for my taste, used unsalted butter the second time around and got rave reviews from all. A very easy, impressive dinner!
Have made this recipe multiple times with a 4 or 5 pound chicken and I love it so much. The meat comes out moist, the skin crispy. I make extra potatoes and carrots underneath and my partner described them as the best vegetables he has had (he doesn’t really like vegetables).
It was a decent recipe for the first time, I’m only giving 3 stars because the recipe calls for way too much butter for a 5 lb chicken. Against my better instincts I ended up rubbing on the full amount of butter both on top of the skin and underneath and it was swimming in butter. I typically like to follow the original recipe as is at first and then tweak to my liking afterward. But this I will say you can safely cut out at least 2 tablespoons of the butter that this recipe calls for and you will be more than fine for a 5lb chicken. Not only was the chicken super buttery but so were the vegetables. Everything pretty much tasted like butter. I think if you cut back on the butter you can salvage much of the recipe. Next time I would also add thyme and additional seasonings other than just rosemary, salt, and butter to elevate this a bit more. Also, I didn’t use salted butter because the brine was already a lot of salt and I didn’t want to add more salt to a bird already brined in salt. Overall the recipe is an ok base if it’s your first time roasting a chicken, my main issues were too much butter and slightly bland with just the rosemary on top.
I haven’t cooked a whole chicken in years. I cooked 2 tonight, in a large roasting pan, using this recipe. Planning to shred the extra chicken to use in nachos & quesadillas later this week. I made gravy with chicken stock & drippings, and will use both carcasses to make more stock. This whole thing is just awesome. And dirt cheap, considering I got my chickens at half price!
Absolutely loving this blog lately. So glad I found you! Thanks for all the fine work! 😊
I’ve baked chicken many times but this was the best ever.
Holy Moly- this chicken is delicious! My husband said several times while eating that it was the best chicken he’s ever had 😊
I used a Bluetooth meat thermometer and it took 1h40 minutes, or so. I waited and added the veggies for the last 40ish minutes so they didn’t char. Next time I’ll double the veggies since my roasting pan had lots more room and they were delicious too.
I didn’t remove any salt, although the second drying did remove some. Some skin bites seemed quite salty, but it all balanced out if you had meat +skin and made it so yummy.
Great recipe!!
Thank you! XOXO -Monti