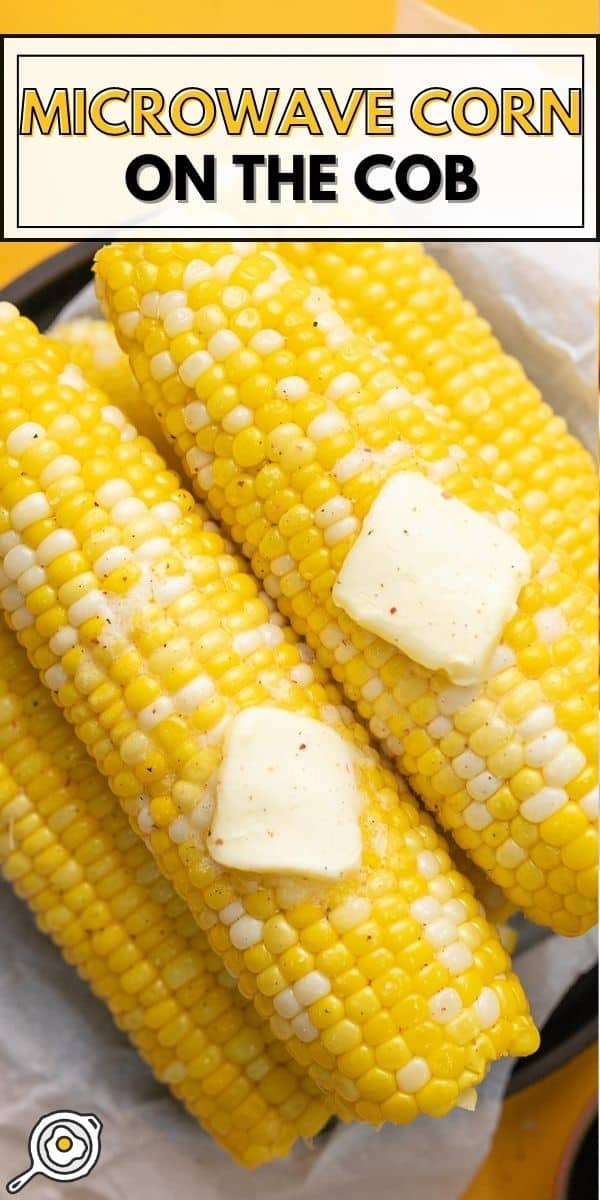
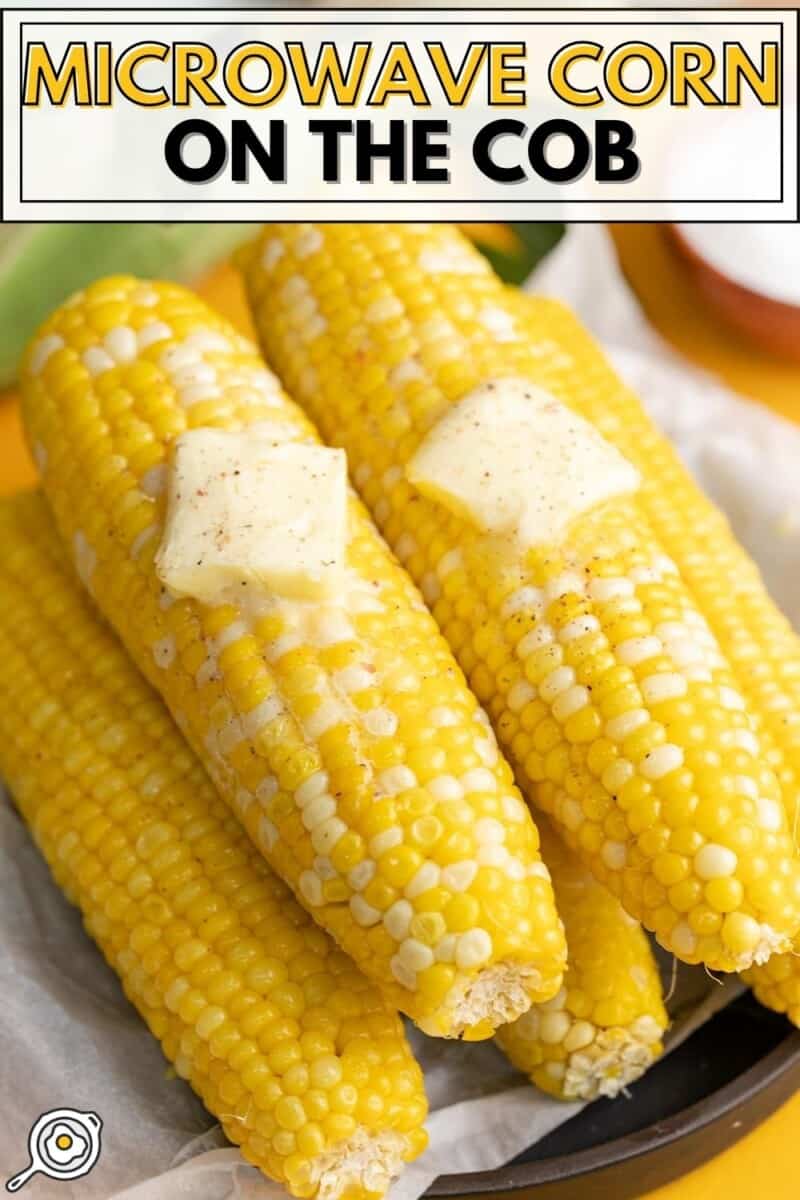
Save this foolproof recipe for buttery, perfectly cooked Microwave Corn On The Cob because the last thing you want to do when it’s 156 bazillion degrees outside is turn on a grill, stove, or oven. #amiright?!?!? Cooking corn on the cob in a microwave gives you kernels that pop with sweet juiciness, and there’s no large pot of water to boil, no grill to heat and then scour clean, and no air-conditioning-killing oven to preheat. Let’s do this!
All recipes are rigorously tested in our Nashville Test Kitchen to ensure they are easy, affordable, and delicious.
Why Microwave Corn On The Cob?
With its air-tight and even-heat cooking, a microwave creates the perfect environment for corn on the cob to steam itself. It is hands-free easy-breezy cooking at its finest, and the results are spectacularly yummy. You’re not boiling all the flavor out of the cob or masking it with loads of char because you stepped away from the grill for a minute. (I love char, don’t get me wrong. But not when it’s all you can taste.)
This is about as simple as a recipe gets. Here’s what you’ll need for perfectly cooked, buttery, Microwave Corn On The Cob.
- Corn Cobs – still in their husk are the best but shucked corn and frozen corn will work in a pinch. (You will need to adjust the timing by about a minute per cob for frozen corn.)
- Salted Butter – because corn without butter is a crime. Don’t @ me.
How Long To Microwave Corn On The Cob
A fresh, full-sized ear of corn on the cob (about 8 inches long) should be microwaved on high for about 4 minutes, depending on your microwave’s wattage. If you stack the cobs, it still means 4 minutes per ear. So 4 corn cobs should cook for 16 minutes on high. If the cobs are frozen, go to at least 5 minutes per ear. If they are half-cobs do 3 minutes per ear.
High is 1000 watts in an average microwave. Yours might be more or less strong, so you will need to adjust the timing. If you don’t know the wattage of your microwave, check the manufacturer’s website for your model number, which can usually be found on the inside of the door.
What To Serve with Corn On The Cobb
Summer salads like Panzanella or Summer Vegetable Pasta Salad pair perfectly with Microwave Corn On The Cob. You can also serve it as a side for BBQ Ribs or Sloppy Joes, along with other classics like Cumin Lime Coleslaw, Baked Beans, or Southern Style Potato Salad.
How To Pick Good Corn
A great ear of corn in its husk should have corn silk tassels (which stick out of the top of the ear) that are golden brown. When you touch the tassels they should feel dampish and fresh. Dry or black tassels mean your corn is old. If you peel back the husk a little, the kernels should be plump. If they are missing or dry, the corn cob is old. Uncooked corn on the cob should be stored in its husk open-air in the fridge to prevent it from drying out and losing its flavor. You can freeze cooked cobs for up to a year. Dry them well and wrap each one in wax paper, then aluminum, and then store them in an airtight container.
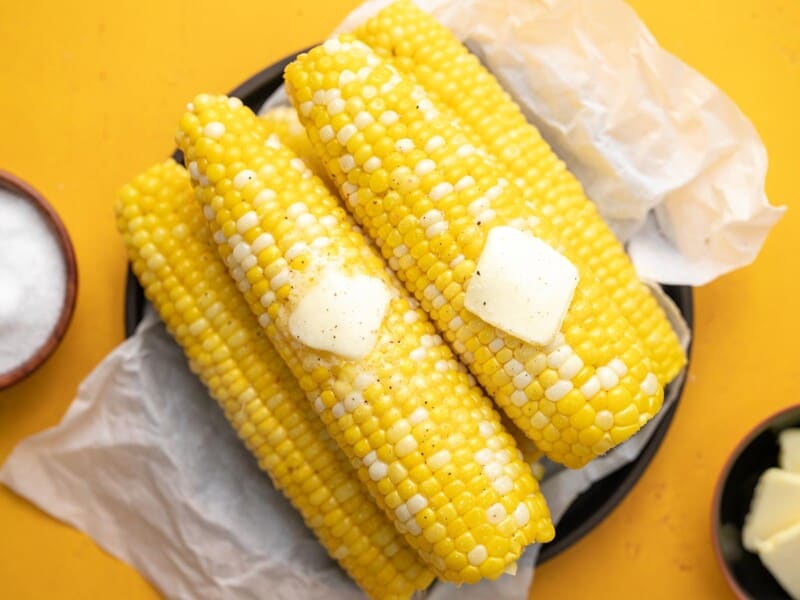
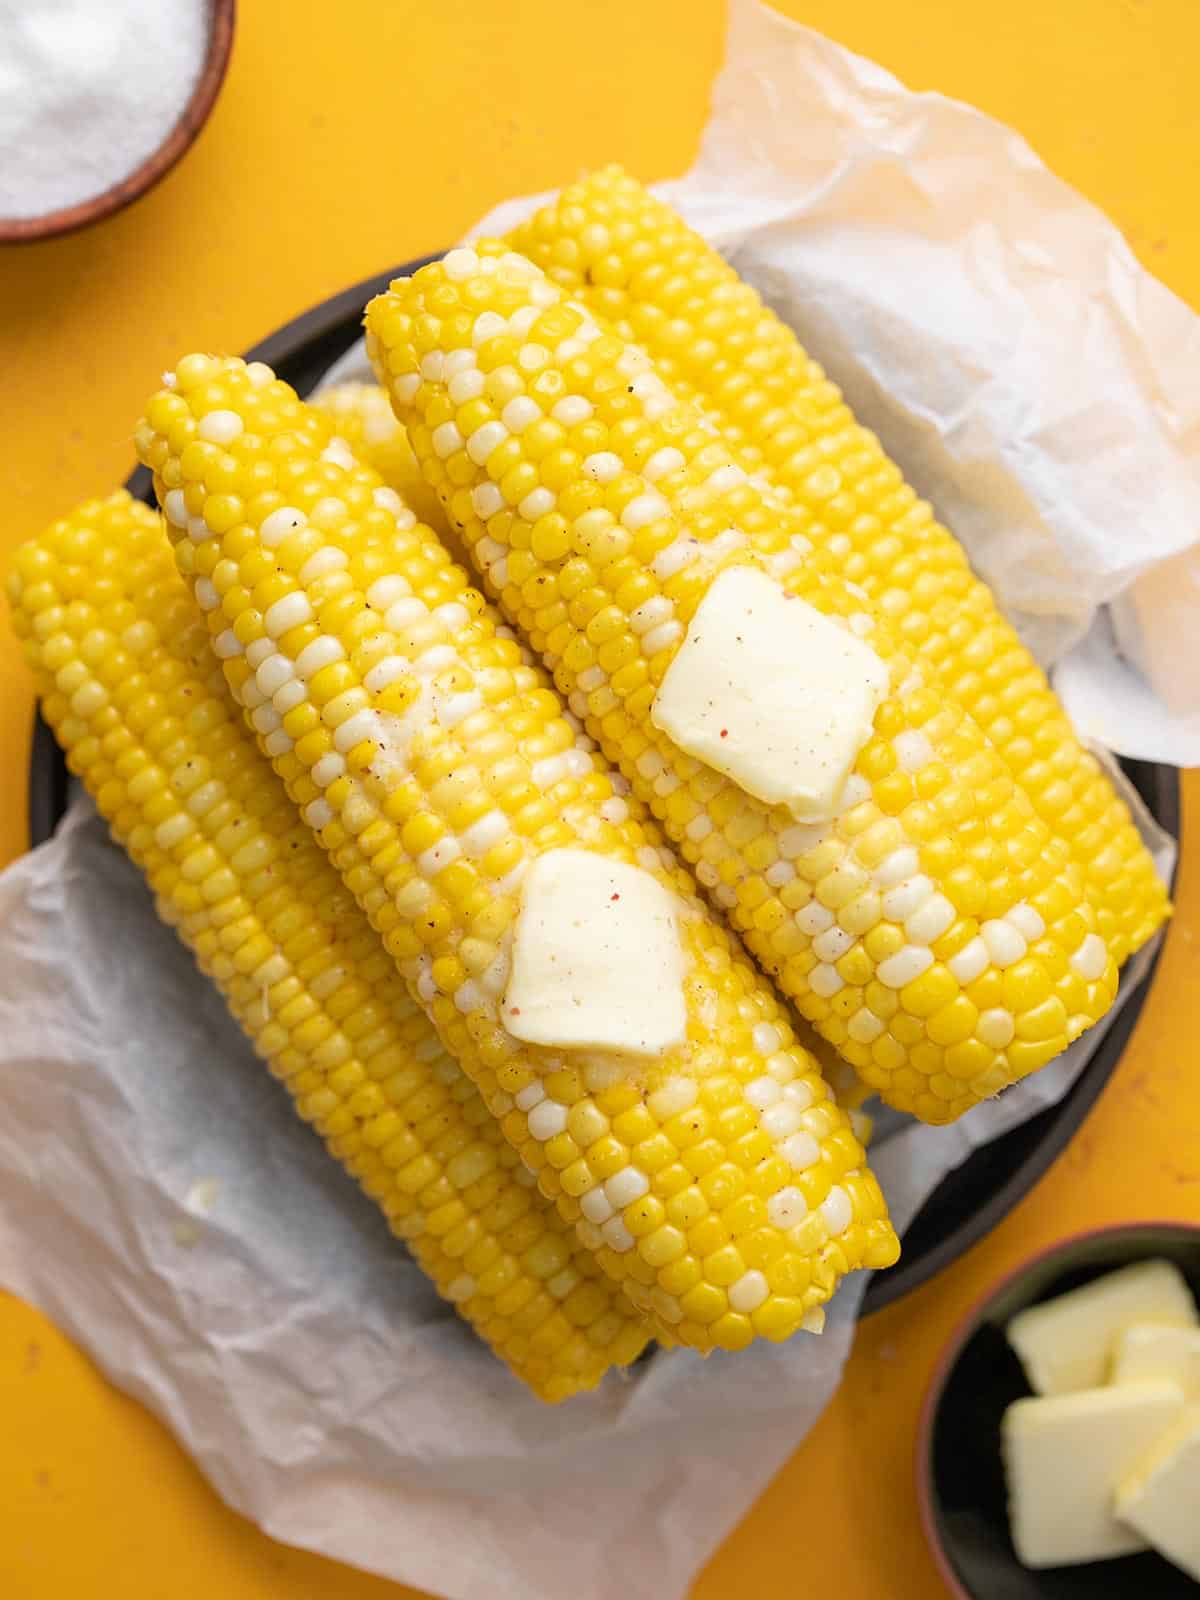
Microwave Corn On The Cob
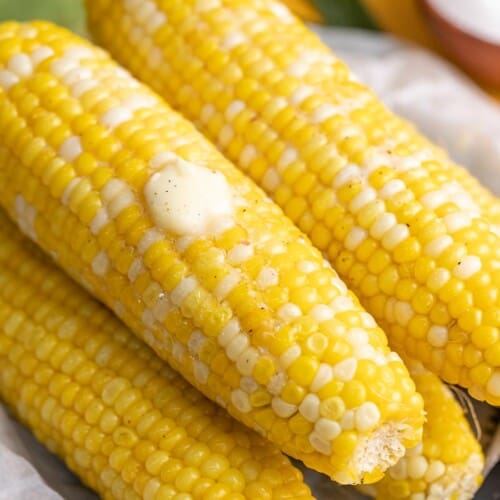
Ingredients
- 4 large corn cobs in their husk* ($2.40)
- 4 Tbsp salted butter ($0.75)
Instructions
- Cut the cobs to fit your microwave using its inner revolving plate as your guide. Do not peel off the husks. If your corn cobs don’t have a husk and are already trimmed, just go to step 2.
- Place each cob under running water and soak through. Wrap each in a wet paper towel. Place the cobs in the microwave and cook on high for 16 minutes or 4 minutes per cob. Cooking time can vary depending on the wattage of your microwave and the size of the cobs.
- The cobs are done when the kernels' color has deepened and become glossy. Allow the cobs to cool until you can hold them without burning yourself. Remove the paper towel and cut off the stem end of the cobs.
- Peel the husks off from the top down to the stem end. Clean off any stray strands of cornsilk. Top with 1 tablespoon of salted butter per cob and serve!
See how we calculate recipe costs here.
Notes
Nutrition
How to Make Microwave Corn On The Cob – Step by Step Photos
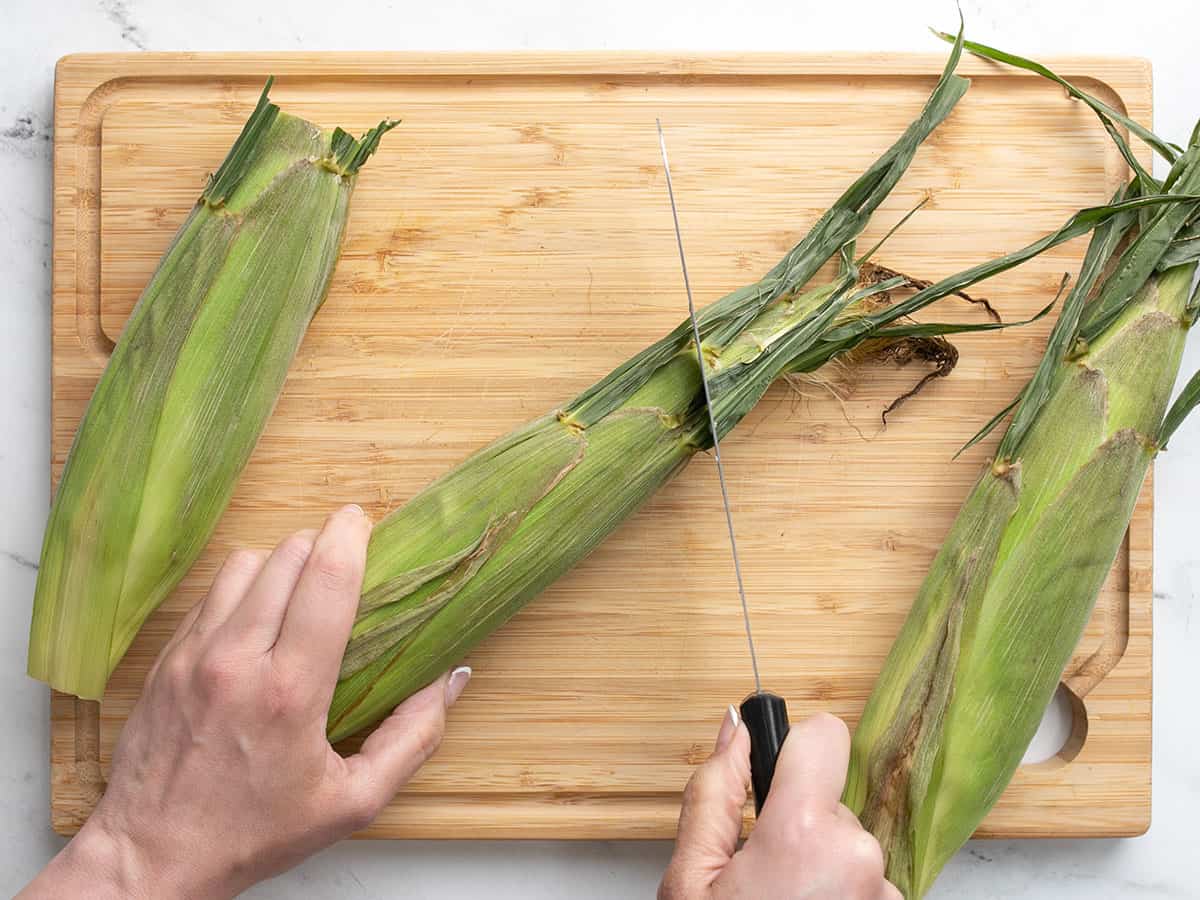
First, cut the 4 cobs to fit your microwave. If unsure about what size will fit in your microwave, use its inner revolving plate as your guide. Do not peel off the husks. If your corn cobs don’t have a husk, they’re probably already cut to fit, so just go to step 2.
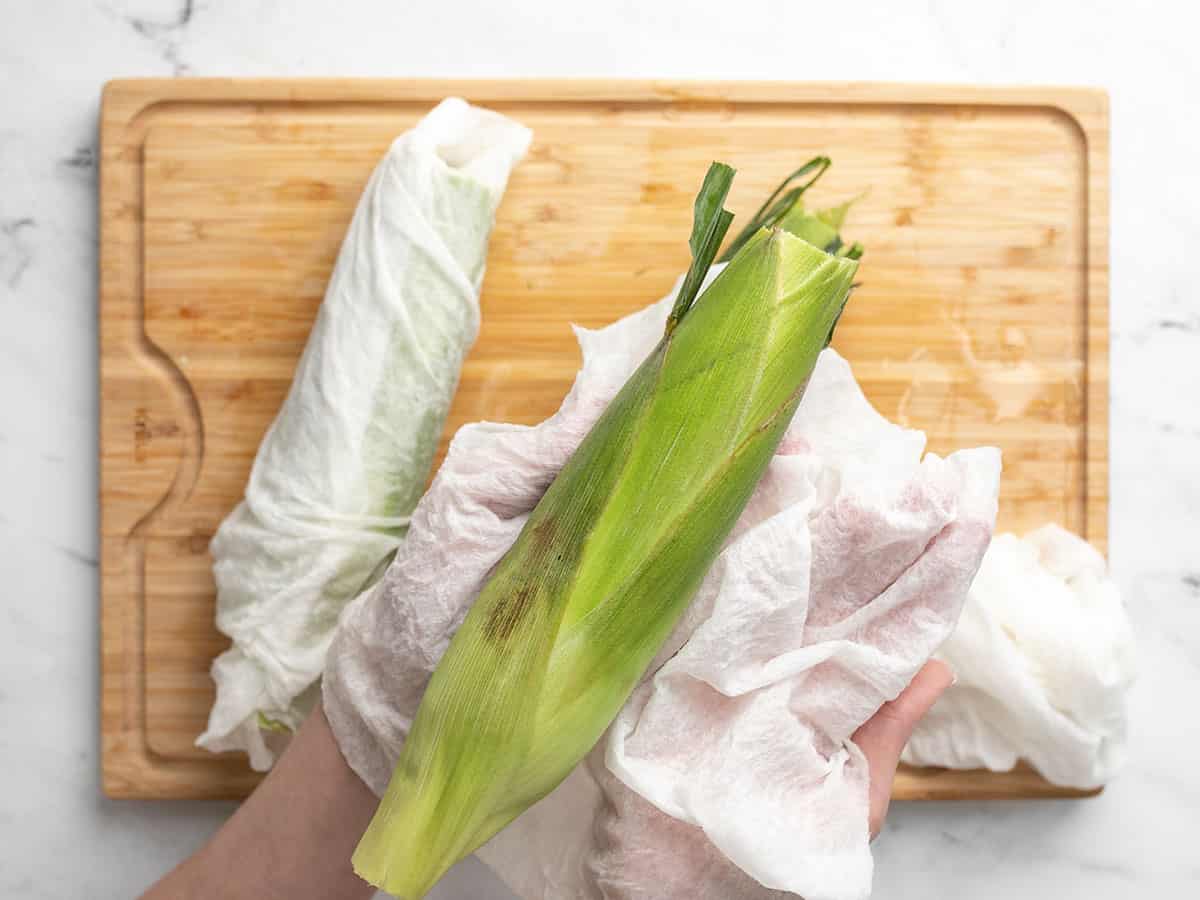
Place the cobs under running water for a few seconds and wrap each one in a wet paper towel. Zap the cobs on high power for about 4 minutes per cob. This doesn’t mean you have to nuke them one by one. You can stack 4 cobs on a microwave-safe plate and cook them all at once, adjusting the time to 4 minutes per fresh cob, or 5 minutes per frozen cob. Cooking time can vary depending on the strength of your microwave.
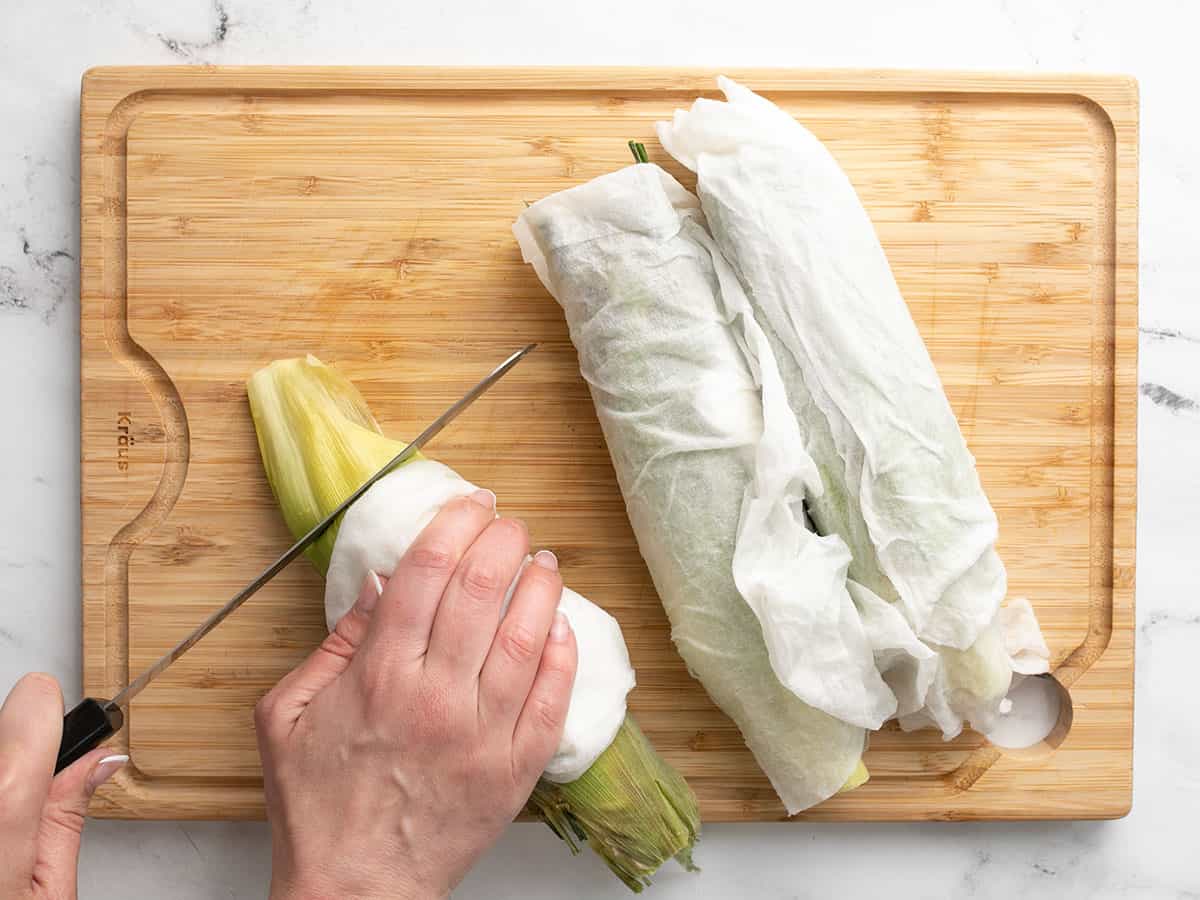
The cobs are done when the kernels’ color has deepened and become glossy. Allow the cobs to cool until you can hold them without burning yourself. Remove the paper towel and cut off the stem end of the cobs.
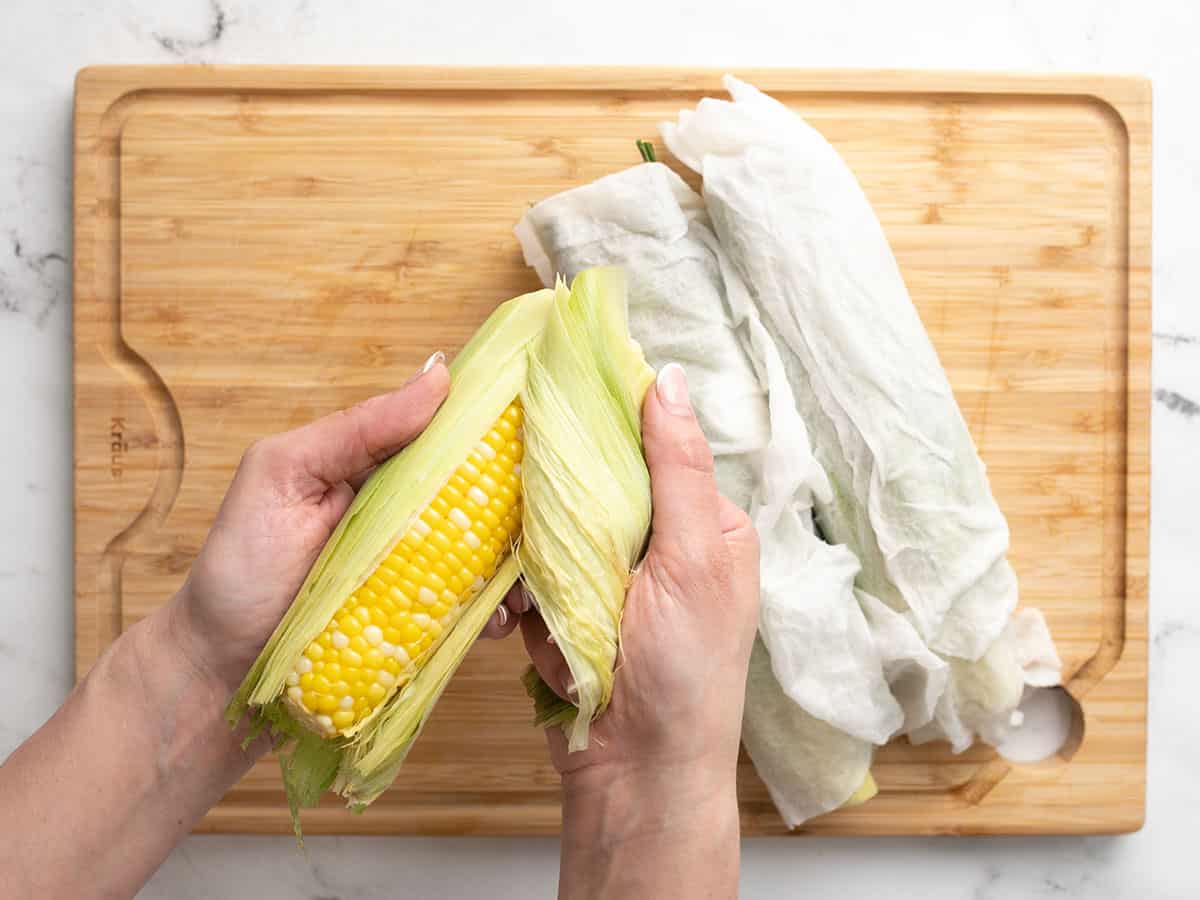
Peel the husk off. It will come off super easy, taking almost all of the silk along with it.
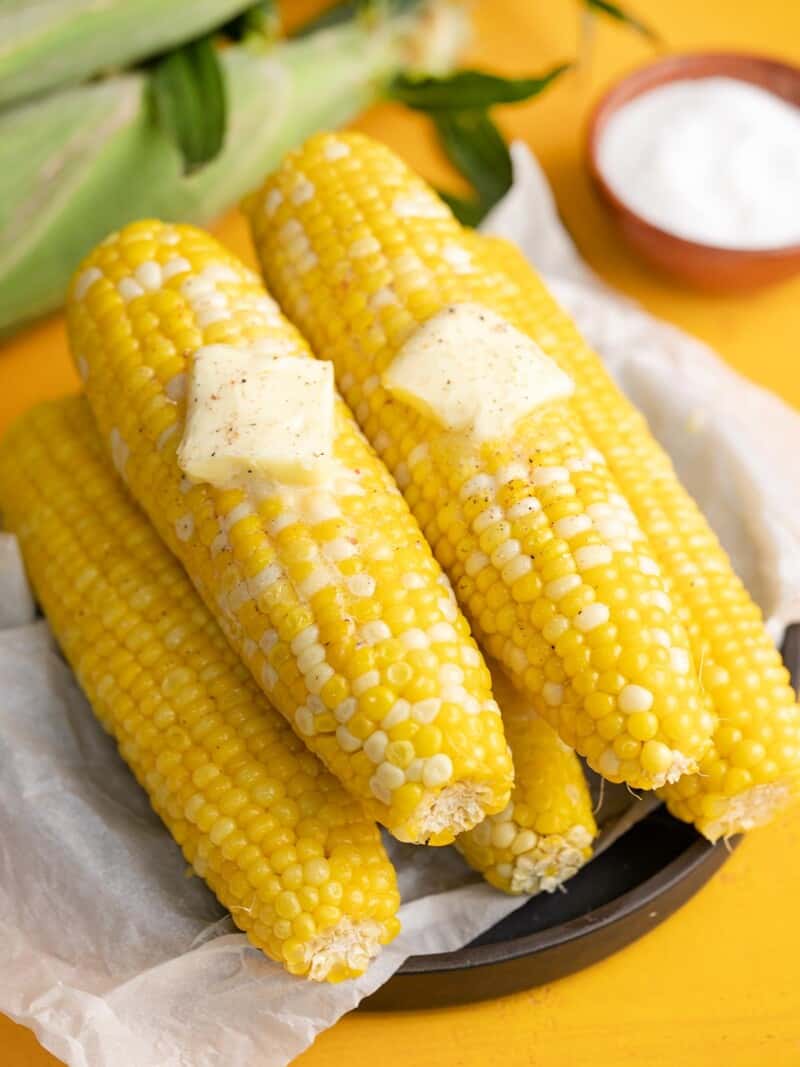
That’s it! Top each cob with 1 tablespoon of salted butter and you’re done. Serve with grilled or roasted proteins, summer sides, or salads, or eat them as is. I ate 8 cobs after testing this recipe and then passed out in a corn cob-induced afternoon naptime bliss. I can’t recommend it enough!






I would to no what it’s
Love it. Sounds great. I’m doing this tonight! What’s the best wine?
My method is slightly different. First I remove most or all of the dark green outer husk and cut off most of the top of the elongated light yellow inner husk that is not covering any of the cob.
Then I run water over the cob, put it on a plate in the microwave, cook it for two minutes, revolve the cob 180 degrees and cook it for another one-and-a-half to two minutes depending on the size of the ear.
After removing the ear from the microwave, I run it under cold water to cool down the inner husk before removing it.
When I remove it, I leave about an inch-and-a-half on the base to use as a handle.
I never wrap the ear in wet paper towel or anything else in the microwave.
I usually just cook one or two ears in the micro for myself and I find that I never have to double total cooking time when cooking two ears, just have to increase it from 4 minutes for one ear to 5.5 minutes or so for two years, turning both ears 180 degrees midway thru.
Steaming corn in its own juices makes it so good, that I almost never butter it afterwards, but sometimes eat it with a nice chunk of sharp cheddar cheese, taking bites of each as I go.
Why remove the dark green outer husk? Because it’s more likely to contain residual toxic pesticides from the farm than the inner husk.
I try to remove as much of it at the market as I can before buying the corn, especially if they have a husking barrel right there, a great convenience!
Nobody asked
It’s pointless to say that the corn is done when the colour deepens and the kernels are glossy when the corn is wrapped up in both its husk and a paper towel. There is no way to see what the kernels look like, so these signs of done-ness are of no use.
Not for you hum, if your finished cooking and you revealed the kernel, not done try another 30 sec, if done then happy eating.
Wonderful!
It’s actually even easier. Just chuck the ears in just as they are. The husks come off easily & the silks fall off when you’re done.
Ya know, growing up our corn was always boiled. I always felt this drained all the taste out. My current method mimics yours although I use waxed paper rolled around the husked ear & micro for about 1.5 minutes on Power 8. I’ll have to try the paper towel method after seeing this. Regardless, it works & will stay hot at tableside if you leave the paper on it till eating time.
Hi Bill, Careful with microwaving wax paper. The wax will melt at high temps and leave residue on your corn. If you haven’t had a problem with it, keep doing you! But I have to put it our there for folks, just in case. xoxoxoxo
We do a slight variation on this: we cut the end off the base of the ear far enough that the end of the cob is exposed, and leave the husks and enough silk on to grasp after cooking. After removing from the oven, we grasp the ear by the silk end and squeeze the cob out of the husk, rather than peeling it. If it doesn’t come out easily, cut a little more off of the stem end of the cob. The “wrapper” is left in one piece. We haven’t tried soaking and wrapping but our corn is delicious.
Great tip Monti! I tried your microwave recipe and it turned out great (4 ears @ 16 minutes). However, I removed the silk before microwaving. After cutting off the top end of each ear, only, heavy layers of the husks were removed. I left a thin layer of husks on each ear. Remaining layers were peeled to the bottom, leaving them intact. The silk was removed and the husks were returned to the top of each ear. Then, I wrapped each with the wet paper towels and proceeded with microwaving. When done, all you have to do is remove a few husks, slather with butter and enjoy.
For an easy variant, it you cut off the stem end of the cob just at the point the cob is at its maximum diameter, you can proceed to cook the corn as above. Then, just grab the tassel end of the cooked corn and milk out the tassel-free cooked cob ready for seasoning and eating.
That’s the way I do it too.
Totally agree it is the easiest.
Grab the tassels end and twist and shake it.
Most of the hairy stuff come off as well..
Been microwaving corn cobs for years.