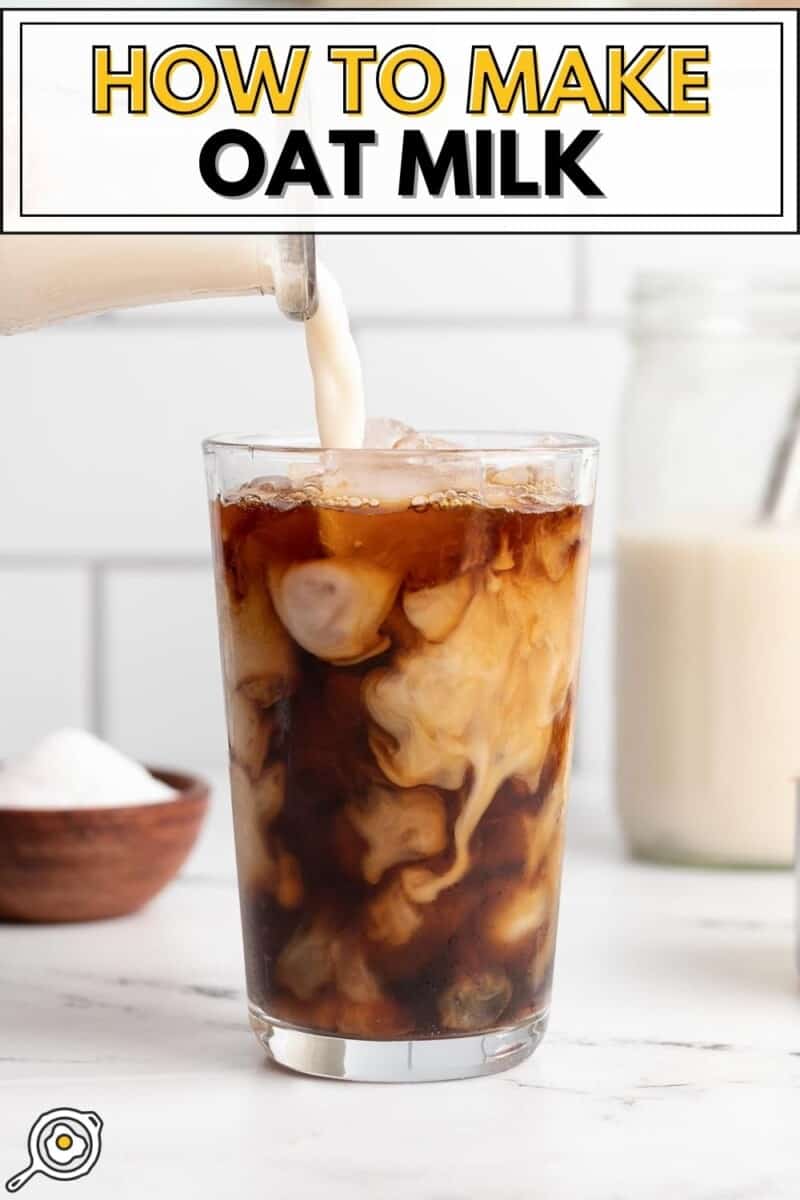
This one goes out to all of my lactose-intolerant friends out there! If you’re not already making your own homemade oat milk, promise me you’ll try this recipe. Because they’re charging waaaaay too much for it at the store, considering how simple it is to make. It literally takes about five minutes, and it tastes SO GOOD. Like, I usually feel kind of “meh” about oat milk, but I wanted to guzzle the entire batch because it was so cool, creamy, and refreshing. So promise me you’ll bookmark this page and give it a try this weekend, K?

All recipes are rigorously tested in our Nashville Test Kitchen to ensure they are easy, affordable, and delicious.
“I was so delighted that my first batch was a huge success! Can’t believe I’ve been drinking store bought oat milk with all those additives. This recipe is SO much healthier and SO yummy.”
Colleen
Easy Oat Milk Recipe
When I tell you how simple this oat milk is, you might have a little heart attack when you realize how much you’ve been paying for it at the store. It’s literally just oats, water, salt, vanilla (optional), and a sweetener (optional). That’s it. Five simple ingredients!
Homemade Oat Milk
Cost $1.42 recipe / $0.36 serving
Ingredients
- 4 cups cold water ($0.00)
- 1/2 tsp vanilla extract* ($0.66)
- 2 Tbsp brown sugar** ($0.06)
- 1 cup old-fashioned rolled oats (NOT quick oats)*** ($0.69)
- 1/4 tsp salt ($0.01)
Instructions
- Stir the vanilla and brown sugar into the cold water until dissolved.
- Add the oats, salt, and cold water mixture to a blender. Blend on high for 30 seconds.
- Pour the blended oat mixture through a strainer like a nut bag, cheese cloth, metal coffee filter, or a double layer of metal sieves to filter out the oat pieces.
- Chill it completely (preferably overnight), then shake very well before serving. Keep it refrigerated for up to four days.
See how we calculate recipe costs here.
Notes
How to Make Oat Milk Step-by-Step Photos
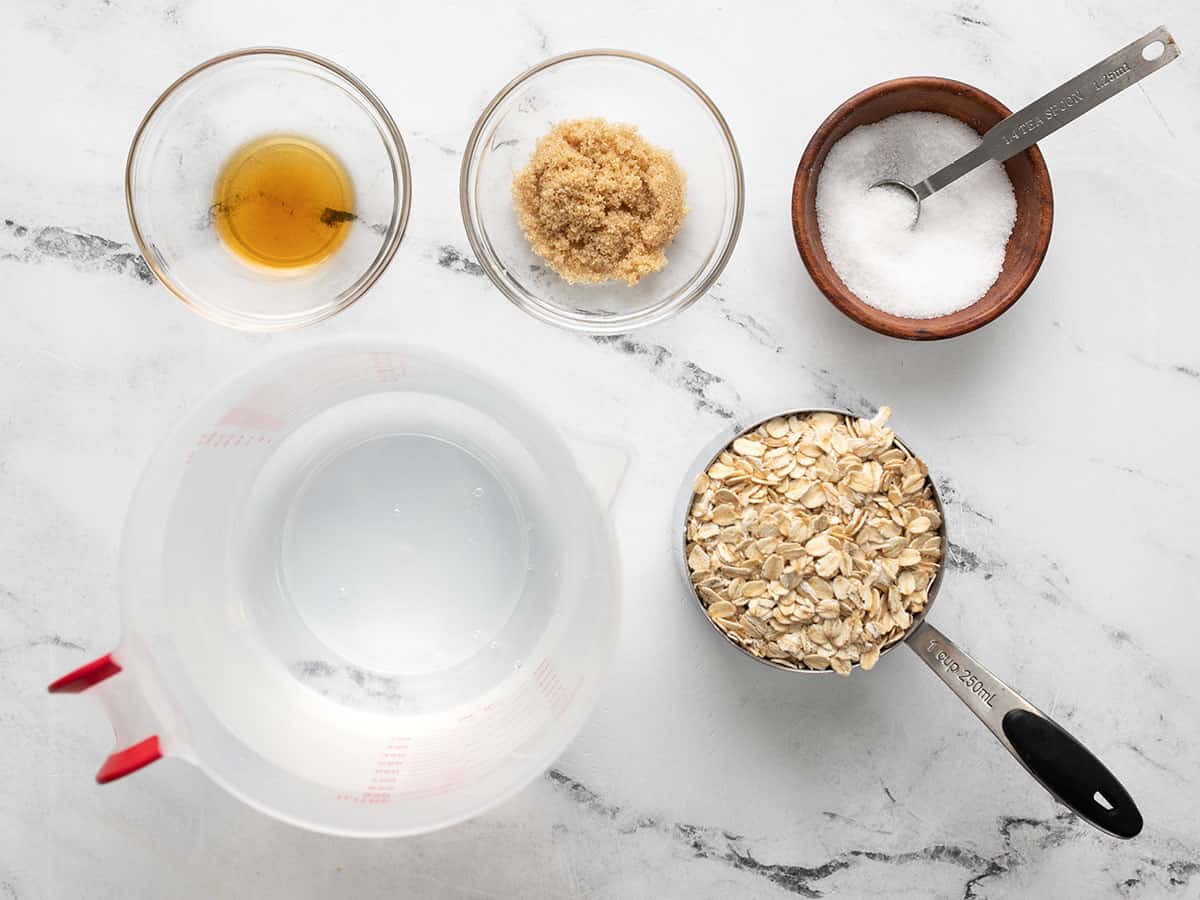
All you need to make this recipe is 4 cups cold water, 1 cup rolled oats (NOT quick oats), 1/4 tsp salt, 1/2 tsp vanilla extract, and sweetener (I used 2 Tbsp brown sugar).
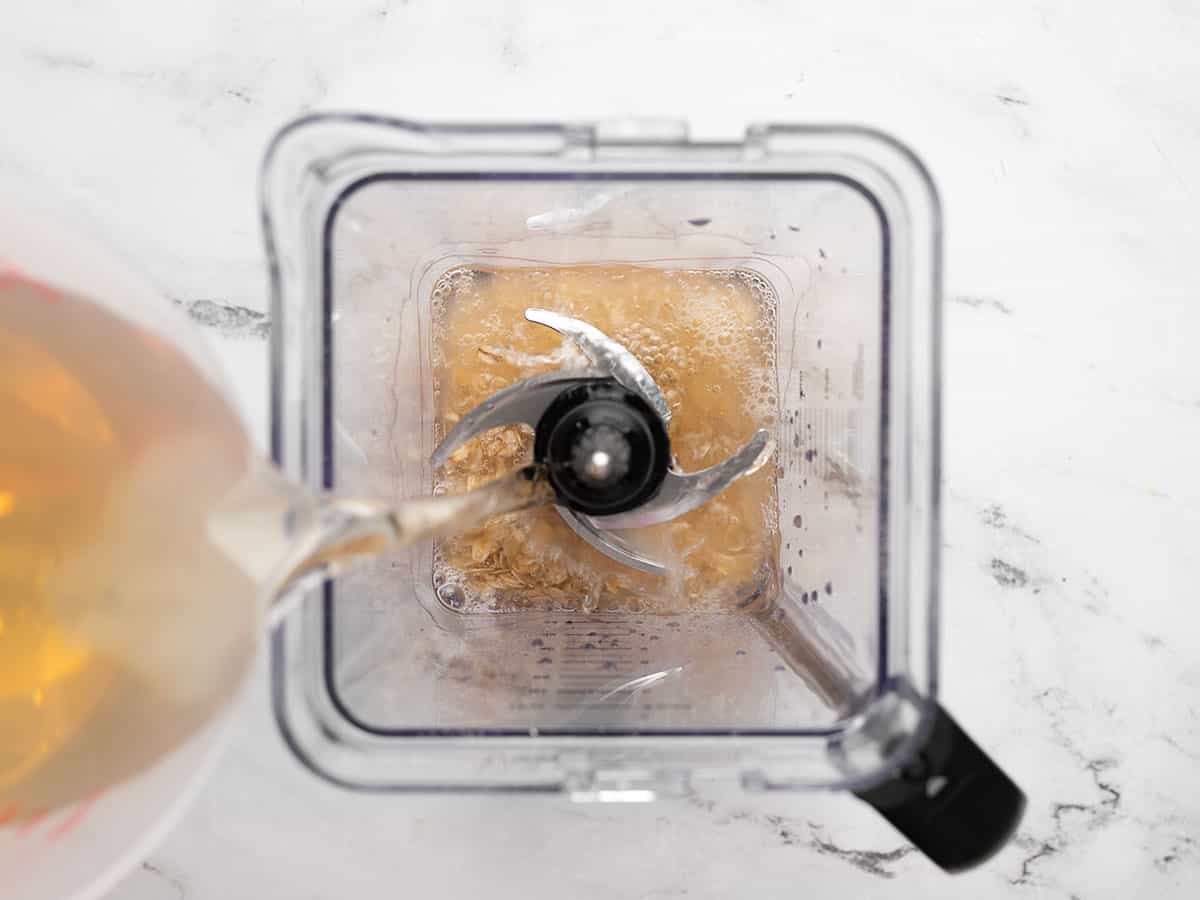
Combine the ingredients: Add 2 Tbsp brown sugar and ½ tsp vanilla to 4 cups cold water and stir until the sugar is dissolved. Add the rolled oats, salt, and cold water mixture to a blender. Make sure to use cold water so the starches in the oats don’t get too hydrated. That will lead to thick and slimy oat milk.
I used our big blender for a four-cup batch, but I also tested a half-cup batch in our mini blender, and it worked fine.
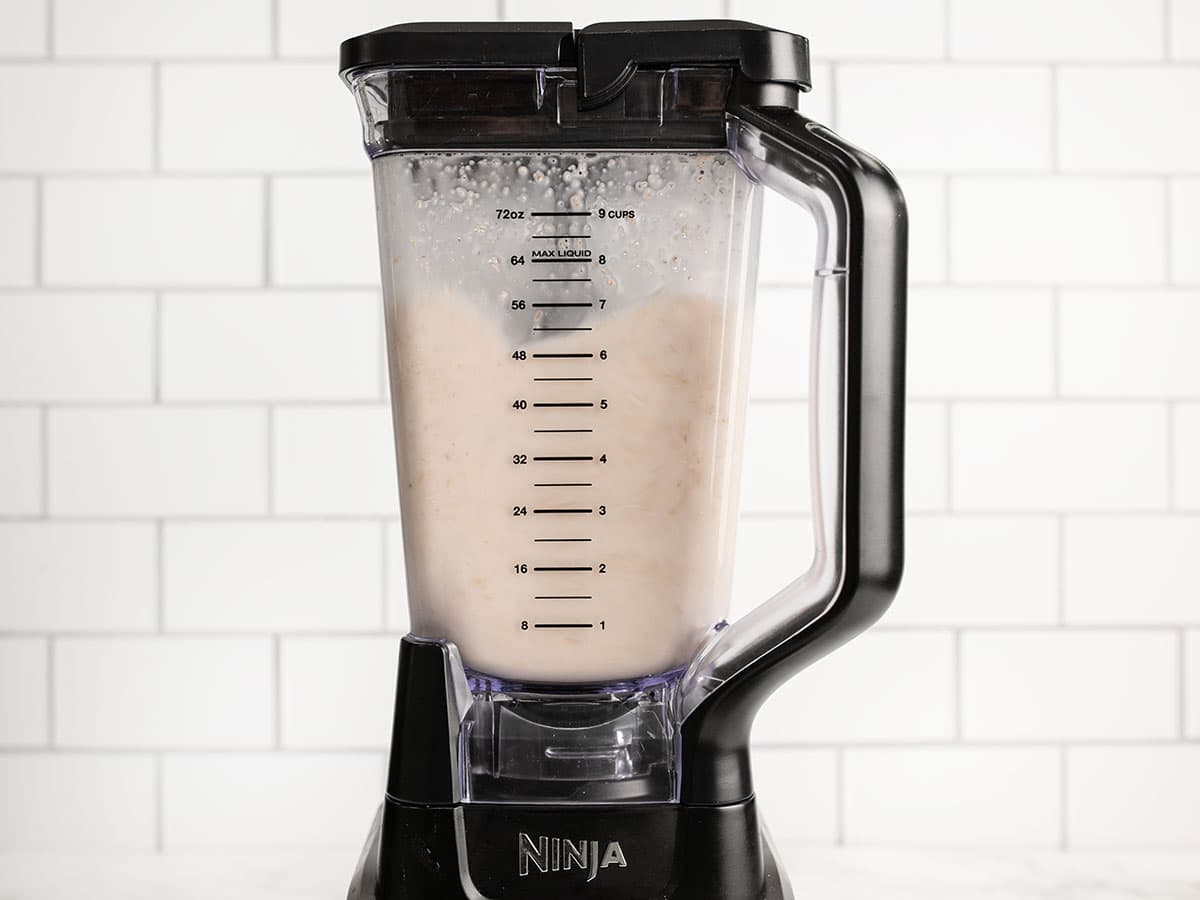
Blend everything together: Blend the oats and water for 30 seconds, no more! It’s a good idea to time this on your watch or phone so you don’t accidentally count too fast or too slow. Over-blending the mixture can make the milk too thick or slimy.
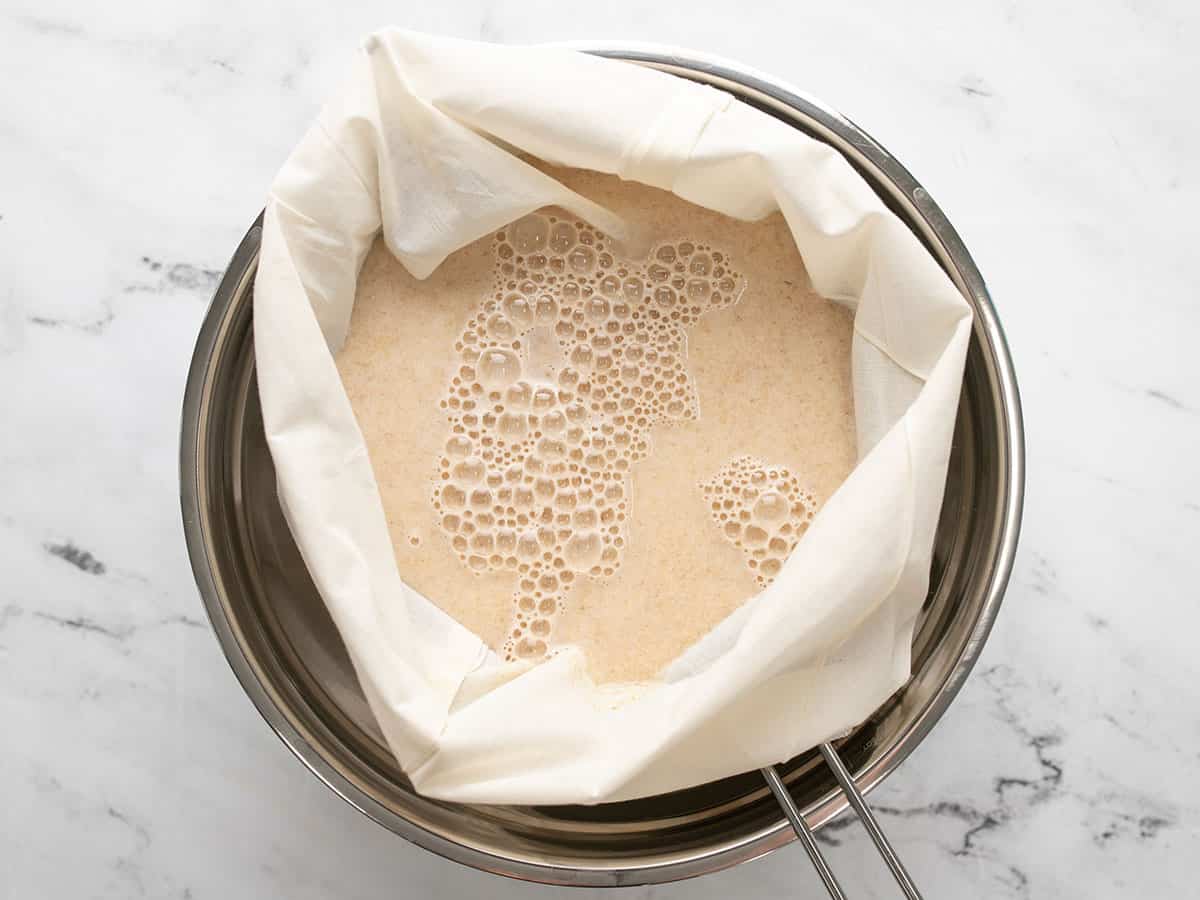
Strain: Immediately pour the mixture through a strainer into a bowl. I’m showing mine being poured into a nut bag supported by a metal strainer over the bowl, but you can also use cheesecloth or metal coffee filters (see blog text below this section for details on each method).

Chill: Make sure to chill it completely (like, overnight) for the best flavor. Because this is homemade and doesn’t have added emulsifiers or stabilizers, it will separate like in the photo above. Just give it a good shake shake shake before enjoying it each time, and it will be as right as rain!
This homemade oat milk will keep in the refrigerator for about four days, so make a half batch if needed to make sure none goes to waste!
What Kind of Strainer to Use
Straining is one of the most important steps in the oat milk-making process because it can change the texture quite a bit. I tested a few different methods for straining so I could give you some options. Here’s what I found:
- Metal Coffee Filter: Metal coffee filters were my favorite strainer for this recipe! It created just the right texture for the milk and was easy to clean and reuse. So, if you happen to have one of these on hand or want to make an investment, this is the best option!
- Nut Bags or Cheesecloth: These are great options if you plan to make a lot because they’re inexpensive and most can be laundered and re-used (check the package for the cheesecloth because depending, on the quality, some are not reusable). The key to using nut bags and cheesecloth is to NOT squeeze the liquid through the cloth. Squeezing allows too many starches through, making your milk thick and slimy.
- Metal Strainers or Sieves: Metal strainers have quite a large weave, and they allow a lot of the oat particulate through, which can result in thick and powdery-flavored milk. Stacking two strainers on top of each other does help a lot, if this is your only option.
- Lint-Free Dishcloth: The weave on a dishcloth is pretty tight, which makes it hard for the liquid to flow through. I found this method to be pretty messy, and I had to squeeze the oats to get the milk to pass through, which led to a slimy consistency.
Recipe Success Tips
- Use rolled oats, not quick oats, for a creamy yet light and refreshing oat milk
- Use cold water to prevent a slimy texture
- Strain it well to keep the texture light, but DO NOT squeeze it through your strainer
- If it’s taking a while to strain, use a spoon to stir the milk (while in the strainer) and scrape the sides to avoid it getting clogged
- For maximum deliciousness, let the it chill completely in the refrigerator before serving
- Shake your oat milk very well each time before enjoying
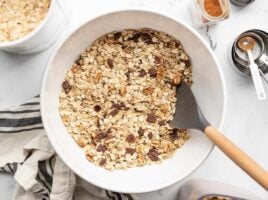
- The leftover pulp can be added to baked goods, like pancakes (reduce the amount of flour used and adjust the batter consistency as needed with more or less milk), blended into smoothie bowls, or mixed into oatmeal or overnight oats! You could also heat it up and enjoy it as-is. It would be like a super creamy, smooth oatmeal
- I wouldn’t recommend freezing this recipe as the texture might alter after thawing
Can I Froth it?
I tried frothing this homemade oat milk with a handheld frother, and, unfortunately, it does not create a nice foam. Oats do not contain a lot of fat or protein, which is needed to create a stable foam, so store-bought options usually have to have thickeners or stabilizers added to help them foam.
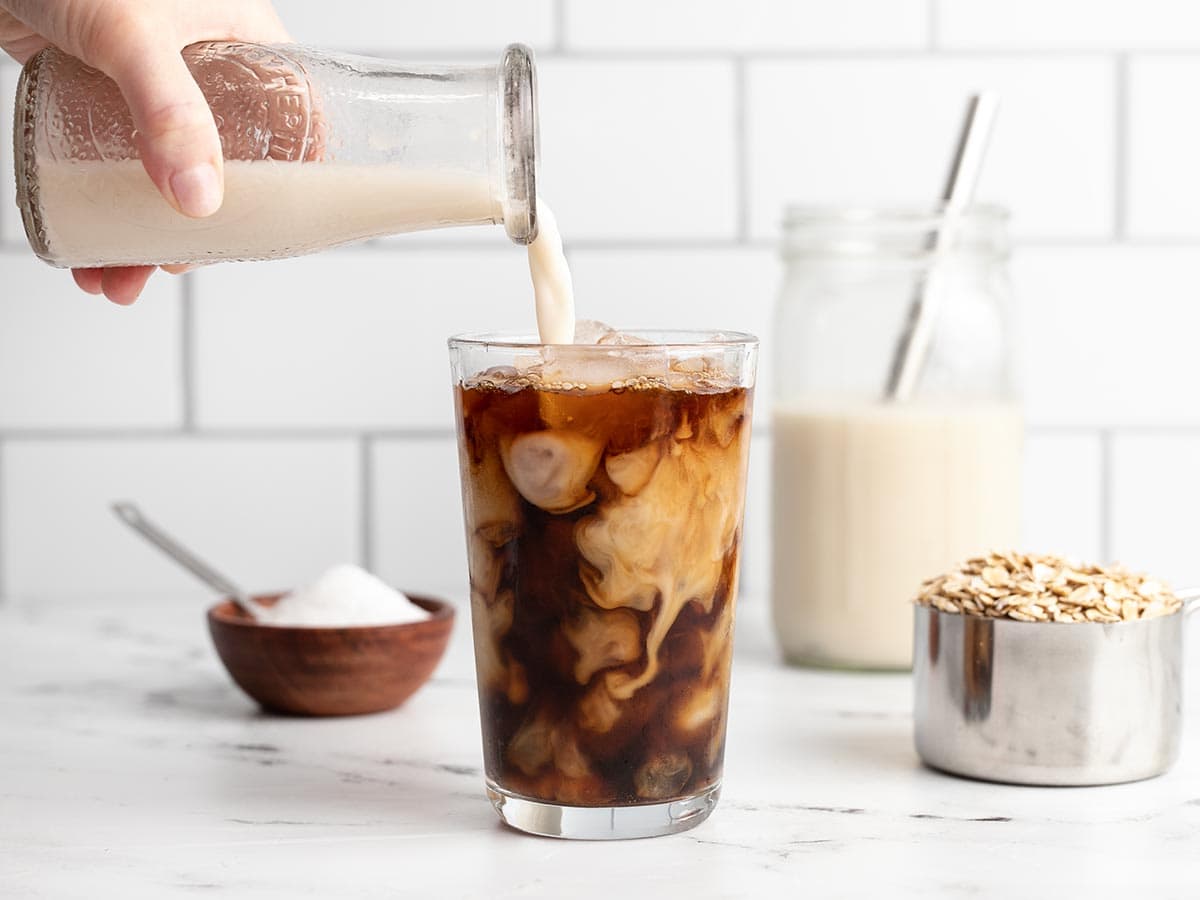
How to Use Homemade Oat Milk
I’m not kidding when I say this oat milk was so good that I wanted to chug it straight from the jar. But keep in mind this recipe does not contain emulsifiers or stabilizers like store-bought options, so you will need to shake it very well before you pour, every time.
It’s great added to coffee or poured over a bowl of cereal (or even in oatmeal – how meta). I haven’t tested baking with this recipe or using it as a 1:1 substitute for dairy milk in recipes, so proceed with caution. Remember, this recipe does not contain as much fat or protein as dairy milk, which may cause it to react differently in recipes.


The recipe turned out great!
I see that the cost breakdown listed water at zero dollars—kind of curious, since I live in California. I’m wondering where in the US, is water free?
We list water as $0 because it’s extremely difficult to accurately calculate the cost of small amounts (like the 4 cups in this recipe) While water certainly isn’t free, especially in places like California, its cost per cup is usually just a fraction of a cent, and utility rates vary widely. To keep our cost estimates simple and consistent, we focus on ingredients that have a more measurable and noticeable impact on a recipe’s total cost.
It’s free for me I have my own well! In Canada most water from the tap is delicious too (even in the big cities).
It is for me. I don’t pay for water as a renter in NYC. My landlord pays for water and heat. It’s silly to really try to take an issue with that … next you will ask about the cost of cooking gas.
The only issue I found is that I cannot heat it with my coffee because become Cook Oatmilk dense a very creamy. I will use after heating the coffee just added after
Do you think this would freeze well?
We haven’t tried it, but my gut tells me it wouldn’t freeze the best!
Helpful , easy , useful recipe !
Thank you !
Thanks for the guidance in making the oat milk. This recipe deserves 5 stars.
Love the recipe! I use the milk in my lattes.
Thanks for the recipe. I’ve used a metal strainer and a metal coffee strainer and agree the coffee strainer makes it smoothest. I use dates to sweeten: 2 for lightly sweet, 4 for sweetness I would compare to store bought.
Hi Beth. Thank you. Will try the oat milk recipe. You are the best! Also can I just eat the discarded oats from the seive/cheesecloth? Will try that too.
A lot of people repurpose them in baked goods so you’re fine to use them how you like!
Delicious!! I used maple syrup instead of brown sugar (I only used two little pours). This taste so much better than store bought oat milk! Easy recipe too.
I can’t wait to try this. I am really into preparing food ahead- even my AM cold brew coffee- and then freezing the preps and rotating out of the freezer as needed. Do you think the oat milk would feeeze well?
So easy and affordable!
I would like to share this recipe on MyFitnessPal.com. (a calorie counting site). I will credit you and share your site. Is that OK?
Thanks
Stirring rapidly while in the filter is how this recipe works (you may want to put that in the directions, Beth). It was quick, cheap and delicious! Thanks!
I feel stupid asking this, but if I’m only going to use it for smoothies do I care if it’s strained?
I guess not! A lot of people put oats in their smoothies. :)
I wouldn’t care. I’m actually keeping the discarded oats for my smoothie! No need to waste them. :)
Thank You