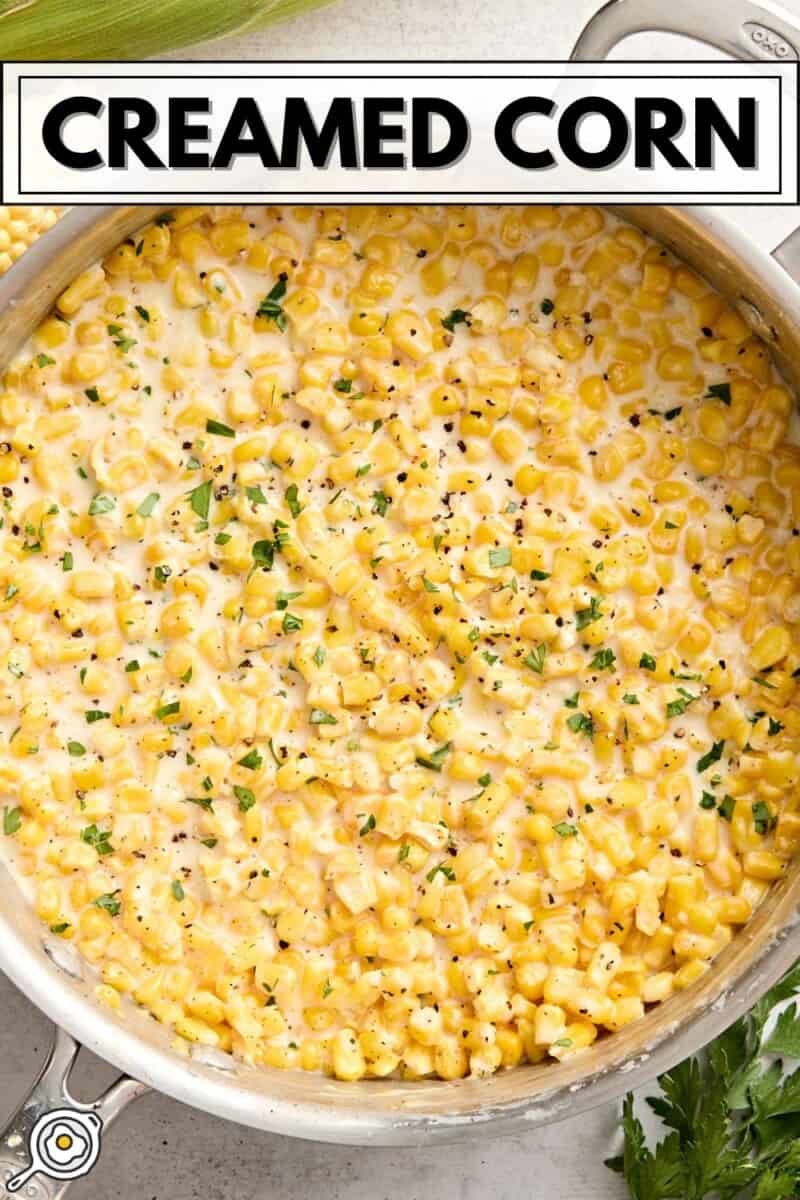
One of my favorite sides to load up on at the holiday dinner table is Creamed Corn! This budget-friendly side dish is made with minimal ingredients and is so easy to prepare. It’s rich, buttery, cheesy, and tastes way better than the canned stuff. As a veggie-lover who grew up in a family of meat eaters, I’ve grown accustomed to filling my holiday dinner plate with all the sides and skipping the meat. (Don’t feel bad for me—I’ve got way more tricks up my sleeve now regarding plant-based proteins and veggie mains!) But seriously, this easy recipe never disappoints. I guarantee you won’t have any leftovers!
All recipes are rigorously tested in our Nashville Test Kitchen to ensure they are easy, affordable, and delicious.
“Delicious. I have a few other versions of this in my repertoire–how can an Iowa farm girl resist any corn recipe! This one is easiest and wonderful.”
Janmaus
The Creamiest Homemade Creamed Corn
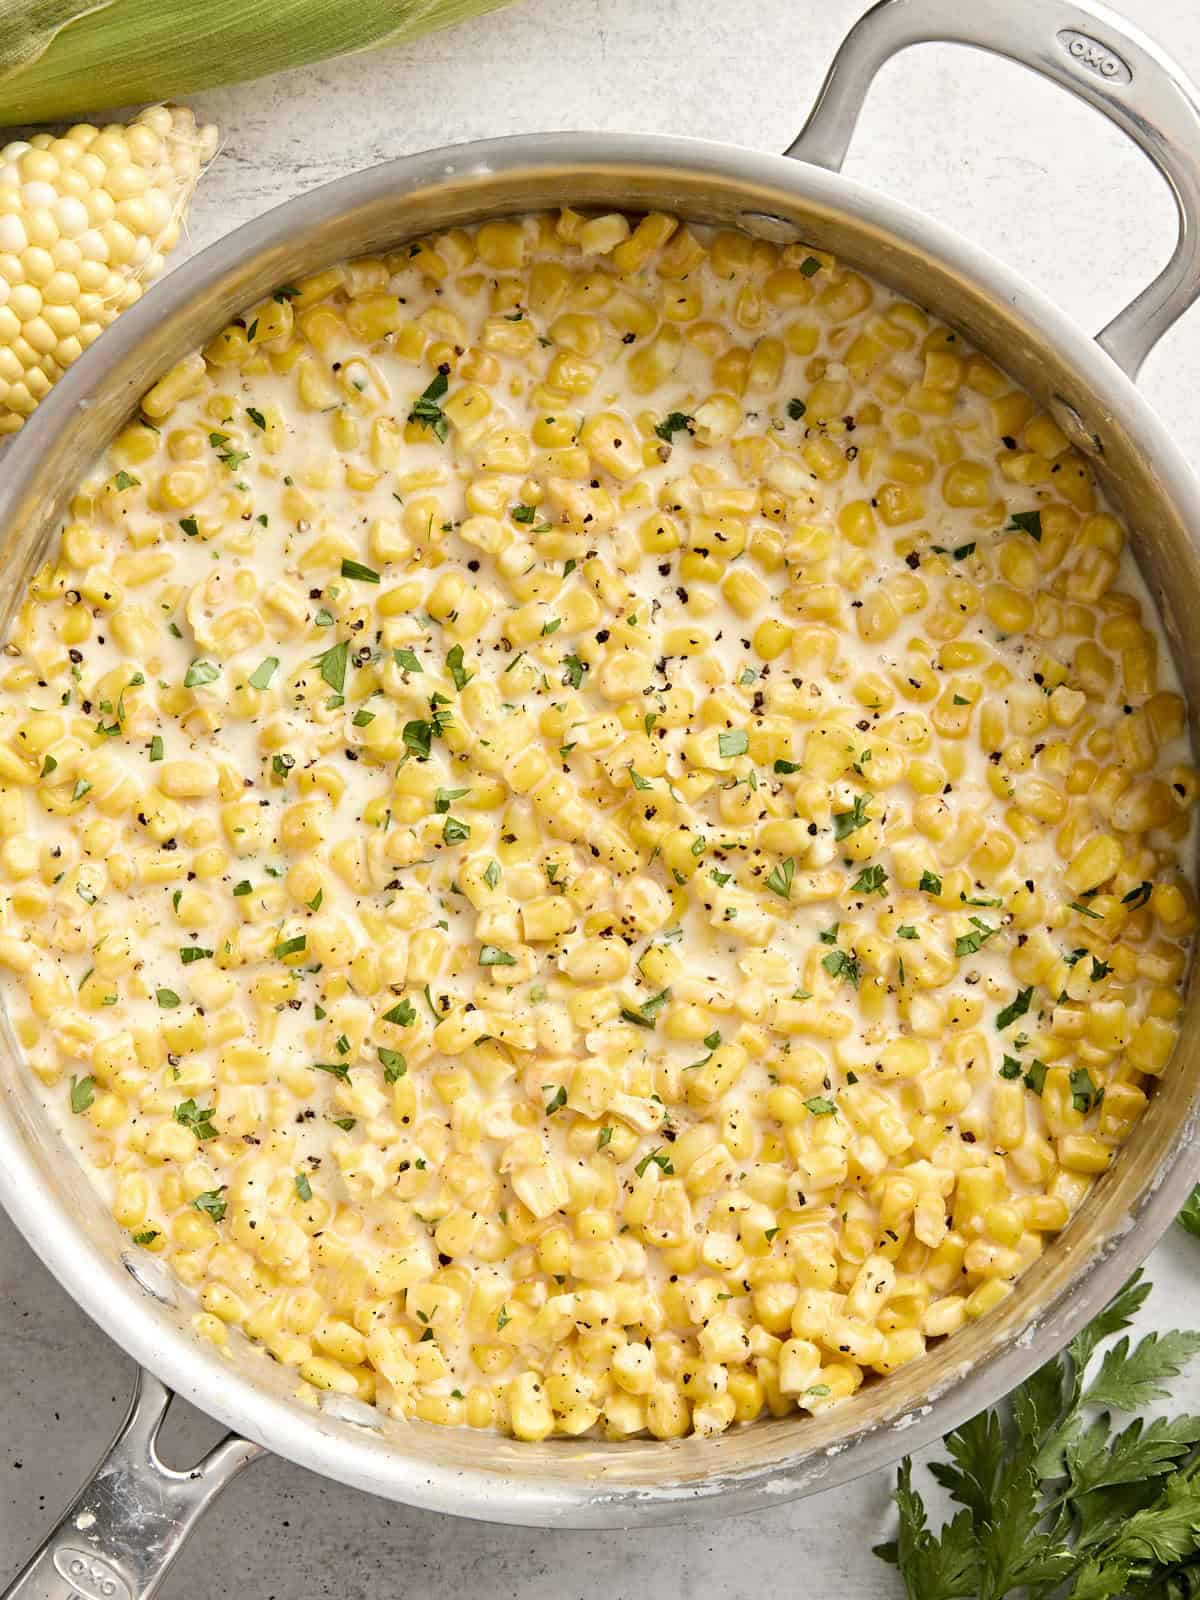
Homemade creamed corn is made from corn kernels cooked in a creamy sauce until they become tender, juicy, and flavorful. You can purchase it in a can, but this is typically labeled as ‘cream-style corn’ because the sauce doesn’t usually contain any cream! Instead, it often relies on the starch from the corn to create a creamy texture. (Yes, corn is both a starch and a grain—it just depends on how it’s processed!) However, nothing beats the taste and texture of this side dish when made from scratch.
For this recipe, I create a roux from butter and flour, then add half & half, seasonings, fresh corn (frozen works, too!), and Parmesan cheese to make it extra decadent. It’s the perfect combination of sweet, savory, and creamy. If you love corn pudding, you’ll definitely love this dish.
Creamed Corn Recipe
Cost $5.29 recipe / $0.66 serving
Ingredients
- 6 corn cobs (or 4 cups of frozen corn, $3.00*)
- 5 Tbsp salted butter ($0.60**)
- 1 Tbsp flour ($0.01)
- 1 cup half & half ($0.89**)
- 1 Tbsp granulated sugar ($0.02)
- ½ tsp salt ($0.01)
- ¼ tsp black pepper (freshly cracked, $0.02)
- ½ cup Parmesan cheese (shredded, $0.74**)
Instructions
- Husk and shave your ears of corn and set aside. If using frozen corn, rinse it well, strain, and set aside.
- In a saucepan, melt salted butter and add flour and whisk together over medium heat to make a light roux.
- Add half & half, sugar, salt and pepper and whisk together until smooth.
- Cook down until a gravy-like sauce forms.
- Add corn, tossing until completely coated. Cook for 5-8 minutes, until the corn is cooked but still has some crunch. (Cook time will be significantly less if you're using frozen, so taste often!) Take the pan off the heat and stir in the shredded Parmesan until melted.
- Serve and enjoy!
See how we calculate recipe costs here.
Notes
Nutrition Information
how to make Creamed Corn step-by-step photos

Prep the corn and sauce: Husk and shave 6 ears of corn and set aside. If using 4 cups of frozen corn, rinse it well, strain, and set aside. In a saucepan, melt 5 Tbsp salted butter, add 1 Tbsp flour, and whisk together over medium heat to make a light roux.
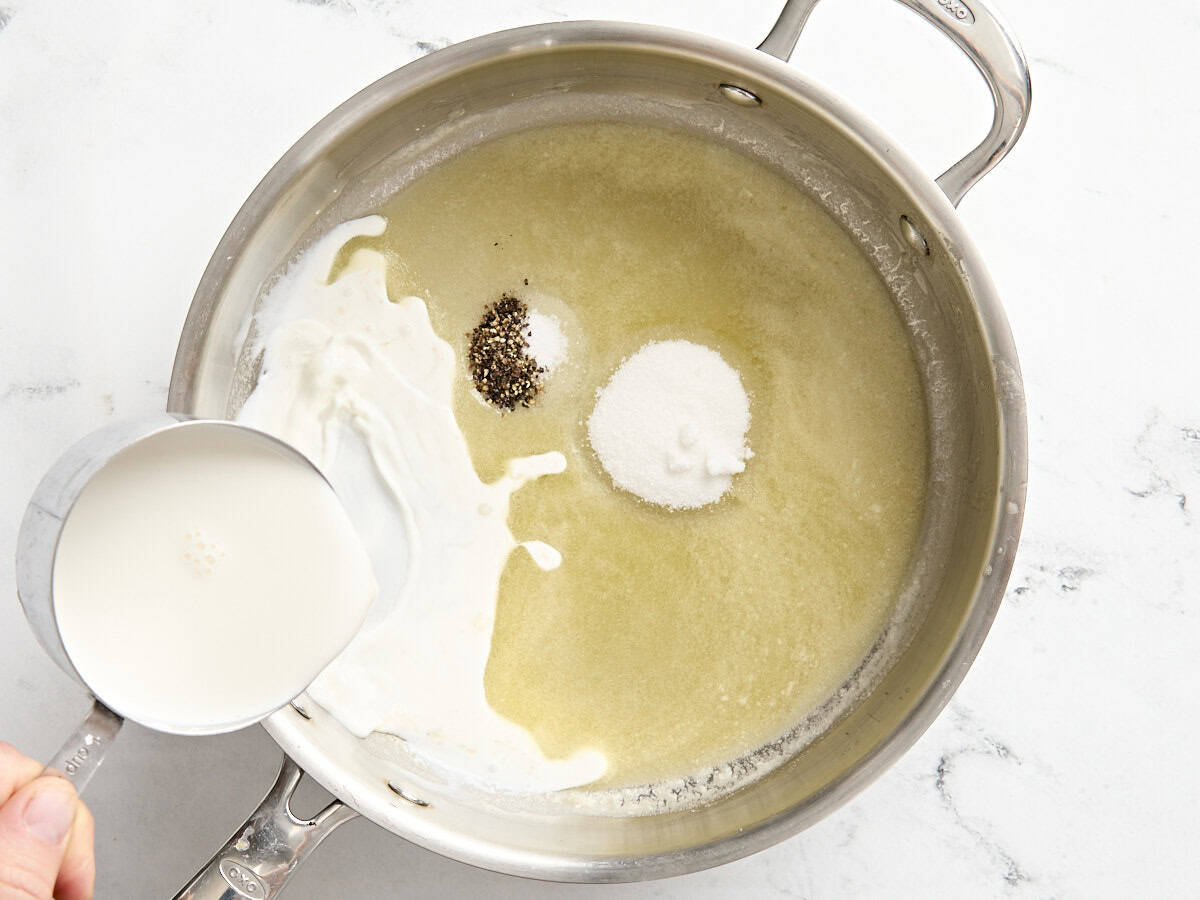
Make the creamy sauce: Add 1 cup half & half, 1 Tbsp sugar, ½ tsp salt, and ¼ tsp pepper to your roux and whisk until smooth.
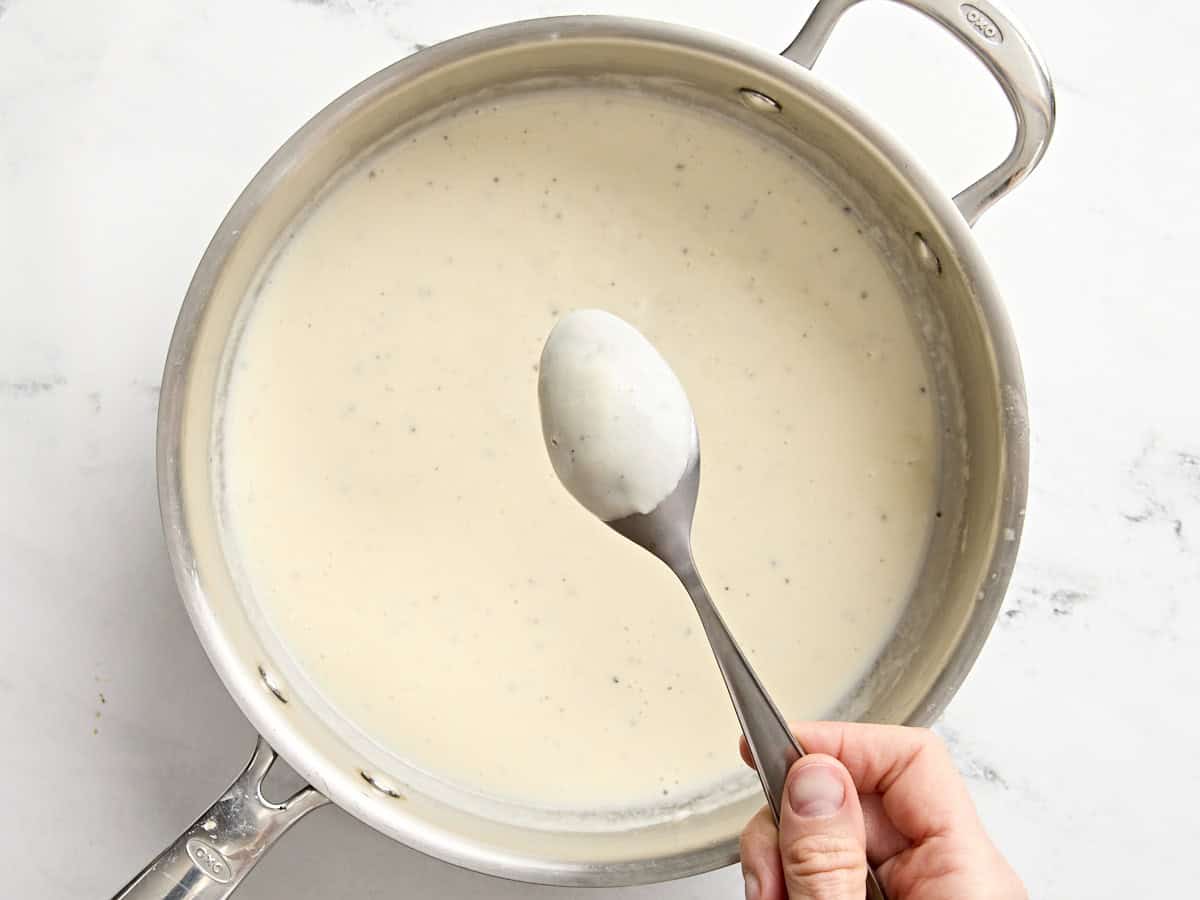
Cook the mixture down until a gravy-like sauce forms. It should be thick enough to coat the back of a spoon, as shown here.

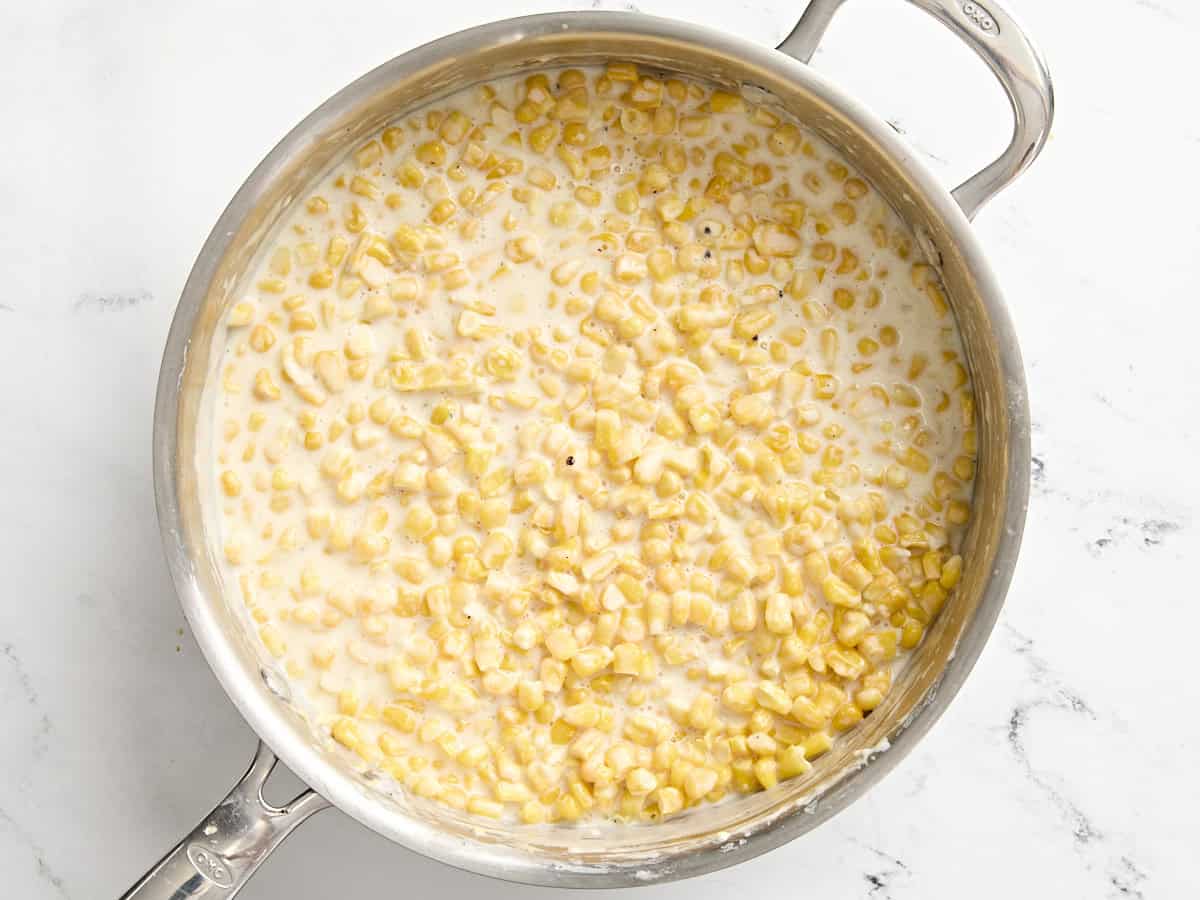
Make the creamed corn: Add the corn and toss until completely coated in the sauce. Cook for 5-8 minutes, until the corn is cooked but still has some crunch. (Cook time will be significantly less if you’re using frozen, so taste often!)

Take the pan off the heat and stir in ½ cup shredded Parmesan until melted.
Serve and enjoy!
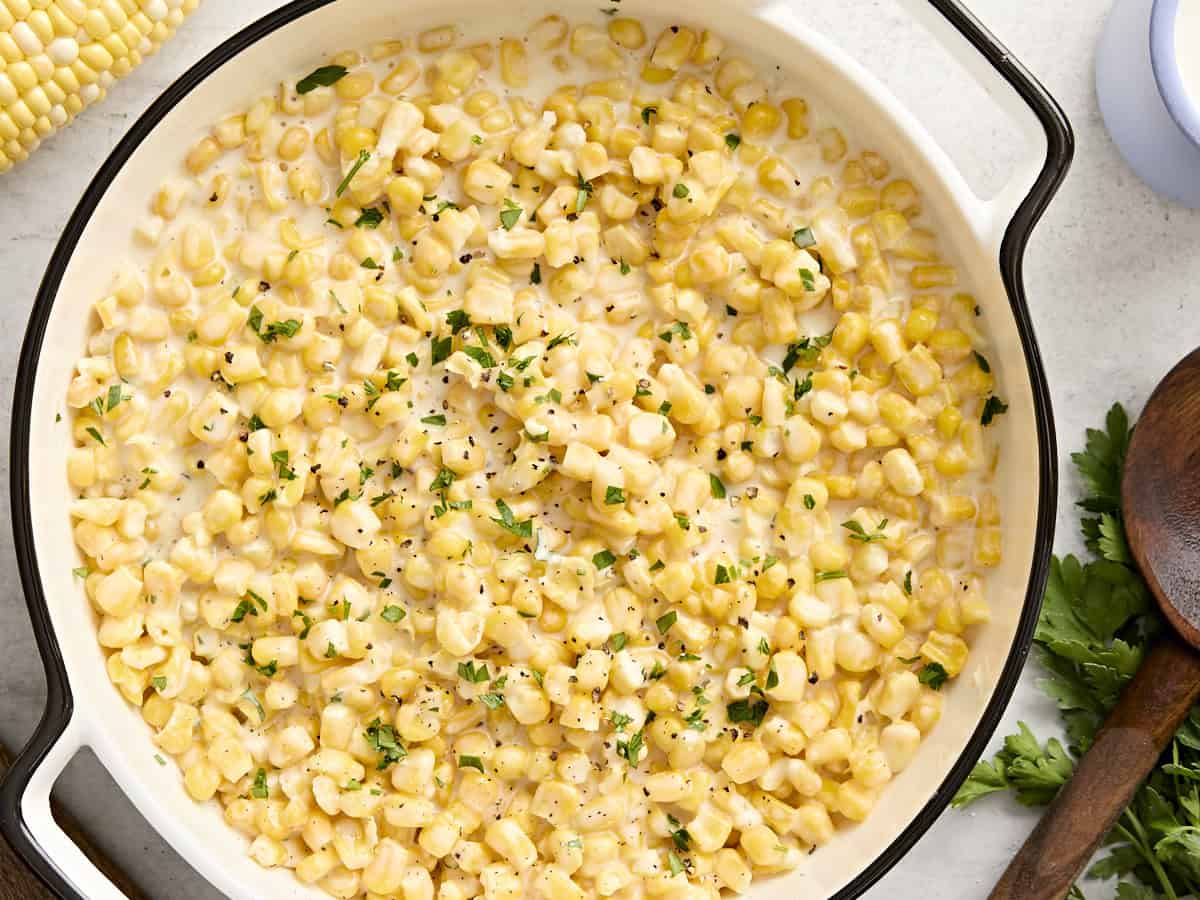
This delicious cream corn recipe couldn’t be easier to make. Serve it as a side dish at your next holiday feast or potluck, and watch it disappear!
How to Tell When the Sauce is Thick Enough
Your creamy sauce should have thickened to a gravy-like consistency and coat the back of a spoon before adding the corn (see my process photos above for a visual reference). It’ll continue to thicken up as it cooks with the corn added in. If your sauce is too thin, allow it to cook a little longer. If it’s thick but you want to thin it out, add a splash of half and half until it reaches your desired consistency.
Serving Suggestions
When I say you can serve this corn with pretty much anything, I mean it! Serve it up for Thanksgiving with turkey breast and all your favorite trimmings, like green bean casserole. It also pairs well with BBQ ribs and homestyle cornbread! It’s a fun, year-round side and perfect for any occasion—not just the holidays!
Storage Instructions
If you have any leftovers (which is rare in my house), you can store them in an airtight container in the refrigerator for 3-4 days. Let them cool before storing, and reheat in the microwave or on the stovetop. Add a little half and half if the sauce thickens too much when reheated. You can also freeze individual portions in a freezer-safe container for 2-3 months. I’d let them thaw overnight in the refrigerator before reheating.


Looking forward to this one at Thanksgiving… again!
Definitely a wonderful recipe. It is very close to our 100 year old family recipe that is a necessity for holiday meals. So many recipes have eggs in them and are disgusting as far as I’m concerned!! And, you do really need “real” corn cut off the cob as canned and frozen ones end up as a piece of corn in the white sauce. If I have to use that, I put some of it in the blender to chop it up so it blends with the sauce. As the saying goes: Try it, you’ll like it.
Love this! Thanks, April!
I loved the recipe. I’m canning my corn and will add the cream, flour and parm when ready to eat
I make something very similar but I add in a few pinches of cayenne pepper! It gives it a lil extra something and my family always wants me to bring this side dish for the holidays.
That sounds perfect!
Delicious. I have a few other versions of this in my repertoire–how can an Iowa farm girl resist any corn recipe! This one is easiest and wonderful.
The women in my father’s family always cooked corn in milk. My mother didn’t, nor do I typically do so, but corn has a great affinity for recipes that include dairy. Everyone I knew back in those days before microwaves and recipes for grilled and roasted veggies, boiled corn, either on the ear or cut kernels, with a little dab of sugar and saved the salt until it was cooked. I learned to cook other sweet veggies such as fresh green peas, baby limas, and carrots with a touch of sugar instead of salt. It keeps them tender and enhances natural sweetness. I use maybe 1/4 tsp per 1/2 cup of cooking water, which is enough liquid for 2 c of veggies and is likely to be nearly all absorbed while cooking. Green vegetables, other than peas, need salted water both for flavor and to preserve the color.
Keep these terrific side dish recipes coming!
Wow! Thanks for sharing the information!! Definitely will try this!