

It’s no secret here in the Budget Bytes studio that we’re all addicted to coffee! We trade off whose buying on studio days, and then we all collectively let out a sigh of relief when we take that first sip. As a proud team of babes on a budget, I figured we should take a crack at the unthinkable and mess with our morning routine: making our Cold Brew Coffee from scratch. I wasn’t sure homemade cold brew would live up to our usual fix, but it totally does, and now we’re fully caffeinated, and I have our latest budget hack to thank!

All recipes are rigorously tested in our Nashville Test Kitchen to ensure they are easy, affordable, and delicious.
Easy Homemade Cold Brew Coffee
Cold brew coffee is different from iced coffee, which is usually made with hot brewed coffee poured over ice and often finished with milk. Cold brew never touches hot water! Instead, you let fresh coarsely ground beans steep in cold water for about 24 hours. I grind my beans in a food processor, but a coffee grinder works too. The slow, cold steep brings out the smooth flavor of the beans without pulling as much acidity as brewing with hot water, so the coffee tastes mellow and smooth. It’s refreshing, caffeinated, and exactly what I want on a hot day!
Cold Brew Coffee
Cost $3.40 recipe / $0.68 serving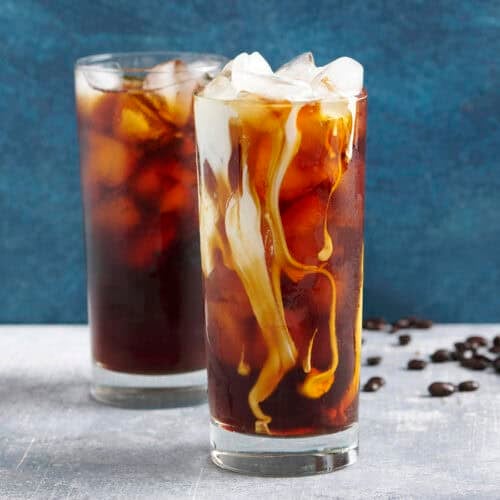
Ingredients
- 1 cup whole coffee beans (coarsely ground, $3.40*)
- 5 cups cold water ($0.00)
Instructions
- Gather your ingredients.
- Using a coffee grinder (if you have one) or a food processor (if you don’t), grind the whole bean coffee until coarsely ground.* 1 cup of whole beans yields 1¼ cups of ground coffee.
- To a mason jar, add 1 cup of ground coffee and 4 cups of cold water. To a smaller mason jar, add the remaining ¼ cup of ground coffee and the last 1 cup of cold water. (I didn’t have a mason jar big enough, so I split it up into two.)
- Give the jars a shake and transfer to the refrigerator for 24 hours.
- Strain the next day, discarding the coffee beans (or use them in your garden or compost!) using a fine mesh strainer lined with a coffee filter. Or strain using a nut milk bag, like I did!
- Transfer filtered coffee back into the mason jar you used overnight (give it a good rinse or a quick wash) and enjoy your cold brew coffee poured over lots of ice! If you find the coffee is too strong for you, you can dilute it with water and/or any milk you like best.
See how we calculate recipe costs here.
Notes
Nutrition Information
how to make Cold Brew Coffee step-by-step photos
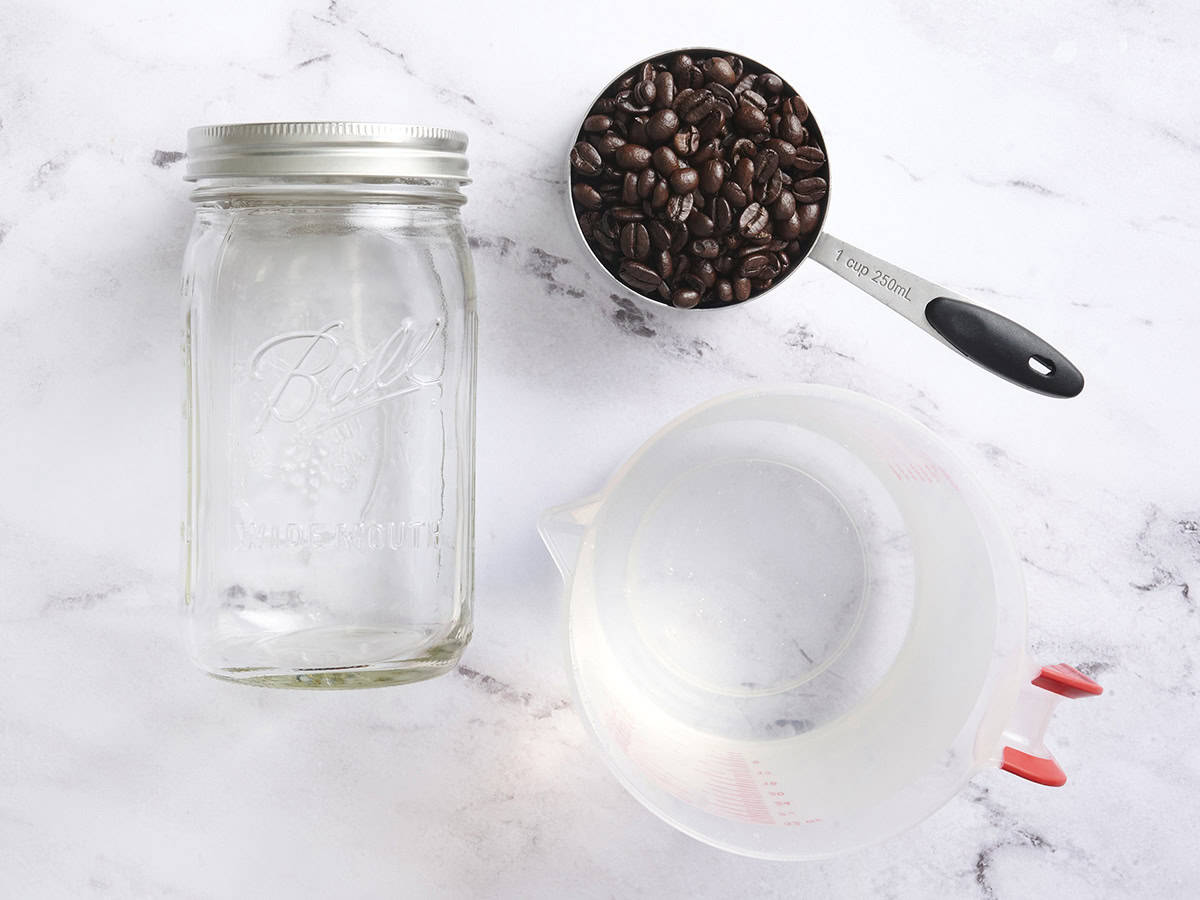
Gather all of your ingredients.
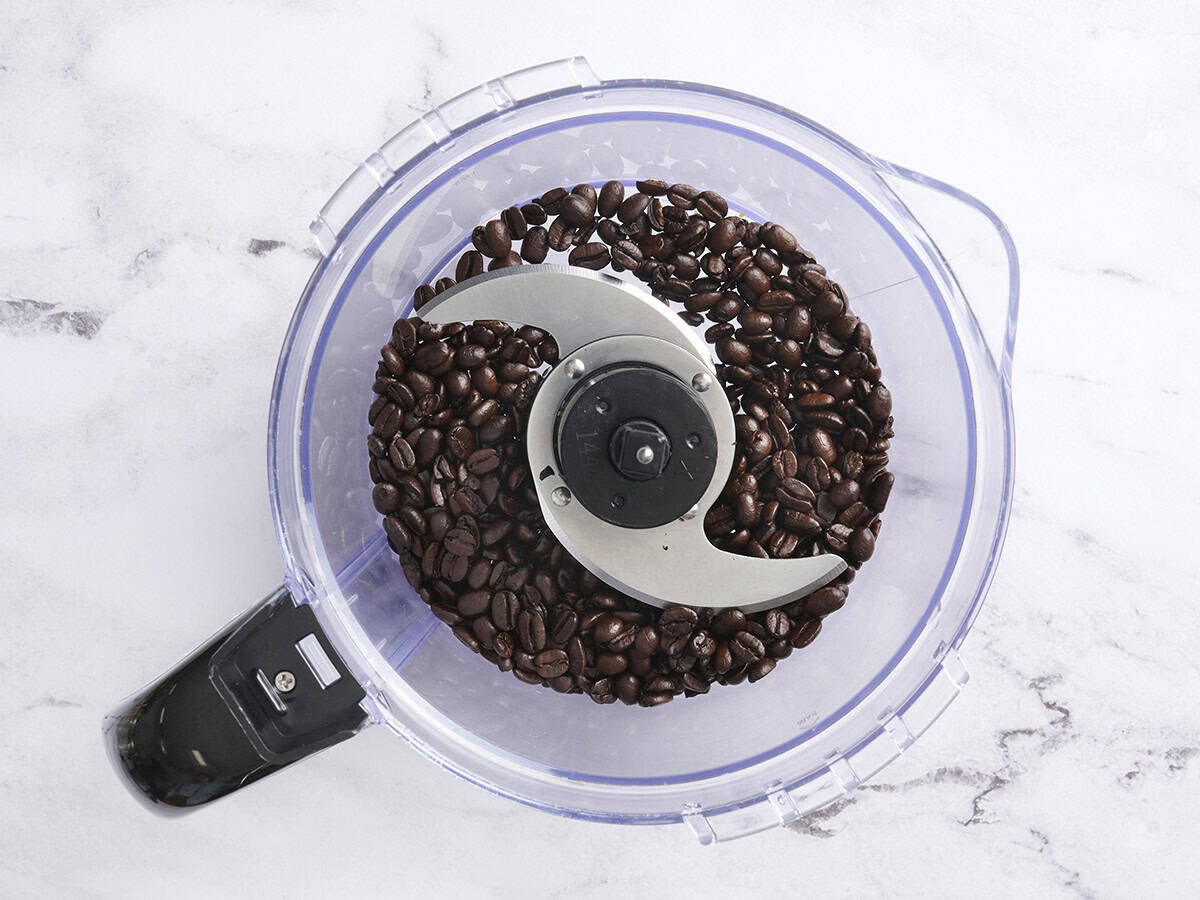
Grind the coffee: Add 1 cup whole coffee beans to a coffee grinder (if you have one) or a food processor (if you don’t), and grind the beans until coarsely ground.
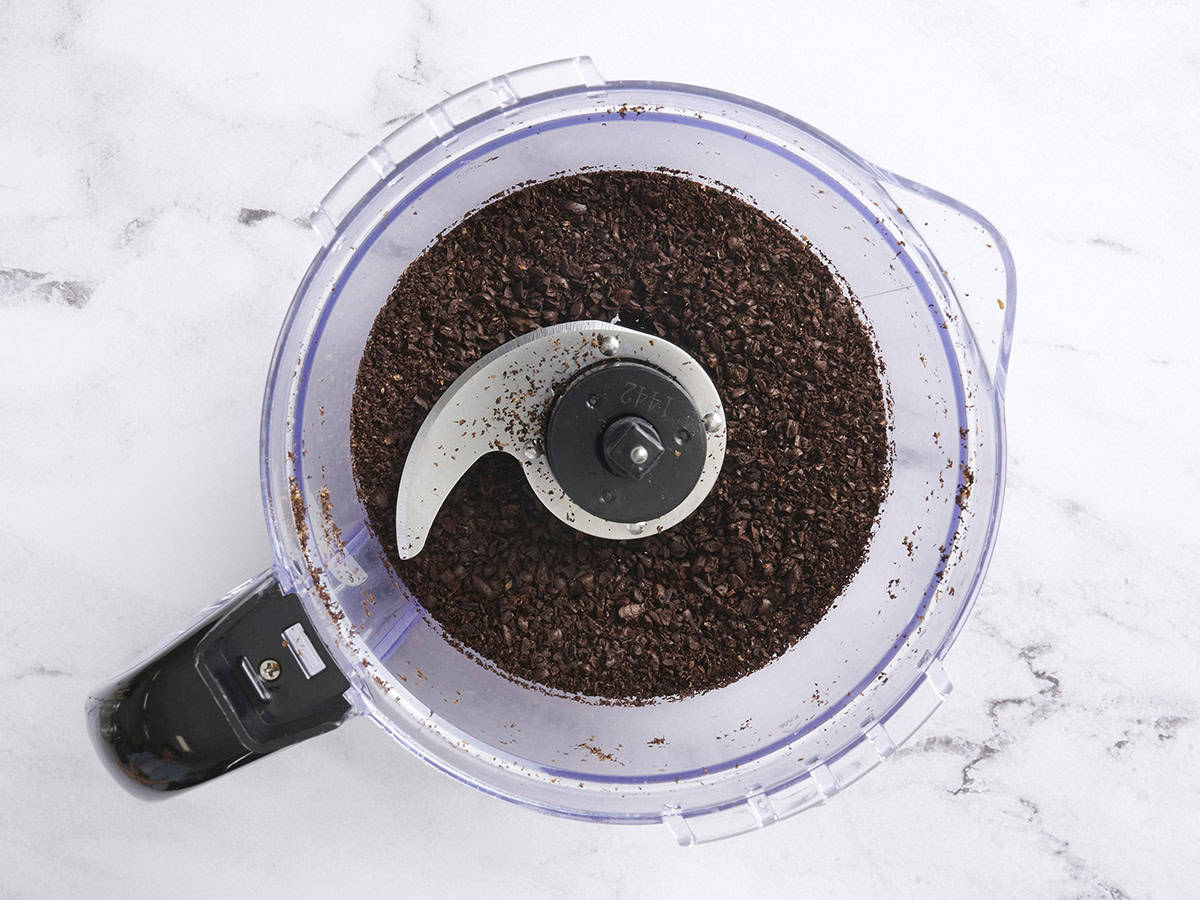
Grind the beans until coarse, with the biggest pieces being roughly ¼ inch across. One cup of whole beans yields 1¼ cups of ground coffee.
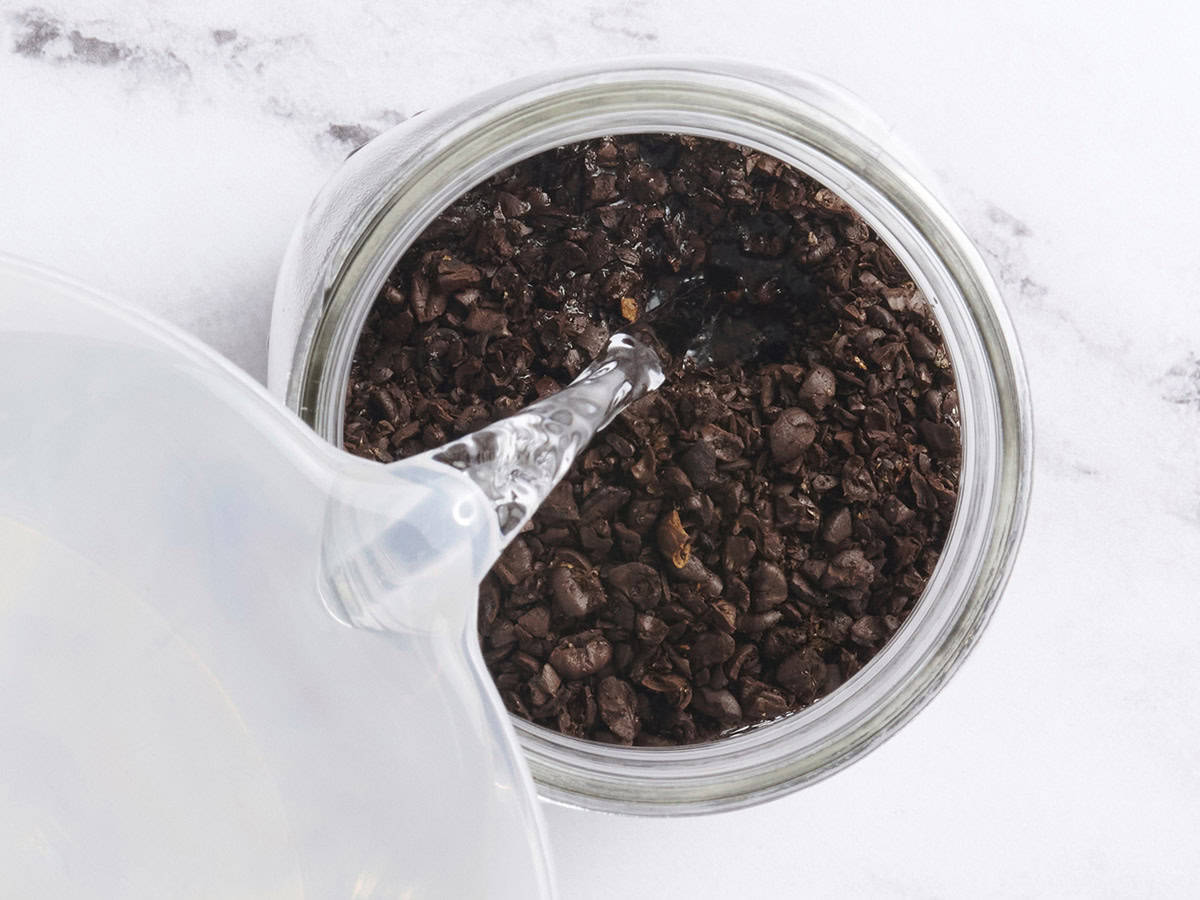
Combine the beans and water: Depending on the size of your mason jar(s), you may need to work in batches. I used two different-sized mason jars as I didn’t have one big enough for all the coffee beans and water. In the larger mason jar, I added 1 cup of ground coffee and 4 cups of cold water. Then, to the smaller mason jar, 1 added the remaining ¼ cup of ground coffee and the last 1 cup of cold water.
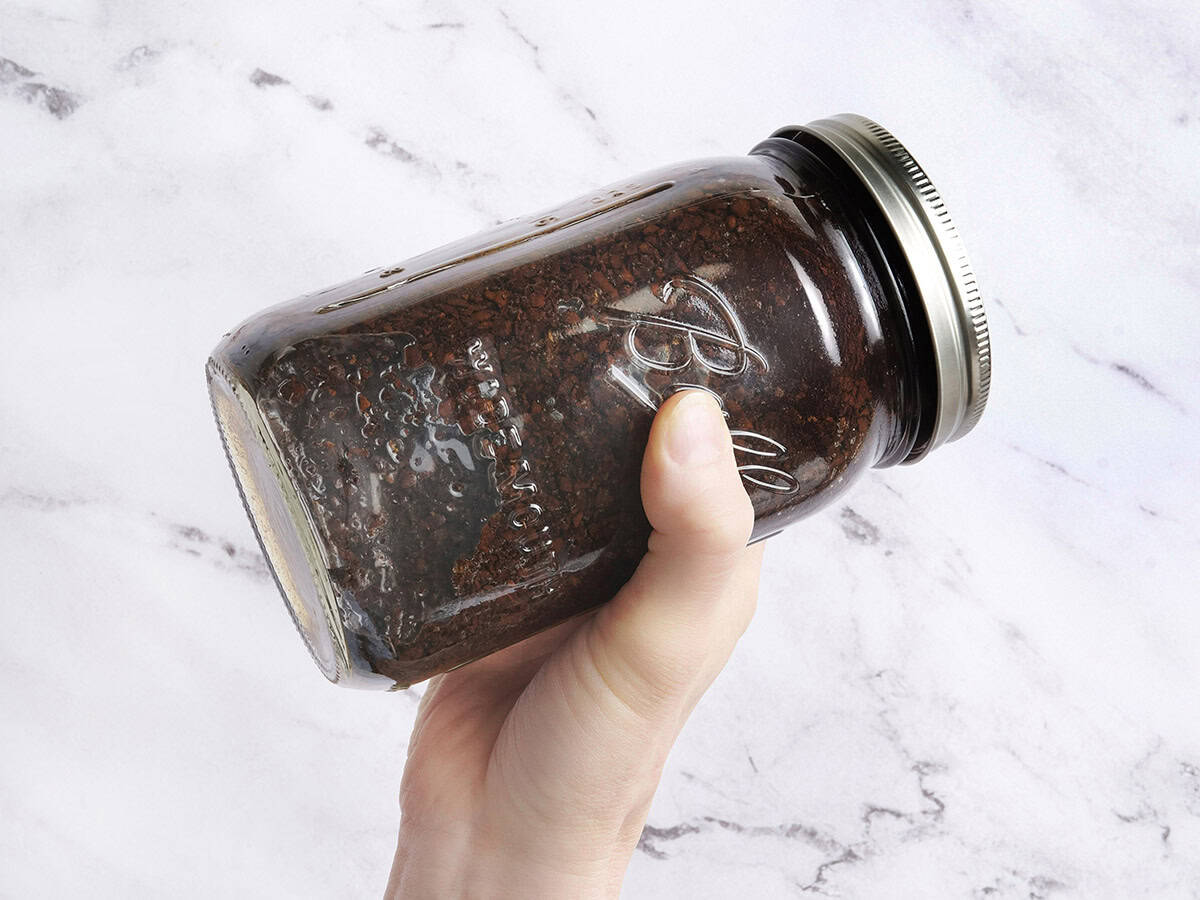
Give your mason jar(s) a good shake and place them in the fridge for 24 hours.
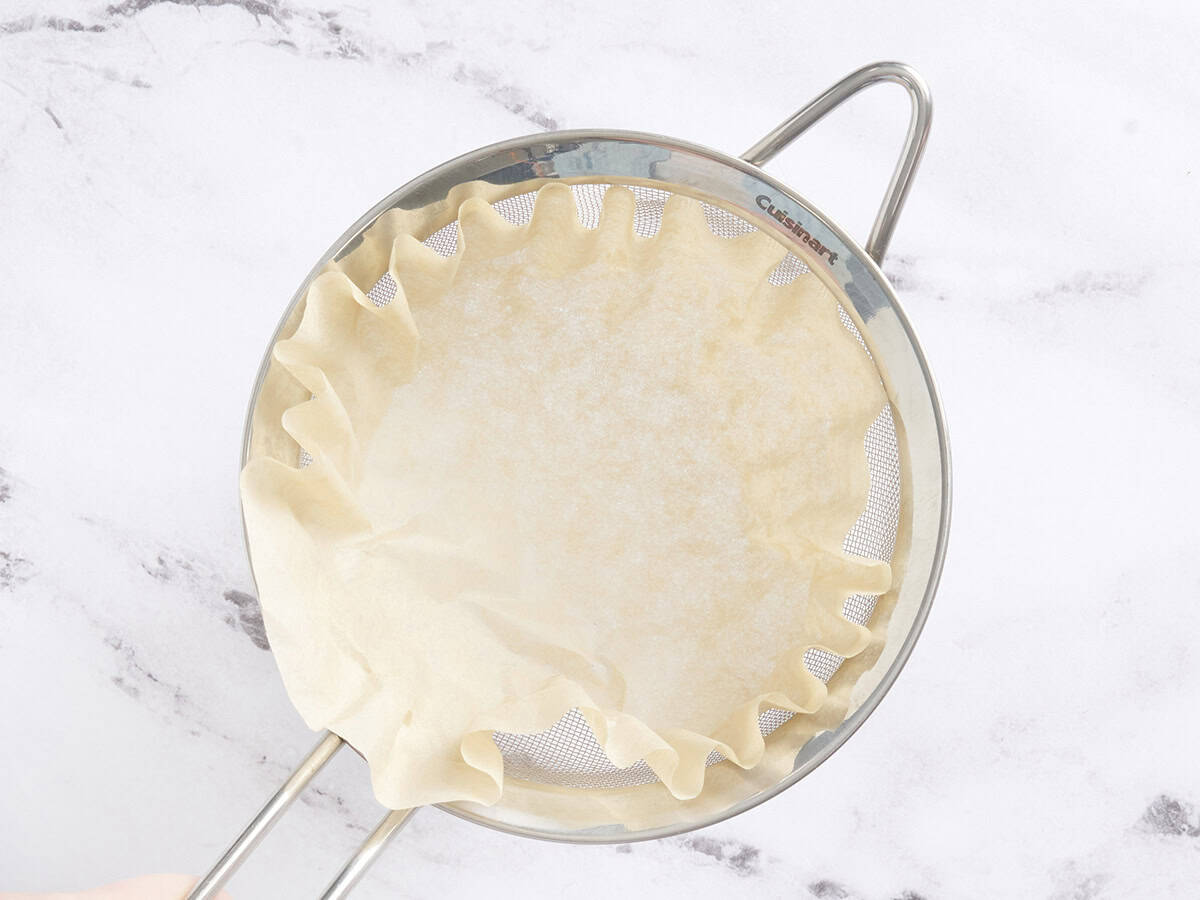
Strain the coffee: After 24 hours, strain the coffee and discard the coffee grounds (or use them in your garden or compost!) You can either set a fine mesh strainer over a bowl and line it with a coffee filter (as shown here) or…
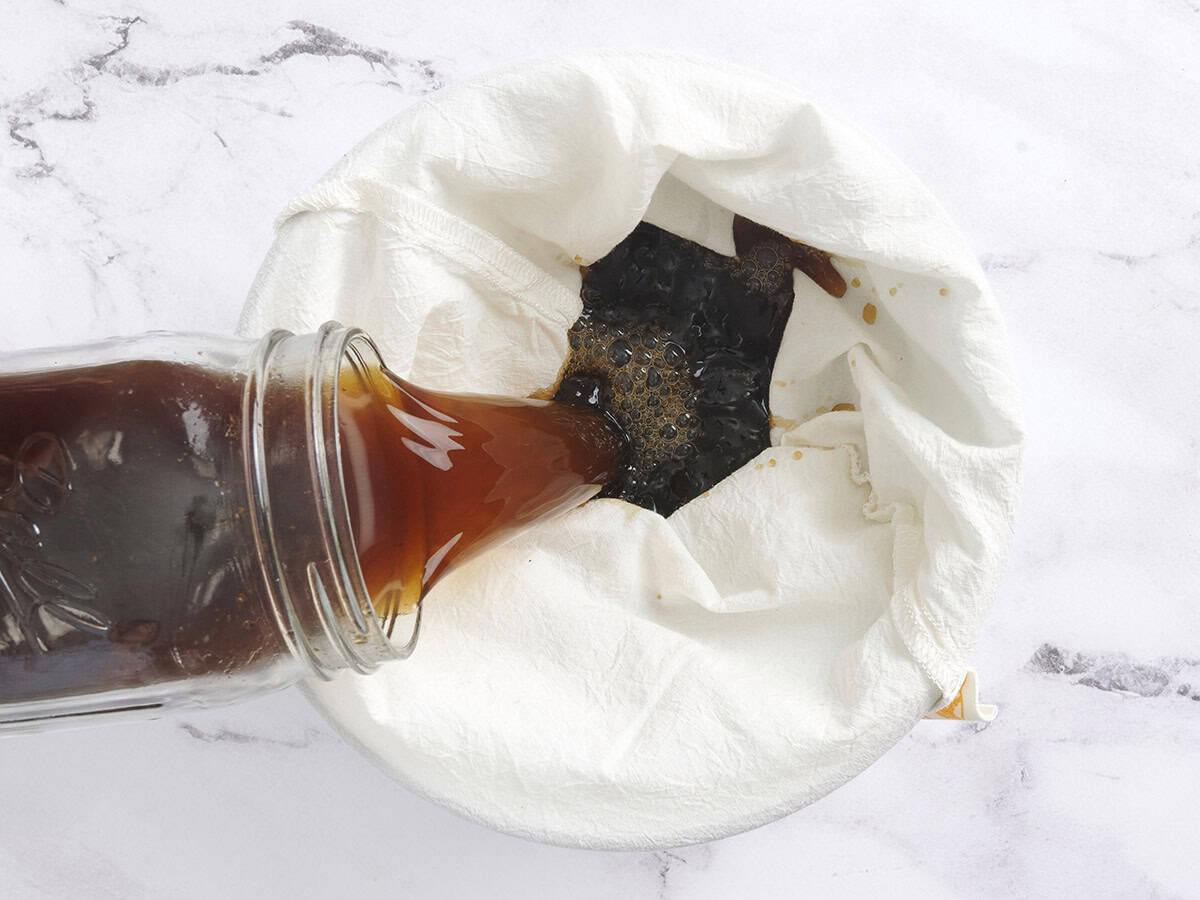
…strain it using a nut milk bag, as I did!
Store or serve: Now your homemade cold brew is ready to serve over lots of ice! Clean your mason jars and use them to store any leftovers in the fridge. If the coffee is too strong for you, you can dilute it with more water and/or any milk you like best when serving.

Cold Brew Coffee Ratio
I use a 1:5 ratio of coffee beans to water. One cup of whole beans yields about 1¼ cups of coarsely ground coffee, which I then mix with 5 cups of water. This ratio makes a smooth concentrate that you can pour over ice and dilute with a little water or milk to taste.
You can play around with the ratio to find your sweet spot. A ratio of 1:4 to 1:8 coffee-to-water is the average range. Brewing for a shorter amount of time (minimum 12 hours) will give you a lighter, less concentrated brew, while letting it steep up to 24 hours makes it stronger and bolder.
How to Serve Cold Brew Coffee
Pour a cup of this homemade cold brew coffee over ice for a coffee-shop worthy drink (without the takeout price tag!) You can add more water to dilute the flavor, or top it off with any milk, cream, or creamer you want. Add a little sweetener (sugar, honey, maple syrup, Swerve, or coffee syrup etc) if you prefer a sweeter sip. Or try it with our sweet cream cold foam or homemade gingerbread creamer for a special treat!
You can even heat up your cold coffee if you like! Pop it in the microwave and enjoy the mellow flavor…just heated up!
Storage Instructions
Keep your cold brewed coffee in an airtight container in the fridge for up to 1-2 weeks. I’d aim to enjoy it within a week for the best flavor.


Could a french press work for the straining process?
It should! There might be some sediment (like there always is with french press, imo) but I don’t mind it!
Barista here- I’d recommend making a concentrate ratio of 1:1. If you don’t have a grinder, some grocery stores have a grinder you can use. If you get a bag at starbucks, you can also have it ground for free. I’d recommend this as it offers a more consistent grind, and there for extraction. You wont have a mix of almost whole beans in there.
Need iced coffee now? If you have a regular coffee pot brew hot coffee on half of the normal amount of water that you normally do. Pour over ice, just enough to where a little ice is left over. It will taste more acidic, than cold brew but I kinda like that.
Sweet cream? 2/3 heavy cream, 1/3 2%, and some vanilla flavoring.
This recipe is a life changer!! As a SAHM of a toddler, I don’t have much time to make coffee. Let alone drink it hot. We all know moms don’t get hot coffee 😂 Having this ready in the morning makes it so quick and easy to get a cup of coffee in! Plus I can make this eco friendly!
You’re totally right about the mom’s not getting hot coffee (for me at least!) lolll.
Guys, I have been a fan of BudgetBytes since the beginning. I have bought Beth’s cookbook TWICE (one for myself, one as a gift). This site basically taught me how to cook back in 2014. I love this site, so I mean for this to be constructive, not critical.
Posts like this make me feel like it’s lost the plot. The first paragraph here feels so out of touch. Buying cold brew coffee every day? Doing “the unthinkable” of making coffee yourself instead of buying it? Going to “the studio” yet being “babes on a budget”? The tone is out of touch here. I don’t know, I can’t imagine Beth buying coffee every day before going to work when she started this blog.
Hey, Lee. I’m Jess, Beth hired me before she left Budget Bytes. We try to help solve problems for everyday people by addressing things in a fun, upbeat, but practical way. Of course, we inject our own personalities into our own blog posts. As a mom, sometimes I only have time to get coffee on the road (after I rush out of the house trying to accomplish kiddo drop off and taking care of all of our animals before work). This is a great way for me to make sure I have coffee waiting for me every day at work (or in the fridge at home ready to go in the morning!) We work out of a kitchen studio, which is the equivalent of saying “office.” I actually interviewed with Beth in this kitchen studio! I hope you find our other budget-friendly recipes helpful if you can’t relate to making cold brew coffee at home. We appreciate your continued engagement and support!
Are you sure you mean 1/4 inch pieces being visible? That’s the size of the whole grain.
Yes! If you look at the step by step photos you can see a little bit better what we mean, but with a course grind, some pieces will be fine and some will still be the length of the whole bean, roughly ¼ inch across for the biggest ones.
Coarse grind, even larger chunks are ok. Definitely need to break the beans down though!