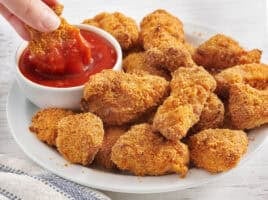


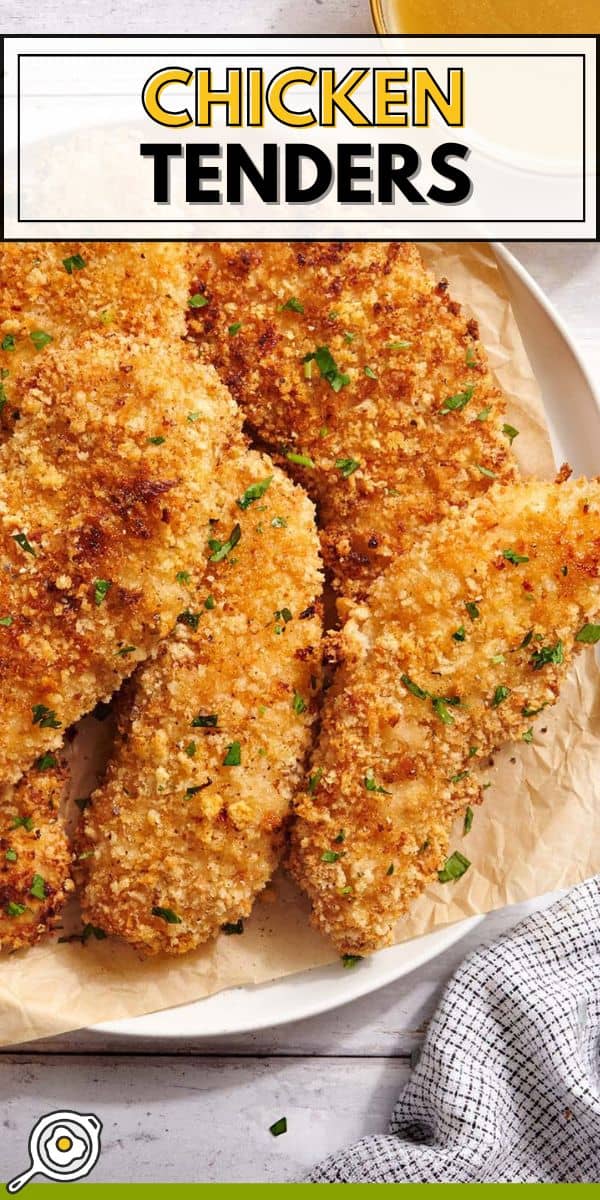

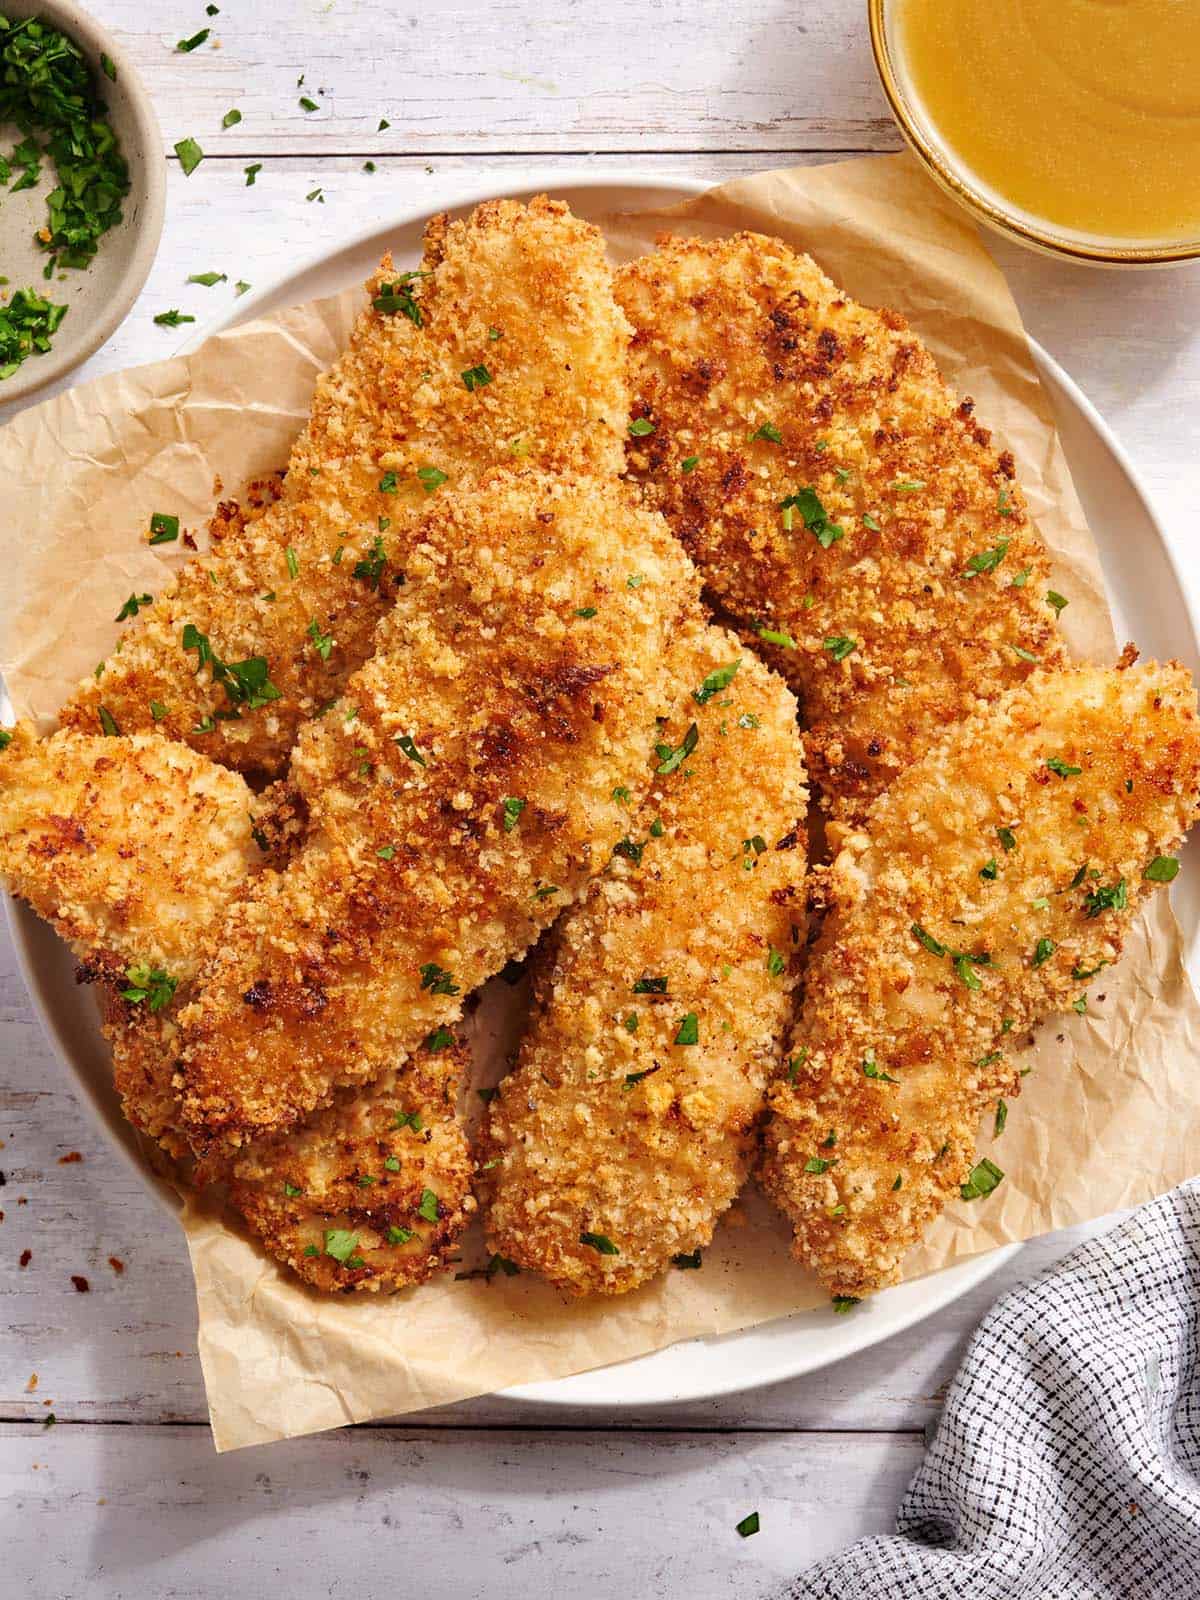
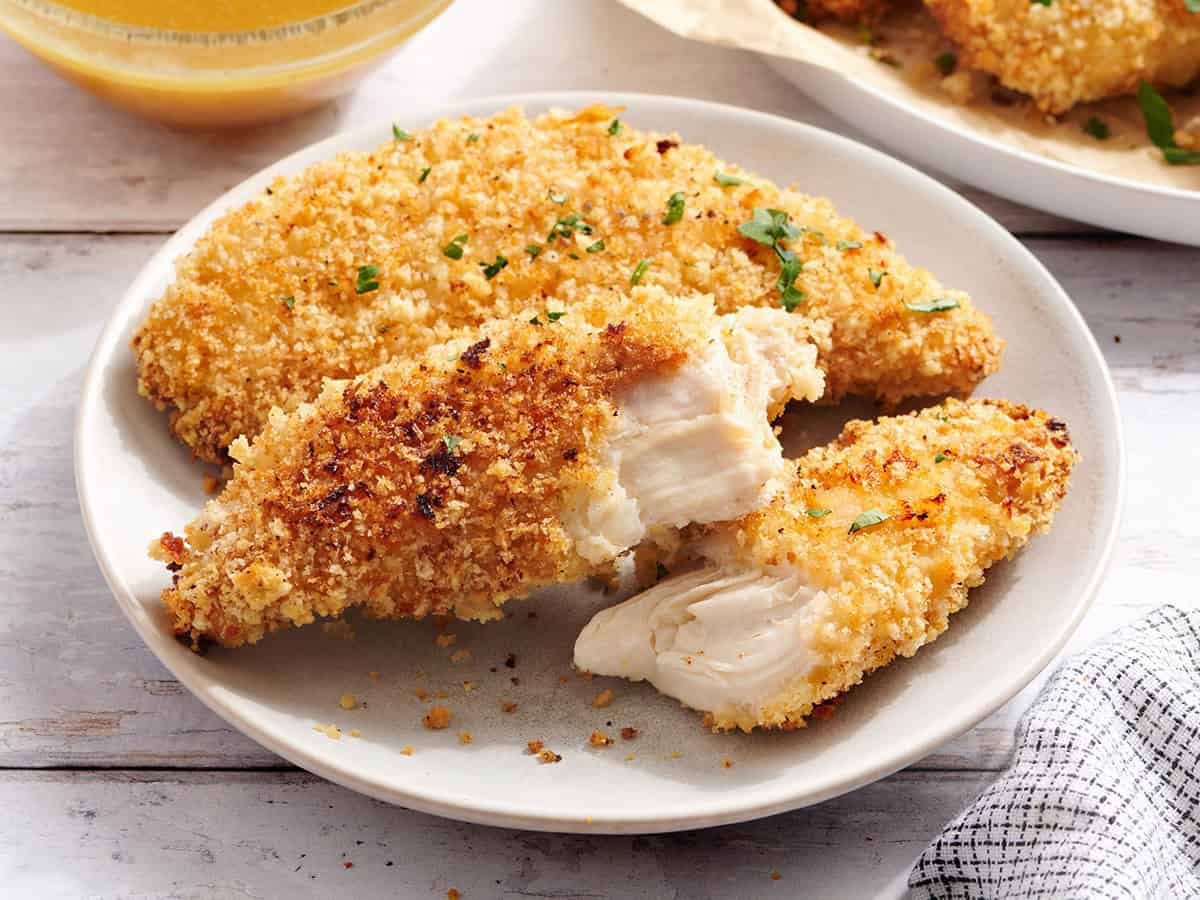
These classic Chicken Tenders are baked, not fried, so they’re easy to make, lighter, and still incredibly satisfying. They come out super crispy on the outside and juicy on the inside, and are made with simple pantry ingredients I almost always have on hand. I bake a batch, portion, and freeze them, then reheat them in the oven or air fryer for an easy lunch or dinner! At only $1.76 per serving, they’re an affordable homemade option (with no mystery ingredients!) that fits easily into my grocery budget.
 Pin this recipe for later!
All recipes are rigorously tested in our Nashville Test Kitchen to ensure they are easy, affordable, and delicious.
Crispy Oven Baked Chicken Tenders
For this chicken tenders recipe, I borrowed the plain Greek yogurt method from our homemade chicken nuggets because I already knew how well it helps the breading stick without the usual flour-and-egg setup. I thin the yogurt with a little water, then press each tender into seasoned panko. I also toast the panko before breading the chicken. This gives the crumbs a head start on browning in the oven so the coating comes out deeply golden and crispy without frying!
And lately, having an easy batch of chicken tenders ready to go has been especially helpful. My daughter isn’t a picky eater (thankfully!), but when it comes to chicken, she’s firmly Team White Meat. With her starting a new school and our days feeling a little more chaotic, meal prep has become my saving grace. I’ve been buying meat in bulk whenever I spot a good deal, and I managed to score chicken tenders at a great price. I didn’t realize until recently that three chicken strips at Chick-fil-A can run $5 to $6. This recipe makes about three times as many for around the same cost, so making a batch for the freezer is an easy decision!
Recipes Success Tips
- Let the extra yogurt drip off first. The Greek yogurt gives the panko something to stick to, and its mild acidity also helps soften the surface of the chicken as you prep the breadcrumbs. But you don’t want a thick layer going into the breadcrumbs. I let the excess drip back into the bowl before breading each tender so the panko doesn’t become too wet and pasty (which can affect browning and crispness).
- Don’t take your eyes off the panko. I start checking the breadcrumbs after 2 minutes because they can brown fast. Pull them once they’re lightly golden, even if the color isn’t perfectly even. They’ll continue to darken once you bake the chicken.
- Press the panko on firmly. I always press the panko onto both sides of each tender so it really sticks to the yogurt coating. A little pressure here helps give you a fuller, more even crust and keeps more of those crispy crumbs on the chicken instead of on the bottom of the pan.
- Give the chicken some room. Arrange them in a single layer without overlapping or crowding the pan. Leaving space around each one lets the hot oven air reach more of the coating, which helps the panko get perfectly crisp in the oven.
- Check the smaller pieces first. Chicken tenderloins aren’t always the same thickness, so I don’t rely on the timer alone. If your package has a mix of sizes, start checking the thinner pieces early and pull them when they reach 165°F in the thickest part. The finished coating should be crisp and browned, with opaque, fully cooked chicken inside!
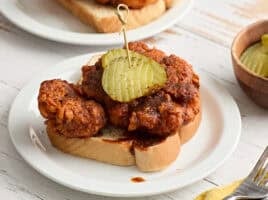
- Change up the seasoning! The garlic and onion powder keep these chicken tenders simple and versatile, but the panko is easy to customize. For a spicier batch, try swapping in some Nashville hot seasoning or use lemon pepper, smoked paprika, or Italian seasoning instead. Adjust the added salt if your seasoning blend already contains it.
How to Serve Chicken Tenders
When I serve these to my family, I usually count ~2 tenders as one serving (about ¼ lb. of chicken each). It’s also really easy to scale the recipe up for a bigger family or for meal prep. Adjust the number of servings in the recipe card below and the ingredient amounts will update automatically. If you’re doubling the recipe, I’d cook them in batches so the sheet pan doesn’t get overcrowded!
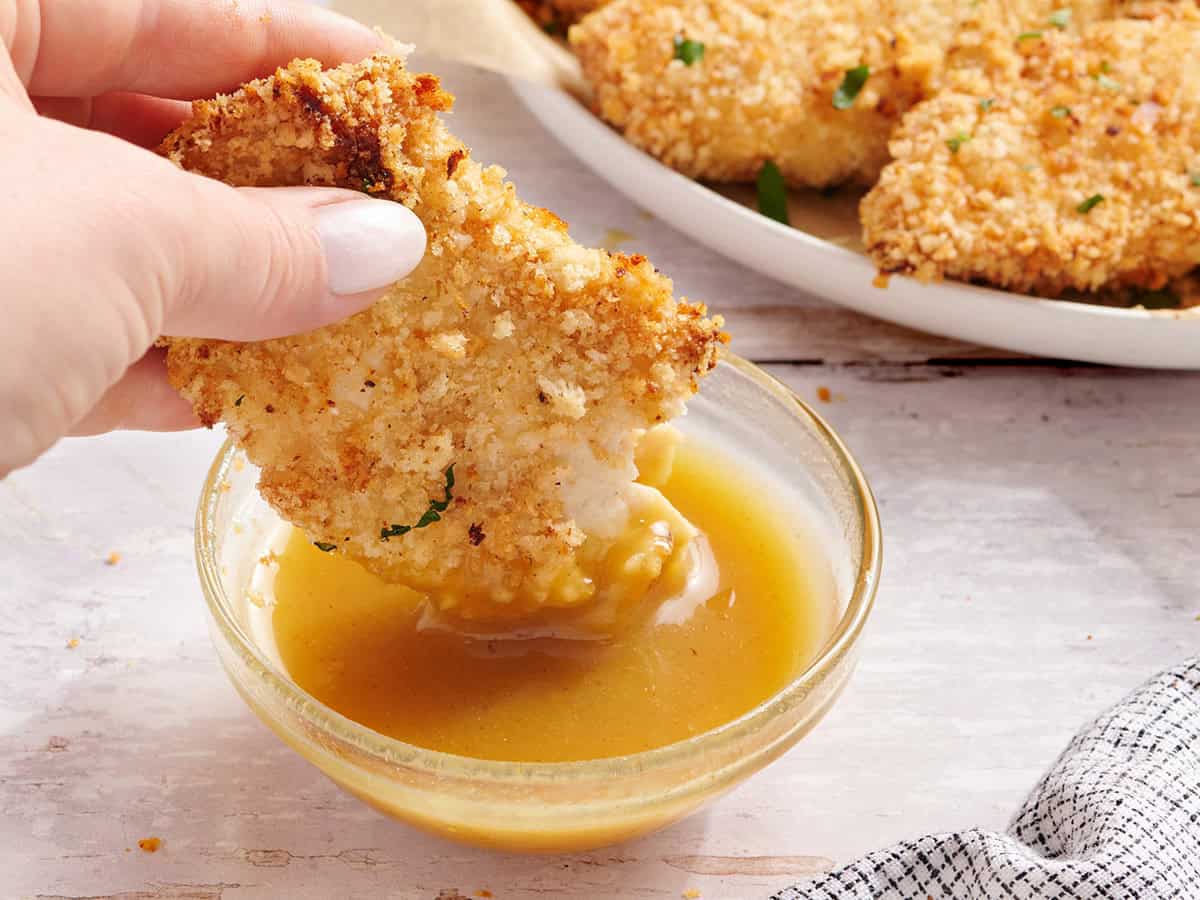
I almost always put out a dipping sauce with chicken tenders, and our honey mustard sauce is usually the first one I reach for because the sweet, tangy flavor works great with the savory chicken. Homemade ranch dressing is another easy option, especially if I’m serving raw veggies alongside because it can do double duty as a dip. Or for a classic chicken-and-fries dinner, I’ll add some air fryer French fries so I’m not trying to fit another sheet pan in the oven at the same time. And when I want to make dinner a little heartier, homemade mac and cheese makes the meal feel extra cozy!
More Serving Ideas
- Make a chicken tender sandwich: Tuck a couple of tenders into a soft bun with lettuce, pickles, and whichever sauce you’re already using for dipping. It’s an easy way to turn the same batch into a completely different lunch the next day.
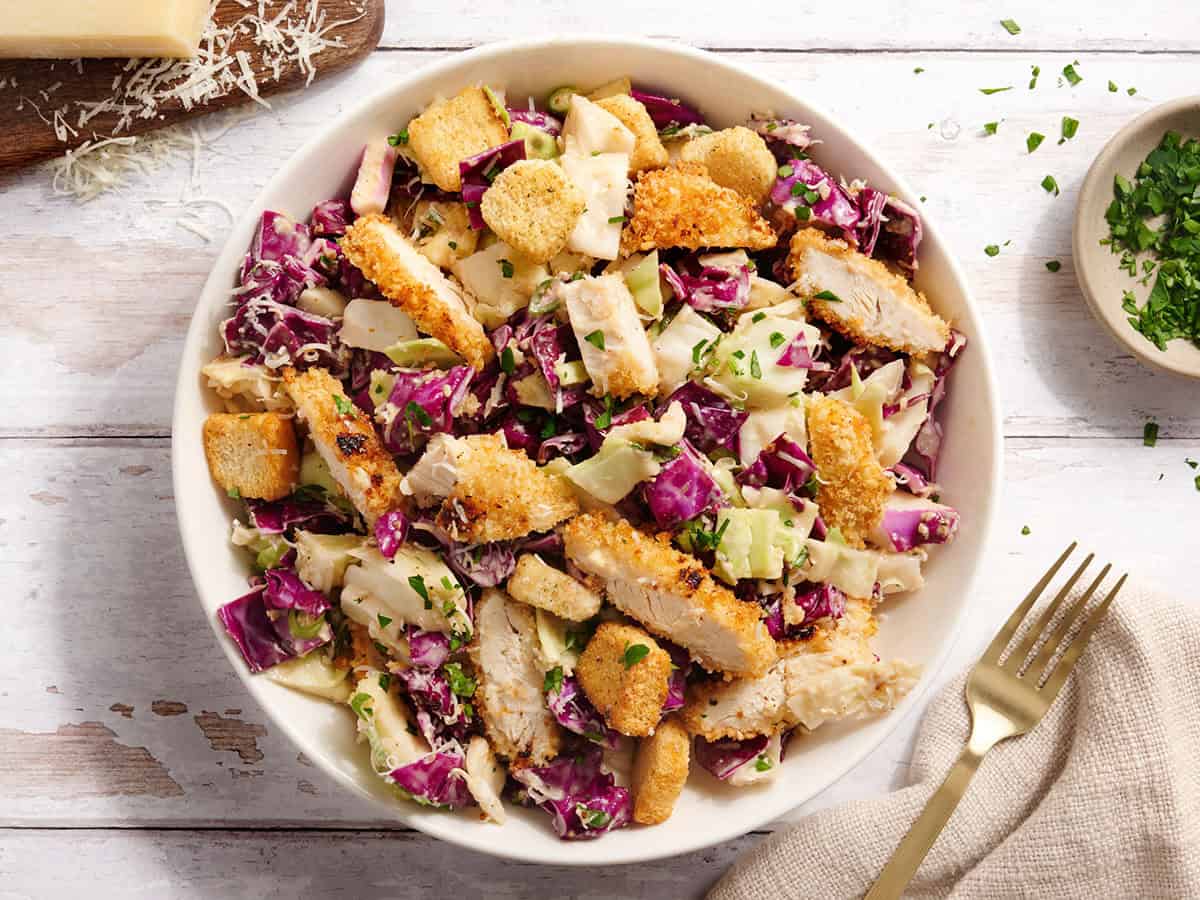
- Turn them into a salad: Slice the warm tenders over my Caesar slaw for a crunchy, creamy meal that still feels fresh. This is also a great use for reheated tenders because the slaw brings plenty of texture even if the breading has softened a little!
- Keep it simple for the kids: I’ll sometimes just add fruit or raw veggies on the side and let everyone choose their own dipping sauce. It keeps dinner easy without making a separate meal.
Chicken Tenders
Cost $7.03 recipe / $1.76 serving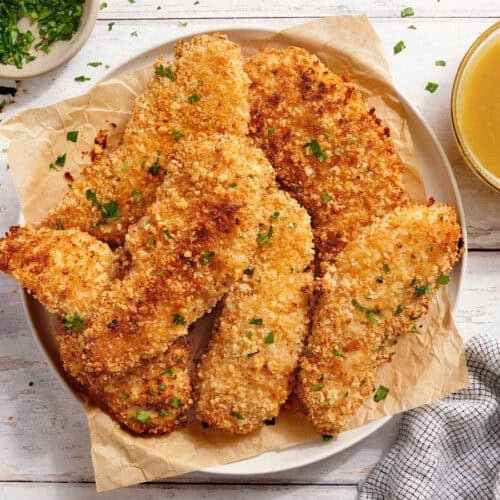
Ingredients
- 1 lb. chicken tenders ($5.66*)
- ⅓ cup plain Greek yogurt ($0.33**)
- ¼ tsp salt ($0.01)
- 3 Tbsp water ($0.00)
- 1¾ cups panko breadcrumbs ($0.82***)
- ½ tsp onion powder ($0.03)
- ½ tsp garlic powder ($0.03)
- ¼ tsp salt ($0.01)
- ⅛ tsp black pepper (freshly cracked, $0.02)
- 2 Tbsp neutral oil ($0.12****)
Instructions
- Gather ingredients. Preheat oven to 400℉.
- Add the chicken, Greek yogurt, salt, and water to a bowl.
- Mix to combine. Cover the marinating chicken and refrigerate.
- In a medium-size mixing bowl, mix together panko, onion powder, garlic powder, salt, pepper, and neutral oil.
- Spread the panko out on a parchment-lined baking sheet.
- Toast them for 2-5 minutes in the oven until golden brown. It’s ok if the panko varies in color, toasting them before breading helps make these chicken tenders extra crispy, but they will continue to brown on the chicken during the baking process. Set a timer for 2 minutes to start with and check them! The panko can burn fast!
- Transfer the toasted panko back to the mixing bowl you used to add the seasonings. One at a time, using your hands or tongs, toss the marinated chicken tenders in the toasted panko mixture, pressing it into the panko to make sure they are thoroughly covered on both sides.
- Transfer each breaded chicken tender to a parchment-lined baking sheet. (You can use the same parchment and baking sheet you toasted the panko crumbs on.)
- Bake the chicken tenders in the oven for 30 minutes, flipping them halfway through. Make sure they reach the minimum internal temperature of 165℉.
See how we calculate recipe costs here.
Notes
Nutrition Information
 Have you tried this recipe?Mention @budgetbytes or tag #budgetbytes on Instagram!
how to make Chicken Tenders Step-by-Step Photos
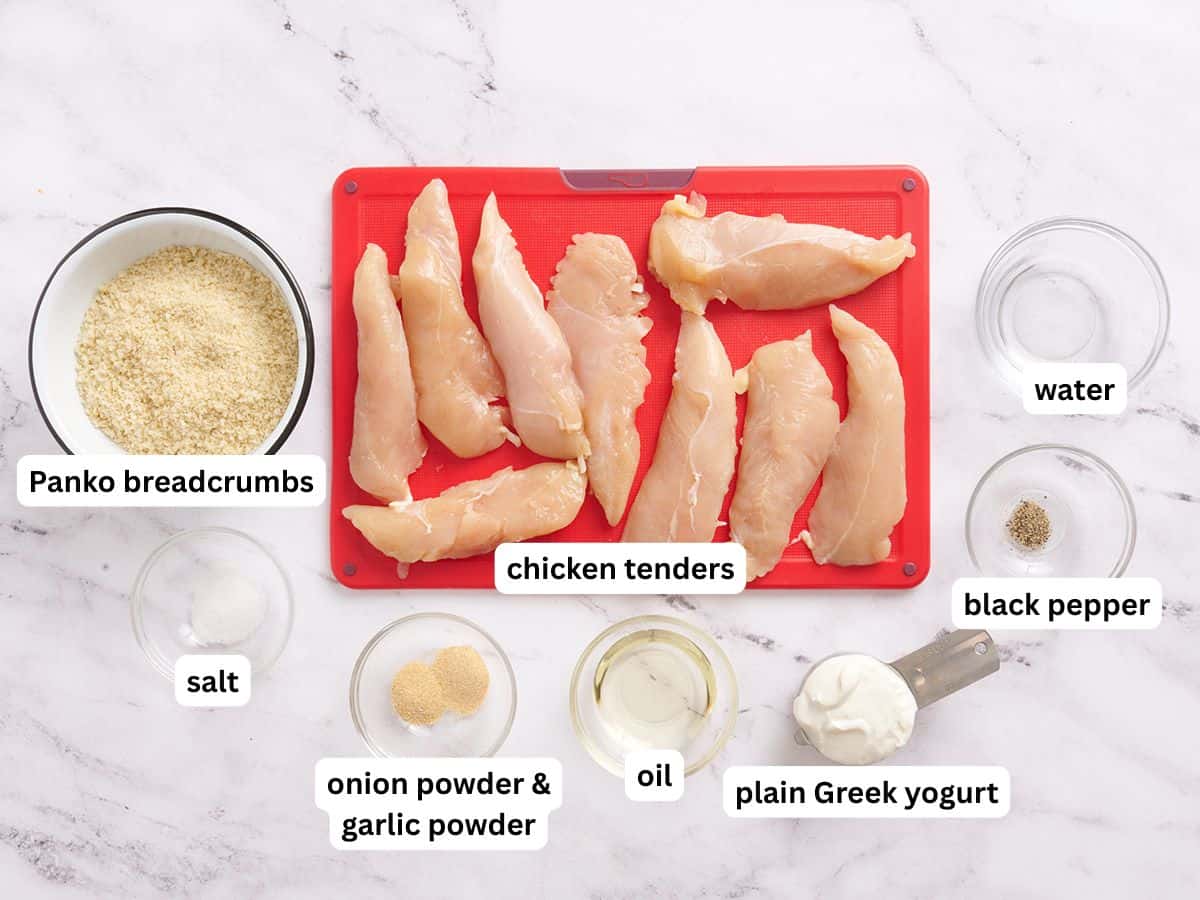
Gather all of your ingredients and preheat the oven to 400°F. Also, line a baking sheet with parchment paper.
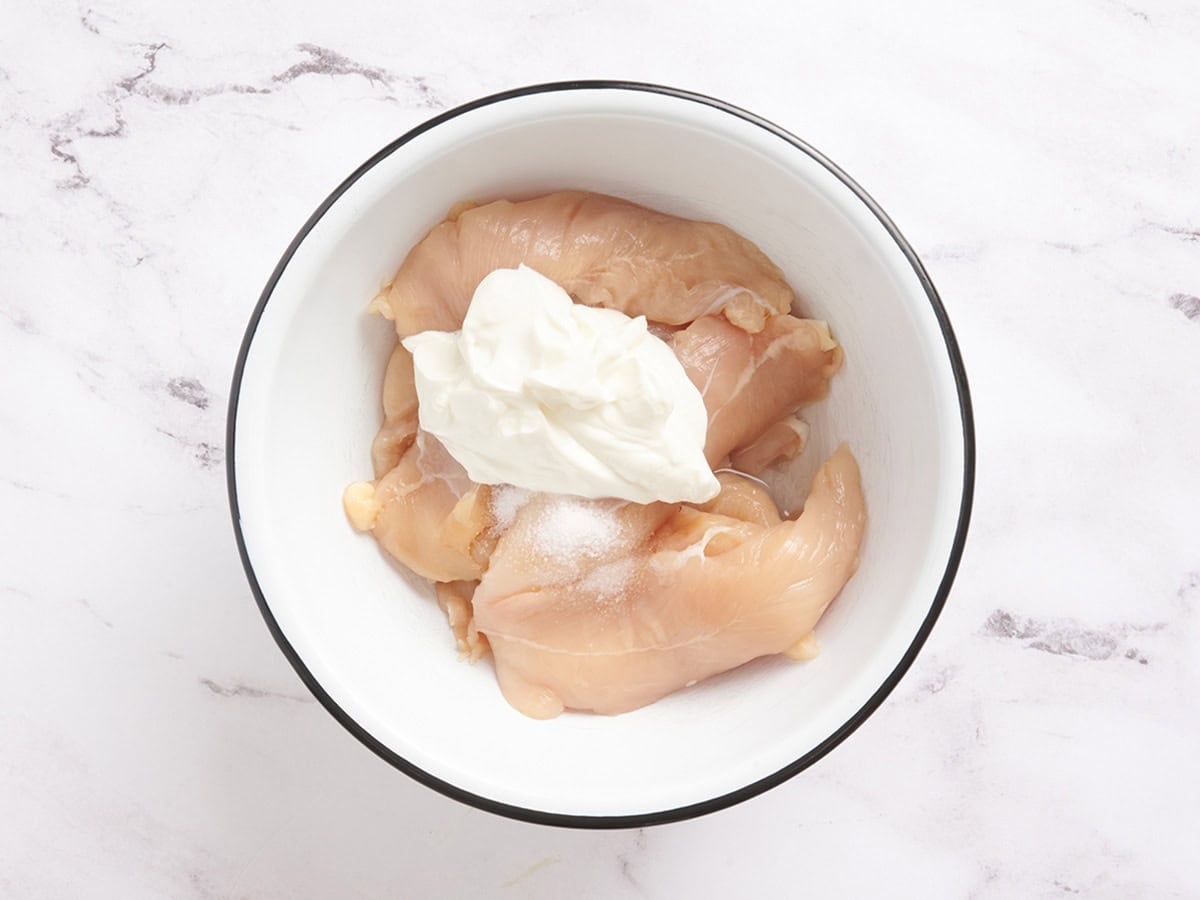
Coat the chicken: Add 1 lb. chicken tenders, ⅓ cup plain Greek yogurt, ¼ tsp salt, and 3 Tbsp water to a medium bowl.
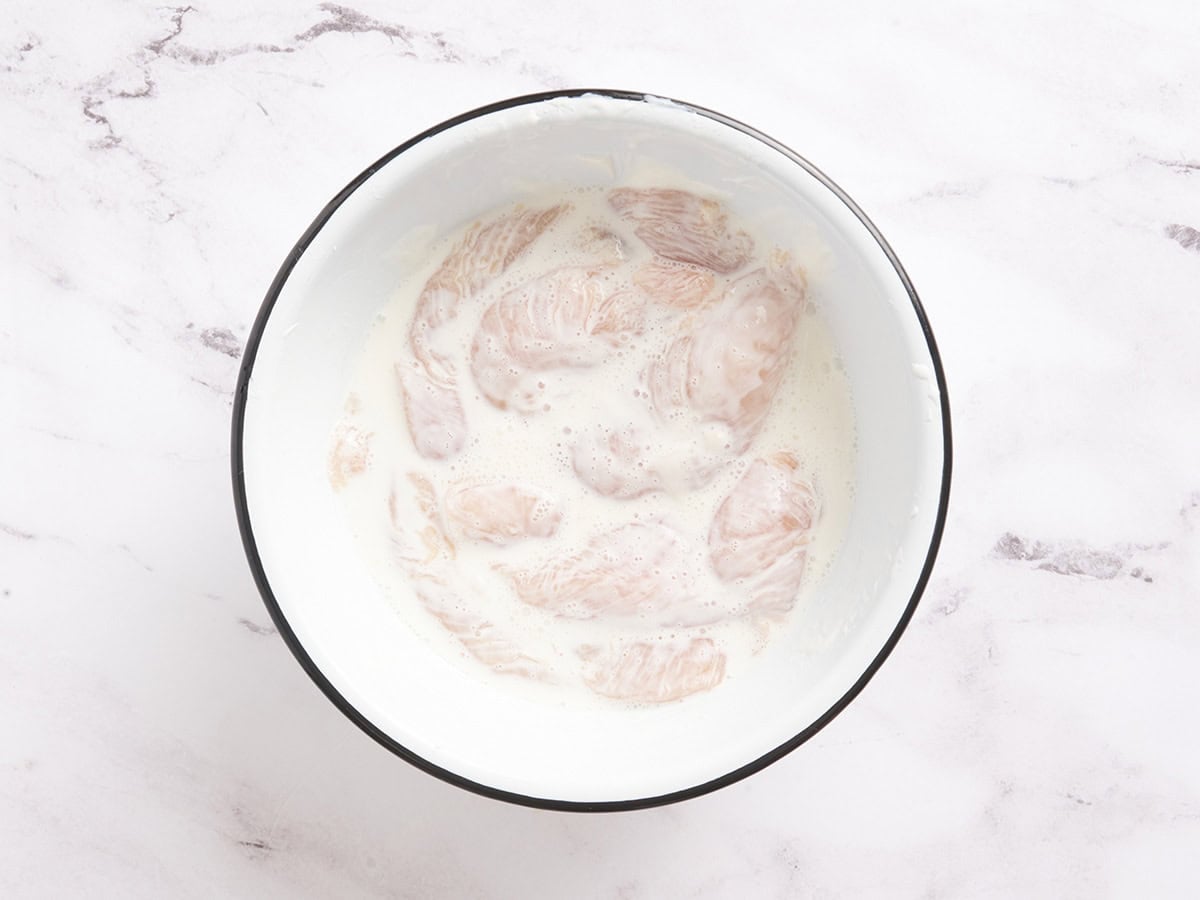
Toss until every piece of chicken is evenly coated in the thinned yogurt mixture. Cover and refrigerate the chicken while you prepare the breadcrumbs.
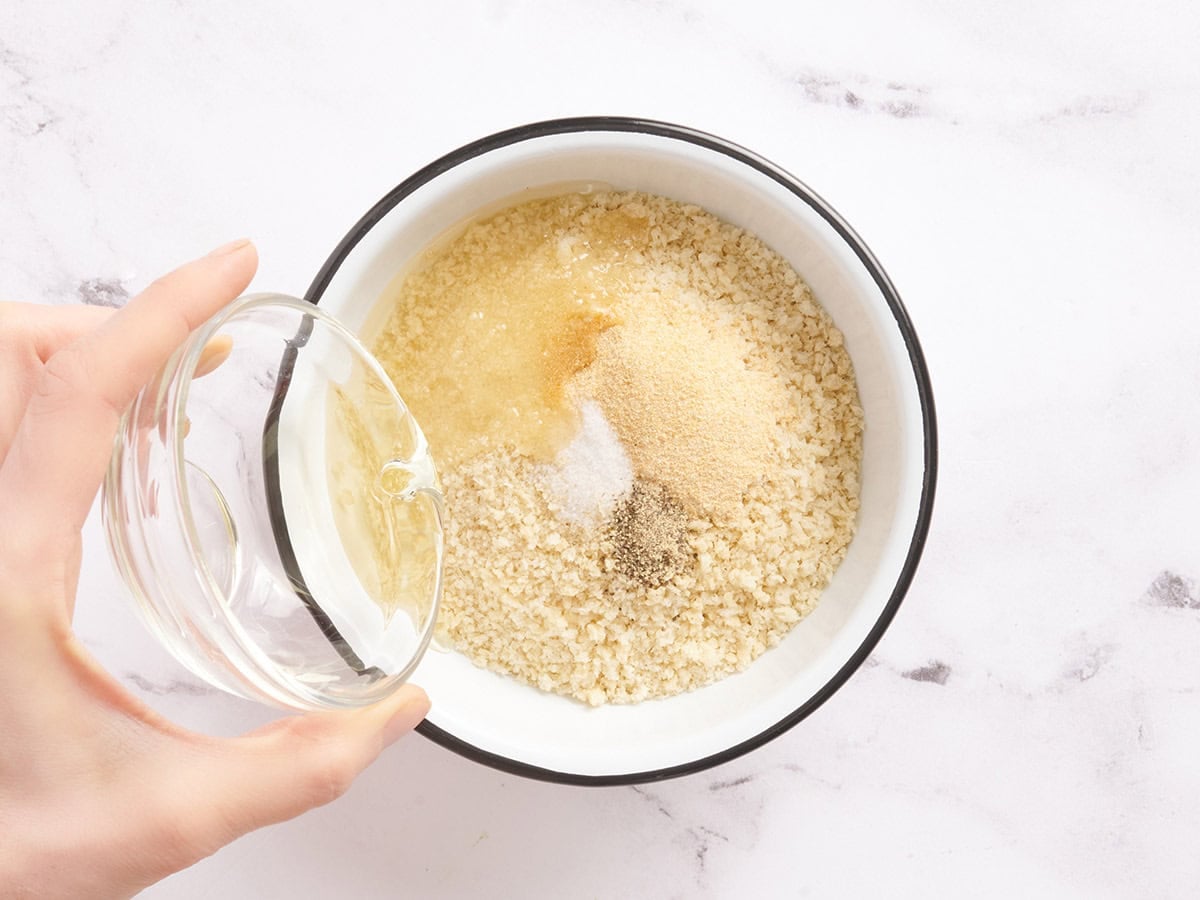
Season the panko: In a medium mixing bowl, combine 1¾ cups panko breadcrumbs, ½ tsp onion powder, ½ tsp garlic powder, ¼ tsp salt, ⅛ tsp freshly cracked black pepper, and 2 Tbsp neutral oil. Mix well so the seasonings and oil are evenly distributed throughout the crumbs.
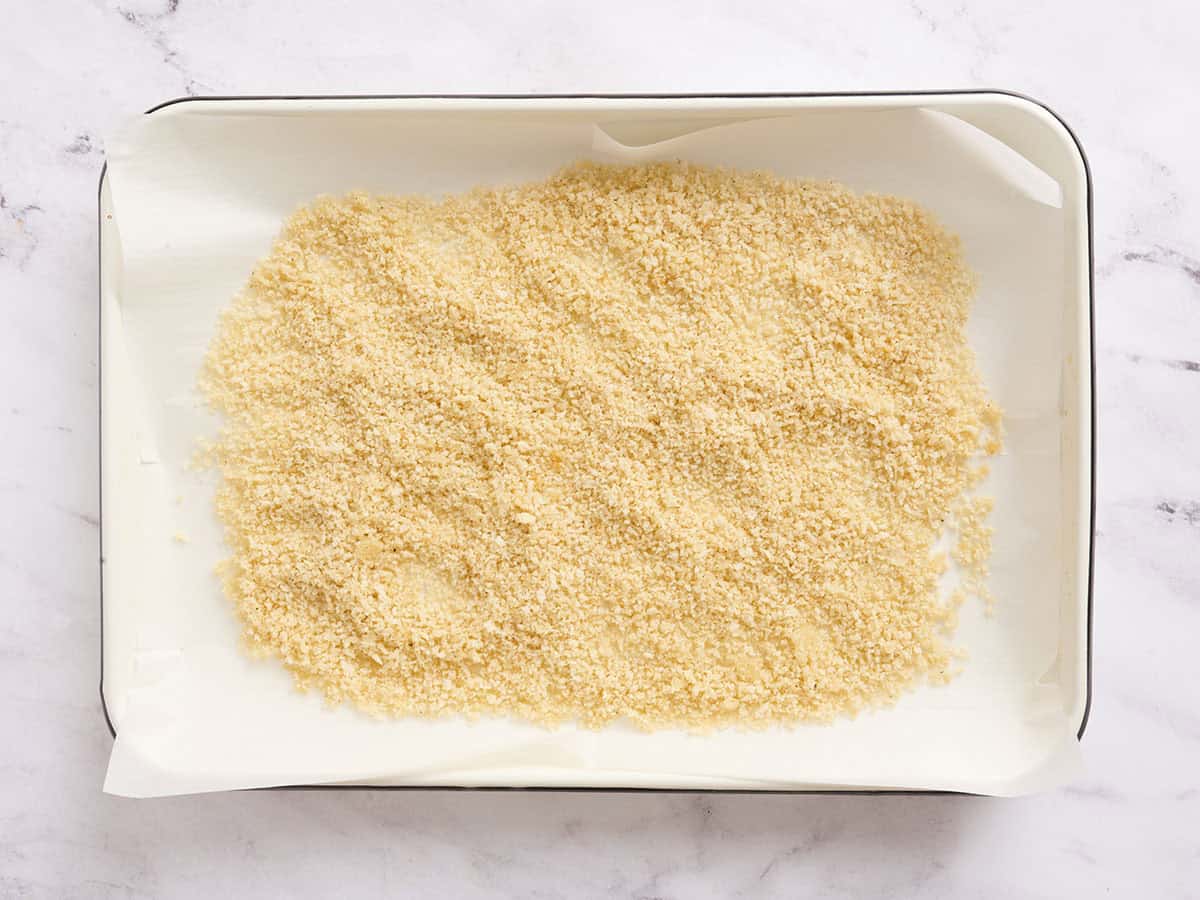
Toast the panko: Pour the seasoned panko onto the prepared baking sheet and spread it out into an even layer so it can toast evenly.
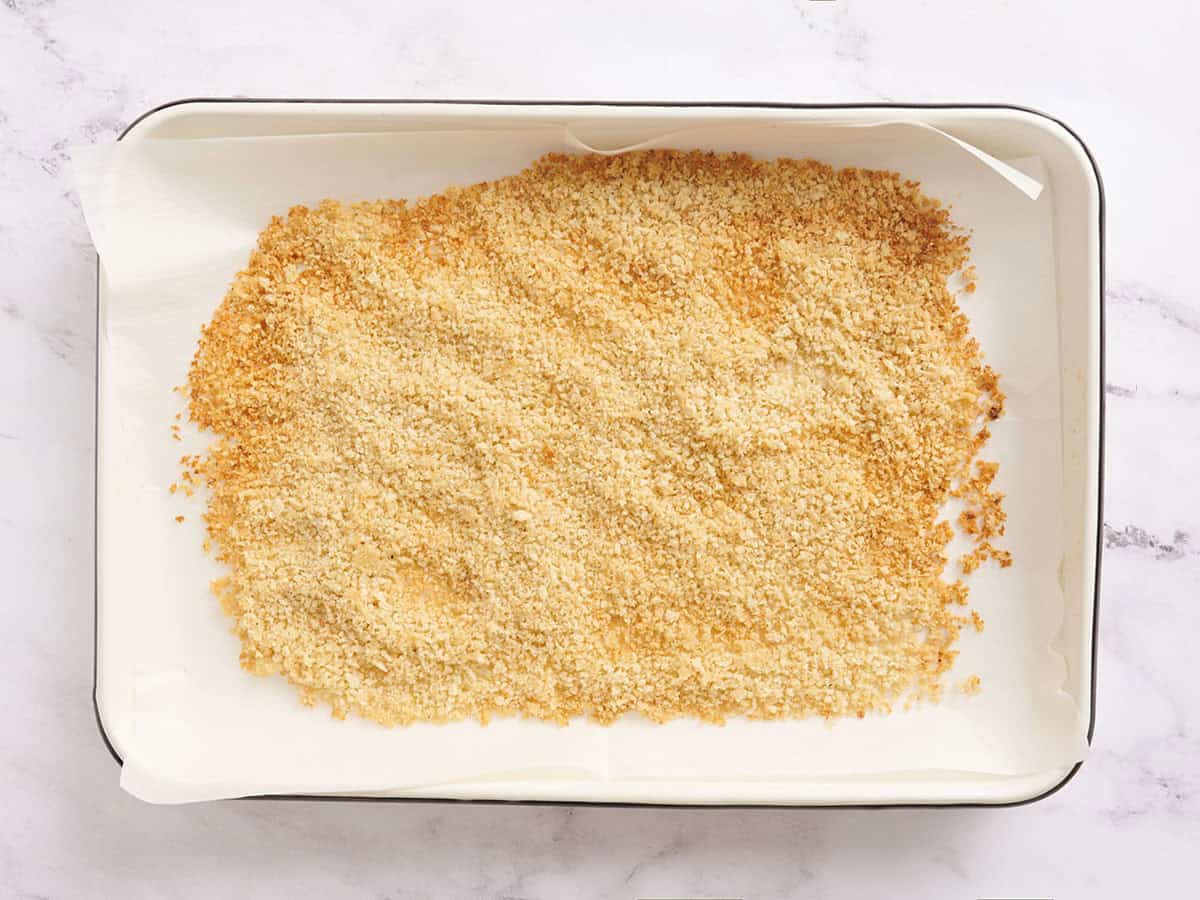
Bake the breadcrumbs for 2-5 minutes, until lightly golden. Some variation in color is totally fine because the panko will continue browning once it’s on the chicken. Start checking at 2 minutes and keep a close eye on it from there because panko can burn quickly.
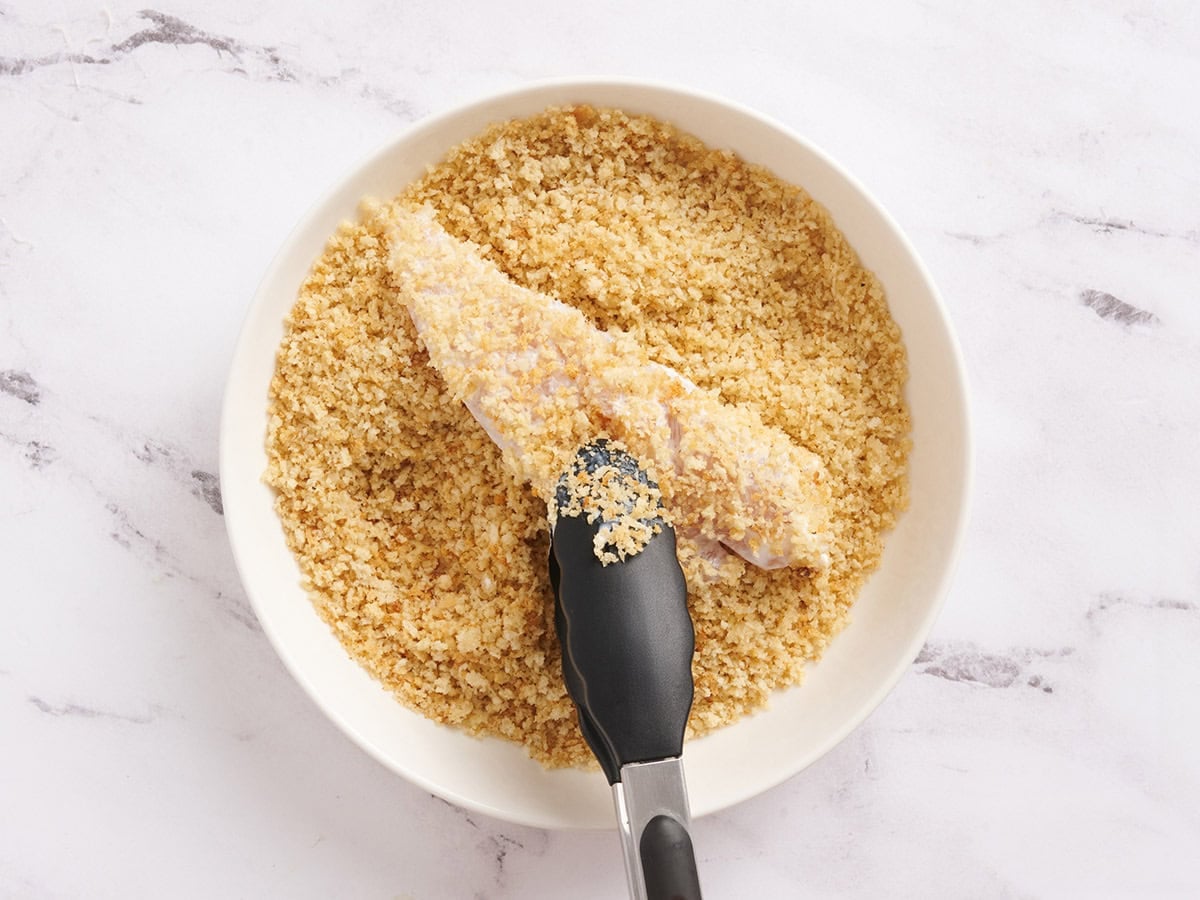
Bread the chicken: Transfer the toasted panko back to the mixing bowl. Working with one tender at a time, lift the chicken from the yogurt mixture and let the excess coating drip back into the bowl. Toss each tender in the toasted panko, then press the crumbs firmly onto both sides so the chicken is thoroughly coated.
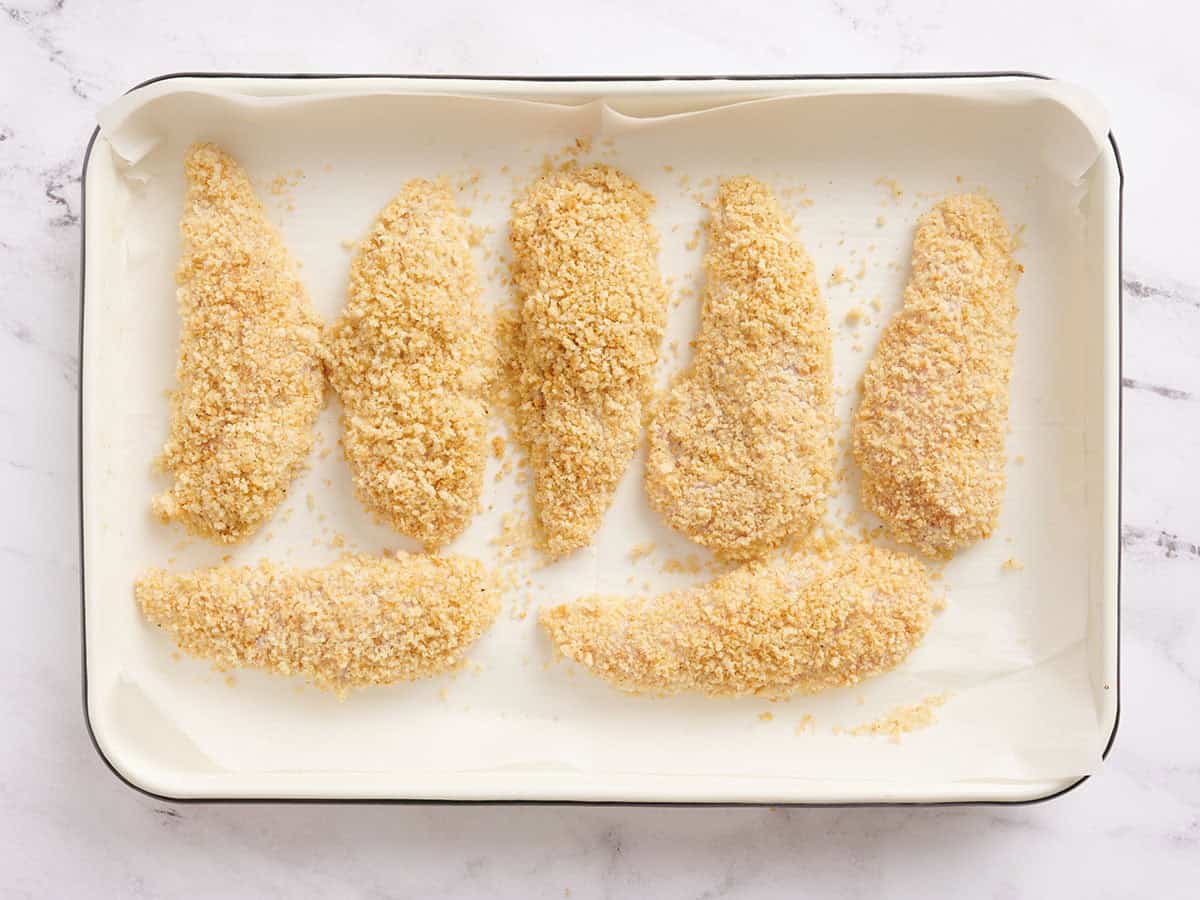
Bake the chicken: Place each breaded chicken tender back onto the parchment-lined baking sheet. Make sure they’re in an even layer and don’t overlap so they bake evenly. You can reuse the same parchment and pan you used to toast the breadcrumbs.
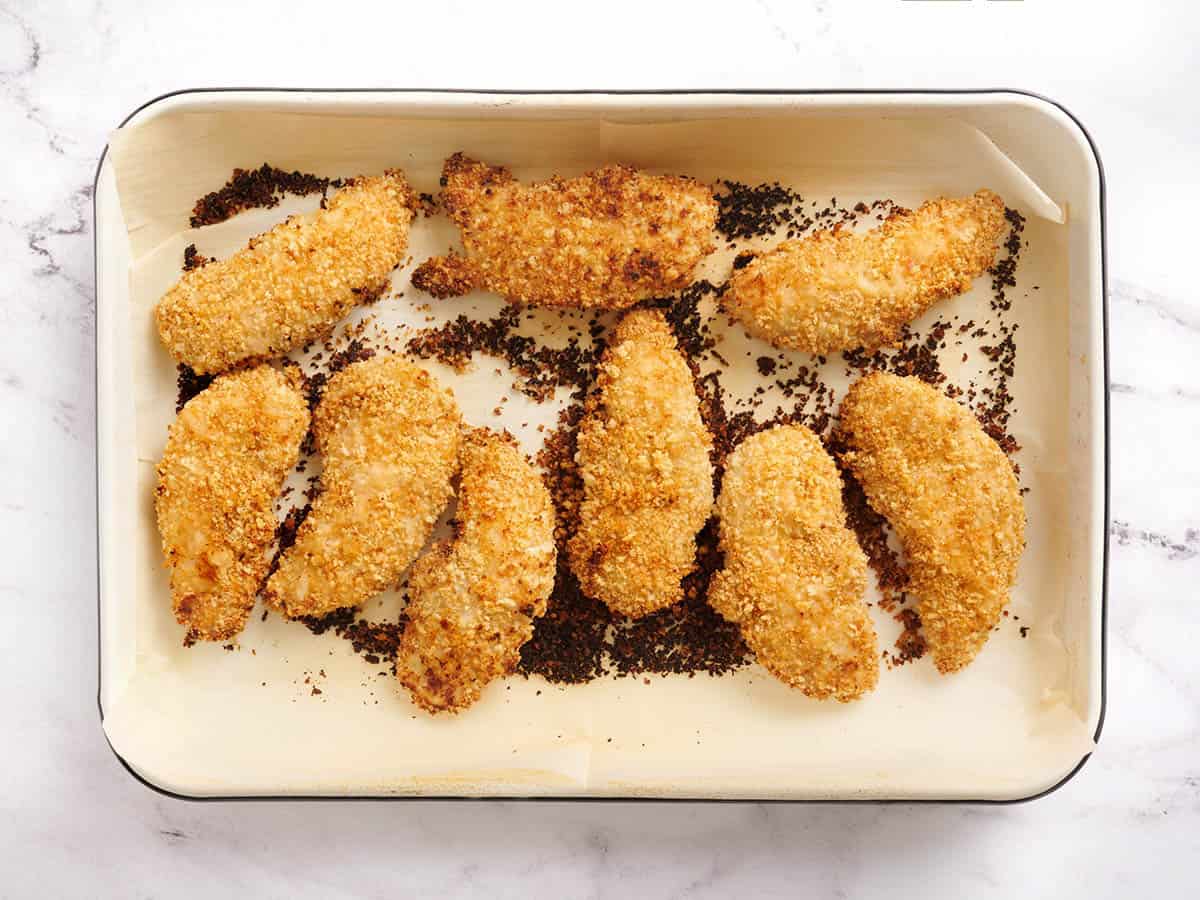
Bake the tenders at 400°F for 30 minutes, flipping each piece halfway through so both sides can brown. The coating should be crisp and browned when the tenders are ready. Check the thickest piece with a meat thermometer and make sure the internal temperature reaches 165°F before serving. Serve and enjoy!
Storage & Reheating
These chicken tenders are definitely crispiest straight from the oven, but leftovers still hold up well. Let them cool completely, then store them in an airtight container in the refrigerator for 3-4 days.
Reheating
I find the best way to bring back some of the crunch is in the oven or air fryer. Bake them at 400°F for about 8-10 minutes, or air fry at 400°F for about 4-6 minutes, until heated through and crispy again. Start checking early, especially with smaller tenders, so the chicken doesn’t dry out while you’re reheating.
Freezing
These are great for stashing in the freezer, which is one of the main reasons I like making a double batch! Let the baked tenders cool completely, then arrange them in a single layer on a parchment-lined baking sheet and freeze until solid. Transfer them to a freezer-safe bag or container and freeze for up to 3 months. Flash freezing first keeps the tenders from sticking together. You can reheat them straight from frozen in the oven or air fryer.
Try These Chicken Tender Recipes Next!
- Prefer using the air fryer? These Air Fryer Chicken Tenders use a mix of regular breadcrumbs and panko and cook in about 13 minutes.
- I love how the honey mustard does double duty in these Honey Mustard Chicken Strips. It helps the panko stick to the chicken and doubles as a sweet, tangy dipping sauce for serving.
- If you want some heat, Sriracha Chicken Strips marinate the chicken in Sriracha, ginger, and garlic before coating it in panko and baking until crunchy.
- Another fun variation I’d recommend is our Coconut Chicken Strips. The coating mixes panko with sweetened coconut, and the sweet chili sauce gives the whole thing a completely different flavor direction.