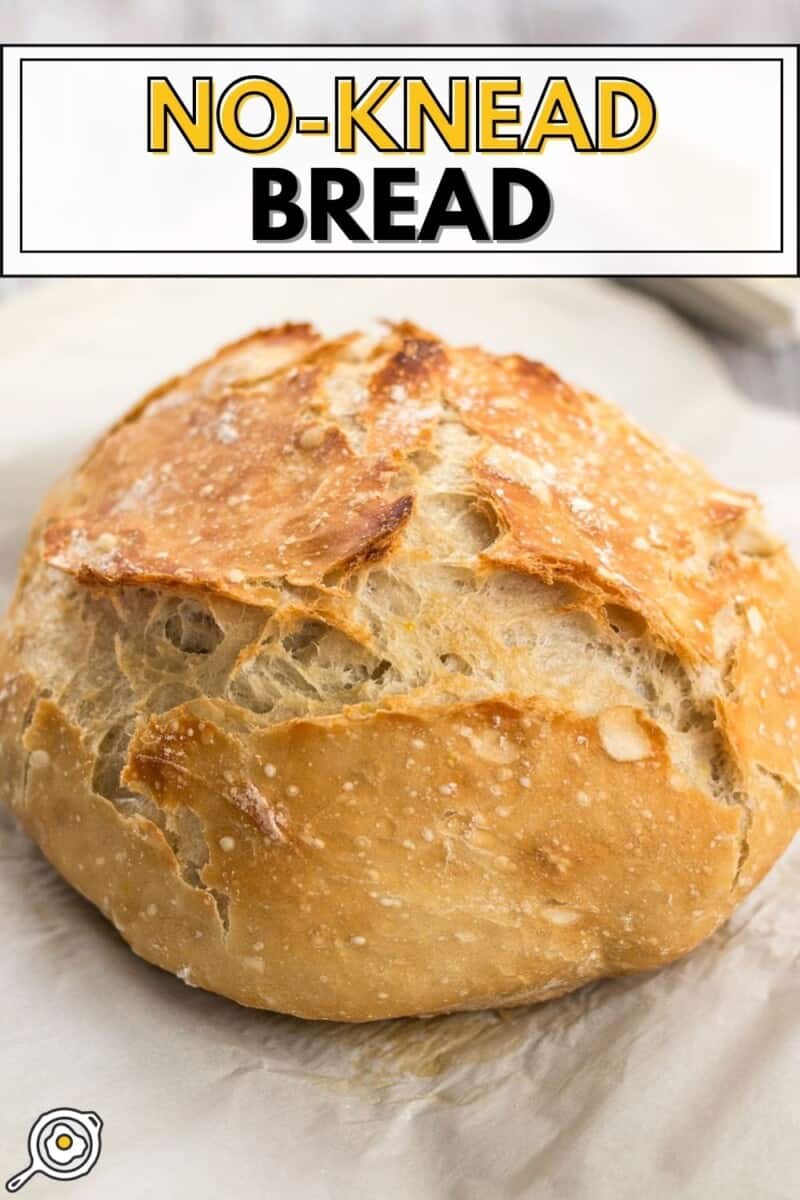
I started making no-knead bread in 2010 and it has continued to be my favorite way to make homemade bread because it’s incredibly simple, it doesn’t require a lot of effort, and it makes the most deliciously crusty bakery-style bread ever. To make this no-knead bread recipe you only need four ingredients (including water) and a little bit of time. No fancy equipment or techniques needed!

All recipes are rigorously tested in our Nashville Test Kitchen to ensure they are easy, affordable, and delicious.
“I’ve made this twice and it was amazing! Hard to believe something so simple can come together to be something so amazing!”
-Melissa
What Is No Knead Bread?
No-knead bread is an ancient technique for making delicious loaves of bread by utilizing a long fermentation time to develop the gluten the flour instead of hand kneading. Gluten is the protein that gives bread its strength, allowing it to rise into a fluffy loaf, and have that deliciously chewy texture. Kneading bread dough develops gluten quickly, but is quite labor-intensive. If given enough time, yeast can develop the gluten in the dough without the need for manual needing.
Ingredients for No Knead Bread
The best part about this no-knead bread recipe is that it only requires four ingredients, including water, and you still get an incredibly flavorful bread. Here’s all you’ll need to make your own homemade no-knead bread:
- Flour: Our version of no-knead bread was developed using all-purpose flour because that is what we most commonly have on hand. That being said, using bread flour will create even better results. Just keep in mind that bread flour tends to absorb more water than all-purpose flour, so you may need to adjust the ratios slightly.
- Yeast: For this type of bread, we use instant yeast or bread machine yeast, both of which do not need to be activated first by proofing in warm water. You can simply add them to your dry ingredients and go!
- Salt: Without the proper amount of salt, homemade bread will have no flavor, so it’s imperative that you do not skip the salt.
- Water: Water hydrates the flour to create the dough. Because this technique uses a longer ferment time, you can use room-temperature water and you do not have to “wake up” the yeast with warm water. The yeast will have plenty of time to activate as it rests.
What Kind of Yeast to Use
It’s very important to use the correct type of yeast for this recipe. Instant yeast and bread machine yeast are special because they do not require mixing with warm water to “wake up” before adding to a recipe. You can simply stir them into the dry ingredients and they will activate instantly upon hydration, so that is what we use for this super simple no-knead bread technique. Active Dry yeast, on the other hand, needs to be specifically activated in warm water first. If you use active dry yeast in this recipe using the technique below, the bread will likely not rise.
Do I Need to Use a Dutch Oven?
Using a preheated Dutch oven does create the best results because it gives the bread an extra intense boost of heat while retaining all of the moisture and steam. That being said, I have made no-knead bread on a sheet pan with great results! I suggest adding a pan with an inch or so of water on the bottom rack of your oven to create steam if you’re baking your bread on a sheet pan.
If possible, I would suggest investing in a Dutch Oven because they are easily one of the most flexible and useful pieces of cookware. We love our Amazon Basics 6-Quart Enameled Dutch Oven as a very affordable alternative to Le Creuset. Lodge also makes very affordable Enameled Dutch Ovens and plain Cast Iron Dutch Ovens (like the one used in the photos here).
Short Fermentation vs. Long Fermentation
You can make no-knead bread using either a long fermentation (12-18 hours) or a short fermentation (about 2 hours). The difference is that you’ll need more yeast to do the short fermentation and the flavor does not develop quite as deeply. That being said, short fermentation no-knead bread is a great option when you haven’t planned ahead!
Long Fermenation: Follow the instructions below, using ¼ tsp yeast and fermenting the dough for 12-18 hours.
Short Fermentation: Use 2 tsp yeast (or one ¼ oz. packet) and ferment the dough for about 2 hours at room temperature.

No-Knead Bread
Cost $0.33 per loaf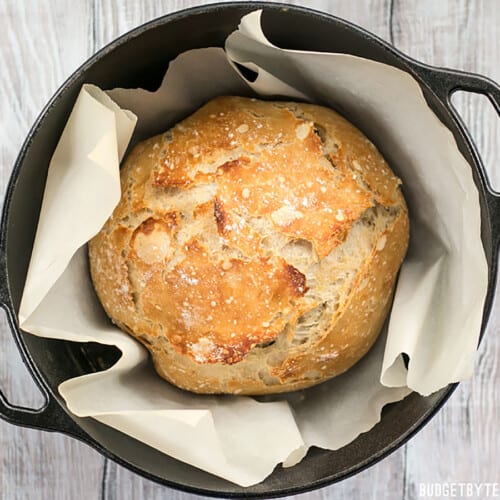
Ingredients
- 3 cups all-purpose flour ($0.29)
- 1/4 tsp instant yeast or bread machine yeast (see notes, $0.02)
- 1.5 tsp salt ($0.02)
- 1.5 to 1.75 cup water (see notes, $0.00)
Instructions
- The day before baking, combine the flour, yeast, and salt in a large bowl and stir until they're well combined. Stir in about 1.5 to 1.75 cups room temperature water until a shaggy, sticky ball of dough forms and there is no dry flour left on the bottom of the bowl. The dough should be wet and sticky, but not so wet that it appears glossy. Cover the bowl loosely with plastic and let it sit at room temperature for 12-18 hours.
- The next day, the dough should be fluffy and very bubbly. When you're ready to bake, sprinkle a little flour on top of the fermented dough and scrape it out of the bowl. With well-floured hands, shape the dough into a ball and place it on a piece of parchment paper. Let the dough rise for 30-60 minutes.
- While the dough is rising, preheat the oven to 425ºF, or the highest recommended temperature listed on the packaging for your parchment paper. Place the Dutch oven inside the oven as it preheats, and make sure it sits in the fully heated oven for at least 15 minutes before baking the bread.
- Once the bread has risen and the Dutch oven is fully heated, carefully remove the Dutch oven from the oven (it will be EXTREMELY hot). Lift the parchment with the dough straight into the dutch oven and cover it with the lid.
- Return the Dutch oven to the oven and bake for 30 minutes. Carefully remove the lid and bake for another 15-20 minutes, or until the crust is a deep golden brown. Remove the Dutch oven from the oven, lift the bread out by by using the parchment paper, and allow it to cool before cutting open and serving.
Sheet Pan Instructions
- Ferment and shape the dough as described above, then place it on a parchment-lined sheet pan to rise for an additional 30 minutes.
- Place a baking pan with about an inch of water on the bottom rack of the oven, then preheat to 425ºF while the dough rises.
- Once the loaf has risen for 30 minutes and the oven is fully preheated, carefully score the top of the dough with a sharp knife (use horizontal motions with no downward pressure). Transfer the sheet pan to the oven and bake for 40 minutes, or until the crust is deeply golden brown and the loaf sounds hollow when tapped.
See how we calculate recipe costs here.
Notes
Nutrition Information

How to Make No-Knead Bread – Step by Step Photos

Before you begin, make sure you have “instant yeast” or “bread machine yeast” rather than “active dry”. The reason you need this type of yeast specifically is because it does not need to be kick-started by mixing with warm water first. You can add it to a recipe dry and it will still activate. I buy these little jars, which I keep in my fridge, and they last for-ev-er (especially when you’re only using 1/4 tsp at a time)!
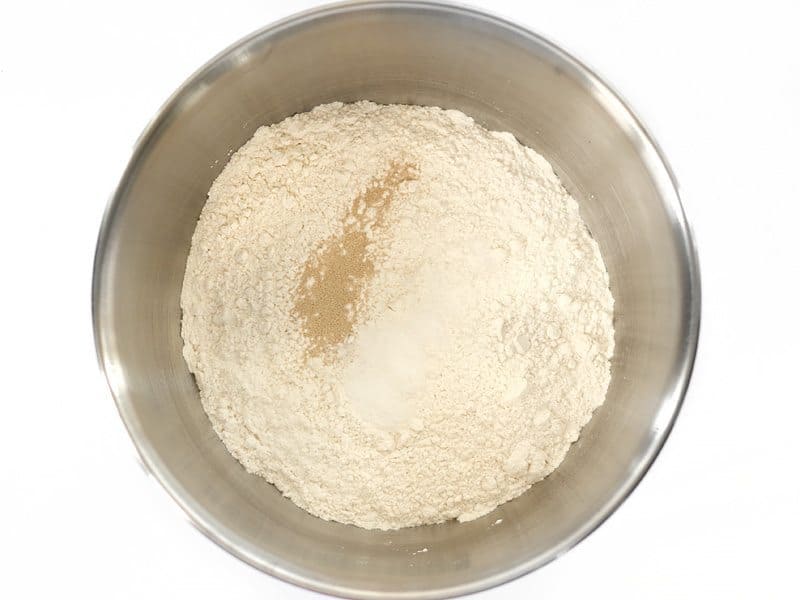
The day before you want to actually bake the bread, combine 3 cups all-purpose flour, 1/4 tsp instant or bread machine yeast, and 1/2 Tbsp salt in a large bowl. Stir them together really well.
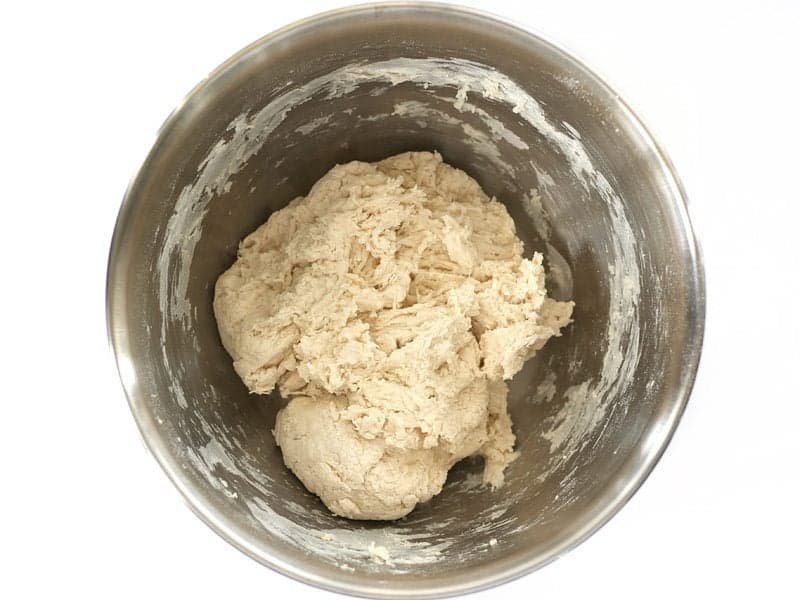
Stir in about 1.5 to 1.75 cups of room temperature water, or just enough to form a shaggy ball of slightly sticky dough, and no dry flour is left on the bottom of the bowl. The total amount of water needed may vary from time to time depending on the ambient humidity and moisture content of the flour, so go on visuals here. Make sure it comes together in one ball and no dry flour is left on the bottom of the bowl. It’s okay for it to be a bit sticky.
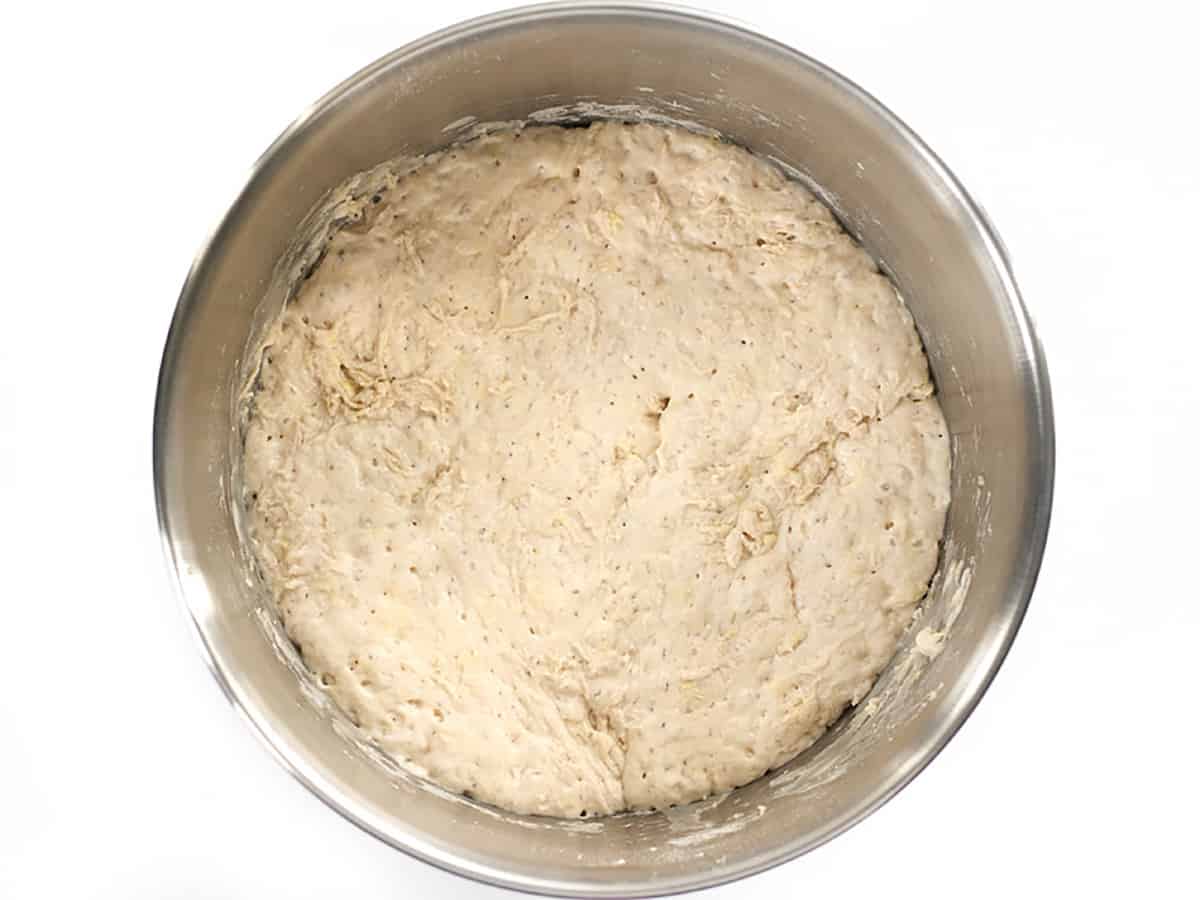
Loosely cover the bowl with plastic and let the dough ferment at room temperature for 12-18 hours. If you need to let it sit longer than that to fit your schedule, just transfer it to the refrigerator. As the dough ferments, it becomes very big, light, fluffy, and bubbly.

Sprinkle a little flour onto the dough (because it will be sticky) and scrape it out of the bowl. It will begin to deflate as you scrape it out.

Using floured hands, shape the dough into a ball, then place it on a large piece of parchment. Let the dough rise for 30-60 minutes. The shorter rise time will produce a slightly more dense bread and the longer rise time will have larger bubbles.
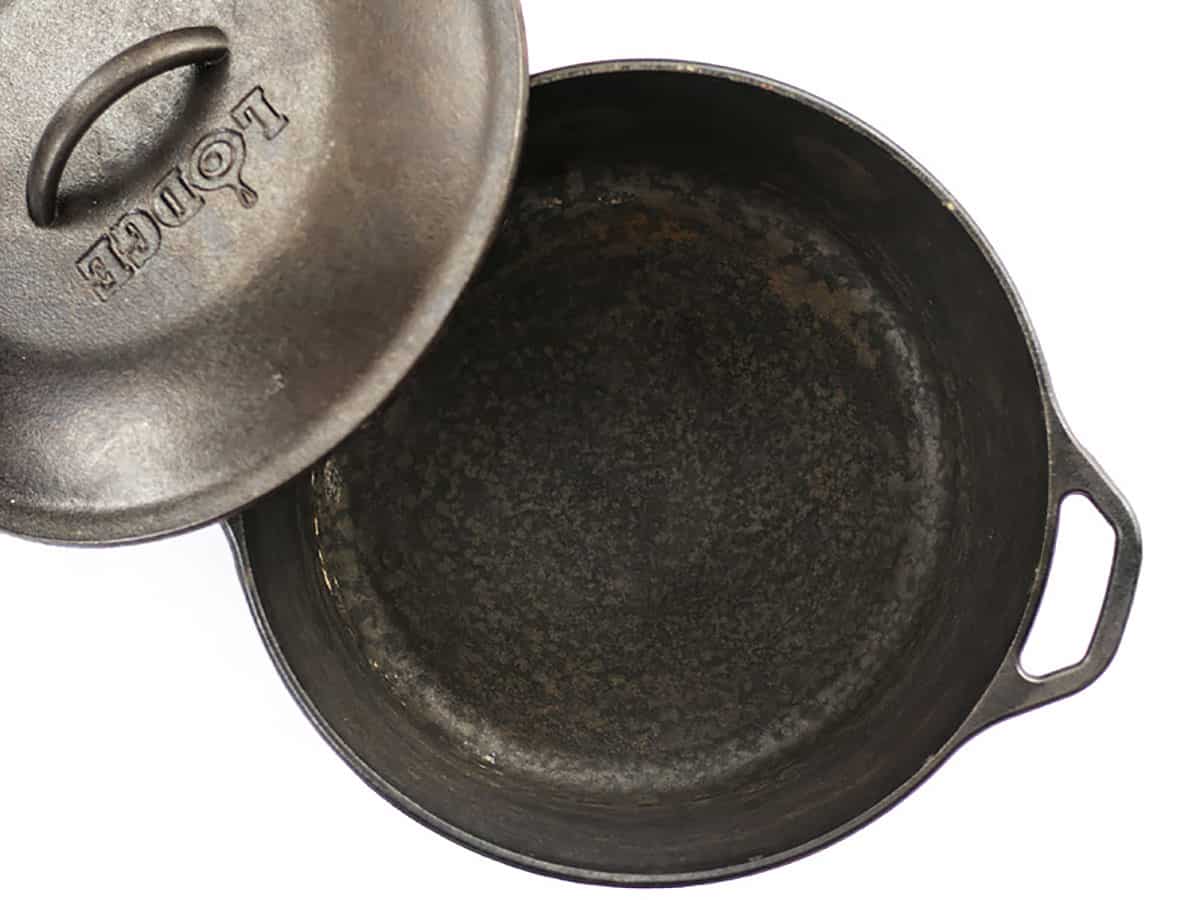
While the dough is rising, begin to preheat the oven and the Dutch oven. Set the oven to 425ºF, or whatever the highest safest temperature is for your brand of parchment (it will usually be listed on the box somewhere). Make sure your Dutch oven is inside the oven as it preheats, and then let it heat for an additional 15 minutes or so once the oven is up to temperature. This makes sure that the Dutch oven is nice and hot.

When the dough is risen and the Dutch oven is fully preheated, carefully remove the Dutch oven from the oven (it will be extremely hot!). Lift the risen dough by the parchment and place it inside the Dutch oven, parchment and all. Place the lid on the Dutch oven and return it to the hot oven.

Let it bake for 30 minutes with the lid on the Dutch Oven, then carefully remove the lid…

Then bake it for an additional 15 minutes or so WITHOUT the lid to allow the crust to brown.

Once the crust achieves a nice deep golden brown color, carefully remove the Dutch Oven from the oven. Lift the no-knead bread out of the Dutch oven by the parchment, and allow it to cool before serving.

And just be prepared for the BEST bread you’ve ever made yourself. ;) The crust on this no-knead bread is seriously amazing.
No Dutch Oven and Short Fermentation Instructions
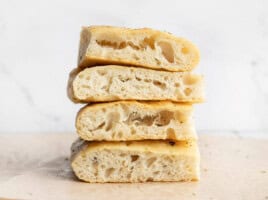
So, as I mentioned before, you can still bake this bread without a Dutch oven and with a short, 2-hour fermentation time. Here is a photo of my no-knead bread using just 2 hours of fermentation (plus another 1 hr rise time) and baked on a baking sheet.

If you only have about 2-3 hours to ferment the dough, you’ll need to increase the amount of yeast used to 2 tsp (instead of 1/4 tsp).
Let the dough ferment in the bowl for 2 hours, then shape it into a loaf, transfer it to a baking sheet covered with parchment (and sprinkled with cornmeal, if desired) and let rise for about another hour. I like to make slits in the top with a sharp knife after the loaf has risen. Be careful though, if the knife is not sharp enough or you use too much downward pressure, it can deflate the dough.
Brush the surface of the dough with water, then bake it in a preheated oven (again, as hot as the parchment will allow, usually around 425ºF) for 30-40 minutes, or until the crust is nicely browned.
Serving Suggestions
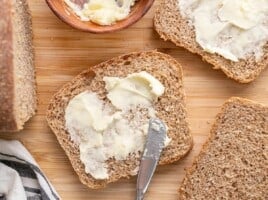
I love serving my no-knead soda bread alongside cozy soups—it’s the perfect way to make a simple meal feel extra comforting. The tender, slightly crumbly texture soaks up every bit of creamy goodness from a creamy chicken and rice soup or creamy mushroom soup, while its hearty flavor pairs beautifully with the rich spices in a vegetarian chili. And when I make a pot of split pea soup, a warm slice of soda bread spread with butter is all I need to complete the meal. It’s rustic, easy, and always hits the spot.

Can you use whole wheat flour for this recipe? If so, is it the same amounts or do you recommend altering the amounts a bit since whole wheat is more dense?
Whole wheat should work well here! I’d recommend starting with a 50/50 mix of whole wheat and all-purpose rather than going full whole wheat, since 100% whole wheat will give you a denser loaf with less rise. You may also want to add an extra tablespoon or two of water, as whole wheat flour absorbs more liquid than AP. White whole wheat flour is a great option too as it has the same nutrition as regular whole wheat but milder and lighter. Good luck!
Hi, I’m an avid baker though haven’t made this recipe in years. My big hudge mistake was not reading about the recipe before I tried it. Therefore, I didn’t use the correct dough. Yes, my gut to,d me to use hot water though as mentioned in the recipe, I used room temperature and 16 hours later I’ve got an unreserved blob of dough:(.
The most frustrating part about this is that I used room temperature only flour imported from Europe, due to gluten issues. The flour is expensive so I’m usually very careful. Here’s to being over confident. I’m still following the directions for baking in the Dutch oven and am expecting a tasty, yet very solid loaf of bread-haha.
This is the first time in my 65 yrs I’ve not read through a recipe completely before trying it and I’m paying for it.
Always, read through your recipes before you jump in!
Hi there! A clarifying question — i used 2tsp of instant yeast for a shorter fermentation time. i am using a baking sheet to bake. I’m confused by the instructions written above…with the short fermentation, i shaped the dough in the bowl and then let it rise for 2 hrs. I then went to the sheet sheet pan instructions, if I’m reading correctly. I take it out of the bowl after 2 hours, shape again and put on the sheet to let rise for another additional 30 mins? For a total of 2hr and 30min? Is that correct? Thank you!!
That’s correct!! With both methods you want to do that last 30 minutes rise after you shape.
So easy and so delicious!!
Easy recipe and loaf came out great! Saving this recipe for future use! Thanks!!
Changed out up to 50% water for beer to add more depth of flavor
I apologize for the dumb question but when you put the dutch oven in the oven to heat up, does that include the lid? Or does it not matter?
Thank you.
Yes, that includes the lid!
Delicious bread and super easy to make!
I also get a big blobby mess. I did use active dry yeast but it says online you can do either /or. also since people in the comments didn’t mention not using instant yeast I just assumed that they did and got the same blobby thing so I don’t think that the yeast is what matters. I also did the fast rise method, where you add 2 tsps of yeast(aka pretty much a whole packet) and let it rise to 2 hrs, then sprinkled some flour on, tried to make a loaf shape, put it on parchment and let it rise some more for another hour. (it did not rise, just stayed in a blob). I baked for about 35 minutes and it was very flat. it smells good, not sure on the taste yet. I don’t know, I guess I will have to look into other easy bread recipes.
Yes, it does sound like the yeast was the issue here. You must use instant yeast or bread machine yeast, both of which do not need to be activated in warm water before adding it to the dough. If you do not mix the active dry yeast with warm water (and usually a little sugar) to wake it up before adding to the dough it will not rise, unfortunately.
It might not be the type of yeast, but the brand and age. I did this bread many many times and it came out beautifully. Then I had several liquidy blobs in a row. It was a brand of yeast that I don’t normally use; could have been the brand or could have been old yeast I’m not certain. Bought new yeast of a different brand and everything was fine.
I’ve made this recipe dozens of times over the past couple of years. It’s delicious. That said, I have never, ever been able to get the dough to form a ball, just a sticky, blobby puddle. I’ve tried different flour and water combinations and am no closer to achieving the coveted ball status.
Hmmmm, try adding a little more flour to the surface when shaping. After the initial mixing and during the rise you definitely want it to be a blob, but dusting with a little extra flour after you scrape it out of the bowl helps shape it into a ball without actually drying out the dough would if you mixed more flour into it.
This was so easy and so good. The only thing is that the bottom of the loaf was really tough. Any suggestions?
I had that happen once; I hadn’t heated the lid with the bottom of the dutch oven so when judging if it was done by the top crust, the bottom was more done and thus tougher.
Got to make sure that lid is just as hot. And keep it on for thirty minutes.
Can you ferment the dough for the longest time and still bake on a baking sheet like the bottom example? Or do you have to have that extra yeast to bake it on the baking sheet?
The amount of yeast needed is based on the fermentation time, not the baking method. :) So if you plan to only let it ferment for two hours, use more yeast (2 tsp). If you plan to ferment overnight you can use less yeast (¼ tsp) because the yeast has several hours to multiply and grow into the amount needed for that sized loaf. I hope that makes sense!
I’ve made this twice and it was amazing! Hard to believe something so simple can come together to be something so amazing!
Question, can regular yeast be used if I’m out of Rapid rise instant yeast?
Great recipe! Everyone loves it at my house and it’s so quick and easy. Is it possible to split the recipe into two loaves? Any recommendations on bake times since they would be smaller?
Since we haven’t tested it, I’m hesitant to give you any specific suggestions that might not be successful. We do have a recipe for No-Knead Foccacia Rolls that you might enjoy, too! https://www.budgetbytes.com/focaccia-rolls/
But don’t let me stop you from giving it a shot! I’m sure with some tweaking it will work out great! I’d keep the baking temperature the same and use an instant-read thermometer as a guide to get the timing right (although the baking time will be roughly the same, too!). Check on the smaller loaves about 15-20 minutes into the first bake time. The center will register around 205*F once FULLY cooked, so when it hits somewhere around 190*F, you can remove the lid of the dutch oven and start browning the top of the loaf.
So I have made this many times and everytime the dough is so wet I don’t know how you are able to form it into a ball. I use the least amount of water but it’s always so sticky that I can’t even touch it. It just sits in the counter spreading out for the second rise. It bakes great but is not a nice round loaf like I want. Any tips?
Since this is a no-knead bread recipe, the dough should be pretty sticky. (You’re not wrong!) I would suggest keeping the dough in the bowl while you form the ball rather than turning it out. Dust it with flour, and then if you don’t like to get your hands sticky (as I do not!) use two forks to pull the dough off the sides of the bowl and tuck it into the center (give the bowl a quarter turn, and repeat 3-5x until tight ball forms, then turn it out of the bowl. It will spread out and rise again, but shouldn’t be like the goo monster in Stranger Things. It should rise upward as well as spread out. ~ Marion :)