

If you’re dealing with an overabundance of garden zucchini and thinking, ‘what am I even supposed to do with all this?‘…this recipe is for you. This sweet, tangy, slightly spicy Zucchini Relish is one of my favorite ways to use up extra zucchini and stock the pantry with something homemade and super useful. I know water bath canning sounds a little intimidating, but I promise it’s easier than it looks and totally worth it. A few simple ingredients, a little prep work, and some patience, and you’ve got a shelf-stable, budget-friendly condiment that tastes amazing on everything from hot dogs to sandwiches.
All recipes are rigorously tested in our Nashville Test Kitchen to ensure they are easy, affordable, and delicious.
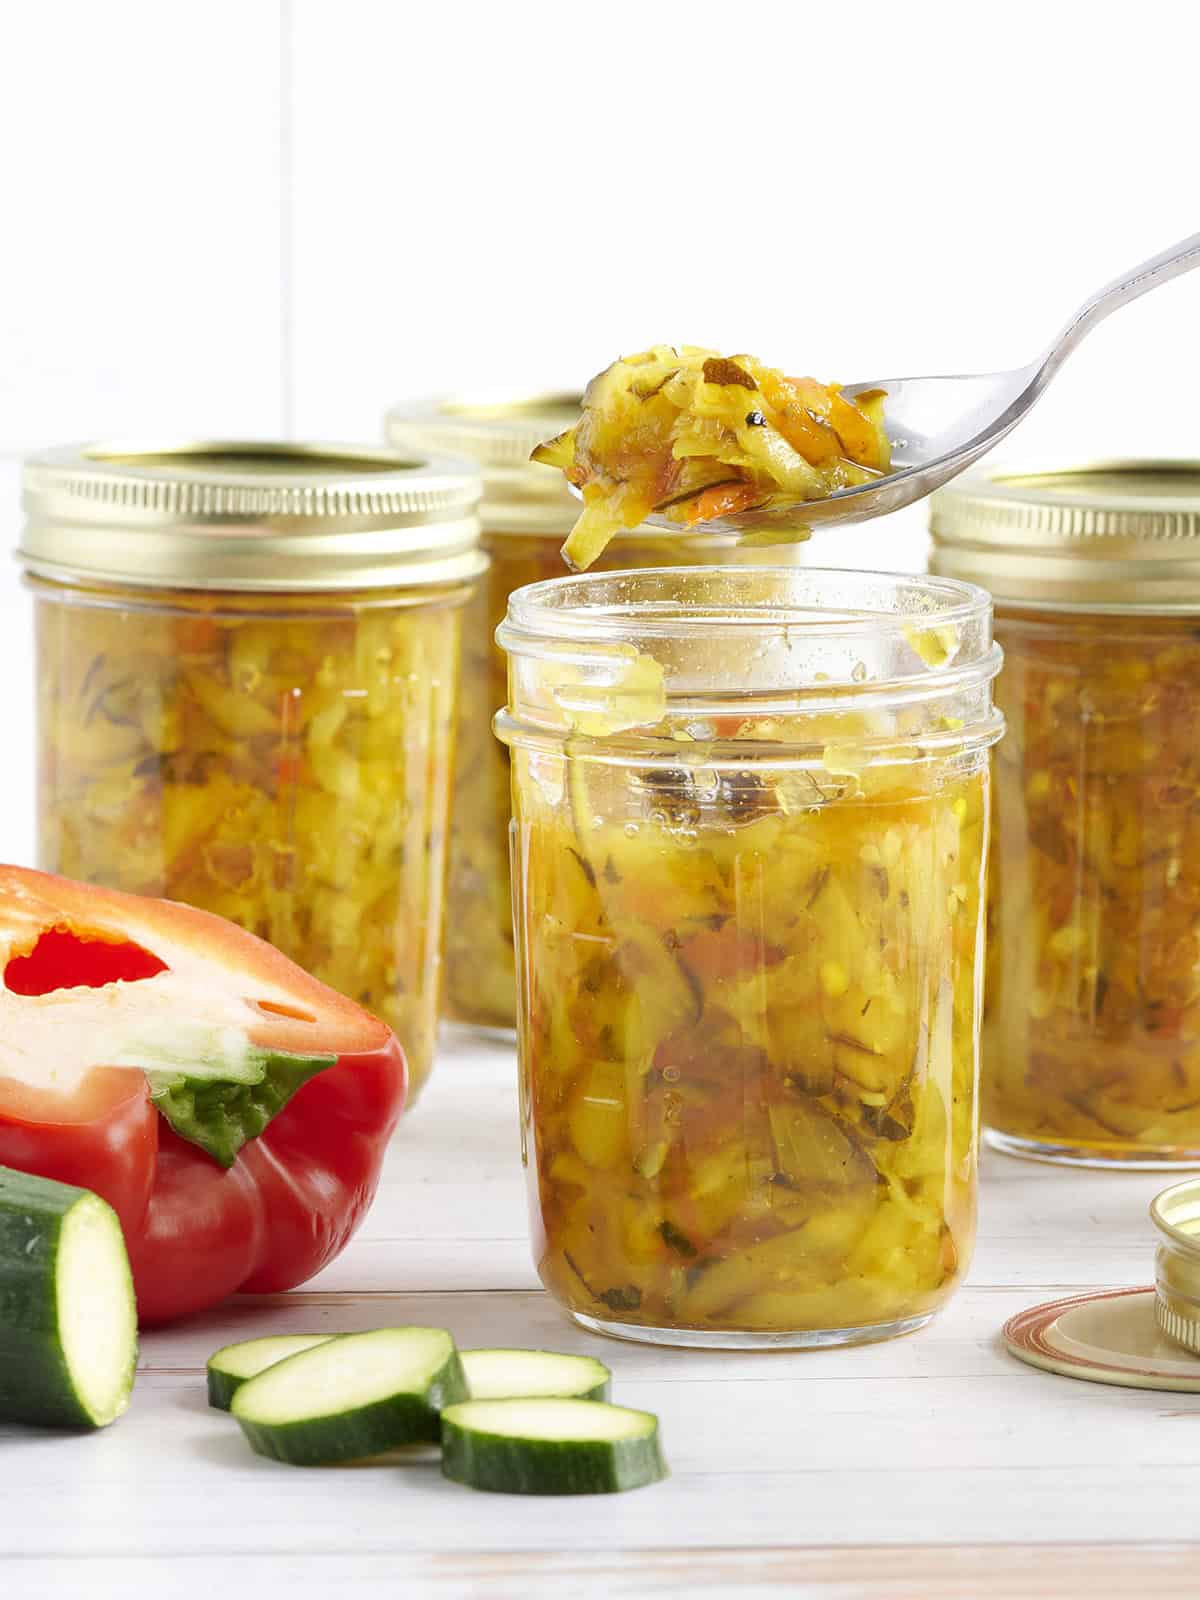
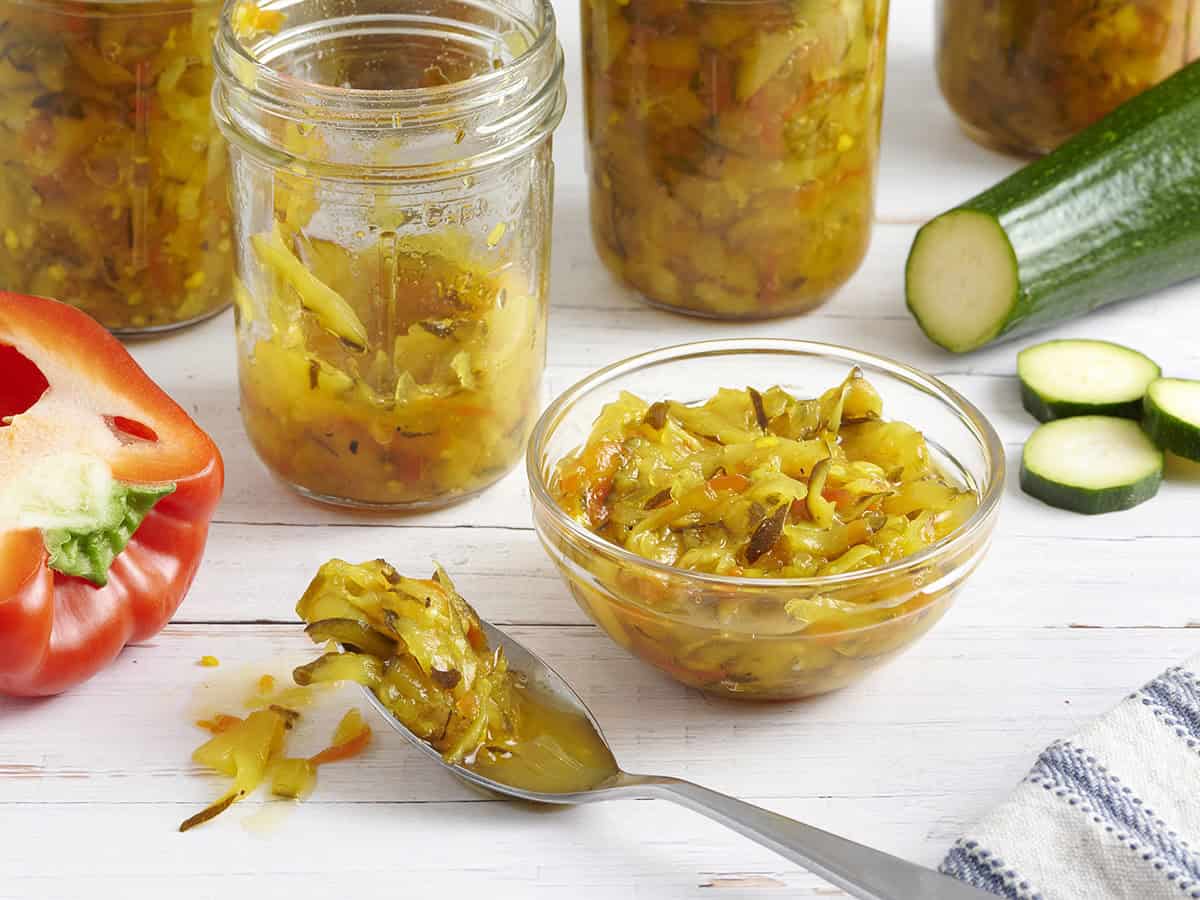
Fresh Zucchini Relish You Can Enjoy All Year
This recipe makes a lot (about 10 cups total), so it’s great for stocking your pantry or sharing with friends. It starts with simple ingredients like zucchini, onion, jalapeño, and bell pepper, and then I cook it all down in a sweet and tangy apple cider vinegar brine with a few seasonings for extra flavor and color.
But if you’re new to canning, don’t worry! I’ve included a full breakdown of water bath canning tips to walk you through it step by step below. I’ve also added fridge and freezer instructions if you’re not ready to dive into canning just yet. However you store it, this spicy-sweet zucchini relish is incredibly easy and absolutely worth making.
Zucchini Relish
Cost $6.14 recipe / $0.08 serving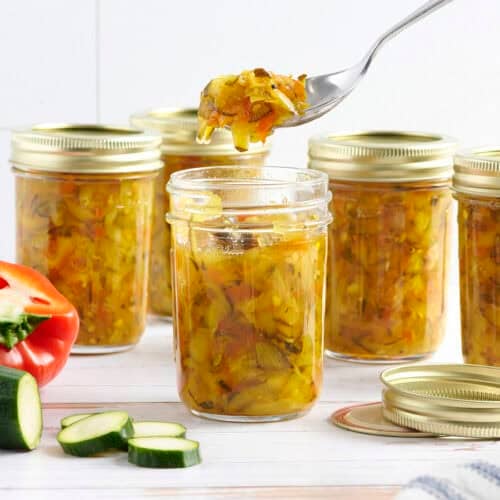
Ingredients
- 2 zucchini (1 lb., (3 cups grated) $1.48)
- 1 large onion (415g (about 2 cups grated) $1.08)
- 1 jalapeño (65g (1/3 cup grated) $0.23*)
- 1 red bell pepper (300g (1 cup grated) $1.48)
- ½ Tbsp salt ($0.06)
- 2 cups apple cider vinegar ($1.13)
- 1 cup granulated sugar ($0.38)
- ½ tsp turmeric ($0.04)
- ½ tsp black pepper (freshly cracked, $0.08)
- 1 bay leaf ($0.18)
- water ($0.00)
Instructions
- Gather and prepare all ingredients.
- Lay down a piece of parchment paper for easy clean up. Using the large holes on a box grater (or food processor with a hole blade attachment), grate the zucchini, onion, jalapeno, and red bell pepper on the parchment. Transfer each vegetable into a colander after you grate it.
- Toss the vegetables with salt and set the colander on a plate or in a bowl to drain for 30 minutes. Squeeze out the excess water.
- After 30 minutes, add the apple cider vinegar, sugar, turmeric, pepper, and bay leaf into a medium pot. Bring to a boil and add the grated vegetables. Simmer the vegetables for 15 minutes, then let them cool for 15 minutes off the heat.
- Clean and sterilize your canning jars.** Remove the bay leaf from the pot. Ladle in the zucchini relish with liquid, leaving ¼ to ½ inch from the top. Use a butter knife or chopsticks to remove any air bubbles. Wipe down the jars and screw on the lids.
- Place a rack in the bottom of the large pot. If you do not have one, you can use extra jar lids or a tea towel. Fill the pot halfway with water and bring it to a boil.
- Carefully lower the jars into the water using oven mitts or tongs. They should be about 1 inch apart. There should also be at least ½-inch to 1-inch of water covering the jars. Add more water if needed.
- Bring the water to a full boil, cover the pot, and let it cook for 30 minutes. Keep the water on a full boil during the entire cooking process.
- Using a jar lifter or tongs (you can wrap rubber bands around the tongs for a better grip on the jars), carefully lift out the jars and place them on a towel.
- Let the jarred zucchini relish cool thoroughly for 12-24 hours at room temperature.*** Check to make sure that the lid is sealed fully. If it does not, you can reprocess the jars, use them first, or refrigerate them right away. Label and date the jars and store them in a cool, dark place for a year.
See how we calculate recipe costs here.
Notes
Nutrition Information
how to make Zucchini Relish step-by-step photos
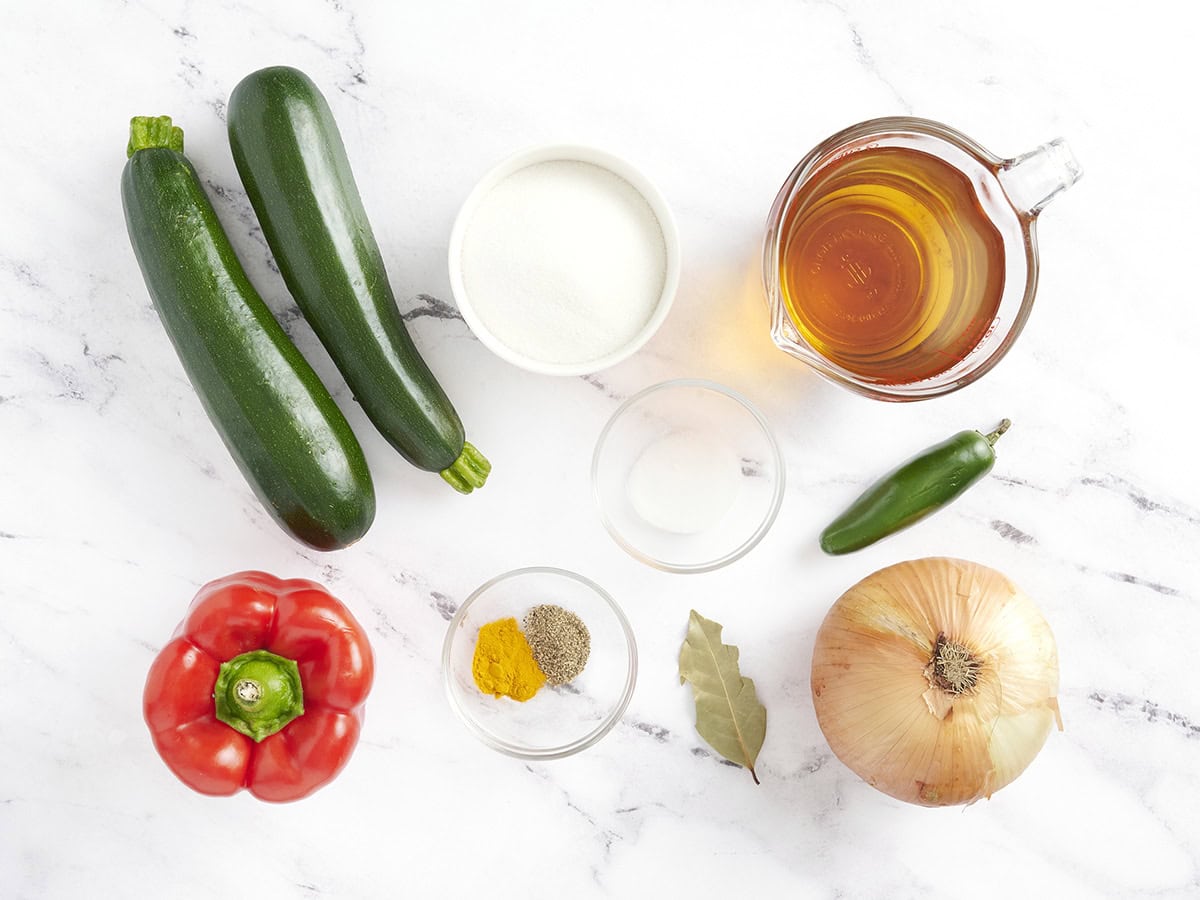
Gather all of your ingredients.
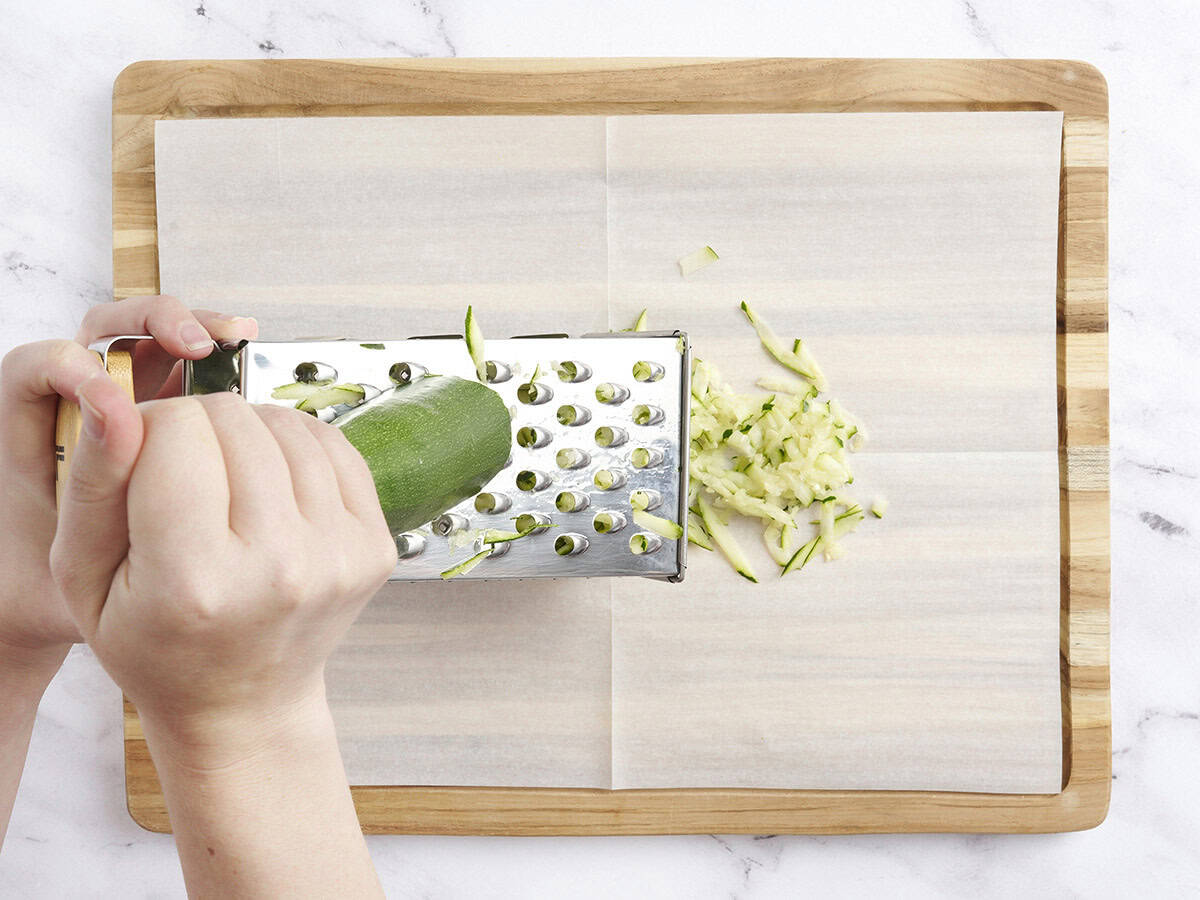
Prep the veggies: Using the large holes on a box grater (or a food processor with a hole blade attachment), grate 2 zucchini, 1 large onion, 1 jalapeño, and 1 red bell pepper. I like to lay down a piece of parchment paper to make clean-up easy. After you’ve grated each vegetable, place them into a colander.

Drain the veggies: Place all the grated veggies into a colander after grating and add ½ Tbsp salt.
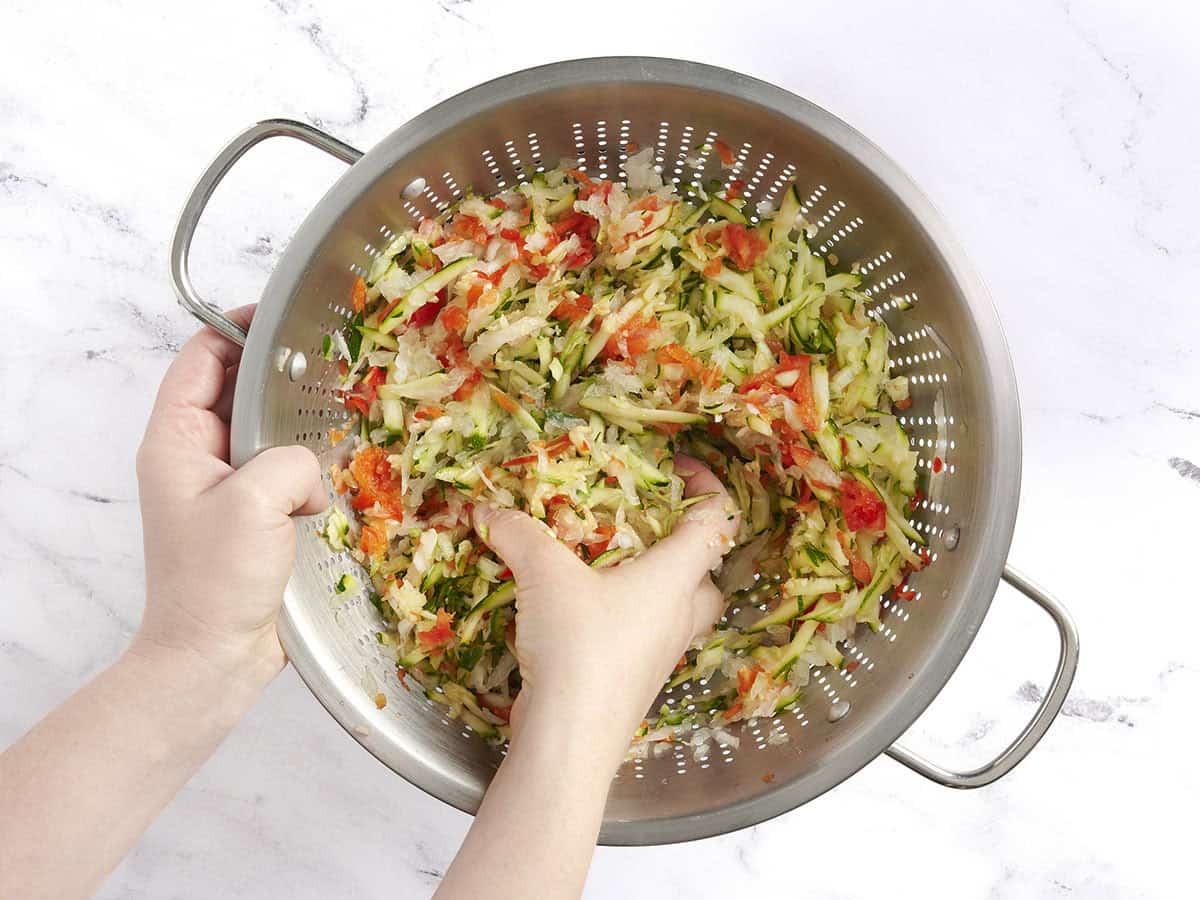
Now toss to combine the veggies with the salt. Place the colander over a plate or bowl and allow the veggies to drain for 30 minutes.
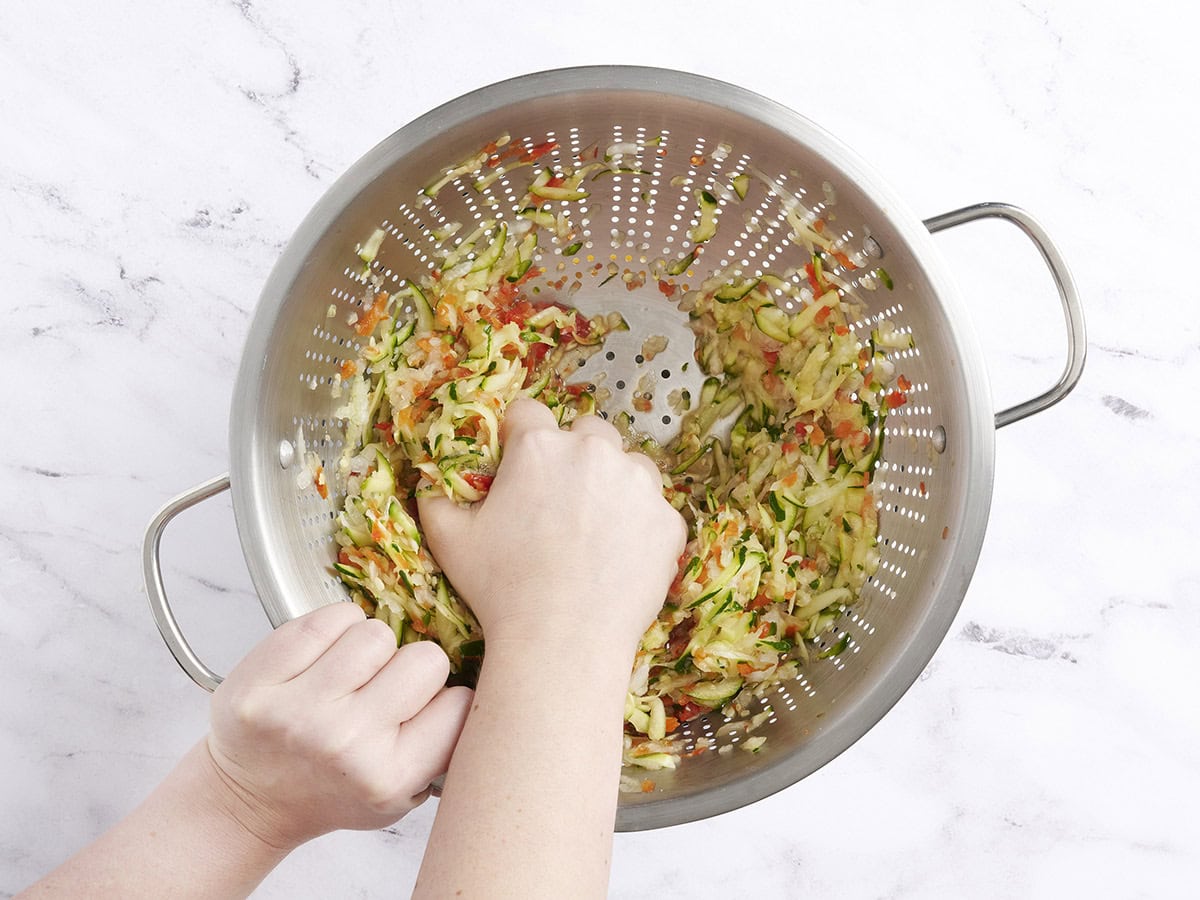
After 30 minutes, squeeze out the excess liquid using your hands.
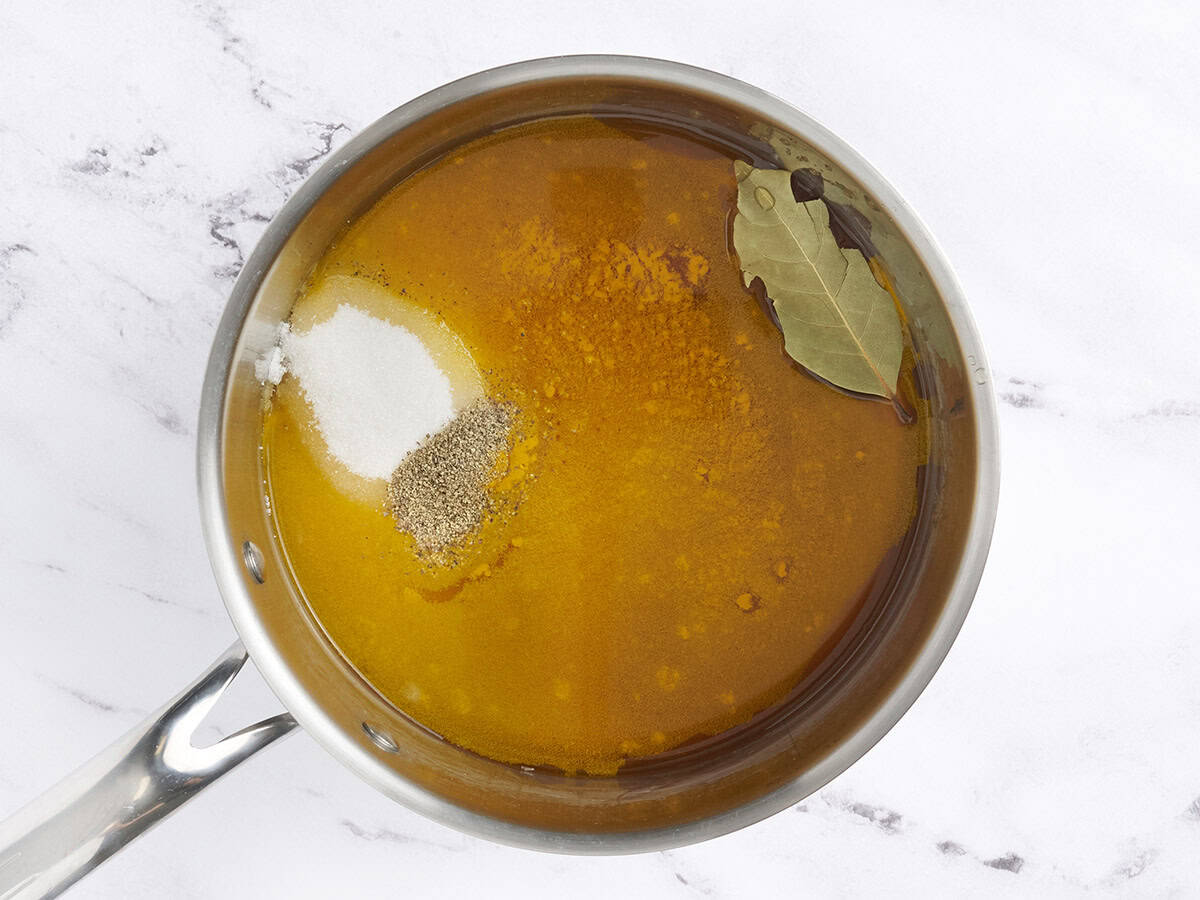
Make the brine: Add 2 cups apple cider vinegar, 1 cup sugar, ½ tsp turmeric, ½ tsp black pepper, and 1 bay leaf to a medium pot and bring to the boil.
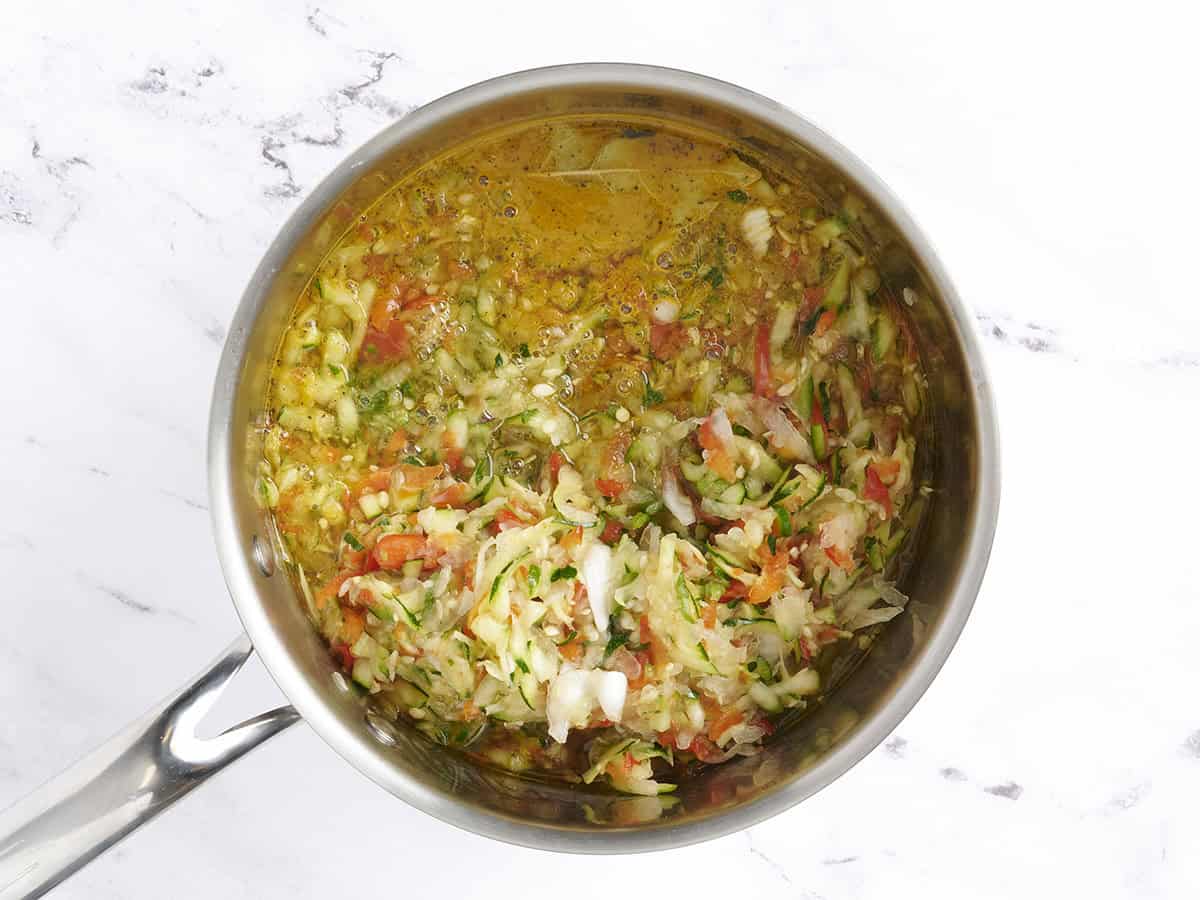
Once boiling, add the grated and drained veggies and simmer for 15 minutes. Remove the pot from the heat and allow the mixture to cool for 15 minutes.
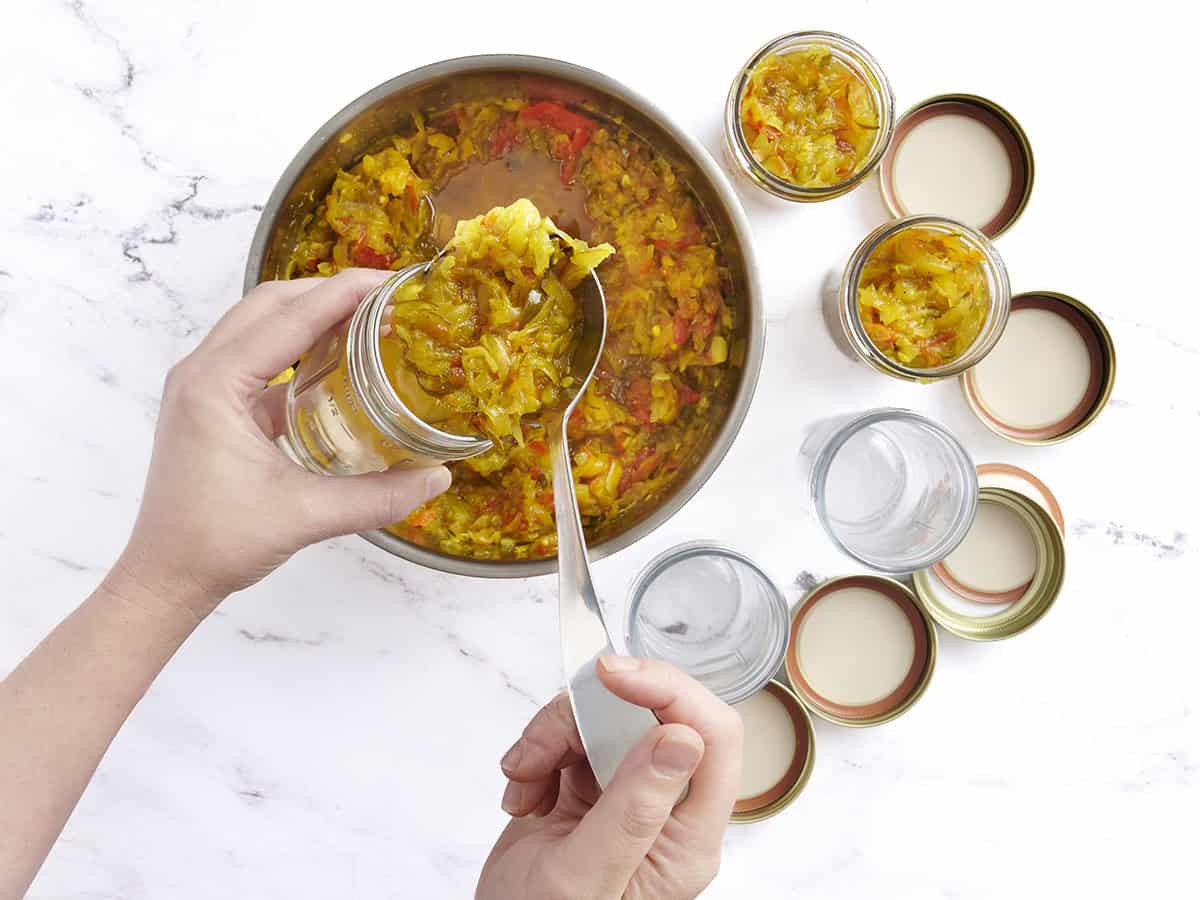
Can the relish: Clean and sterilize your canning jars (you can either run them through the dishwasher on high heat or submerge them in boiling water for 10-15 minutes and let them air dry). Remove the bay leaf from the zucchini mixture. Spoon the relish into the cleaned and sanitized jars, leaving a ¼ to ½ inch gap at the top.

Use a butter knife or chopsticks to remove any air bubbles from the liquid. Wipe the jars down and screw on the lids.
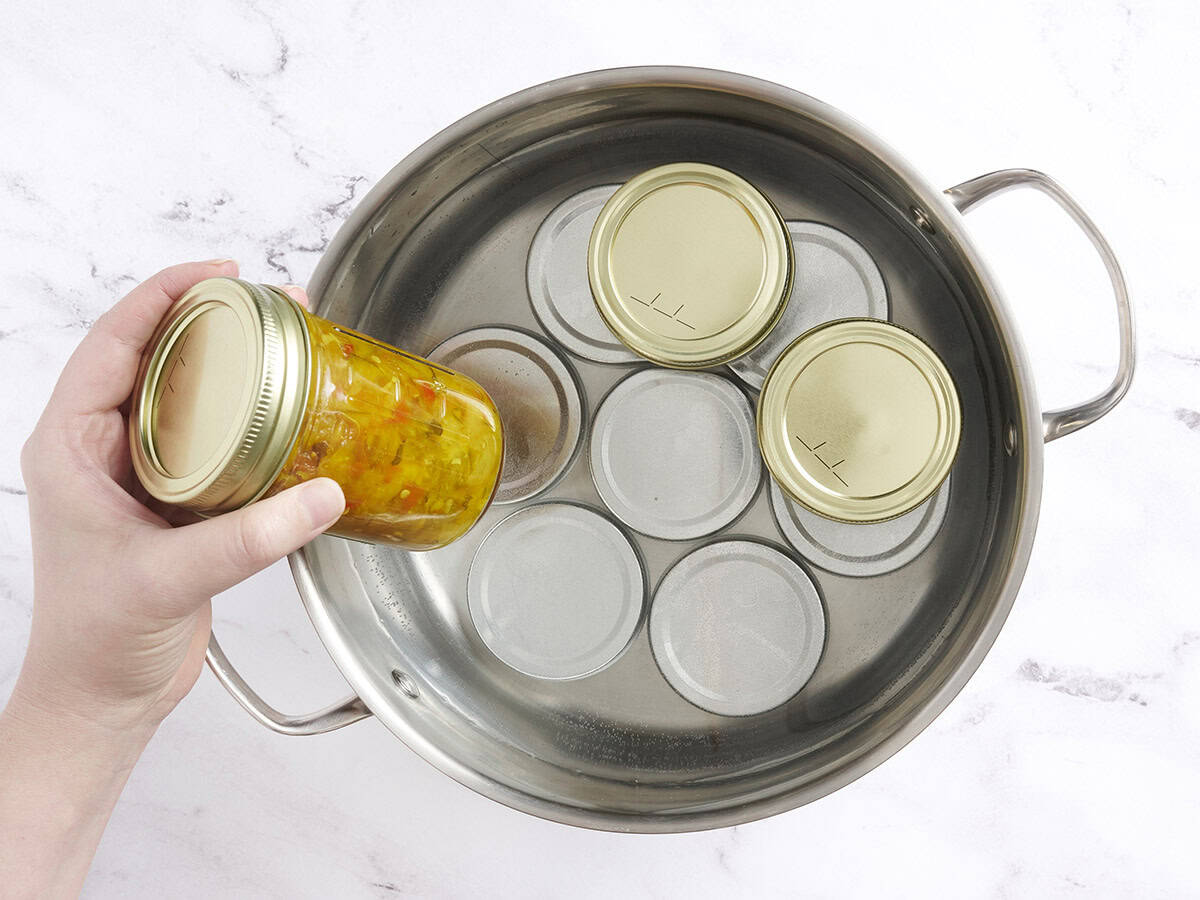
Now place a rack in the bottom of a large (7qt) pot. I didn’t have a rack, so I used spare jar lids, but you can also use a tea towel. Fill the pot halfway with water and bring it to a boil.
When the water is boiled, carefully lower the jars into the water (wear oven mitts or use tongs to be safe!) Make sure there’s about 1 inch between the jars in the water.
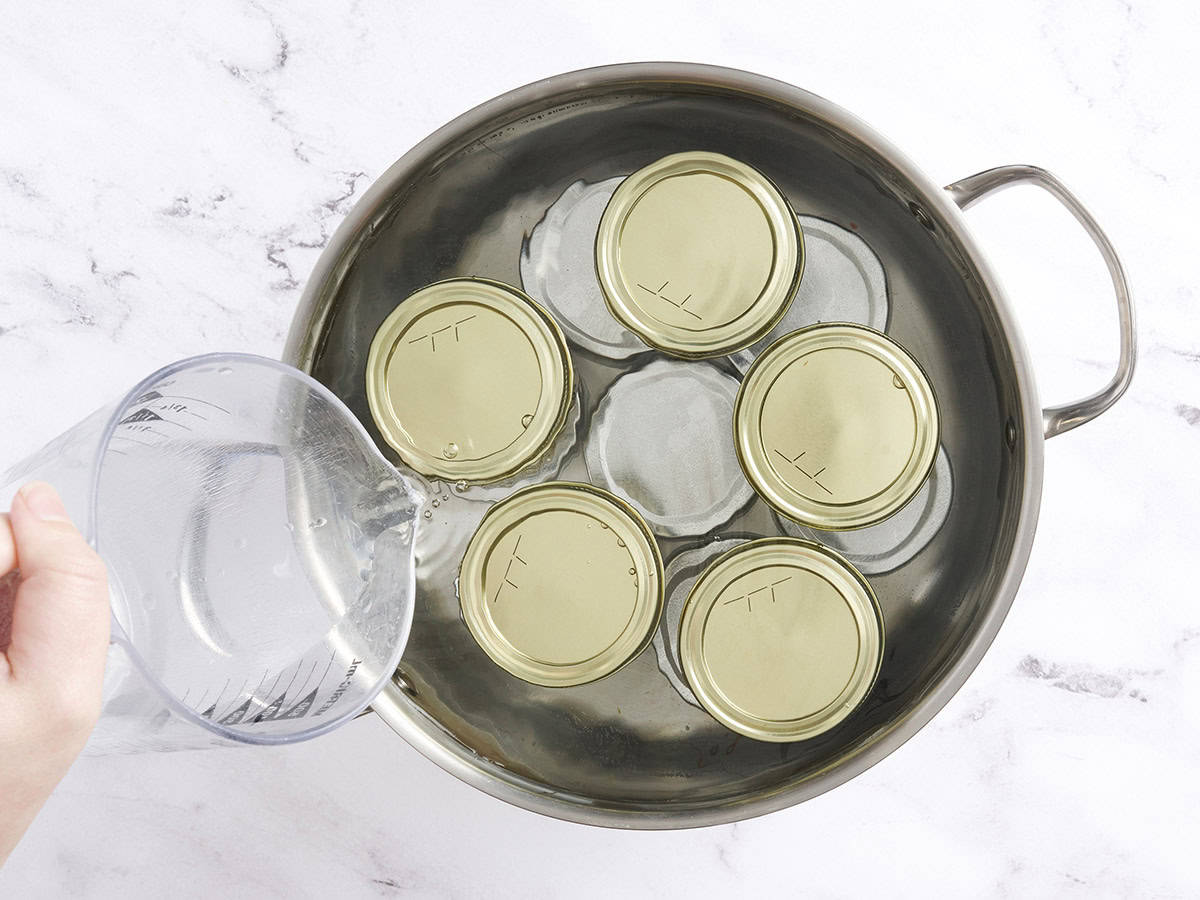
There should also be at least ½-inch to 1-inch of water covering the jars, so add more water if needed. Bring the water back up to a full boil, cover the pot, and let the relish cook for 30 minutes. The water needs to remain at a full boil for the whole cooking process.

Remove the jars: Use a jar lifter or kitchen tongs (I wrap rubber bands around the tongs to get a better grip on the jars) to carefully lift the jars out of the water. Place them on a towel.
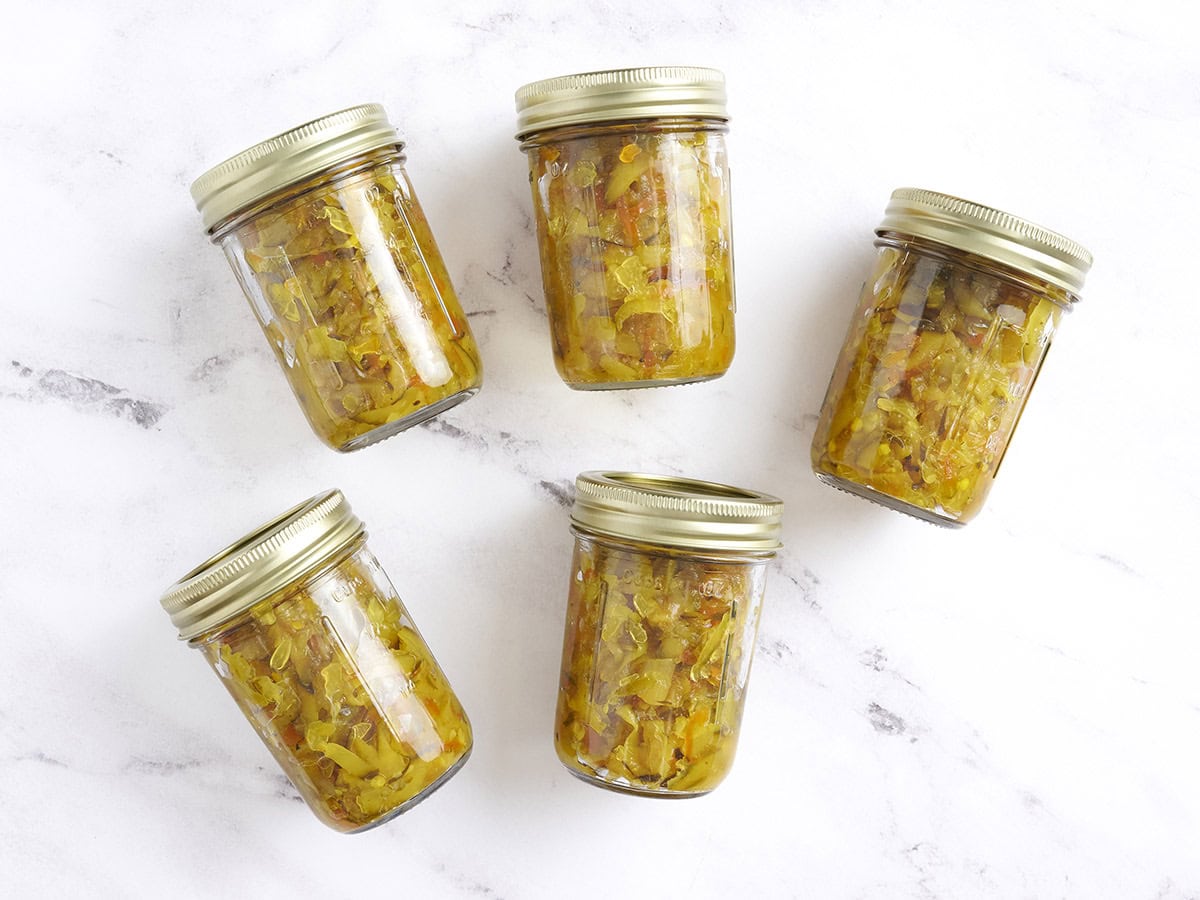
Let it cool: Allow your jarred zucchini relish to cool completely for 12-24 hours at room temperature. Don’t move them around or touch them as they cool. Once cooled, check to make sure the lid is sealed fully by pressing the center of the lid; it should feel pressed down and not flex to your touch. If the lid hasn’t sealed properly, you can either use the unsealed jars first, refrigerate them right away, or reprocess them again in the hot water.
Label and date the properly sealed jars and store them in a cool, dark place for a year.
Tips for Canning Zucchini Relish
- Make sure to use proper canning-specific jars with the two-piece lids. They need to withstand the heat and pressure required for safe canning. You also need to properly clean and sterilize the jars and lids before you add the relish (use the dishwasher on high heat or submerge them in boiling water for 10-15 minutes and let them air dry).
- Before sealing your jars, make sure to remove any trapped air bubbles in the zucchini sweet relish liquid. I like to use a butter knife or a chopstick to gently stir around the edges and release any bubbles hiding under the surface. It’s a small step, but it helps ensure a proper seal.
- Wipe the rim of the jar down before adding the lid to ensure a good seal!
- Make sure there’s something at the bottom of your pot—a canning rack, extra jar lids (as I use), or a folded tea towel—so the jars aren’t sitting directly on the bottom. This keeps them from rattling, cracking, or breaking during the water bath.
- There should be at least ½-inch to 1-inch of water covering the tops of the jars. Add more water if needed, and allow it to come back up to a full boil before covering with a lid.
- The water must be on a full boil during the entire cooking process to ensure the contents reach a high enough temperature to kill bacteria and create a proper seal.
- I always let my canned zucchini relish cool at room temperature. DON’T rush or force cooling. After 12 to 24 hours, I check the lids to make sure they’ve sealed properly. A sealed lid should be concave and shouldn’t flex up or down when you press the center.
- Don’t worry if you hear a ‘pop’ during the cooling process! This is just the sound of the jars sealing. As the jars cool, they create a vacuum that pulls the lid down, creating a seal.
- If you live at a higher elevation, you’ll need to increase your water bath processing time to seal your jars safely. As a general rule, add 5 minutes if you’re between 1,001 and 3,000 feet, 10 minutes for 3,001 to 6,000 feet, and 15 minutes if you’re above 6,001 feet. Always double-check with a trusted source, like the USDA or NCHFP, for the most accurate info based on your exact altitude.
What Else Can I Add?
Zucchini is the star here, but this relish works great with other veggies too. Feel free to add in carrots, cabbage, cucumbers, or yellow squash with your zucchini. Just follow the same prep method and process them in the water bath as directed. This water bath canning method also works perfectly with our tomato relish, so if your garden’s overflowing, it’s a great time to make both!
You can also add other spices to the canning liquid, like celery seeds, mustard seeds, cloves, crushed red pepper, or cinnamon. AVOID fresh herbs because they can affect the pH and create botulism. Canning with fresh garlic is also not recommended due to the risk of botulism.
Serving Suggestions
I love piling this easy zucchini relish onto hot dogs, chicken burgers, and sandwiches, but that’s just the start. It’s great with eggs (try it in deviled eggs!), stirred into Southern potato salad, or on a cheese board for your next gathering. You can also spoon it over grilled honey lime chicken, baked fish, or eat it straight from the jar!! It’s seriously versatile and makes a great little gift for friends and family, too.
Storage Instructions
After labeling and dating your jars, store your homemade zucchini relish in a cool, dark, dry place like a pantry or cupboard. It should last up to a year when properly water bath canned. Once opened, I keep mine in the fridge and use it within 2 to 3 weeks.
Want to freeze it instead? Spoon the cooled relish into a freezer-safe container, leaving about an inch of space at the top for expansion. The texture will soften after freezing, but the flavor still holds up. When you’re ready to use it, let it thaw in the fridge.
And one more thing: if in doubt, throw it out. If the container is bulging or misshapen, that indicates gas buildup, possibly due to microbial growth. Also, if the jars are leaking, rusting, dented, or the relish looks off in any way (slimy, foamy, discolored, or just smells funky), it’s safest to toss it. Food safety always comes first.


Turned out great! will make this again. Great way to use up a bumper crop of zucchini!
Thank you, Teresa! That’s wonderful to hear, and I agree! It’s a great way to utilize an abundance of zucchini.
Just remember to store your canned goods with the ring off! Leaving the ring on makes it harder to tell if the seal has failed, and make sure to give them a check periodically!