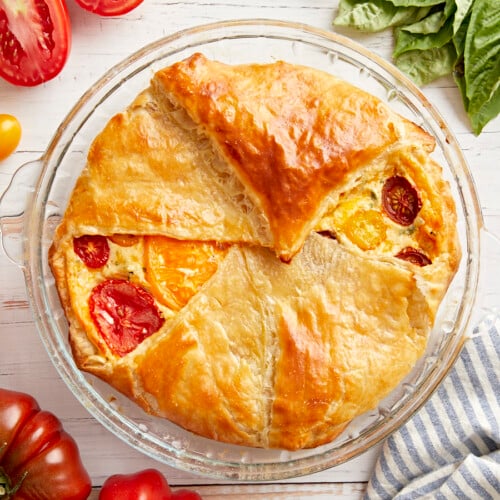
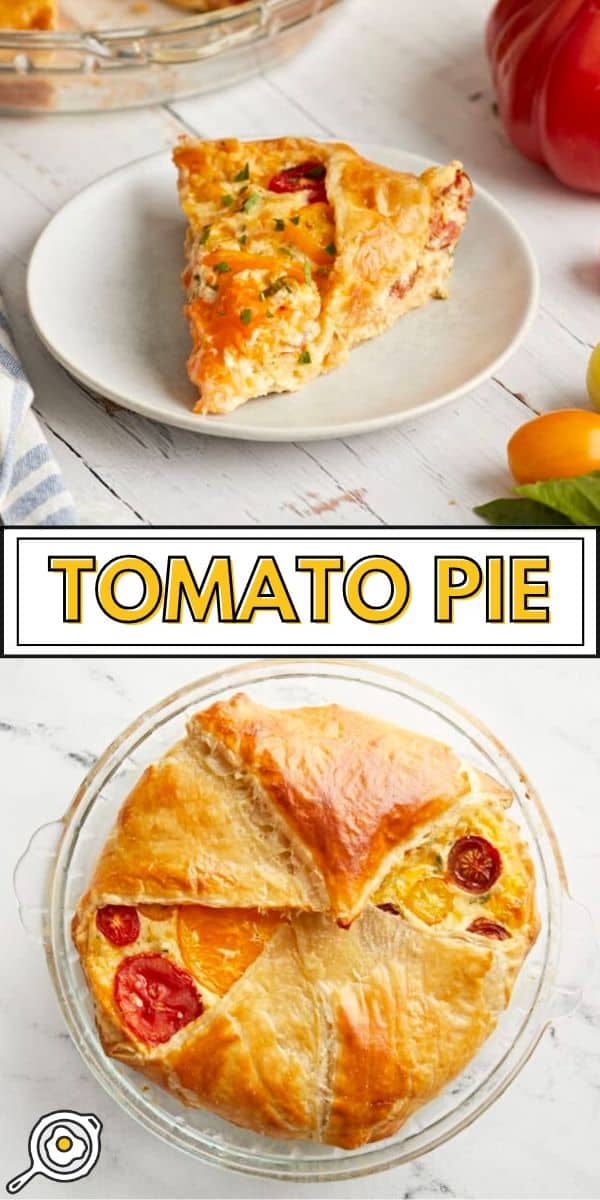
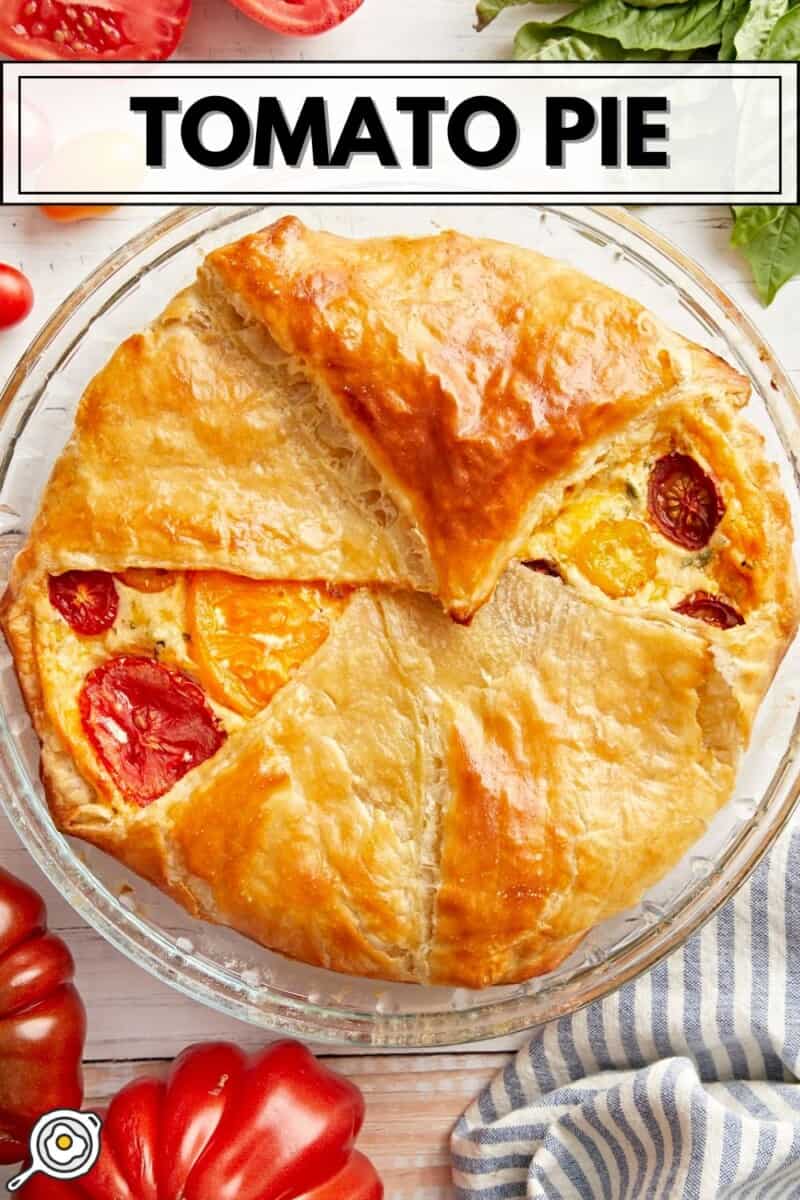
This Tomato Pie makes a hearty summer meal! It’s perfect for any meal of the day, and the leftovers will keep all week long. When I say tomato pie, I’m referring to the Southern staple made with fresh tomatoes and a tangy mayonnaise-cheese filling, baked in a flaky pastry crust (not the Sicilian tomato pie, which is a cheeseless pizza-like dish!) The subtle sweetness from the puff pastry balances out the creamy, cheesy, tangy tomato filling in the most delicious way—I just love a budget-friendly homemade savory pie!

All recipes are rigorously tested in our Nashville Test Kitchen to ensure they are easy, affordable, and delicious.
“Made this recipe as written and it came out perfectly. I happily ate the leftovers which were perhaps even MORE delicious if that’s possible. I’m getting ready to make it a second time but will try using pre-made pie dough since that’s what I have on hand. Can’t wait!!”
Brooke
Tomatoes are a special ingredient in my family; my grandfather’s family brought over their own precious heirloom tomato seeds when they immigrated to the United States. My grandparents and, later, my mom and dad have grown those tomatoes in their garden ever since. So, as a kid, I got to help them germinate the seeds, plant, weed, water, and pick them! I haven’t started my own garden on my farm here in Tennessee yet, but when I do, we’ll be growing them, too.
I can’t wait to make this rustic, free-form style tomato pie recipe with my homegrown tomatoes, but until then, I happily rely on my local farmer’s market to get my fix. Tomato season is the best season!
Tomato Pie
Cost $14.14 recipe / $1.76 serving
Ingredients
- 6 roma tomatoes ($1.68*)
- ½ tsp salt (divided, $0.01)
- 1 tsp olive oil ($0.07)
- ½ cup mayonnaise ($0.80)
- ½ cup ricotta cheese (liquid drained off top, $0.84)
- 2 cups cheddar cheese (shredded, $4.42)
- ¼ cup Parmesan cheese (shredded, $1.35)
- 2 large eggs (divided, $0.74)
- ¼ tsp cayenne pepper ($0.02)
- 2 garlic cloves (minced, $0.16)
- ¼ tsp black pepper (freshly cracked, $0.04)
- 2 Tbsp fresh basil (minced, (optional) $0.89)
- 1 puff pastry sheet ($3.12**)
Video
Instructions
- Preheat your oven to 375°F and slice 6 Roma tomatoes into ¼-inch thick slices.***
- Sprinkle tomatoes with 1/8 tsp of salt and a drizzle of olive oil and roast on a parchment-lined baking sheet for 20 minutes until wilted but not browned. The goal is to concentrate the flavors and get some of the moisture out. (If they are particularly juicy after coming out of the oven, pat them dry with a clean paper towel.)
- Whisk together the mayonnaise and ricotta cheese. Set aside.
- Add shredded cheddar cheese, shredded Parmesan cheese, 1 egg, cayenne pepper, minced garlic cloves, black pepper, the remaining salt, and fresh minced basil (if using) to the bowl with the mayo and ricotta cheese. Mix until well combined.
- Roll out puff pastry between 2 sheets of parchment paper to about 10×10”. Remove parchment paper and drape over a 9-inch glass pie pan.
- Fill bottom with half of the cheese mixture, then alternate tomatoes and cheese mixture until both are used up (I had 2 layers of each). Finish with the last of your sliced tomatoes on top.
- Fold the corners of the puff pastry sheet over the top of the pie. You don't have to make the crust look perfectly symmetrical. I think it adds to the rustic appeal of this super easy savory tomato pie.
- In a small bowl, gently scramble the second egg to create an egg wash. Brush the egg wash all over the visible parts of the puff pastry crust. This will help give it a golden color and create a nice shine.
- Turn the temperature of your oven up to 400°F (this is important to ensure the filling cooks through). Once preheated at the higher temperature, bake for 20-25 min or until crust is puffy and golden. Let cool for 15-20 min before cutting to allow the filling to set.****
See how we calculate recipe costs here.
Notes
Nutrition
how to make Tomato Pie step-by-step photos

Prep the tomatoes: Preheat your oven to 375°F and slice 6 Roma tomatoes into ¼-inch thick slices. I don’t recommend slicing them much thicker than this, as they might not dehydrate enough in the oven (which can cause your filling to not set correctly).

Roast the tomatoes: Sprinkle tomatoes with ⅛ tsp of salt and 1 tsp olive oil. Roast the tomatoes on a parchment-lined baking sheet for 20 minutes until wilted but not browned. The goal is to concentrate the flavors and get a little bit of the moisture out. If they’re still really juicy once they come out of the oven, blot them with a paper towel.

Make the filling: Add ½ cup of mayonnaise and ½ cup of ricotta cheese to a bowl and whisk. Set aside.

Add 2 cups of shredded cheddar cheese, ¼ cup of shredded Parmesan cheese, 1 large egg, ¼ tsp of cayenne pepper, 2 minced garlic cloves, ¼ tsp black pepper, the remaining salt, and 2 Tbsp of fresh minced basil (if using) to the bowl with the mayo and ricotta cheese. Mix until well combined.

Assemble the pie: Roll out puff pastry between 2 sheets of parchment paper to about 10×10”. Remove the parchment paper and drape the pastry sheet over a 9-inch glass pie pan.

Fill the bottom with half of the dish with the cheese mixture.

Then, alternate cheese mixture and sliced tomatoes. (Note: this photo shows how dehydrated your tomatoes should be after roasting them in the oven!)

Repeat until the tomatoes and cheese mixture are both used up. (I had 2 layers of each.)

Finish with the last of your sliced tomatoes on top.

Fold the corners of the puff pastry sheet over the top of the pie. You don’t have to make the crust look perfectly symmetrical. I think it adds to the rustic appeal of this super easy savory tomato pie.

Add an egg wash: In a small bowl, gently scramble the remaining egg to create an egg wash. Brush the egg wash all over the visible parts of the puff pastry crust. This will help give it a golden color and create a nice shine.

Bake: Turn the temperature of your oven up to 400°F. This is very important to ensure the filling cooks through properly. Bake for 20-25 minutes or until crust is puffy and golden. Let your pie cool for 15-20 minutes before cutting to allow the filling to set. If you try to slice into it right away, the filling will likely be juicy! Serve and enjoy.

This southern tomato pie recipe is the perfect main meal, side dish, or snack for any occasion!
What Else Can I Add?
The fresh flavors make it easy to customize this recipe for tomato pie with anything else you have on hand. Here are a few other possible additions:
- Freshly grated ginger and a dusting of brown sugar (It sounds wild, but you can trust me!)
- Caramelized onions
- Sliced chives
- Sauteed mushrooms
Storage Instructions
This homemade tomato pie makes fantastic leftovers! Store them in the refrigerator in an airtight container for up to 5 days. You can enjoy this pie cold or hot, using the oven to reheat it if desired. While this pie can be frozen, I don’t really recommend it because the mayo filling may separate, and tomatoes can become mushy when thawed.


I was looking for something special for July 4th and tried this recipe. This was delicious, and it was even better cold. I substituted Tony Chachere’s seasoning for the salt and pepper and added corn. Summery and delicious.
I followed the recipe exactly, even baking the tomatoes longer and blotting them dry. I baked the pie 5 minutes longer than prescribed. Let it cool for 30 minutes. Still runny. Tasted great, but was not the expected texture.
Fantastic pie!
I read the comments and concerns of others and adjusted my recipe. Patience is needed! I salted and let my tomatoes sit for for 2 hrs, draining away the water every 30 min. I drained about a cup from 8-9 tomatoes. I used 2eggs+1 egg white and 2 tbsp mixed fresh herbs in the filling. I used homemade ricotta which was very dry and crumbly. Then, I baked my pie 30min.
In 3 hrs the pie was so set, I picked it up and ate like a pastry! It was amazing!!!! Bottom line is, get as much liquid out of your ingredients as possible!
Homemade ricotta! That sounds amazing. Yes, tomatoes do contribute to the watery problem. Thanks for making it and sharing your experience.
This has great flavor but didn’t really set up for me at all – it was very loose and runny even after cooking for an extra 10-15 minutes. The pastry also was a little chewy/soggy on the bottom. I followed exactly so I’m not sure what went wrong. I’d love to try it again if I knew how to make it set up properly.
Hey, Kristine. Make sure you let it cool before cutting into it, or it will not be firmly set.
Hi Jess, I did let it sit for at least 20 mins hoping it would set up and it sadly just never did :(
Hey, Kristine. I can try to help you trouble shoot if you want to email me! jess@budgetbytes.com
You could try to add an extra egg, but that shouldn’t be necessary. Did you dehydrate your tomatoes in the oven first? Because tomatoes are 95% water, they are often the culprit!
Like others, I also had a hard time getting the pie to set even though I followed exact instructions. I’ve made this twice with the same outcome, hoping to redeem myself after the first flop. The second time around, I baked the pie for an additional 15 mins, but still ended up with such a goopy mess. We now jokingly call it “Tomato Pie Soup” at our house. I think the next time I try it (because I am DETERMINED to get it to set) I will forego the egg in the cheese mixture and also cut back (proportionately) on the amounts in the cheese mixture. I’ve only had a bite or two each time since I am currently pregnant and didn’t want to consume raw egg. The flavors are great; I wouldn’t change a thing there! Longtime Budget Bytes fan so I am certain this one can be redeemed again!!
Made this recipe as written and it came out perfectly. I happily ate the leftovers which were perhaps even MORE delicious if that’s possible.
I’m getting ready to make it a second time but will try using pre-made pie dough since that’s what I have on hand. Can’t wait!!
So glad you loved it, Brooke!!
Absolutely delicious, but the filling does not set when you follow these instructions as written. I shouldn’t have to experiment to figure out to fix your recipes. That costs your readers money.
This site used to be really good, and it’s a shame your recipes aren’t reliable any more.
Hi, Becca. We go through great lengths to test every recipe before posting! Since this is my recipe, I can assure you that the filling does set as written as I tested it multiple times. There are a few things you MUST do in order for it to set, but the most important is to let it cool before slicing. I am happy to help you figure out where your recipe went wrong if you would like! Shoot me an email and I can help you: jess@budgetbytes.com
I’m an experienced cook and baker. I let it cool to refrigerator temps, and it still mangaged to be runny.
Also, I’m not alone, as clearly demonstrated by this comment section. As a fellow author of recipes, I’m nearly positive that you’re not including steps/methods that you feel are intuitive but aren’t included.
Hey Becca, I understand. Tomatoes are certainly the wild card in this one. How thick they are cut, how juicy they are (stage of ripeness, what variety of tomato was used), etc. It’s hard to communicate how dehydrated they should be, so hopefully the step-by-step photos helped those who it worked out for. I appreciate you sharing your experience.
One of the best things I’ve ever made it and it was so easy. I used what I had on hand for tomatoes which were some store bought cherry tomatoes on the vine and cherry tomatoes I grew cut in half or thirds to achieve same thickness. I was surprised it didn’t recommend greasing the cake pan as it was a little hard to slice because the pastry was stuck to the glass. Will most certainly be making again.
Hey Emma, I think the dough I used was Pepperidge Farms (very greasy/buttery already), but I will add your note to the recipe card for others! I appreciate your feedback and I’m so glad you loved it! It’s one of my favorites. So sad tomato season is almost over. :(
Delicious and beautiful!
Thanks, Amanda!
This was pretty good. Flavor is on point. Do not skip out on the fresh basil. I added 2 eggs to the filling and an additional for the wash since people were concerned about not setting. It set very well in my opinion. Maybe try that instead.
Glad you enjoyed it, Joe! Thanks!
This was fantastic, my hubby loved this and asked for it to be added to our regular recipe rotation. I didn’t have fresh basil on hand so I added a 2 tsp dried and I added extra garlic.
I’m so glad your hubby gave it 2 thumbs up! Thanks so much, Emily.
Would a filo pastry work instead of a puff pastry? That was the closest available at my store. Thanks!
We didn’t try it that way, but it might work! Filo sheets are larger than puff pastry, so you can skip the step where we roll out the puff pastry and you might have excess on the top when you fold it over, so you can leave it or trim it to expose the filling depending on how much there is. I also have only ever used filo dough by layering 2-4 sheets, brushing with melted butter or olive oil, layering 3-4 more sheets, brushing with oil, and repeating until I’ve used all the sheets. So you might want to give that a try if you use it. If you do try it let us know how it goes!
The flavor was very good. However, I’m giving this recipe 3 stars because it needs more testing and detailed instructions. My pie was not fully cooked after 25 minutes. Even after cooling, it was runny in the center. I put it back in the oven until the temp in the center was 165 Fahrenheit. Then I let it cool and sliced into it. At that point it was fully cooked. Also, I was confused about the eggs. In step 4, when it says to add egg, I added both eggs. But apparently you’re only supposed to put one egg in the filling, and the other is for the egg wash? That should be more clear in the recipe. If these changes are made then I would give this recipe a better review.
Thanks for your feedback, Melodie. Did you remember to turn the heat up to 400 degrees? I recommend reading any recipe through from start to finish once before beginning cooking. I will add a note for the eggs just in case someone else makes the same mistake.
Can this be made and refrigerated overnight then reheated??
Absolutely, the leftovers are amazing!
I want to make this, but I don’t have a 3 quart glass pie dish. I do have a 2 quart 8×8 glass square dish (right material, probably too small), a 9×13 3 quart glass dish (right material and capacity, but rectangular shape might mean puff pastry crust doesn’t fit right), and an oven safe 3.5 quart frying pan (right shape and almost right capacity, but metal instead of glass). Could I get your thoughts on which one to use and if/how I’d need to adjust for the change?
I would go with the 9×13 3 quart glass dish. The best part about this puff pastry crust is (as you can see in my photos) it’s meant to be rustic and no 2 pies will look exactly alike. You can roll your dough out a little if you need to, but it’s really more of a one crust pie anyway! Enjoy.