I know, man can not live on bread alone. So I’m a little obsessed with baking bread lately… humor me. There will be more “real food” soon, promise.
You may remember this video that I referenced in my very first no-knead bread recipe post. The recipe and technique in the video are a little different from the basic no-knead recipe. The dough is wetter, it ferments for 18 hours at room temperature and is shaped into a long, fairly flat, ciabatta shaped loaf.
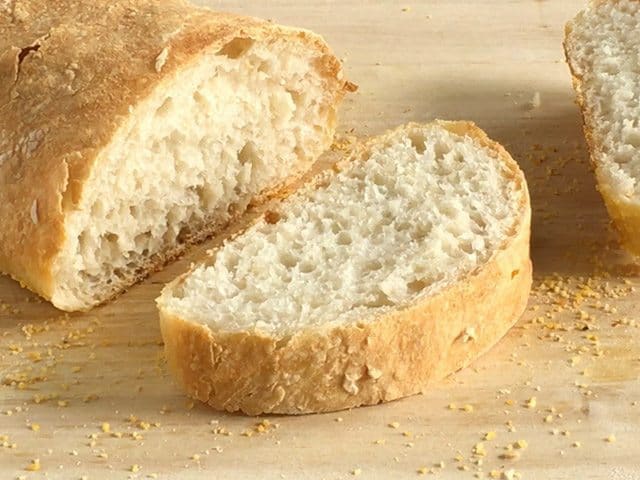
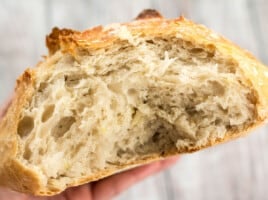
Well, I’m glad I decided to give this one a try. For some reason it seems easier than the original no-knead and the result so much better. The inside is lighter and fluffier. The flavor is wonderful. The shape, although flat, is perfect for sandwiches. PERFECT.
After making this bread countless times, I now make a “half batch” loaf and usually use 100% all-purpose, rather than using some whole wheat (I like the texture better). The ingredient amounts listed below are for a half batch sized loaf.
If you can’t time the dough just right to ferment for 14-18 hours, you can actually slow the fermentation by putting it in the refrigerator for a few hours. When I need to leave it for about 24 hours, I pop it in the fridge over night (8 hours), then let it come to room temperature before continuing.
(Updated 10-26-15)
No-Knead Ciabatta
Ingredients
- 2 cups all-purpose flour plus some for dusting ($0.26)
- 1/8 tsp instant or “bread machine” yeast ($0.02)
- 3/4 tsp salt ($0.03)
- 1 cup water ($0.00)
- 1/2 Tbsp olive oil ($0.08)
- 2 Tbsp cornmeal ($0.03)
Instructions
- In a large bowl combine the flour, salt, and yeast. Stir the dry ingredients well until they are evenly combined. Add the water and stir it until a wet, sticky ball of dough forms and no flour remains on the bottom of the bowl. Loosely cover and let sit at room temperature for 14-18 hours to ferment.
- After fermentation, the dough should be wet, sticky, very bubbly, and fluffy. Dust the top of the dough and your hands with flour. Carefully scrape the sticky dough from the bowl, adding a small amount of flour if needed to keep your hands from sticking.
- Turn the dough out onto a floured work surface and stretch it into a long, 12-16 inch loaf. It’s okay if the loaf is lumpy and uneven. The dough will be very soft and sticky, so don’t worry too much about the shape.
- Prepare a baking sheet by smearing olive oil over the surface and then sprinkling with cornmeal. Carefully pick up the loaf and transfer it to the prepared baking sheet, reshaping it as needed. Let the dough rise for 2 hours.
- Preheat the oven to 425 degrees and bake the loaf for 25 minutes, or until it is golden brown. Let the bread cool on a wire rack before slicing.
See how we calculate recipe costs here.
Nutrition
All recipes are rigorously tested in our Nashville Test Kitchen to ensure they are easy, affordable, and delicious.
Step By Step Photos
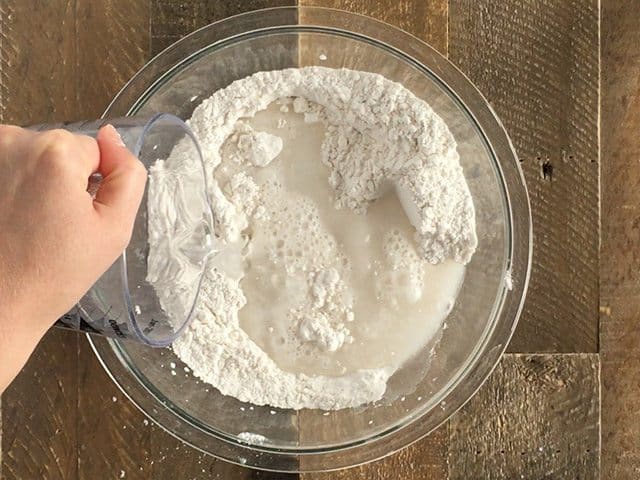
In a large bowl, stir together 2 cups all-purpose flour, 3/4 tsp salt, and 1/8 tsp instant or “bread machine” yeast. Stir until they’re well combined. Add one cup of water and stir until a soft, sticky ball of dough forms and no flour remains on the bottom of the bowl.
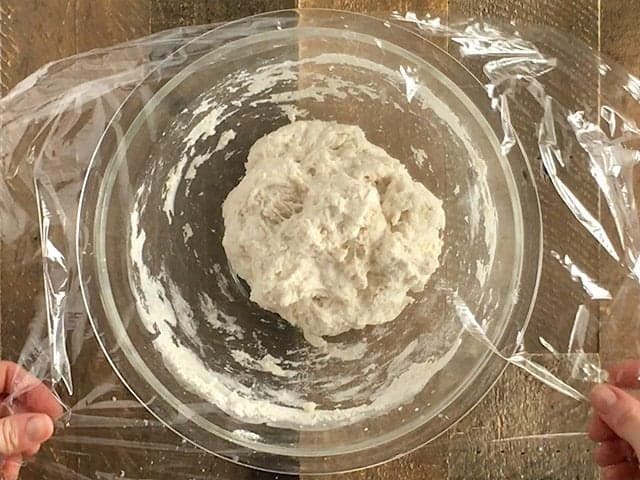
Loosely cover the dough and let it ferment for 14-16 hours. If you need to let it sit longer, it can be placed in the refrigerator for part of the fermentation to slow it down.
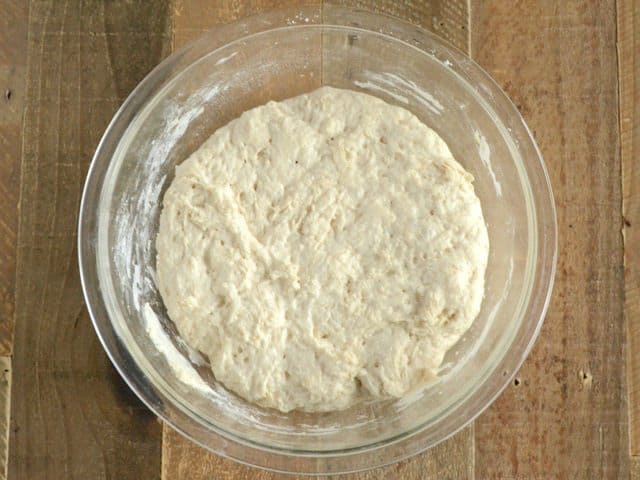
After fermentation, it should look like this. Big, fluffy, and full of bubbles. Oh yeah, it’s also sticky. Dust the dough and your hands with flour, then gently scrape it from the bowl. Turn it onto a lightly floured work surface and shape it roughly into a 12-16 inch rectangle.
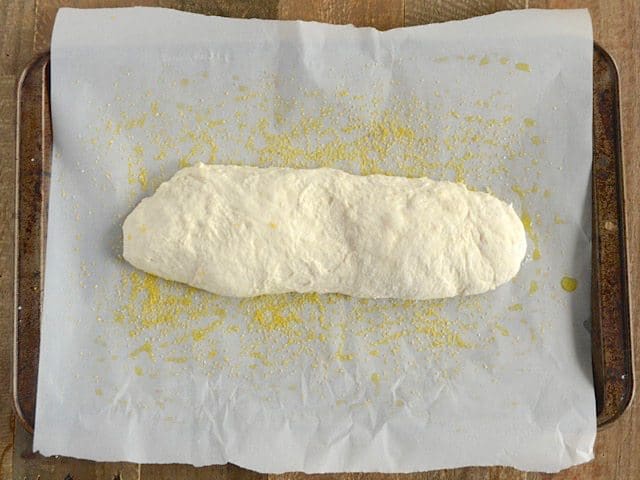
Prepare a baking sheet by spreading 1/2 Tbsp olive oil over the surface, then sprinkling with a tablespoon or two of cornmeal. I added parchment to my baking sheet just to make cleanup a lot easier. Transfer the shaped dough to the baking sheet (it’s okay, good even, if it’s unevenly shaped).
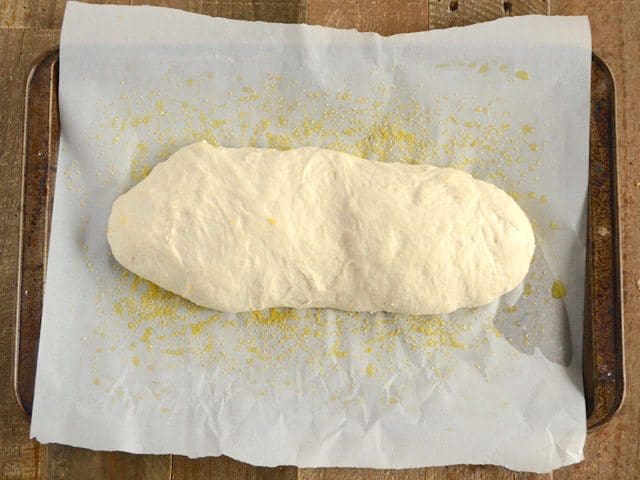
Let the dough rise for two hours. This is where all the nice, big internal bubbles come from, so don’t skimp on this step! Begin preheating the oven to 425 degrees.
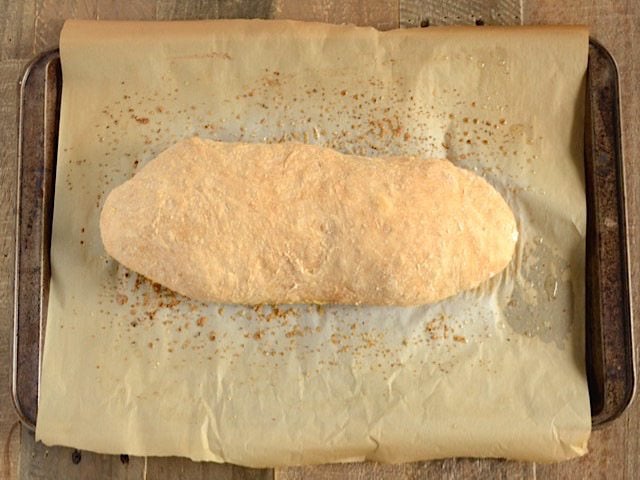
Bake the bread for 25 minutes, or until golden brown on the outside. Make sure the oven is fully preheated before the bread goes in, because it needs that sudden blast of hot air to really puff up.
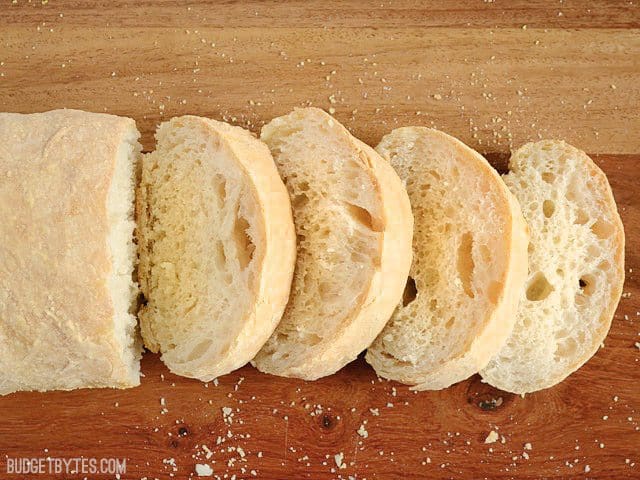
Let the bread cool before slicing (I know, it’s hard to wait, but you’ll avoid crushing the bread that way).
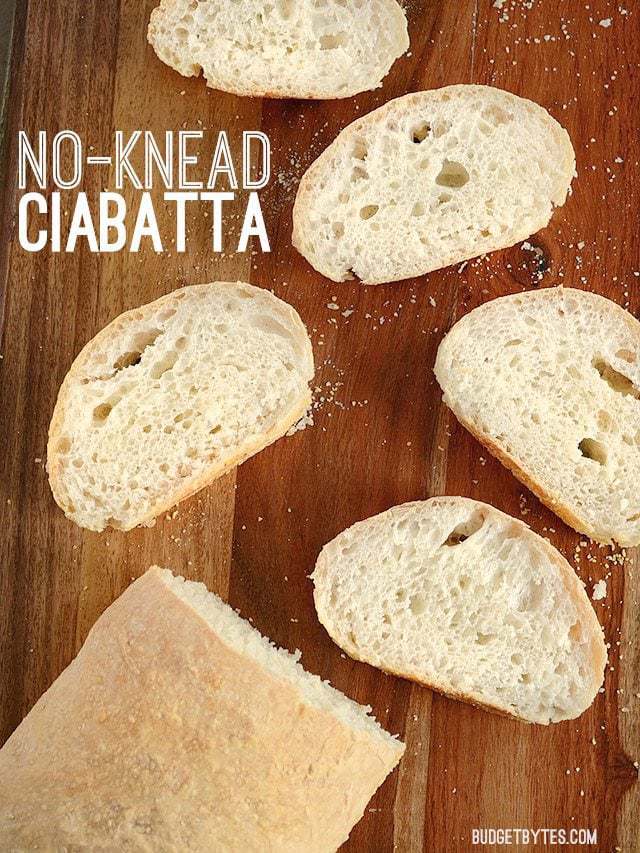
This bread is perfect for sandwiches. Light and fluffy inside with a good crust. YES!
Oh, my other favorite thing about this bread is that it only uses 1/8 tsp of yeast – TOTAL. Now I can make great bread every week and my yeast will last for-ev-er.


Great for two people. Also makes 4 sandwich rolls.
Thanks
Mine didn’t turn out. It looks more like a naan bread. 😕
I made this yesterday and today and it was so easy! I changed it a little bit because I only had regular active dry yeast, and I’m also really lazy. I doubled everything because I wanted enough to share with the family. I used 4 cups of white flour, a heaping 1/4 tsp of active dry yeast, 1 1/2 tsp salt, 2 cups of warm water, 1 Tbsp olive oil, 4 Tbsp flour (corn intolerant). I covered my dough with a thick cotton towel and left it in the bowl in the kitchen for 24 hours. After putting it on a baking sheet, I topped it with dried rosemary and sea salt and left it for 2 hours. I used the normal recipe bake time. I’m gonna serve this with homemade roasted garlic Italian dipping oil. Thanks for the awesome recipe! Usually my breads turn out badly haha.
Just made this recipe and got a great first rise but the second ride after over an hour was the same size as when I turned it out. I’m about to bake it now but have zero hopes for an airy bread. Not sure what I did wrong as I followed all the steps and ensured the dough was never cold.
Beth, have you ever made rolls out of this dough(like the no-knead focaccia)?
Why yes, yes she has ;) No-Knead Focaccia Rolls
I really wanted to like this recipe but something in the wet/dry ratio is just not working for me. This never becomes “dough” it’s almost a thick batter. There’s no “shaping” into a loaf, it’s more like “pouring onto baking pan”. The yeast is working because it does get all bubbly and the finished product is airy, the problem is the finished product is not a loaf but an inch-high slab of bread. Fine for munching but can’t be used for sandwiches. I triple-checked my measurements and tried a second time, I got a 1.5-inch slab of bread. And that was after adding an extra half cup of flour during the shaping because I could tell the consistency of the dough was going to be the same as the first attempt.
After fermenting 16 hours, looked a bit like what the video showed. Formed loaf, let rise for 2 hours and it still looked like the stuff I had in the morning. Flour is fresh, yeast is from a new, unopened jar, so nothing can be blamed on “old” ingredients. Terrible waste of flour.
Nothing wrong with you! This is only recipe for biga! NOT for the ciabatta bread itself! I made the SAME mistake only didn’t waste anything because when I saw that it was a flat mess and was never going to rise into a loaf I then found another recipe that called for using biga so I made that recipe and added THIS RECIPE to it! Now I hope to have something comparable to a couple loaves of bread after they raise! LOL! This is ONLY recipe for starter–very disappointing AND confusing to amateur bakers like me!
The simplicity of the ingredient and method are astounding and the end result amazing! Thank you for sharing and helping to start a new tradition of baking bread in our family.
Wow. This worked beautifully – thank you!
This comes out perfect every time I’ve made it. My friends say it’s better than the NYT recipe. I used bread flour instead of all purpose, and liked it better.
can this be made in a bread machine?
Unfortunately I’ve never used a bread machine, so I can’t advise.
Well, this seems like a silly question, even to me! However, I’ve been told more times than not, never a silly question, only a silly answer…lol. With that in mind, you say 1 cup water. Don’t I need water warmed to at least 110° to activate the yeast? I’m determined to make my own ciabatta to use for dressing, and not buy the stores supposed “freshly” made artisan bread! I make all our other bread, why not ciabatta? Right?! Ha Thank you!
It’s definitely not a silly question! You don’t need to warm the water when you use instant yeast or bread machine yeast. This type of yeast doesn’t need to be “proofed” in warm water before adding it to the dough. You can just add it dry and it will do its thing! :)
Dear Beth,
I have 3 questions:
You mention in the introduction that you used to make this with some whole wheat flour but now use only all-purpose flour — several of the commenters referred to the whole wheat flour in the original recipe — would you mind putting the complete original recipe at the end, for those people who would like to try the recipe with all or part whole wheat?
Since this bread wants to spread out instead of up, would it work to make it in a loaf pan?
I have just made your no-knead english muffin bread recipe tonight — and I see that the ingredients for that bread are pretty similar to the ingredients in this recipe (plus a little sugar, and with a greater quantity of yeast so that it can be baked instantly, of course)…
if I added some sugar to this ciabatta recipe,
still let the dough have the long fermention period (overnight/12 hours),
and baked it in a loaf pan, do you think that it would turn out about the same as the english muffin bread?
[Tonight I combined a few internet recipes for the english muffin bread and to your recipe I added a little melted butter and used half milk/half water instead of all water — it’s quite nice. However, I don’t like mixing it with my handmixer (it’s not a very good handmixer, it’s heavy, and all the dough just gets stuck inside the beaters) so I’d rather just let the dough go through an overnight fermentation rather than messing with the handmixer at all!]
Sorry about the confusion with the whole wheat! I need to update that part. I originally just used 1/2 whole wheat and half all-purpose flour. I’m not sure what would happen if you added more sugar but still used the overnight fermentation. I would need to experiment with it to see. :) Same goes for doing this in a loaf pan. I’m not sure how it would work since it’s a very moist dough and might not have the strength to help it rise up to fill the pan.
I tried and it was great! — Thank you very much for sharing!
Hi Beth,
I’ve made this bread twice and the taste is delicious! However, I just can’t get it to rise. Second time I made it I tried doubling the yeast, allowing a couple extra hours of rise time, and making sure the temperature in my house is above 70. Unfortunately although it tastes great it still came out flat. Any suggestions?
This bread in particular tends to expand out instead of up. Is that what is happening to you? A little more flour in the mix might help make it more sturdy and rise up. The gluten should develop through fermentation enough to hold the structure, so long as the dough isn’t too-too wet.