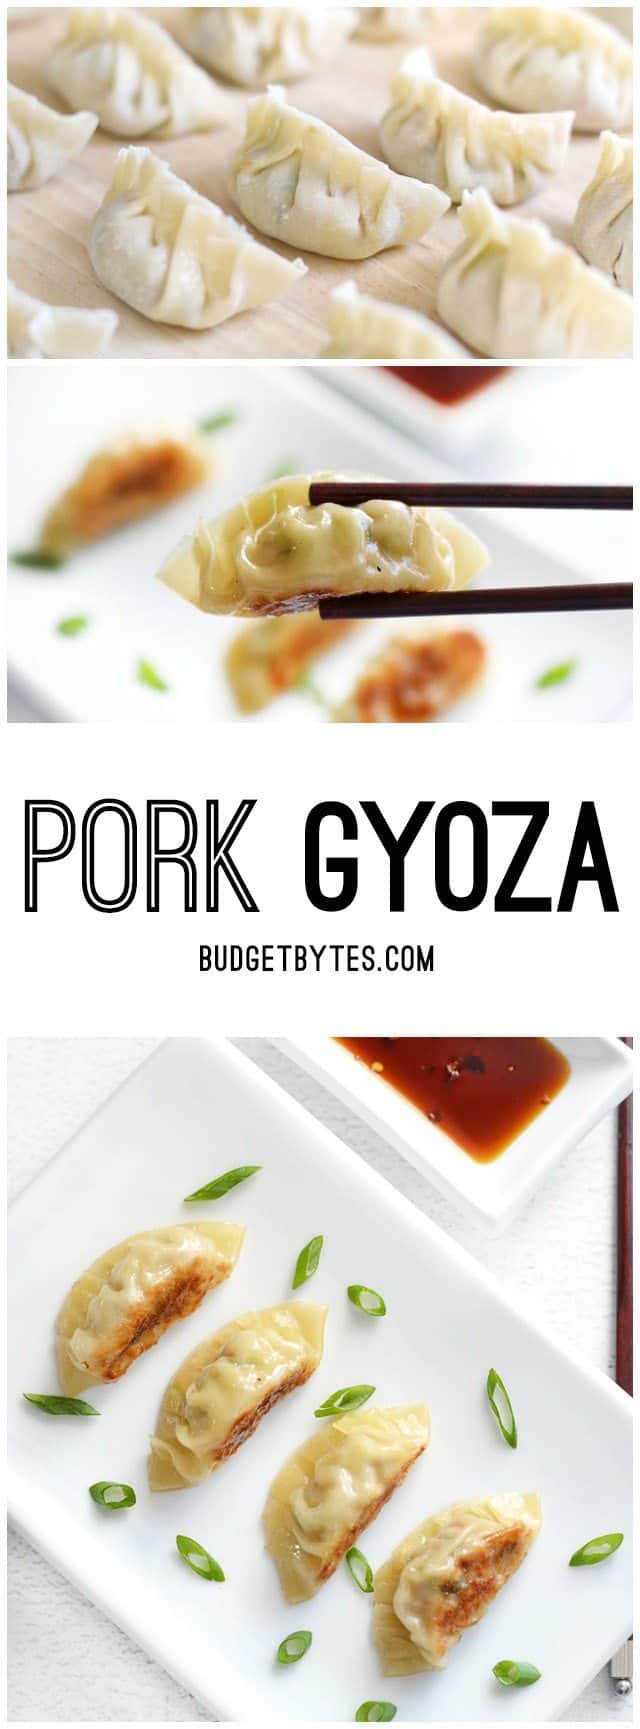
I needed a “fun” food project this week, so I decided to make some homemade pork gyoza, which is kind of an updated version of a recipe I made almost six years ago (whoa!), Pork & Ginger Pot Stickers. I tweaked the filling a bit and decided to try the more traditional (and more difficult) pleated folding style. These tasty little dumplings are great to keep in your freezer so you can cook a few at a time to add to add to your meal.

What Are Gyoza?
Gyoza are a Japanese pan-fried dumpling made with a delicate wrapper and filled with seasoned vegetables and meat (or just vegetable) filling. The gyoza are pan-fried to create a deliciously crispy bottom, then briefly steamed to give them a delicate finish. The recipe below is just my interpretation of this traditional Japanese food, so if you’d like to try an authentic recipe, see a video of them being made, and learn more about these tasty little dumplings, check out this recipe for Gyoza from Just One Cookbook.
Can I Use a Different Meat?
Yes, if you prefer to avoid pork, you can swap in ground turkey or chicken. OR, you can mince some fresh shrimp and use that. Just make sure that whatever you’re using it is chopped or ground into a super fine texture so that it cooks quickly in the gyoza.
Freeze Your Pork Gyoza
Once you finish filling and folding your pork gyoza, you can freeze them, which means you can keep them on hand and pop a handful in a skillet any time you get the craving. So go ahead, make a big batch, and reap the benefits later! To freeze the gyoza, lay them on a parchment-lined baking sheet so they’re not touching, freeze until solid, then transfer to a heavy-duty freezer bag for longer storage.
Frozen gyoza can be dropped straight from the freezer into a pot of boiling water to cook. Let them boil for 3-5 minutes, or until they begin to float, then fry as directed below.
Pennies on the Dollar!
And let’s not forget the cost… Even though I used expensive ground pork, these little guys turned out to be only about $0.18 each. An appetizer order of Pork Gyoza at a restaurant will easily run you $6-$8, and you get how many? Maybe six? So yeah, about $1 each at a restaurant.

So, want to see how it’s done?
Pork Gyoza
Ingredients
- 4 cups finely shredded or chopped cabbage ($1.42)
- 2 Tbsp canola or vegetable oil, divided ($0.04)
- 3 green onions ($0.44)
- 2 cloves garlic ($0.16)
- 1 Tbsp grated ginger ($0.10)
- 1/2 Tbsp soy sauce ($0.05)
- 1 tsp sesame oil ($0.11)
- 1/2 lb. ground pork ($3.00)
- 50 gyoza or wonton wrappers ($3.69)
Instructions
- Sauté the cabbage with 1 Tbsp canola or vegetable oil in a large skillet over medium heat until wilted to half its volume. Transfer the cabbage to a large bowl.
- Slice the green onions, mince the garlic, and grate or chop the ginger. Add the onions, garlic, ginger, soy sauce, sesame oil, and ground pork to the bowl with the sautéed cabbage. Massage the mixture with your hands until it is evenly mixed and slightly sticky or tacky in texture.
- Spoon about one teaspoon of the pork mixture into the center of a wrapper. Dip a finger in water and wet the outer rim of the wrapper. Fold the wrapper over the filling and pinch the edges to close (here is a video demonstrating different folding styles).
- When ready to cook the gyoza, heat 1 Tbsp canola or vegetable oil in a non-stick skillet over medium heat. Working in batches, add the gyoza with the seam side up, and fry until the bottom is golden brown and crispy. Using the lid as a shield, pour about 1/4 to 1/3 cup water into the skillet and quickly place the lid on top to contain the steam and splatter. Let the gyoza steam in the skillet for 1-2 minutes, or until most of the liquid has boiled away. Remove the lid and let the gyoza cook for a minute more, or until the bottom is crispy again. Serve hot.
See how we calculate recipe costs here.
Notes
Nutrition
While you’re at it, make a batch of Simple Sweet and Sour Sauce to dip your gyoza!

How to Make Homemade Gyoza – Step by Step Photos
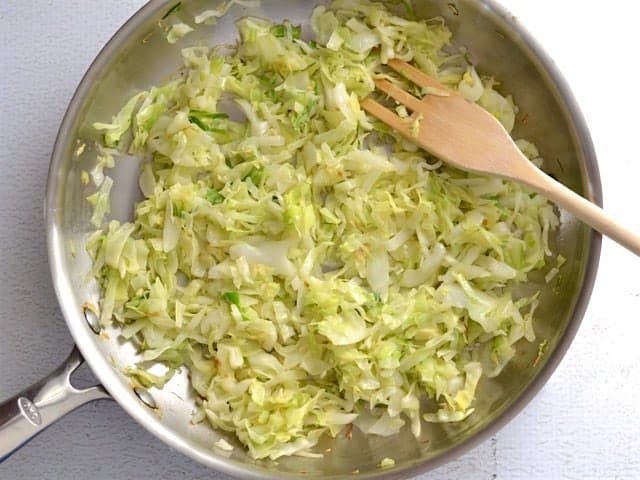
Begin the gyoza by sautéing the cabbage for the filling. I used 1/2 of a small head of cabbage, or about 4 cups once finely shredded. Chop or shred the cabbage as finely as possible to make it easier to mix with the pork and fill the tiny gyoza. Nappa cabbage is best, but if you can’t get it (my store was out of Nappa), regular green cabbage will also work. Sauté the cabbage with about 1 Tbsp oil in a large skillet over medium heat until it has wilted to about half of its original volume (5-8 minutes). Transfer the sautéed cabbage to a large bowl.
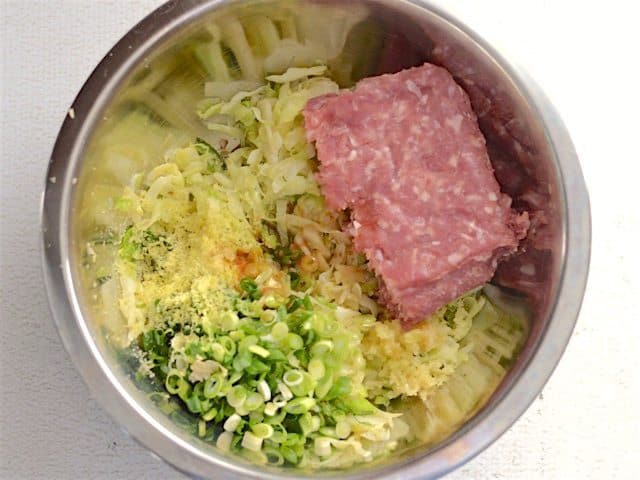
Thinly slice three green onions, mince two cloves of garlic, and grate about 1 inch of fresh ginger (about 1 Tbsp). Add the onions, garlic, and ginger to the bowl, along with 1/2 Tbsp soy sauce, 1 tsp sesame oil, and 1/2 lb. ground pork.
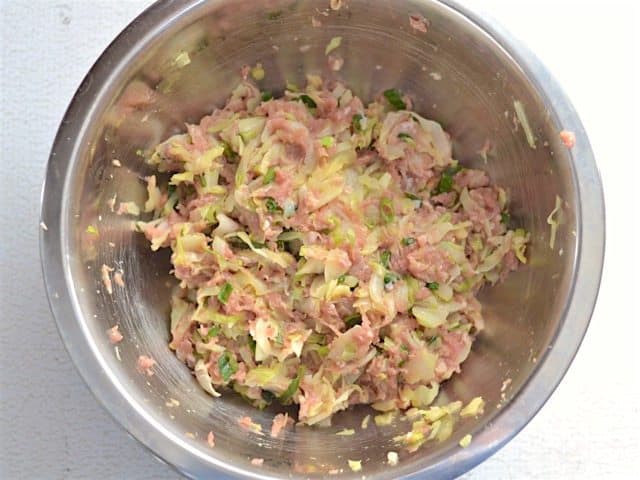
Mix the ingredients with your hands until everything is evenly combined and the mixture is slightly sticky or tacky.
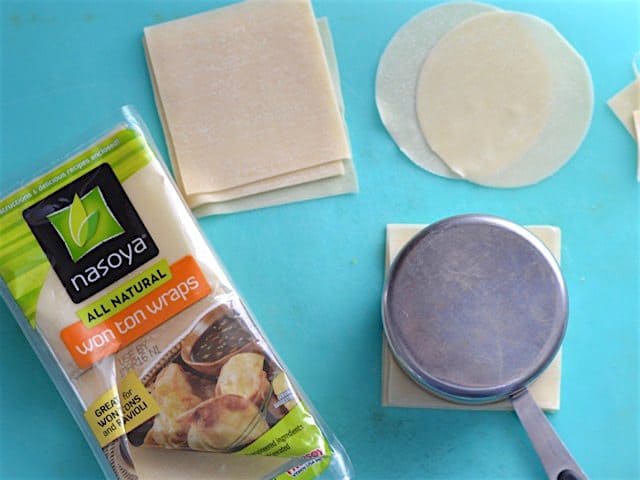
If you want to do the fancy pleated folds, you’ll need round wrappers, but you can do the easy folding style with square wrappers. If you can only find square wrappers, you can use a cookie cutter or any other sharp round object (like my metal measuring cups!) to cut them into circles. Make sure to not let the wrappers sit out uncovered for very long, though, because they’ll start to dry out and become brittle. You can either keep them in the package or cover them with a slightly damp paper towel.
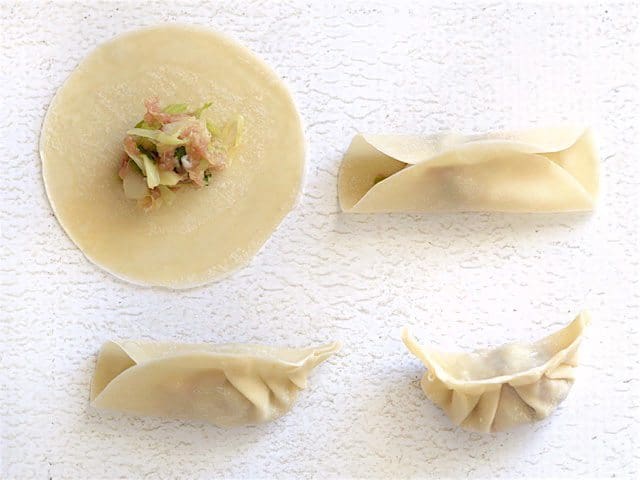
It takes far less filling to fill each of the wrappers than you’d imagine. Over filling makes them extremely difficult to fold. I used about one teaspoon in each wrapper. Dip your finger in water and wet the outer edges of the wrapper to help them stick or glue together. It’s best to see how to fold these little suckers in action, so here is a link to a video that demonstrates three folding styles, including the easiest way and this more intricate pleated fold. However you choose to fold, make sure to pinch the edges tight to keep them from opening.

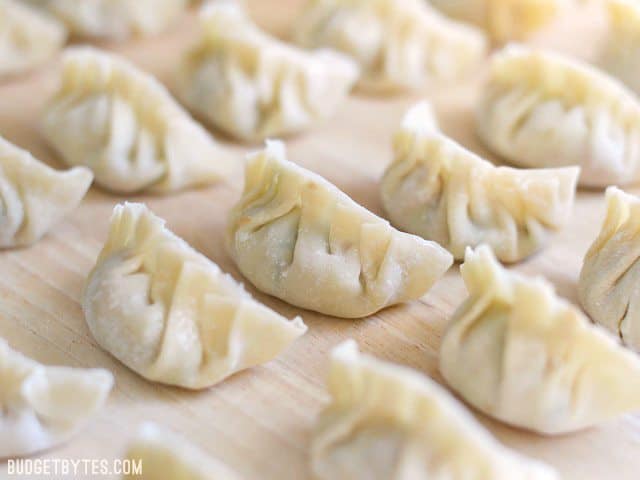
As you fill and fold the gyoza, line them up on a baking sheet or cutting board, with the seam side up. You can freeze them at this point, or cook them.
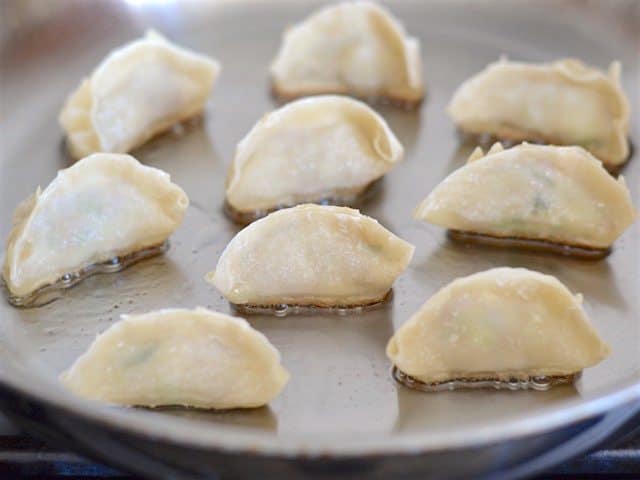
To cook the Pork Gyoza, heat 1 Tbsp canola or vegetable oil in a large non-stick skillet over medium heat. Add the gyoza, seam side up, and fry until they are brown and crispy on the bottom. (P.S. I took these photos in a stainless steel skillet, but switched to a non-stick for the next batch. They don’t call these suckers “pot stickers” for nothing. Non-stick will make this process a LOT easier.)
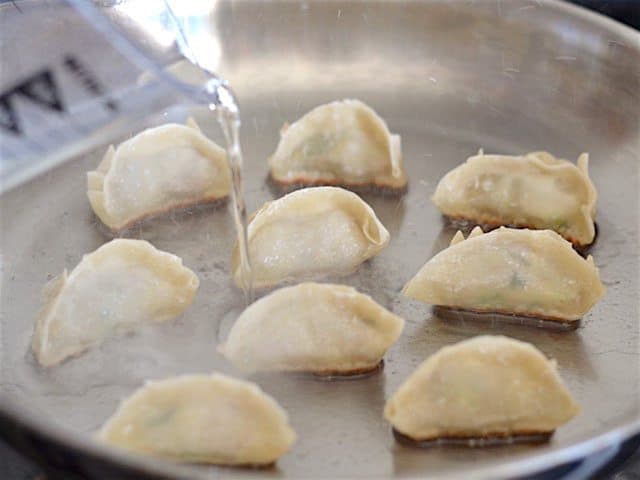
Use the lid of the skillet as a shield and carefully pour about 1/4 to 1/3 cup water into the skillet. Place the lid on top as quickly as possible to contain the splatter and steam.

Let the gyoza steam in the skillet for 1-2 minutes, or until most of the water has evaporated and the wrappers look slightly translucent (the water should be rapidly simmering). Remove the lid to let the last bit of water evaporate and the bottoms of the gyoza crisp up again. Once crispy, remove to a plate and cook a second batch if desired.

And that’s it! Just a few minutes in the skillet and they’re done. Gyoza are often served with a mix of soy sauce and rice vinegar (2:1 ratio), to which you can add a little red chile paste for more flavor. Or just pop ’em in your mouth as is. :)

Mmmmm Pork Gyoza!

These are great. I used bok Choy leaves.
Ponzu sauce for dipping.
it’s something about this filling that just isn’t it for us. I cannot place it but it’s lacking something. I’ve made this twice as directed and both times I wasn’t impressed, which is sad. i wanted to love it! I will try to tweak next time.
This recipe is great! We did one thing different though. We precooked the pork mixture before putting it into the dumpling wraps. We also dusted the finished dumplings in flour so they wouldn’t stick together during freezing. Good as or better than restaurant dumplings!
Add sesame oil to taste to the gyoza sauce. Its served that way in my favorite Japanese restaurant.
If I assemble the day before, can I just refrigerate for 24 hours before cooking? Or do I need to freeze!
Thanks! These look great! I love all your recipes I’ve tried so far.
They’d probably be fine in the fridge for a day. :)
I use Cornstarch on the mat to place them on after I finish the pressing. That way they never stick. I also use the gyoza press. I place them in a hot Pan starting at 12 and going in a circle with two in the middle. When they are ready, I lit a place over the skillet and invert – very pretty presentation.
These are a new favorite at our house! My crew of four can plow through 50 of these for dinner. I wouldn’t have tried something that looks so complicated if it hadn’t been for spending so much time at home this year but they’re not too hard when you get the hang of the folding.
We love your recipes and eat from this site multiple times per week!
Made these this on a Sunday afternoon and we scarfed them down while my second batch was cooking. The flavors are so good. This would definitely be a fun recipe to make with others, you can fold the gyoza while you chat. The filling mixed up quickly and the tips were extremely helpful. Thanks so much for a wonderful recipe. I have lots of leftovers freezing for future use now.
MAJOR hit in my family! Dang, they were so so good! replaced green cabbage with the red cabbage I had in my fridge, and it still was wonderful! Thank you again and again!
Hello
,
I tried to do a batch and freeze them but they were fallen apart and sticking after freezing them. How do you avoid this?
Oh no! Did you freeze before or after cooking?
Hello!
How long do these last in the freezer?
If stored properly in an airtight freezer bag or container, I’d say six to nine months.
Ive bin making these for years ,but always have trouble with the store bought wrappers ,Mine have always turned out ugly pop open ,fall apart ,today your photo was amazing why did I not think of this way ,round and the way you folded them was awesome. I will try again next week ,using your method,,,,thanks for now will re post results soon ,Oh dipping sauce add scallions to soy sauce and some grated ginger rice vinegar , and hot chili oil or garlic chili paste serve with a buttery chardonnay Bear foot cellar is inexpensive
What a difference in your photography! I’m sure the recipes are equally good but the newer post is much more interesting visually.
How do you know when the meat inside is fully cooked? I’m terrified of undercooked meat!
You can sacrifice one to test it, but since there is only about a teaspoon of the meat and vegetable mixture, it cooks incredibly fast.
Hey how would you defrost these before cooking?
You can either place them in the refrigerator the night before, or actually reverse the cooking method to cook them straight from the freezer. I boil a pot of water and drop them into the boiling water (while frozen) and just boil for a few minutes, then transfer them to an oiled skillet to crisp up the bottoms. Because they’re so small they defrost quite quickly in that boiling water.